jamawest
Participant
November 16, 2017
Question

Slog 2 headache in Adobe Premiere, am i doing it wrong?

  • November 16, 2017
  • 2 replies
  • 6131 views

Hi all,

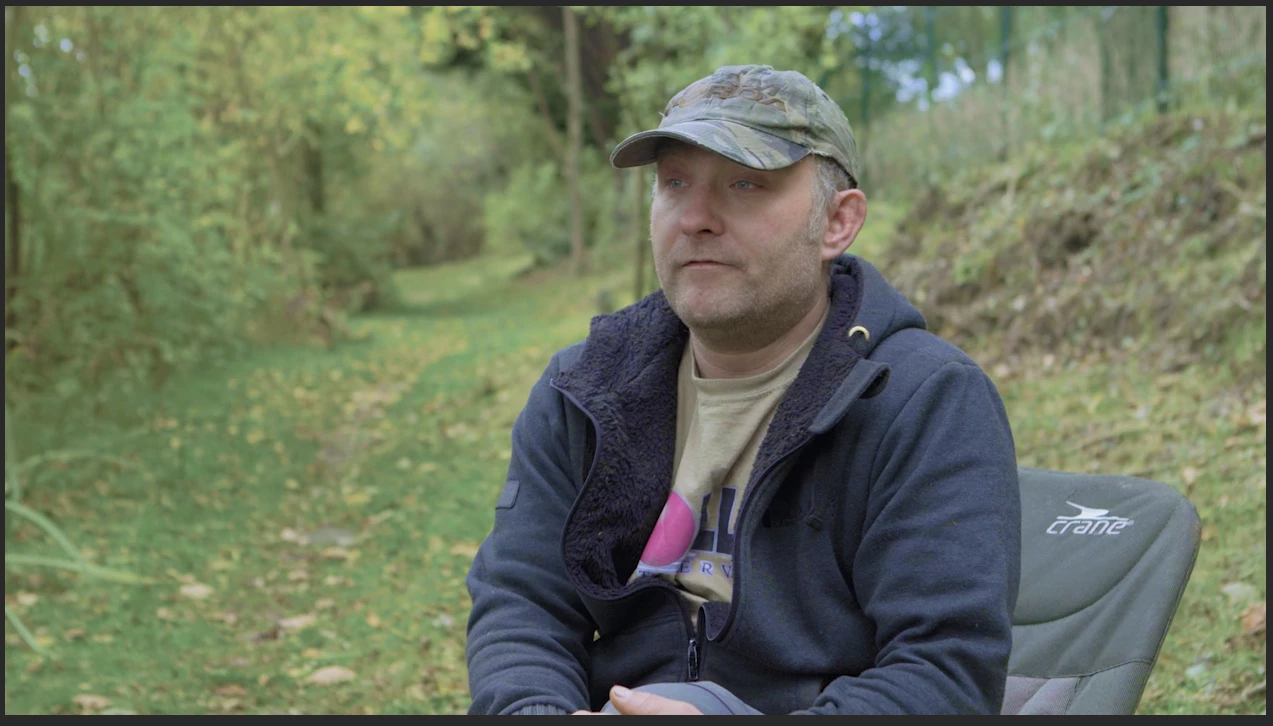
Im having ago at grading some slog 2 footage from my Sony a7r II for the first time and i can get reasonably good results but im having a real issue with off greens and strange skin tones.

Ive tried all the different ways shown on youtube but i just cant seem to get it looking realistic.

Dropbox - Example.mpeg

Ive dropboxed a few second clip of what im working on if anyone could tell me if either im just really rubbish at colour grading or theres some thing wrong.

I use GC_Slog2_to_Rec709.cube LUT to get started and then do the rest of the adjustments in Lumetri Color but it just does seem to look right.

Below screen shot is the best i can get.

Can anyone help?

This topic has been closed for replies.

2 replies

stefan_gru
Inspiring
November 16, 2017

jamawest: Since you say you're not too familiar with making color adjustments, I would highly recommend you check out these tutorials: Change the look of your clips

jamawest
jamawestAuthor
Participant
November 17, 2017

Thank u Stefan, im not looking for a 'look' to say. I just want realistic but the more i look in to it i think its a situation with how i shot it.

Ive been through every part of the Lumetric colour like in that video.

Inspiring
November 16, 2017

Color correction is very subjective, is this any better?

MtD

R Neil Haugen
Legend
November 16, 2017

Initial observation on downloading and importing into PrPro ... too bad you couldn't add a bit of 'clean' light on his face, that jacket is pretty neutral but the reflected greens into his skin are murder to deal with. Log conversion LUTs from the manufacturer assume a perfectly white-balanced/exposed/contrast controlled image coming into the LUT. This has so much yellow-green light bouncing back into the face ... it's very difficult, and probably should be one track for the scene, with his head on a tracked-mask layer with a different color/contrast, to be really precise with it. But ... this I did was just "one" video track without masking him.

So the assumed practice (and how this is handled in everything but PrPro ... including Avid, Resolve, others ... ) is the LUT is applied and then one does basic contrast/color-balancing through the corrective Log-to-Rec709 LUT to get to "neutral". The "standard" LUT for this just didn't work as far as I could tell with the light issues, so ... cooked my own.

In Lumetri, turned the saturation to 0 and used the contrast controls in Basic to get a decent tonal range for the scene. Exported a .cube LUT, then zeroed the controls, and from the Creative tab, imported that .cube back into Lumetri.

Now, to make a full corrective LUT including color, I corrected for some color oddities ... as I couldn't correct for everything in front of the Creative tab, I loaded an RGB Curves effect placed above the Lumetri, and used that and the Basic tab to do general balancing of the scene, noting especially his apparently grey sweater. With some shaping of the curves in the R, G, and B channels plus some work refining tonality in the Basic, I moved to the HSL tab selecting the excess magenta areas in his skin, and pulled saturation down there to even his skin tones some.

Then ... LUT Buddy effect (old free Red Giant one) placed above the RGB curves in Draw mode, below Lumetri in Read mode, then created another LUT encapsulating all the work done for tonality and color shaping so far.

Thus endeth the saga of creating a workable corrective LUT.

Now ... cleaning the ECP of all color effects, I went to the Color workspace and in the Creative tab, added that LUT I'd just made, using the handy "intensity" control to play with how strong it needed to be, ended at about 94.

In the Curves tab, figured out where on the Hue circle control that magenta of his shirt 'lives', and brought that spike in some.

In HSL, selected his skin-tone, much more uniform than to begin with because of the earlier work, and pulled total saturation down a bit.

Now ... added another Lumetri, and with a number of hue & tonal things nicely sorted from earlier work, did some fine tuning in Basic (highlight/shadow balancing mostly for the face), added a bit of Vibrance in Creative tab to bring up color in his less-saturated skin areas evening things out a bit. In the Curves 'Hue' control, selected the main greens/cyan tones and brought that down just a bit pulling attention from all that green (but subtly), in the HSL tab selected his skin (which now was easy to get all of it) and pushed the Midtones color wheel towards yellow a bit to get the best skin I could ... then on to Vignette just to pull the brightness of the outer edges down.

This could be done to get most of this and some other work in a number of other ways I can think of, but ... it's the kind of thing you can do with Lumetri. I'm still faster at this in SpeedGrade ... grrr  .... NOT happy they EOL'd that leaving Lumetri as the best thing short of working in or grading in Resolve, but ... there it is.

In my Firefox browser, this comes off a bit more magenta than it does in PrPro.

Neil

Everyone's mileage always varies ...
R Neil Haugen
Legend
November 17, 2017

Hi Neil,

Thank you for your comment, im thinking what you are saying is along the right lines.

What is the difference between a OEM LUTs and a 3D LUT?

How much does it cost to get a professional colourist to look at something like this?


By OEM, I was referring to manufacturers LUTs.

To get a quote can often be no charge. Most colorists with much experience can ask you some direct questions and give a quote pretty fast.

Ask to see their instructions as to how they want the project prepped put of PrPro as they will likely be working in Resolve or maybe Baselight, and there will be conform factors to deal with.

If they don't have one, detailed specifically to how they want the XML, the project file/assets, and even how you time-ramp and scale media, you might look further.

Like any other post task, costs can vary widely based on the local market where the colorists live, how well any particular colorist or shop is booked,  that sort of thing. I've seen rates from $250 to several times that for day rates. And there's negotiating often involved.

Some jobs, the extra quality isn't worth the cost. Some ... the experience of the colorist gets a vastly improved project for no more than the cost of the hours you'd have spent trying.

Neil

Everyone's mileage always varies ...