Copiar link para a área de transferência
Copiado
Hi,
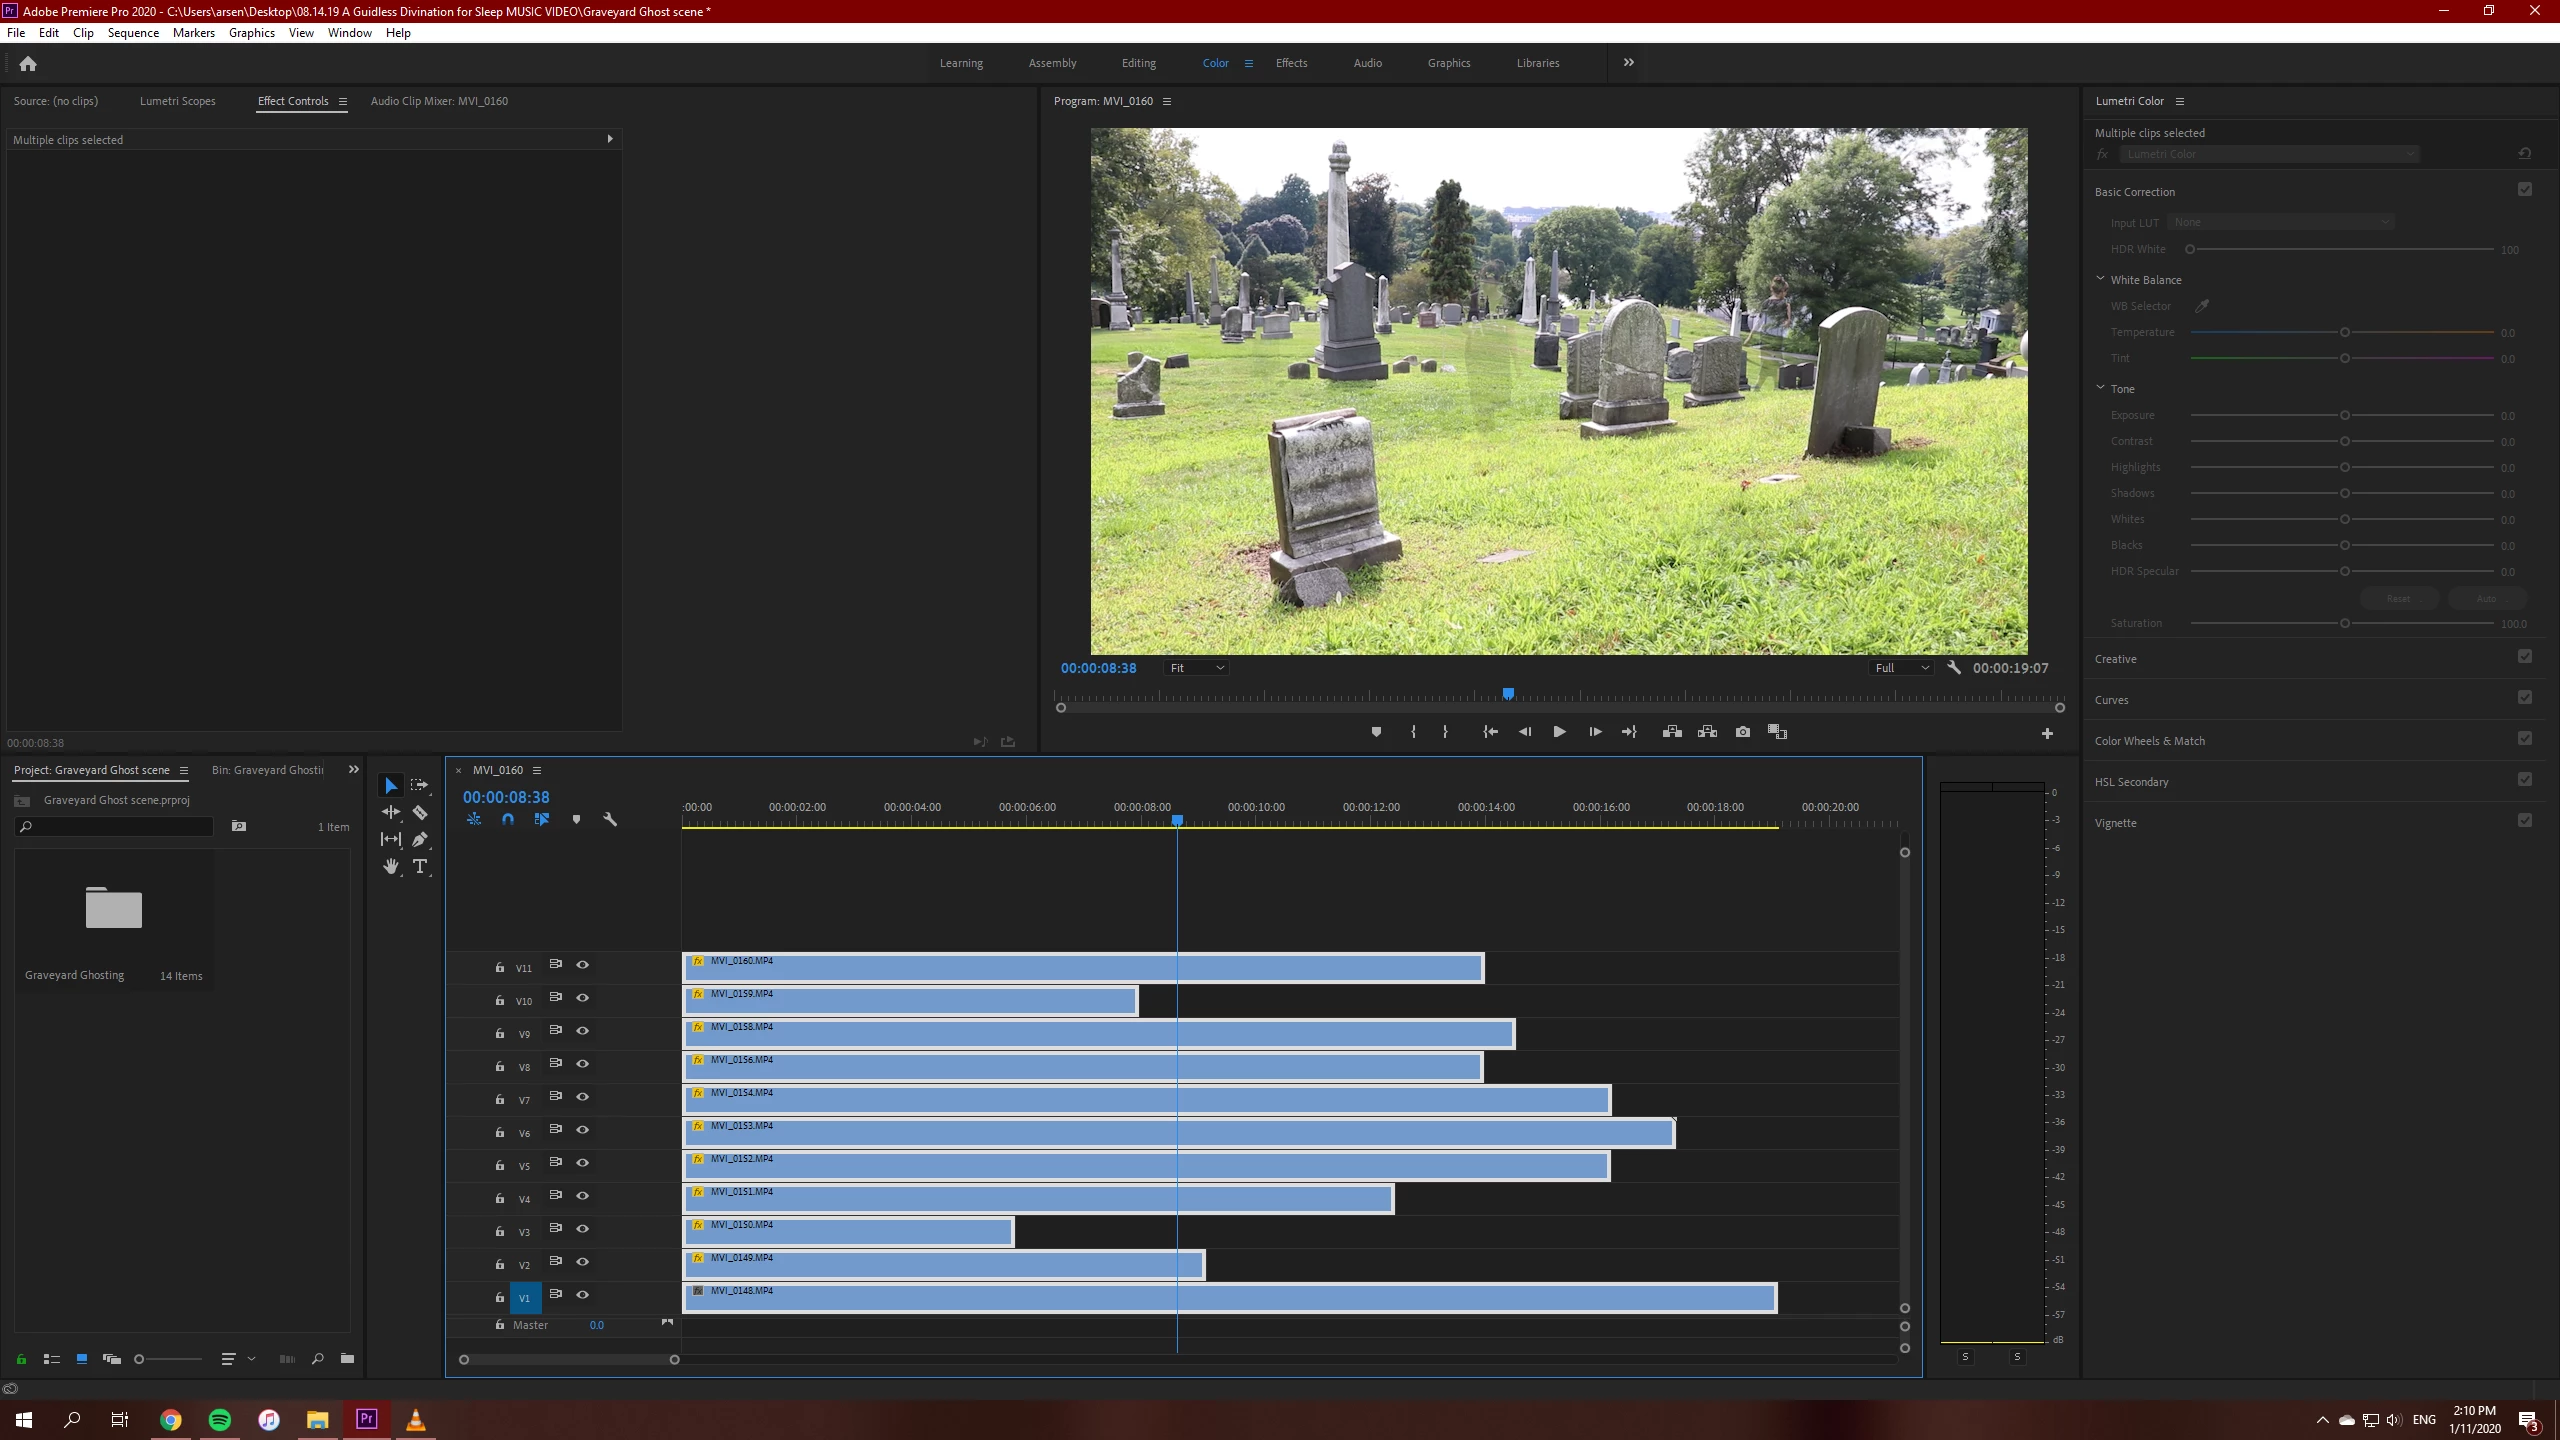
I'm trying to create a "ghosting" effect for a music video project I'm working on. However I am having trouble finding a good tutorial for my specific situation. I'm trying to make the figure walking through the shots a bit more distinct from every clip that I have overlayed (it seems like the more clips I overlay, the more transparent and less visible each figure becomes). I would like each one to be about the same level of visibilty as the one that walks in on the left side at 3 seconds in.
I'm also trying to sync up the different clips to sit over each other a bit better (it seems my tripod inadvertently moved a bit during the filming process). Looking for recommendations in terms of tools or plugins to make the whole thing look a bit smoother. I uploaded a photo of my timeline before exporting and a clip of what the rough clip looks like as well. I have the bottom clip set to 100% opacity and the rest of the clips on top set to 50%. Thanks!
Copiar link para a área de transferência
Copiado
Try different experimenting with different blend modes.
Copiar link para a área de transferência
Copiado
Thanks!
Copiar link para a área de transferência
Copiado
Think of it this way:
As you add a layer at 50% opacity - it reduces the layer below by 50% - so adding a third layer will show this new layer at 50% opacity but the two layers below will now be at 25% each. Thus your first two 'ghosts' will be lower in opacity than the third. Fourth layer compounds the problem.
The opacity of the lower layers continues to drop for every layer you add.
You could try roughly masking each 'ghost' as it moves through the scene. You might even be able to use a simple oval shaped mask that you manually animate across the screen to follow each ghost. Soften the edge of the mask to help it blend in more.
Start with layer one being just the empty cemetary. Then add Ghost 1 as layer two and roughly mask it out so it has a rough oval mask following it. Leave each ghost layer at full opacity (for the time being). Add other ghost layers using the same process.
Once you've added enough ghosts - add a copy of your first empty cemetary on top and set this at the opacity you want to show the ghosts at a suitable level.
You don't have to use just an oval mask. If a particular ghost is tricky - particularly the ones that move toward camera - try creating your own free draw masks and animate the mask points over the duration your ghost is on screen. Again they don't need to be perfect.
For a layer where your camera was 'moved' - first drop this layer in your sequence at 50% opacity and use the 'position' tool in the effects control for that layer and move the image so it lines up with the layer below. Set opacity back to 100 and then mask the ghost as before.
If your exposure changed during the shoot you may be able to vary the opacity of individual layers to help hide this.
... so possible to do it in Premiere Pro ...
but After Effects would absolutely be a better application to achieve what you want. It has better masking controls.
regards
SteveG
Copiar link para a área de transferência
Copiado
Thanks so much for the great breakdown! Will give it a shot!
Encontre mais inspiração, eventos e recursos na nova comunidade da Adobe
Explore agora