Known Participant
July 27, 2022
Question

Upgrade Mac and Premiere but LUTs don't work - NOT color mgment issue

  • July 27, 2022
  • 1 reply
  • 2184 views

Moving from Mac Pro to new Mac Studio and from Premiere 2018 on High Sierra to Premiere 22.5 on OS Monterey.


Have already worked through color management issues. (Bad dog, Adobe, bad, fix this now instead of the tiresome 6 step process for SLOG footage!)


I've re-installed the LUTs I used in the previous Premiere in exactly the same folder (Lib/Application support/Adobe/Common/LUTs/Technical) as recommended in Prem 2022.


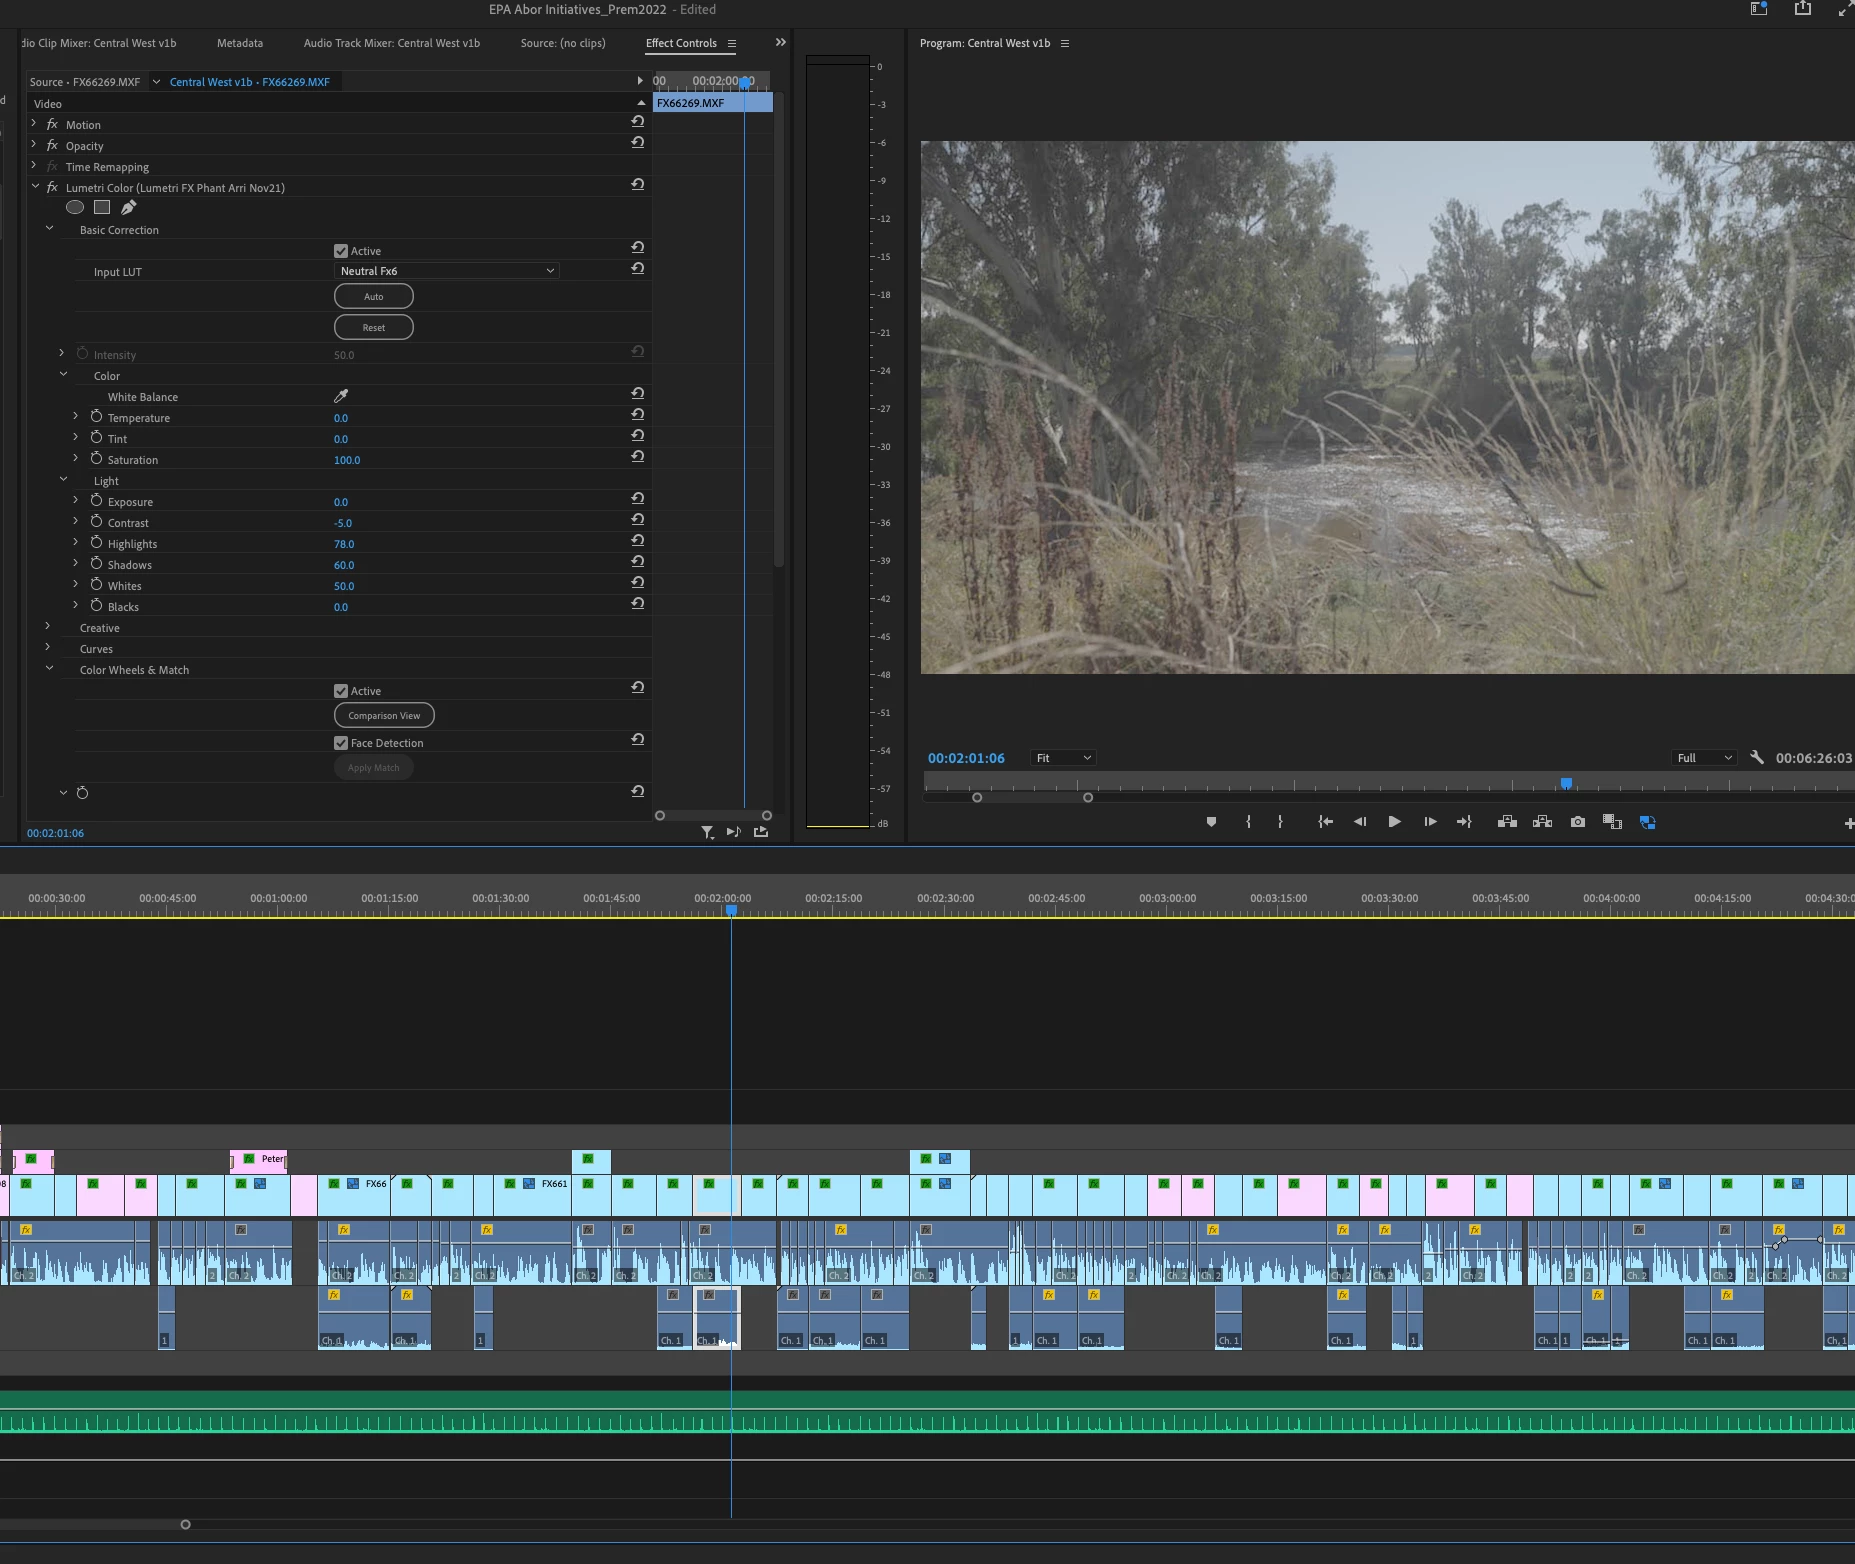
When I open ongoing Premiere projects, the effect control space of Lumetri shows the LUT and settings as they were and the LUT changes each clip's look but not as it was or should be. It's a washed out look not too different to the untreated SLOG image. When you scroll down to the 'favourite' LUTs and select exactly the same LUT, presto, the clip looks like it should.


Surely, please, there's some way to avoid re-setting this on every one of the hundreds and hundreds of clips in ongoing documentary projects?? Thanks!

This topic has been closed for replies.

1 reply

R Neil Haugen
Legend
July 27, 2022

I'm not used to working with the Lumetri effect very much via the ECP ... I tend to use it only via the panel as it's quicker to work there, and of course, I use a Tangent Elements panel.


But the "favorites" LUT option ... I've no clue what you mean by that.


There's the Input LUT slot in the Basic tab, which I never ever suggest people use because you can't trim the clip into the LUT ... by adjustments processed prior to the LUT ... for proper LUT usage.


And there's the "Look" slot in the Creative tab, which is where most all LUTs should be applied from.


LUTs being, as most colorists call them, "the dumbest math out there". They're simply a look-up table of "take pixel value of X and make it Y". If that clips or crushes pixels, so be it.


But if you apply a LUT in the Creative tab's Look slot, then use the Basic tab controls to trim exposure/contrast/whites/shadows/sat while viewing and "scoping" the results, you get the proper effect of the LUT without the clipping or crushing or other problems.


And for simplest access, I use and teach the Program-Package file/Adobe/COMMON/LUTs area. Seems simpler folder assignment to get to for my brain. (Of course, NEVER ever put LUTs in the Program/Premiere/Lumetri/LUTs folders ... )


As to the S-log, that shouldn't be that difficult ... select all the s-log clips at one time. Right-click/Modify/Interpret Footage, set the S-log3.cine option or the "Override to Rec.709" option, whichever you need. Done in a batch.


There are times with the new color management tools where say one uses an Input LUT ... and program manager (and former color engineer) Francis Crossman says if you use an Input LUT in the color management options, you might want to also set the Override to ... option to Rec.709 if you're using a Rec.709/SDR sequence. Very similar to setting an input transform and working space transform in Resolve.


That said, they built an entirely new underlying color system for the Pr2022 builds. Caught even me totally off-guard having used the public beta. It seemed like it was just a couple new controls. But when bongo! every default behavior is different, and all log media that isn't "color managed" officially by codec in Premiere is seen as HLG ... I realized this is simply not the old Rec.709 underlying code at all.


Interestingly, even in person at NAB, when I asked staffers about this being a completely new color system, I got ... silence. Until I asked another question. They wouldn't tell me I was wrong ... which I know from long experience they have no trouble doing when I am wrong! ... but apparently, they couldn't tell me I was right.


Fascinating, that. Working for a large company must be an intriguing experience at times.


And at this time, we still have a number of isses with their brand spanking new color system that aren't working as they should be. And the way the new color management controls are spread through a context menu in the Project panel, a 'main men' selection in the Sequence Settings panel, and a right-click context menu again for the Scopes panel ... is just wrong.


We need a unified color management panel ... Color Management Panel


Neil

Everyone's mileage always varies ...
AfterglowAuthor
Known Participant
July 27, 2022

Thanks for reply. Yep, no problems with Adobe introducing new color management system but it needs to fit in with current users' workflow and be communicated as such and I've supported your call for a CMP. At the moment it adds a lot of work by the time you select the camera clips within the folders (sometimes thousands spread across 30 folders and it's no good just selecting the folders) of all the footage, then switch them back to Rec 709.


Re LUT 'favourites', if you look at the ECP in Lumetri effect in Basic Correction Input LUT, to the right there's a drop down menu with what I think of as favourite LUTS which, among those pre-loaded by Adobe, are those installed in the Lib/Application support/Adobe/Common/LUTs/Technical folder.


I'm not sure standard practice is to make basic corrections pre-LUT. Certainly with camera like Sony's FX6 shooting in Slog3 it's much more difficult and ultimately less successful doing things this way, whereas applying something like a Phantom LUT (developed for just this camera) at the Basic Corrections stage gets the best results straightaway. I've tested this again and again and never succeeded.


Anyway, it seems there's no fix for my problem of getting LUTs applied in the older version Premiere projects to automatically work in the newer version other than manually changing each clip.


Thanks again.

R Neil Haugen
Legend
August 19, 2022

Hi Neil, thanks, as described earlier, LUTs are stored in "Lib/Application support/Adobe/Common/LUTs/Technical folder." That's in all three Premiere versions I'm using across my cMP and newer Mac Studio.


Recapping, I'm trying to migrate Prem projects mainly from Premiere 2020 (on cMP OS High Sierra) to Premiere 2022 (on Mac Studio's OS Monterey). The footage has been loosely graded with a couple of favourite LUTs and some important adjustments made in the Effects Control Panel. Crucially, the LUTs in Premiere 2020 were applied via Effects Presets I've created with LUTs in them where I drop the preset on to clips in my timeline and then make modifications to Highlights, Shadows, White Balance etc. Easier that way, right?


Well, everything shows up fine in Premiere 2022 but the LUTs themselves have no effect. If I go into the Effects Control Panel and in Basic Corrections (where it shows I'm using a certain LUT which has no effect) then select from the drop down Input LUTs, then the LUT is properly applied and has an effect on the image. It's very complex and frustrating and I can only see this as being a small bug.


Was just wanting to check.


If you create a preset in 2022 similar,  does it apply the LUT?


As if it behaves properly then yes, this would be leading to the conclusion of a bug.


And as they completely rebuilt the ENTIRE color handling and processing in Pr2022, we users have had several bugs the devs have had to sort and kill.


Wouldn't be shocked at another one.


And BTW, your process is as I teach colorists, when they must work in Premiere. With one change.


I rarely use the Basic tab to apply LUTs. Colorists call LUTs the dumbest math out there for a good reason. They are normally carefully constructed under perfect conditions for lighting and contrast of scene plus perfect camera settings.


Which is great if every clip you're working with has the identical camera exposure/contrast/color balance. Or is slightly less contrasty than the LUT was built for.


If your clip is slightly under or over exposed, and/or has more contrast, or more saturation than the clips the LUT was built for, you will clip highlights, crush blacks, or get over-saturated "clipped"  color data you can't recover. Why?


Because they process the LUT in the Basic tab before any of the controls.


If you apply the same LUT in the Creative tab, you get the behavior of Resolve, Baselight, any real colorists app.


Use the Basic tab controls to trim the clip into and "through" the LUT.


Your LUT now shapes the media exactly as it is designed to do. And no pixels are harmed in the process.


I've got their chief color scientist considering a change in processing order for the Basic tab. Until they do though,  I suggest using the Creative tab for even tech/normalization LUTs.


Neil

Everyone's mileage always varies ...