May 15, 2012
Answered

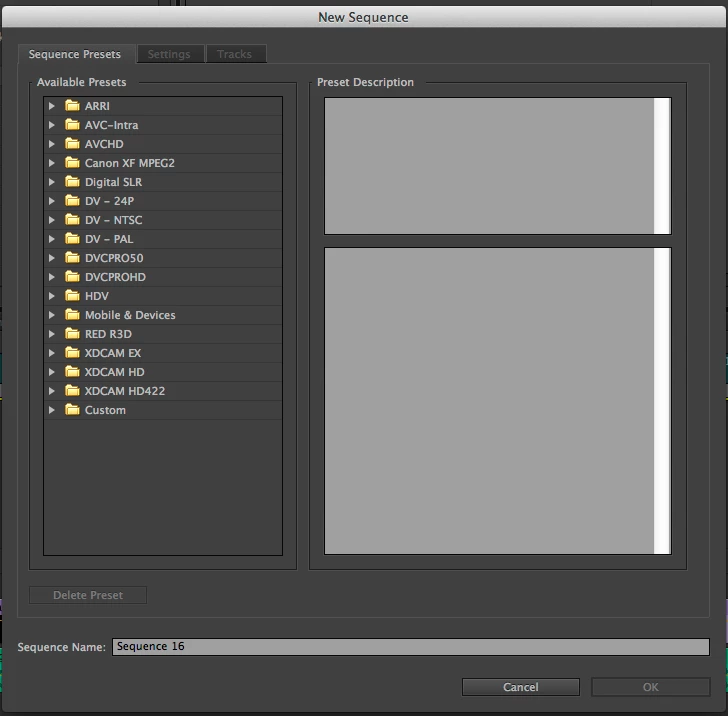
Where is ProRes Export Setting?

  • May 15, 2012
  • 2 replies
  • 95710 views

I own FCP 7 and do not see where i can set up a Prores sequence NOR export out to 10bit uncompressed (animation)....basically my deliverable is Prores....but do not find anywhere Prores settings.

Do I need to import them from some place within my FCP app?

Below are snapshots of my available sequence settings....

This topic has been closed for replies.
Correct answer ExactImage

Select Quicktime in the export dialog.   Ignore the preset.  Now go to the Video Codec in the Video Tab and choose Animation, Prores, etc.... it's all there.

2 replies

Participant
November 27, 2017

Hi. I am also having trouble in finding these settings. Is there something that i can do to export it in Apple ProRess 4444 or 422 HQ in 4K?

Ann Bens
Community Expert
Community Expert
November 27, 2017

You cannot export to Prores on a windows machine. Has to be a Mac.

Participant
November 27, 2017

Thank you Ann

ExactImageCorrect answer
Participating Frequently
May 15, 2012

Select Quicktime in the export dialog.   Ignore the preset.  Now go to the Video Codec in the Video Tab and choose Animation, Prores, etc.... it's all there.

May 15, 2012

Here are my setting options within Sequence:

May 16, 2012

Yeah, I did a few tests for you.  No issues on my end.

First test.  Bring .r3d file directly into PP (not the quicktime proxys, but the actual .r3d), put into 1920x1080 23.976 timeline with ProRes422 as render file setting and make sure Scale to Frame size is checked on the clip.

Add a three way color corrector.  Export, by hitting match sequence setting in the export sequence dialogue.

Reimport. Lay prores clip over red clip.  Enable and disable.  They look exactly the same.

Second Test.  Bring .r3d file directly into PP (not the quicktime proxys, but the actual .r3d), put into 1920x1080 23.976 timeline with ProRes422 as render file setting and make sure Scale to Frame size is checked on the clip.

Right click on the clip in the project panel and click on source settings.  Change things like temperature, shadow, etc. in the RED RAW settings.  Export, by hitting match sequence setting in the export sequence dialogue.

Reimport. Lay prores clip over red clip.  Enable and disable.  They look exactly the same.


So when you transcode out to prores and open the prores file side by side....not within Premier...but just as if you were (in my case).....making Prores files for my stock agency and sending to them....Then how do they look on their own--not in PrPro?....doing a side by side comparison...Or in case of laying back to tape....HDCAM....you are no longer in PrPro....I believe this is the root of the issue...and for some reason i can work in Color wiht R3d files under QT wrapper and get IDENTICAL looks when i transcode out to a prores file and take a snapshot side by side--not back in color or fcp, but color file compared to Prorest/Qt (standalone) file.

EDIT: i can bring back in the prores or animation or uncompressed files into PrPro and they look itentical...but that is where things eventually MUST stray....i send out a prores or HDCAM tape now to XYZ...they set it up for broadast--not bring it back in PrPro...that is where the look is different and where i'd love to find a solution...but at moment only one i know is back in color with wrappers....which is a pain, but it works.