
Question
FAQ: How to clear your Media Cache in Premiere Pro
In Premiere Pro 2023 and later.
- Press the Shift key and launch Premiere Pro.
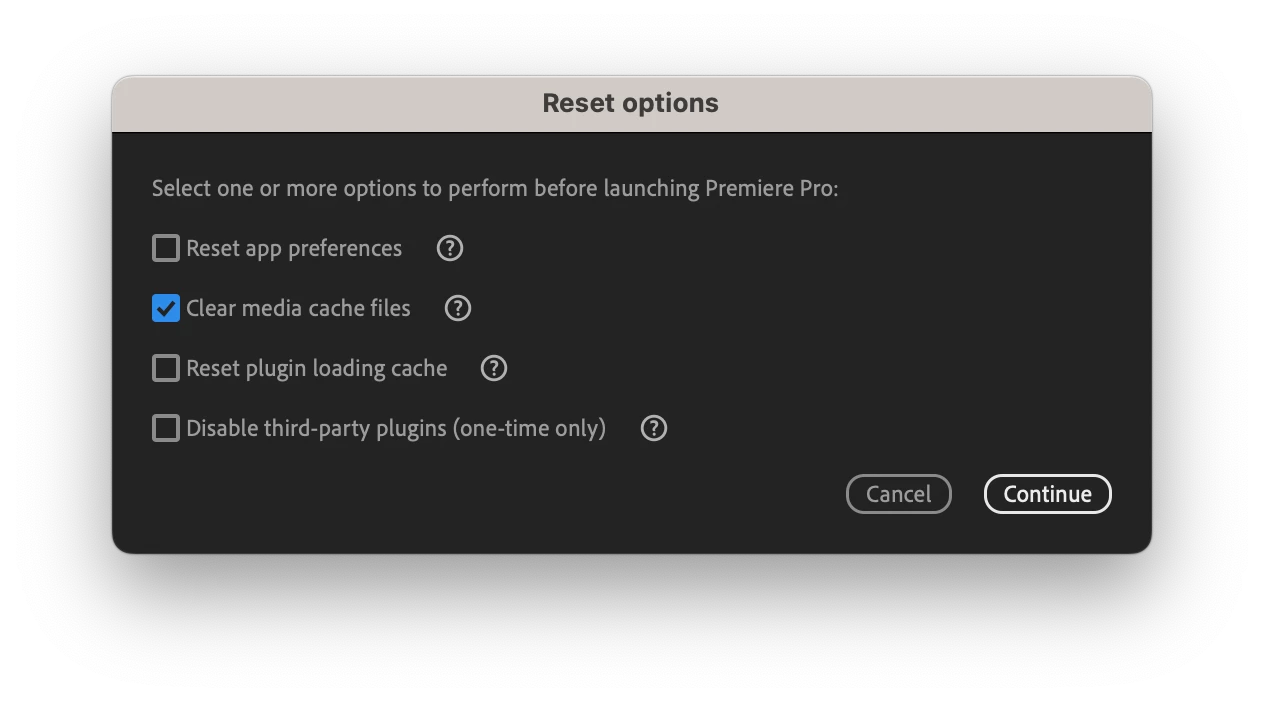
- The Reset options Dialog Box launches.
- Choose "Clear Media Cache Files."
- Click the "Continue" button.
- Premiere Pro launches.
- Allow a few moments as Premiere Pro rebuilds the Media Cache.
Or see the video below for a walkthrough!
Why should I clear my cache?
Old cache files can bog down your system and affect current projects. Clearing your cache can solve issues with playback and performance.
What are cache files, anyway?
When you import footage into Premiere Pro, it creates smaller versions of these files that it can readily access for faster performance. Those smaller files are cache files.
Cache files can be found on your computer here.
- On Mac – Users//Library/Application Support/Adobe/Common
- On Windows – Users\<username>\AppData\Roaming\Adobe\Common
Here's the walkthrough.
- Open Premiere Pro! Do not open a .prproj file from your hard drive. Instead, launch the app to get to the Home screen.
- Use the toolbar at the top of your screen to get to your media cache preferences
- For macOS, select Premiere Pro > Preferences > Media Cache
- For Windows, select Edit > Preferences > Media Cache
- In the window that appears, select Delete...
- From here, you have two options...
- Delete unused media cache files
- Delete all media cache files from the system – We recommend this option!
- Select OK in the bottom right of the window.
- And OK again!
Feel free to send me a private message if you have any questions! You can also reach out to us on Twitter @AdobeCare.
We'll be happy to help!
Caroline