
Why do iPhone videos get way bigger after Premiere editing?
Hi-
I have 720p video shot on iPhone & I just want to swap out audio and trim. I'm a bit new to premiere, so matching footage, to sequence, to project, to export has me a bit confused.
I am trying to re-render the single video but every single format I choose seems to make the file size massive using Adobe Premiere CC 2018. I can't find a simple answer online to re-rendering iPhone video back to the same format. Given that I'm just uploading to YouTube, should using H.264 and other suggested settings necessarily increase the file size 5x, from 1.4G to ~7?
I suppose the bigger question is if you want to translate iPhone to YouTube, what's the best way? There are some tutorials on this, but I am doubtful that the filesize should get this much bigger.
original settings

render settings
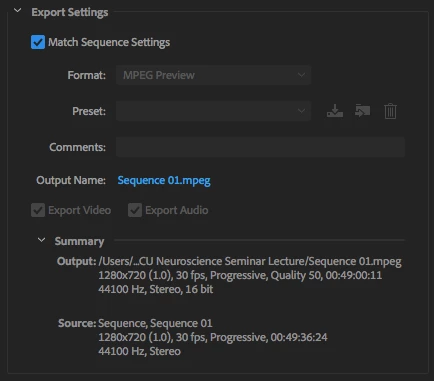
output file is ~7GB