
Answered
How to create Numbered and Bullet List in Robohelp Version 2022.0.346
Question 1 - How do I create a new bullet list and numbered list?
Adding a New Style
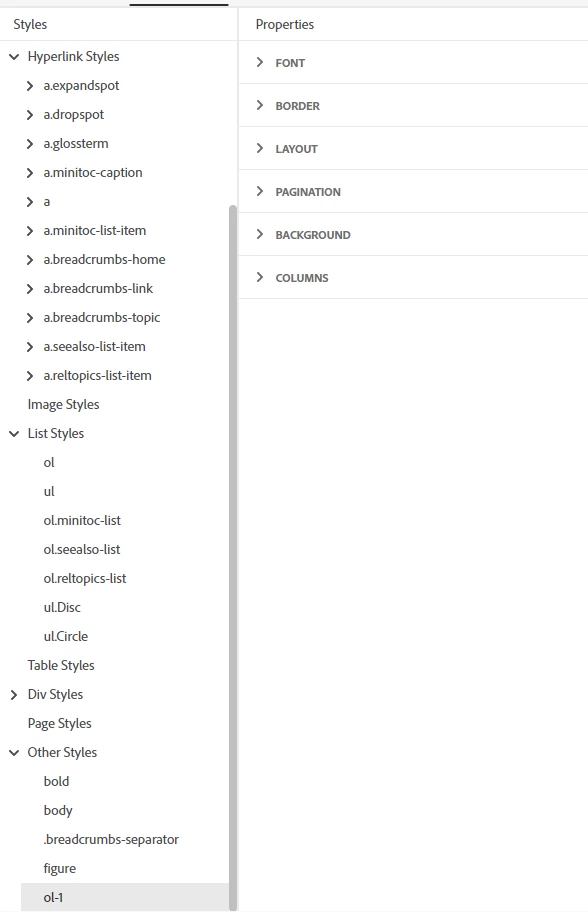
1. New Style
2. Tag - ol-1
3. Font details entered.
4. Where is "bullets and numbering"?
The second option - Duplicate Style
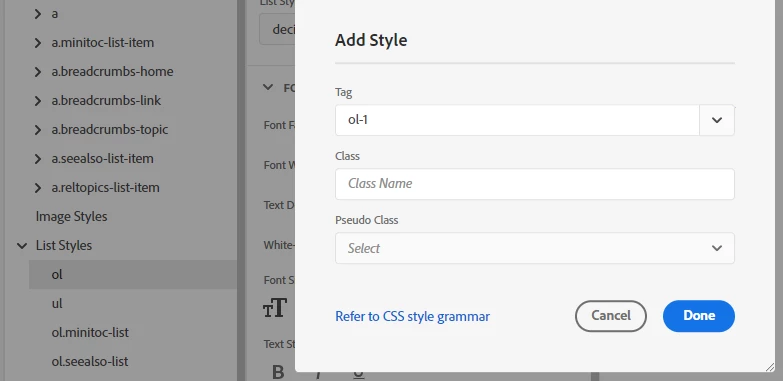
1. Duplicate ol
2. Tag - ol-1. (question - what are Tag, Class, and Pseudo Class? Do I need to learn CSS?)
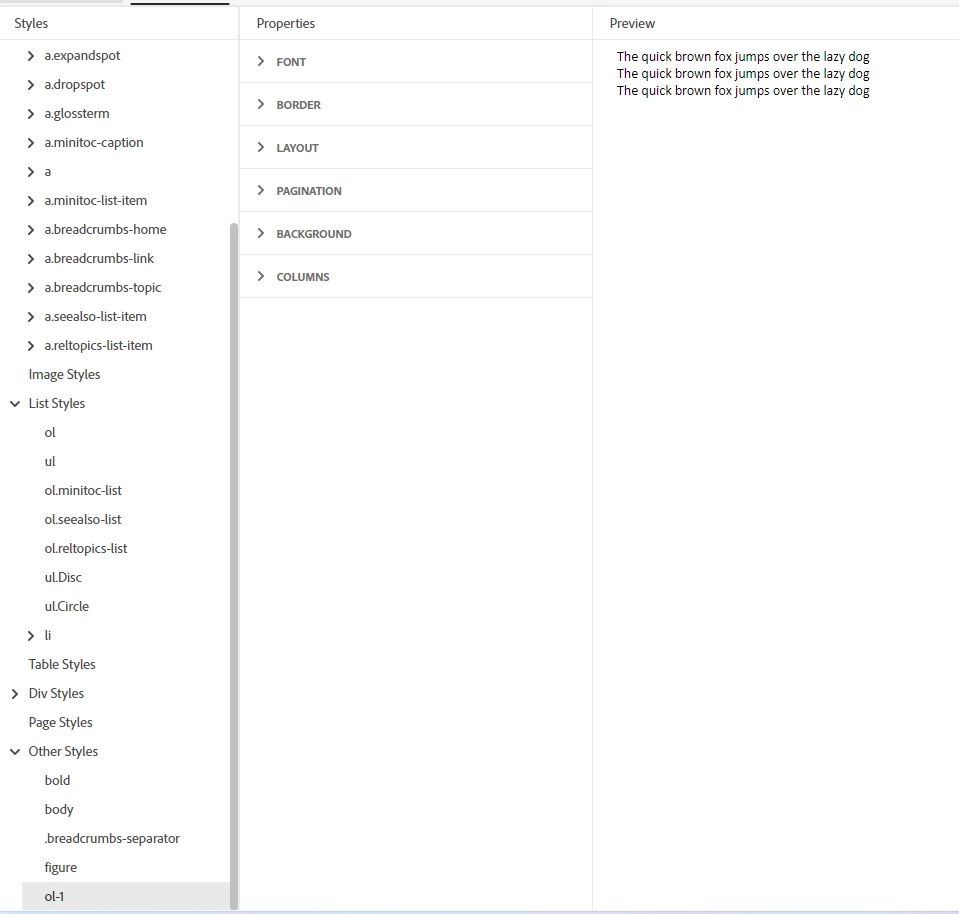
3. ol-1 is created below "Other Styles". Again there is no option to select "bullets and numbering" and Preview is also displaying normal text instead of numbered list.
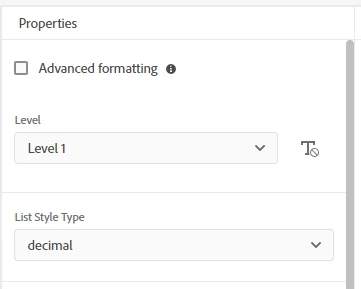
Question 2- I am not getting the below options when I try to create a new style or try to duplicate the existing style (ol or ul)
Question 3 - How do I create a new stylesheet?
