Normal maps and height maps are very different, but both of them have the goal of adding detail to your object.
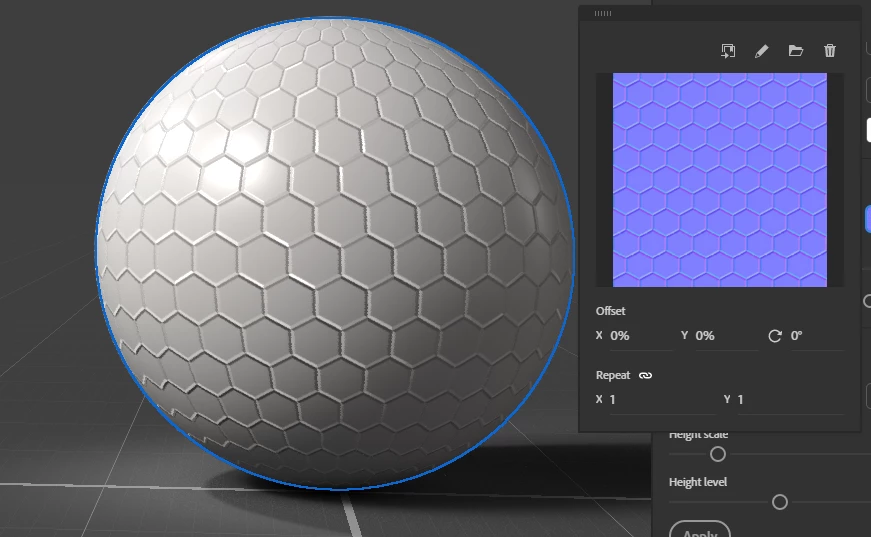
A normal map is usually in this 'blue' format colored image because it stores directional data - so not just up/down (black/white) but the curve along the bump which is stored in RGB channels for XYZ data. They are usually created by 'baking' methods - where you first model a high polygon model then bake a normal map down to store all the detail and reproject it to a low polygon model. You can also convert black/white patterns to normal maps in Photoshop under the Filter > 3D > normal map filter.
The result of a normal map is an 'illusion'. No geometry is added, you can see the outer edge of this sphere is perfectly smooth, but the rendering software uses the map to fake bumps and valleys and curves to give it the illusion of an emboss/deboss or general shape change.
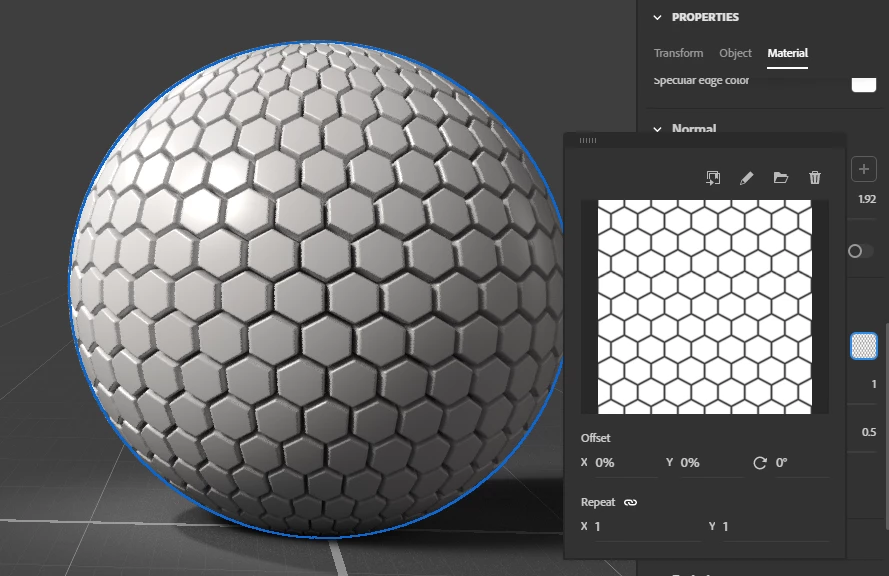
Displacement maps on the other hand are generally black/white (for basic displacement - there's also vector displacement but Stager doesn't support that as it's not very common yet). Height maps are just black (for lowered) and white (for raised) - usually with mid-gray being 'flat'. So they are easier to make in general. However, they can't represent curves very well. Displacement does best for large geometry offsets.
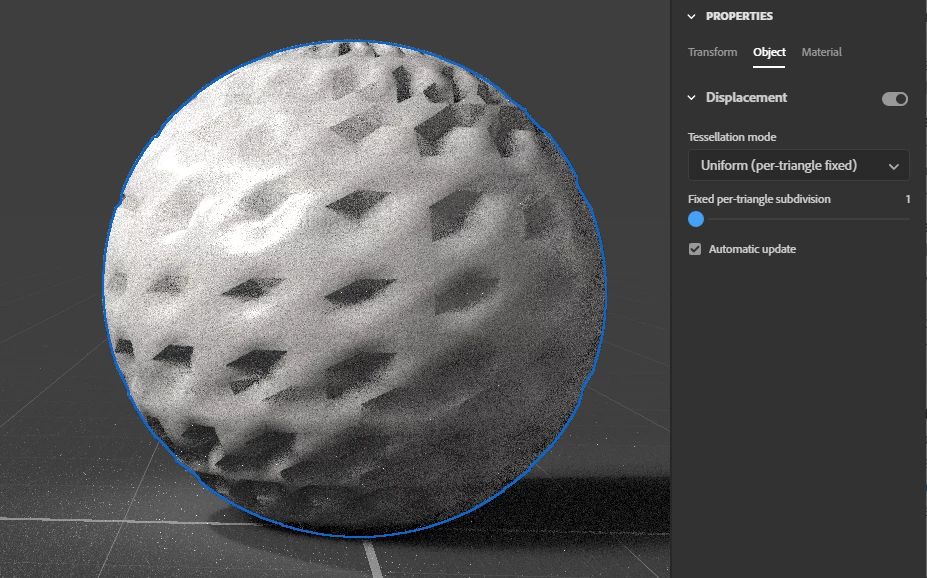
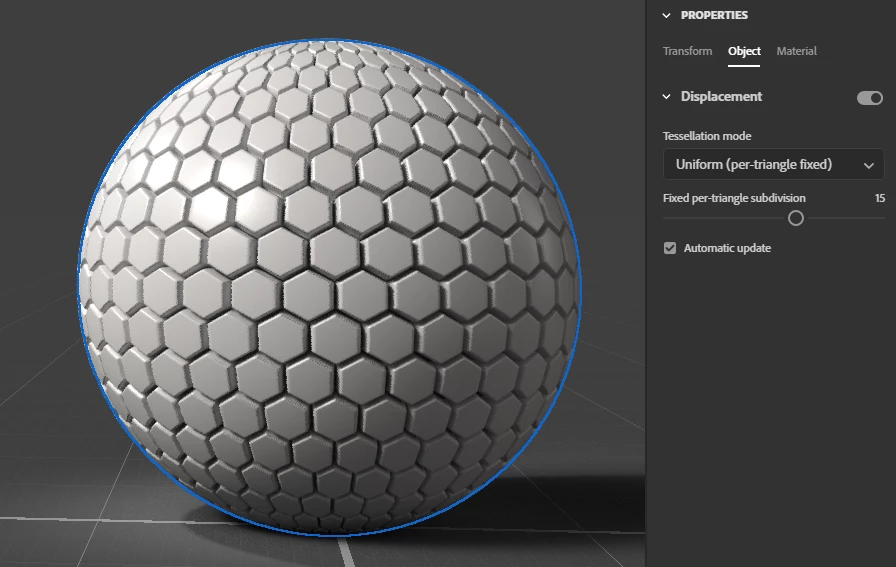
The result of a displacement is not an illusion - the application actually offsets the polygons of the mesh so you have real 'cuts' and 'valleys' or other types of surface offsets. Displacement usually requires a VERY high polygon count, so you combine the height map with tessellation settings (tessellating a mesh is taking each polygon and breaking it down into MORE polygons).
Here's an example of the exact same sphere and height map but without any tessellation - it only had about 4.5K polygons, which isn't enough for the engine to add all that detail.
Here's 100K polygons
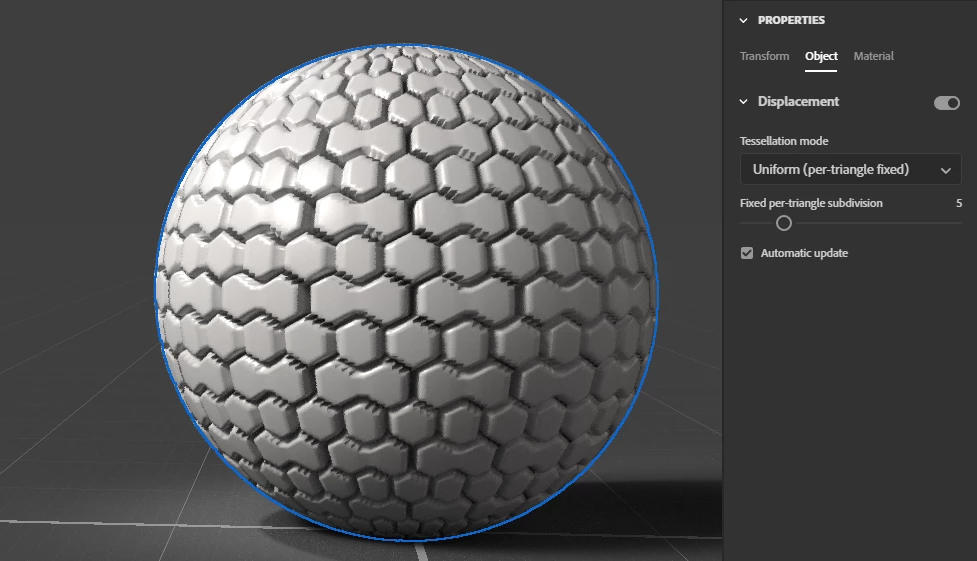
And 1 million polygons:
Computers these days are pretty good at handling polygons, so 1M is fine for a single asset but if you're building up a full scene it would be crazy to add displaement to everything. So normal maps and height maps can both be useful - and it's a matter of choice of where to spend more polygon budget for details up close versus when you can get away with a normal map which is cheaper and faster for the app.
