
How to quickly adjust Temperature and Tint in 3 easy steps!
Portrait editing: Adjust Temperature and Tint in Lightroom
What are Temperature and Tint?
Temperature and Tint can be considered as subsets of White balance. If you consider a color wheel as shown below with the center being white balance and the circle being divided into four quadrants with a perpendicular axis. The quadrants 1 and 3 represent temperature while the quadrants 2 and 4 represent the tint.
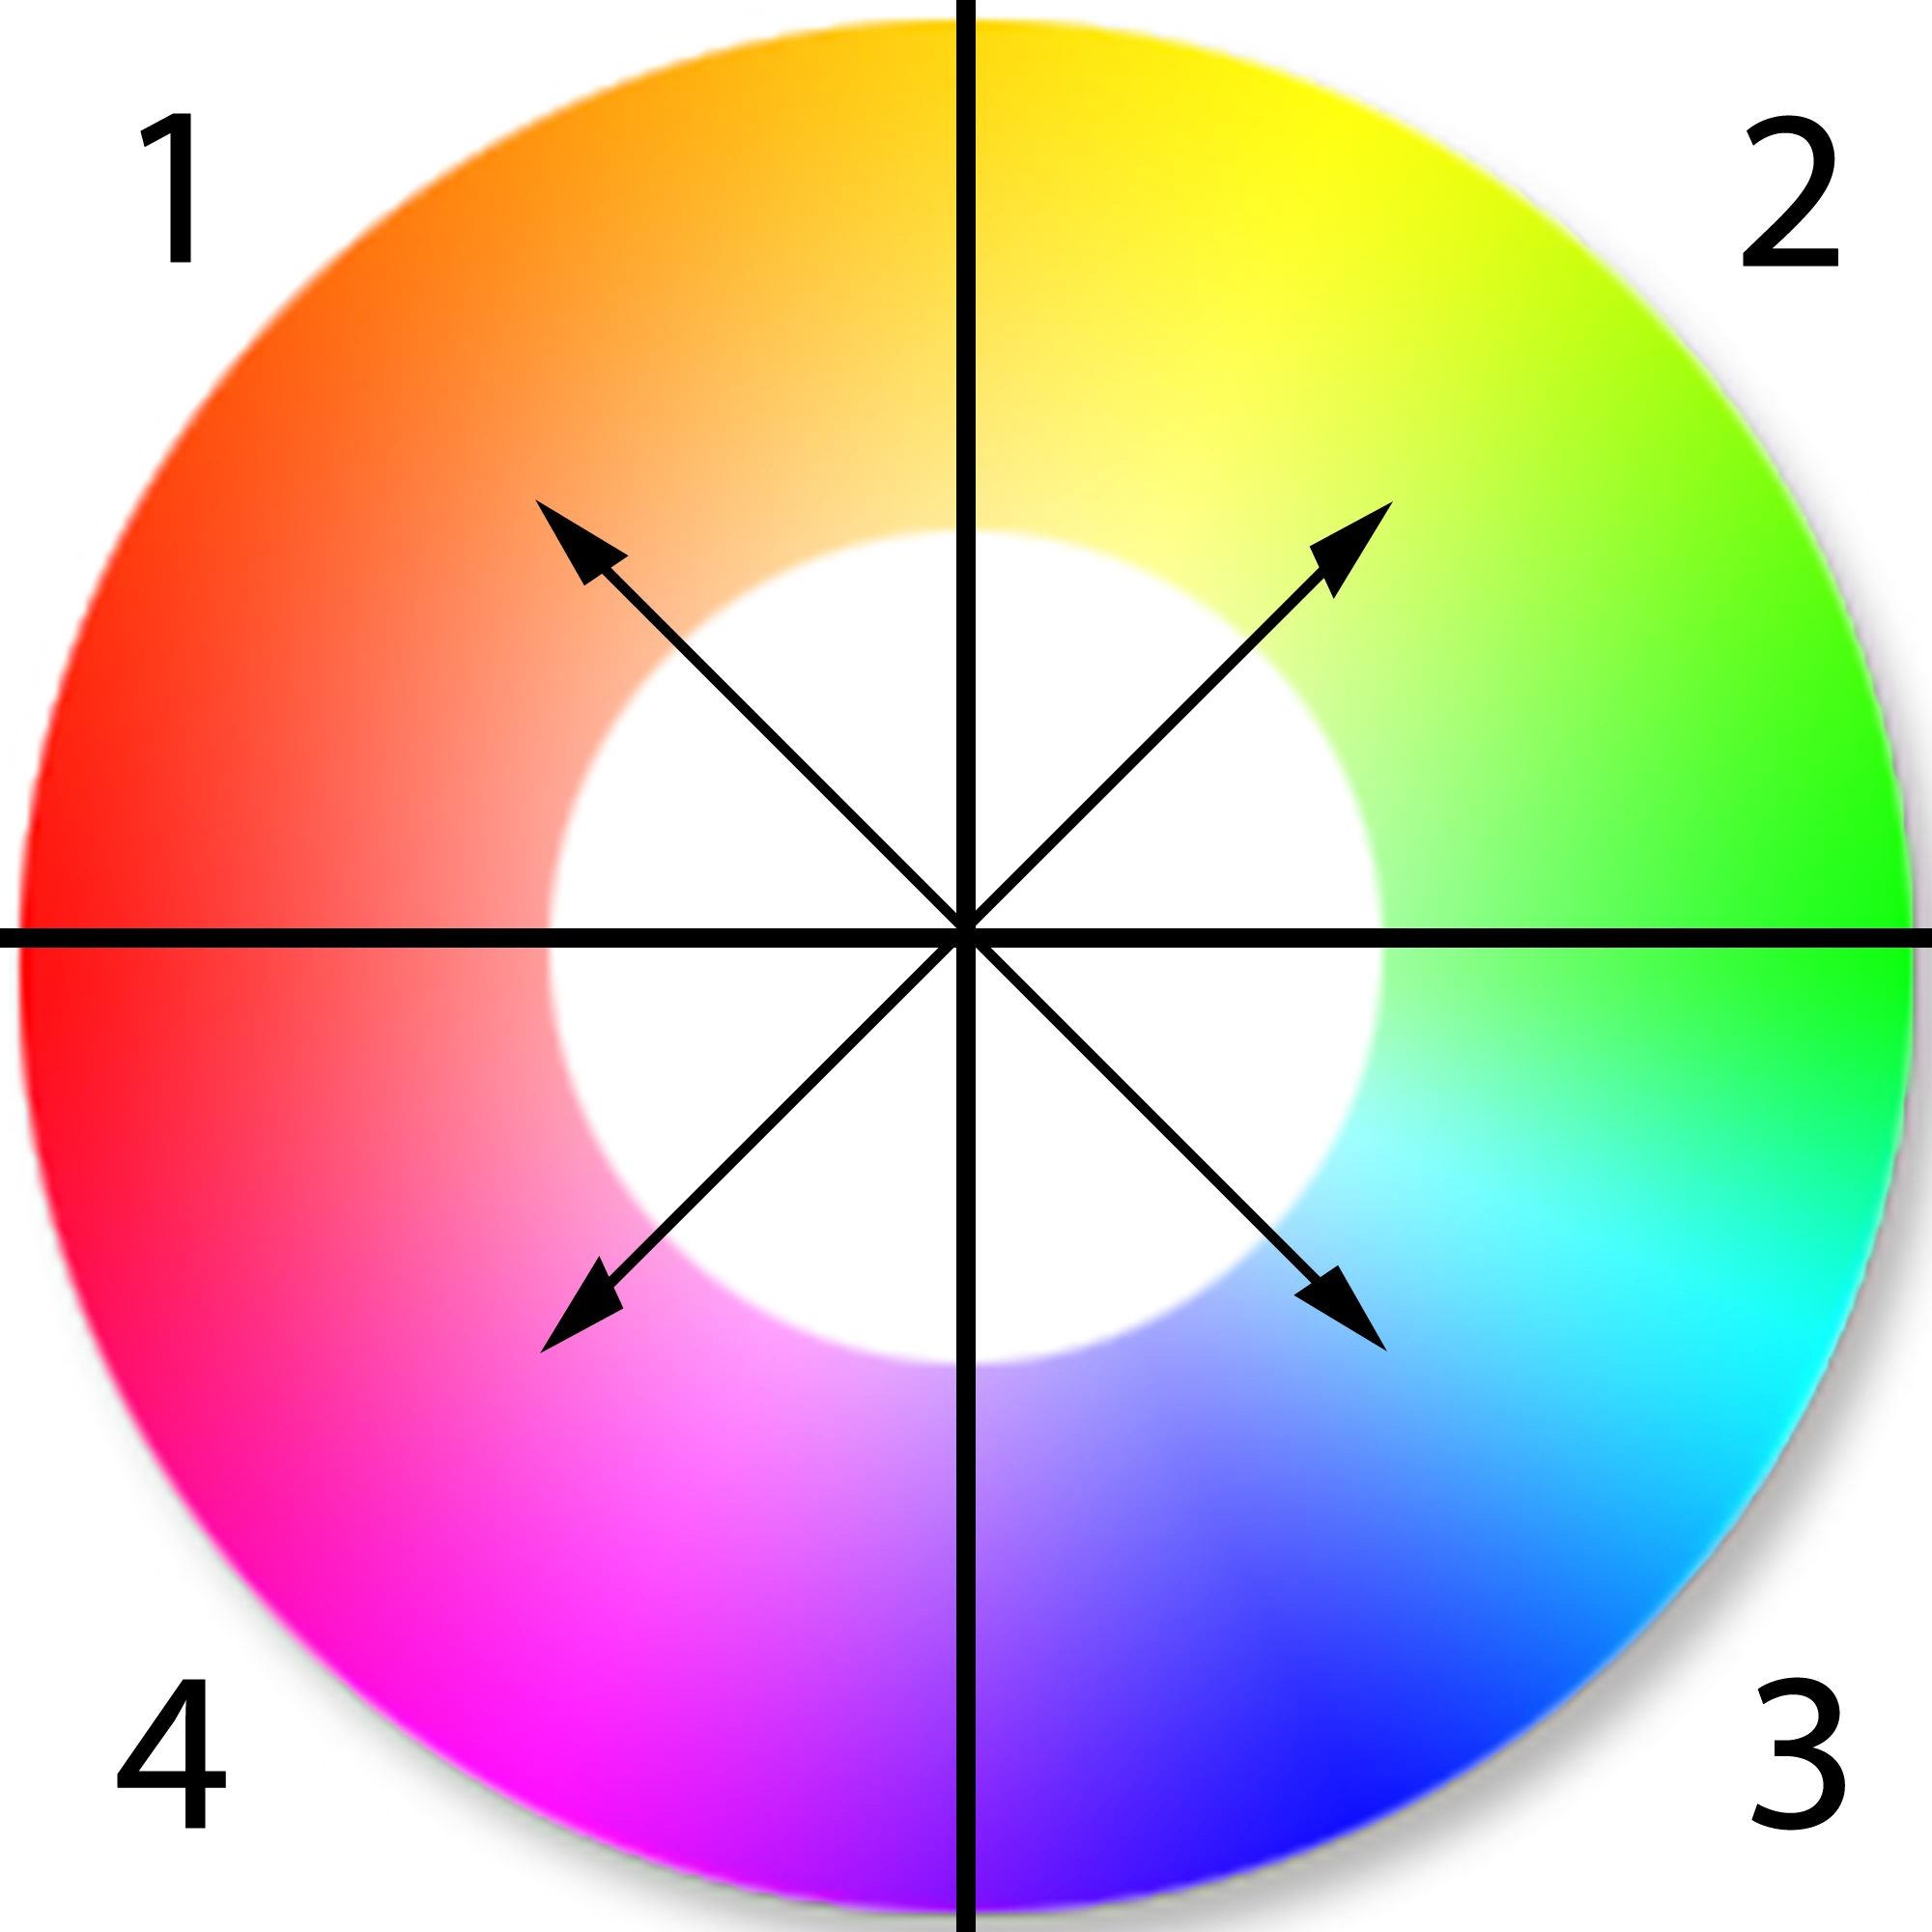
The white balance of an image depends on the type of light the image was shot in. Less then ideal light conditions can result in an image with a slight (sometimes major) color cast on the image. This can be easily adjusted using the Tint and Temperature sliders in Lightroom.
Edit Tint and Temperature in your portrait
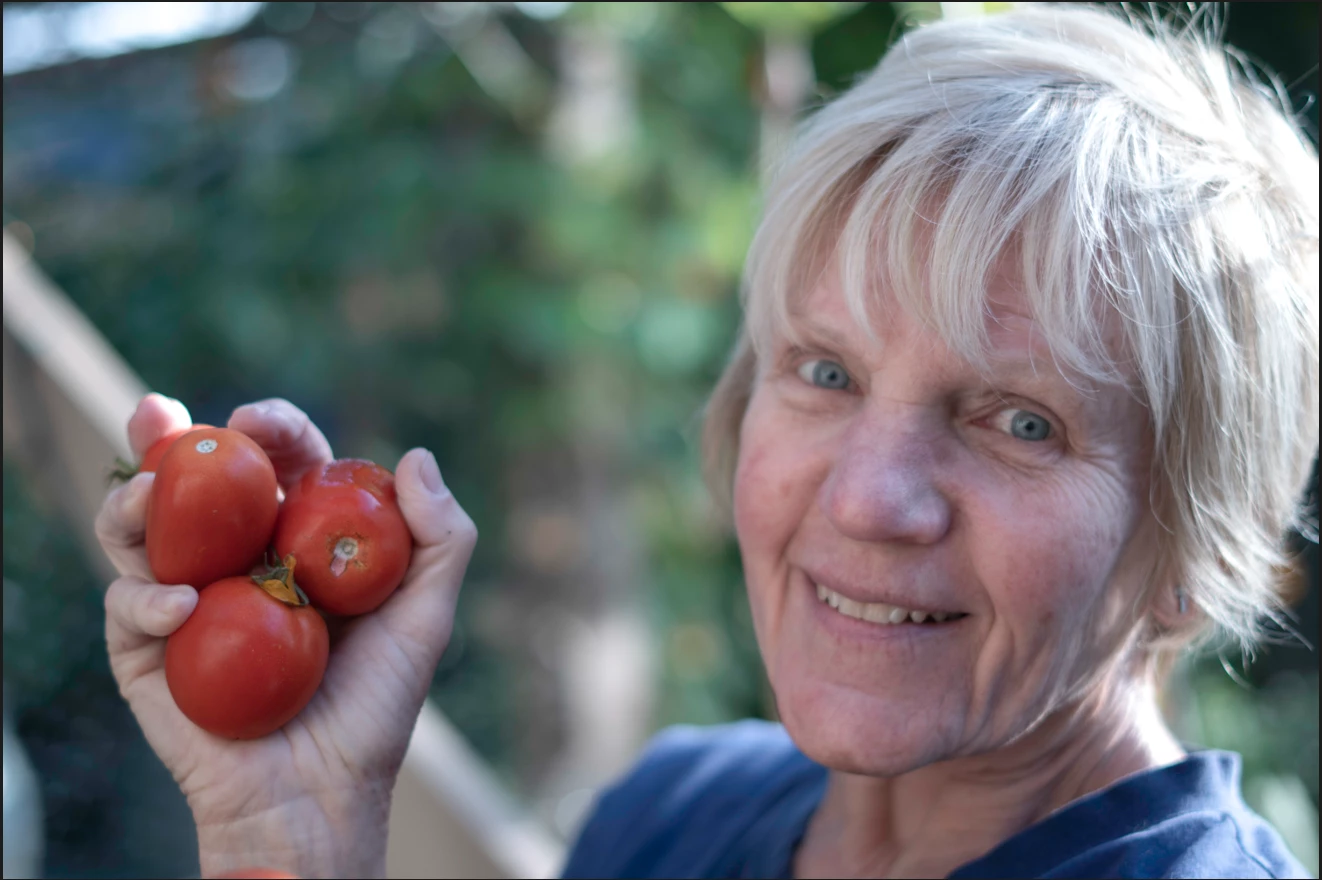
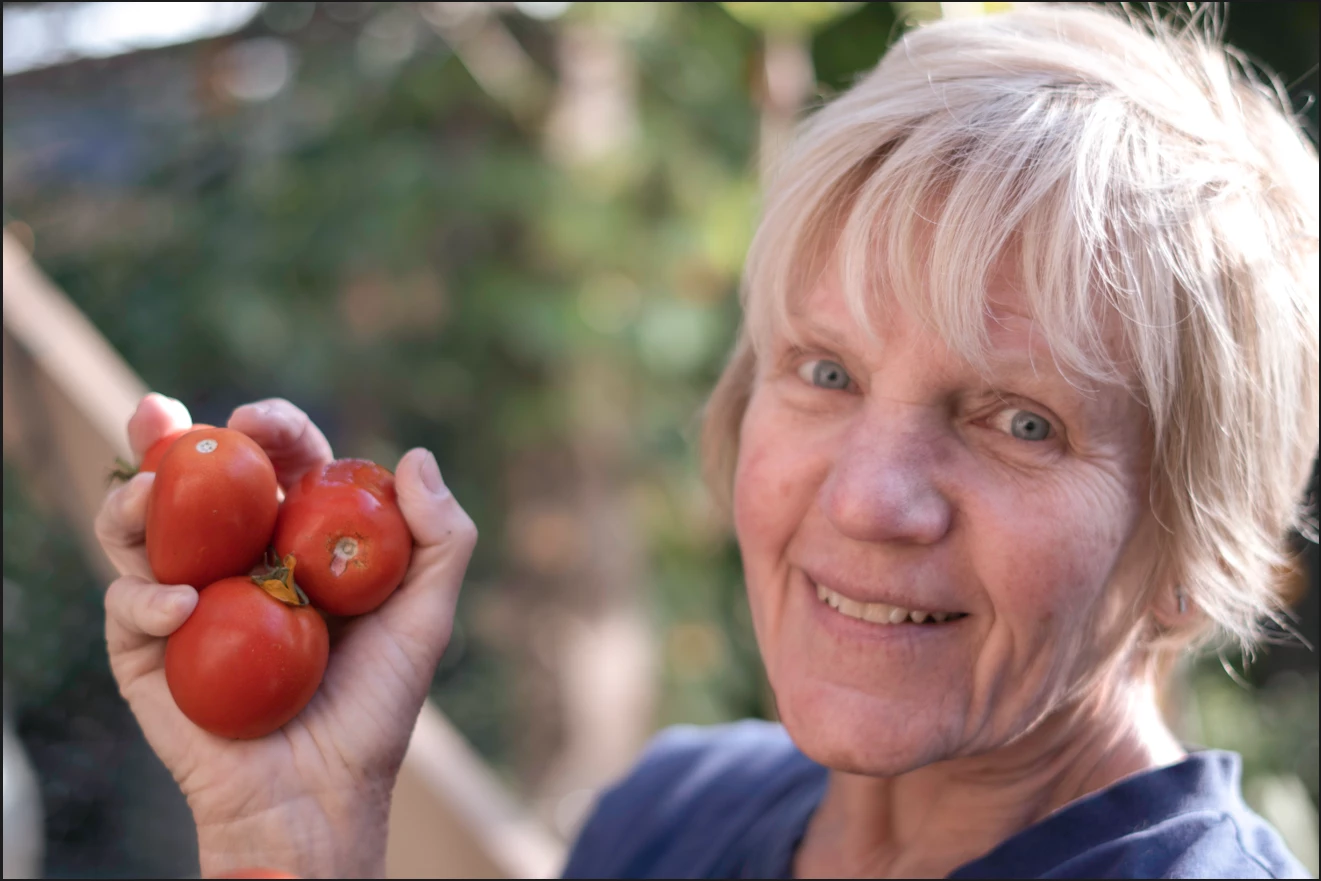
- Here is how the unedited portrait looks
❶ Select the image
- Select the image you wish to edit and open the Edit panel.
- Expand the Color Panel.

❷ Adjust the Temperature slider
- If the colors in the image appear too warm (if the images have a yellow/orange cast), you can correct it with the temperature slider by moving the slider towards blue.
- If the colors in the image appear cool (if the images have a blue cast), you can correct it with the temperature slider by moving the slider towards yellow.
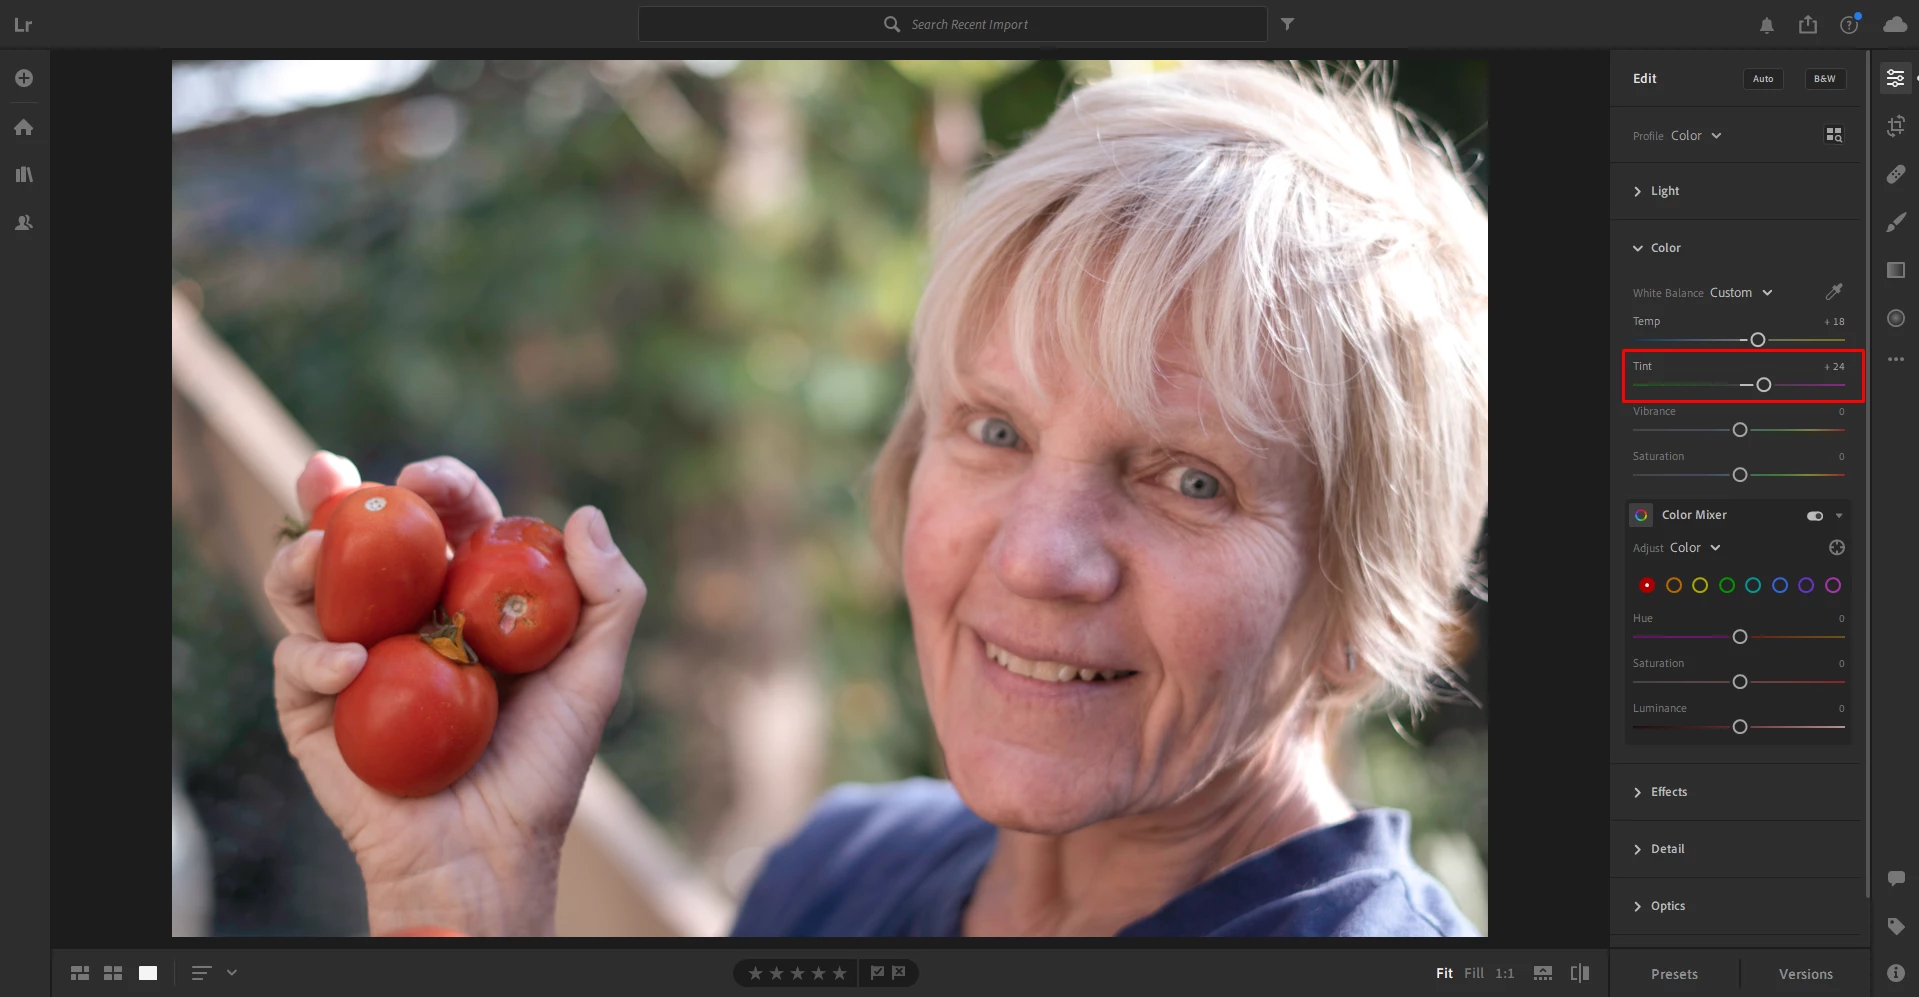
❸ Using the Tint slider
- At times, even after adjusting the color temperature of an image, the image may still have a green or magenta color cast.
- To adjust this, you can move the Tint slider, available under the temperature slider to the left or right to remove the cast. This helps achieve more neutral colors in the image.

Quick Fix:
To quickly adjust the White balance (both Temperature and Tint) of an image, you can use the Eyedropper tool available in the top right of the White balance interface.
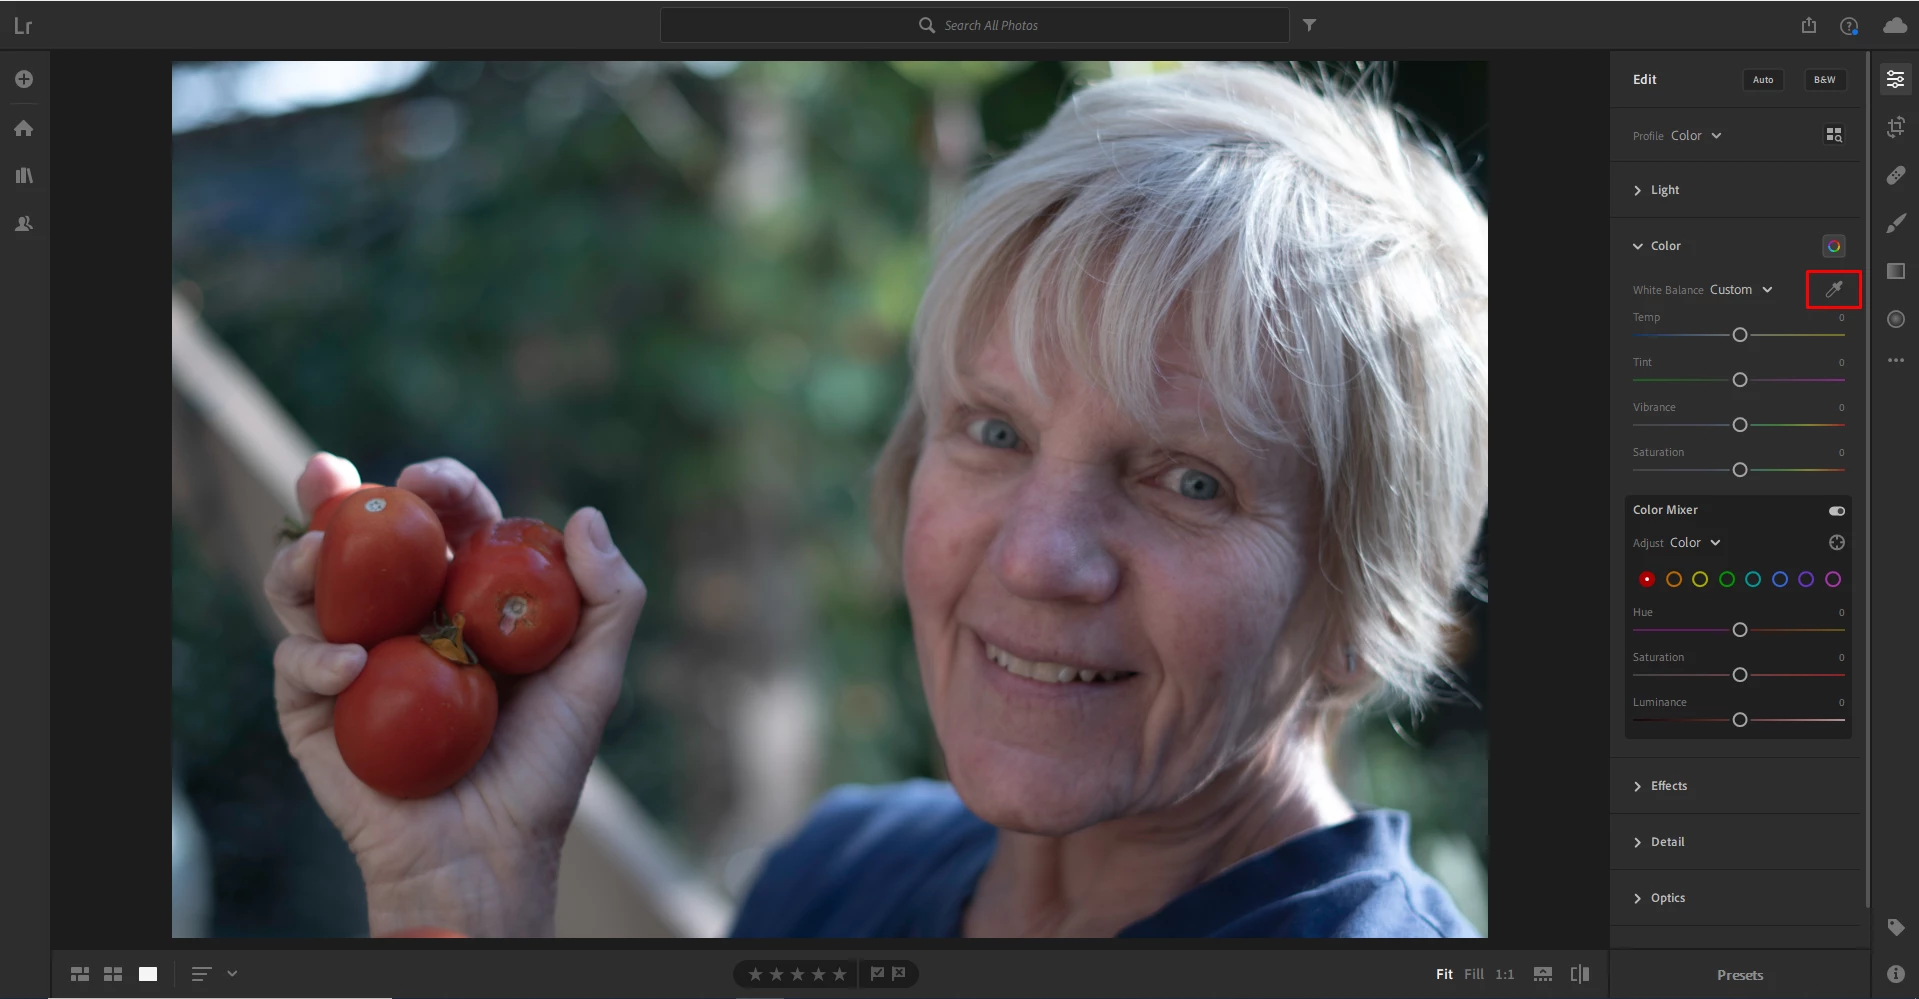
Just click on the Eyedropper tool to select it, then click anywhere on the image to take the section as a reference for white balance. Lightroom will automatically adjust the Temperature and Tint of the image to give a more neutral color. It is preferable to select any area of the image that you know needs to be pure white (like the collar of a white shirt) or the closest to it.
Here's how the edited portrait now looks:
Related links:
Click the link below to see the previous or next post.
