
Edit your scanned documents in Adobe Scan application
How to edit the new or old scanned documents in Adobe Scan?
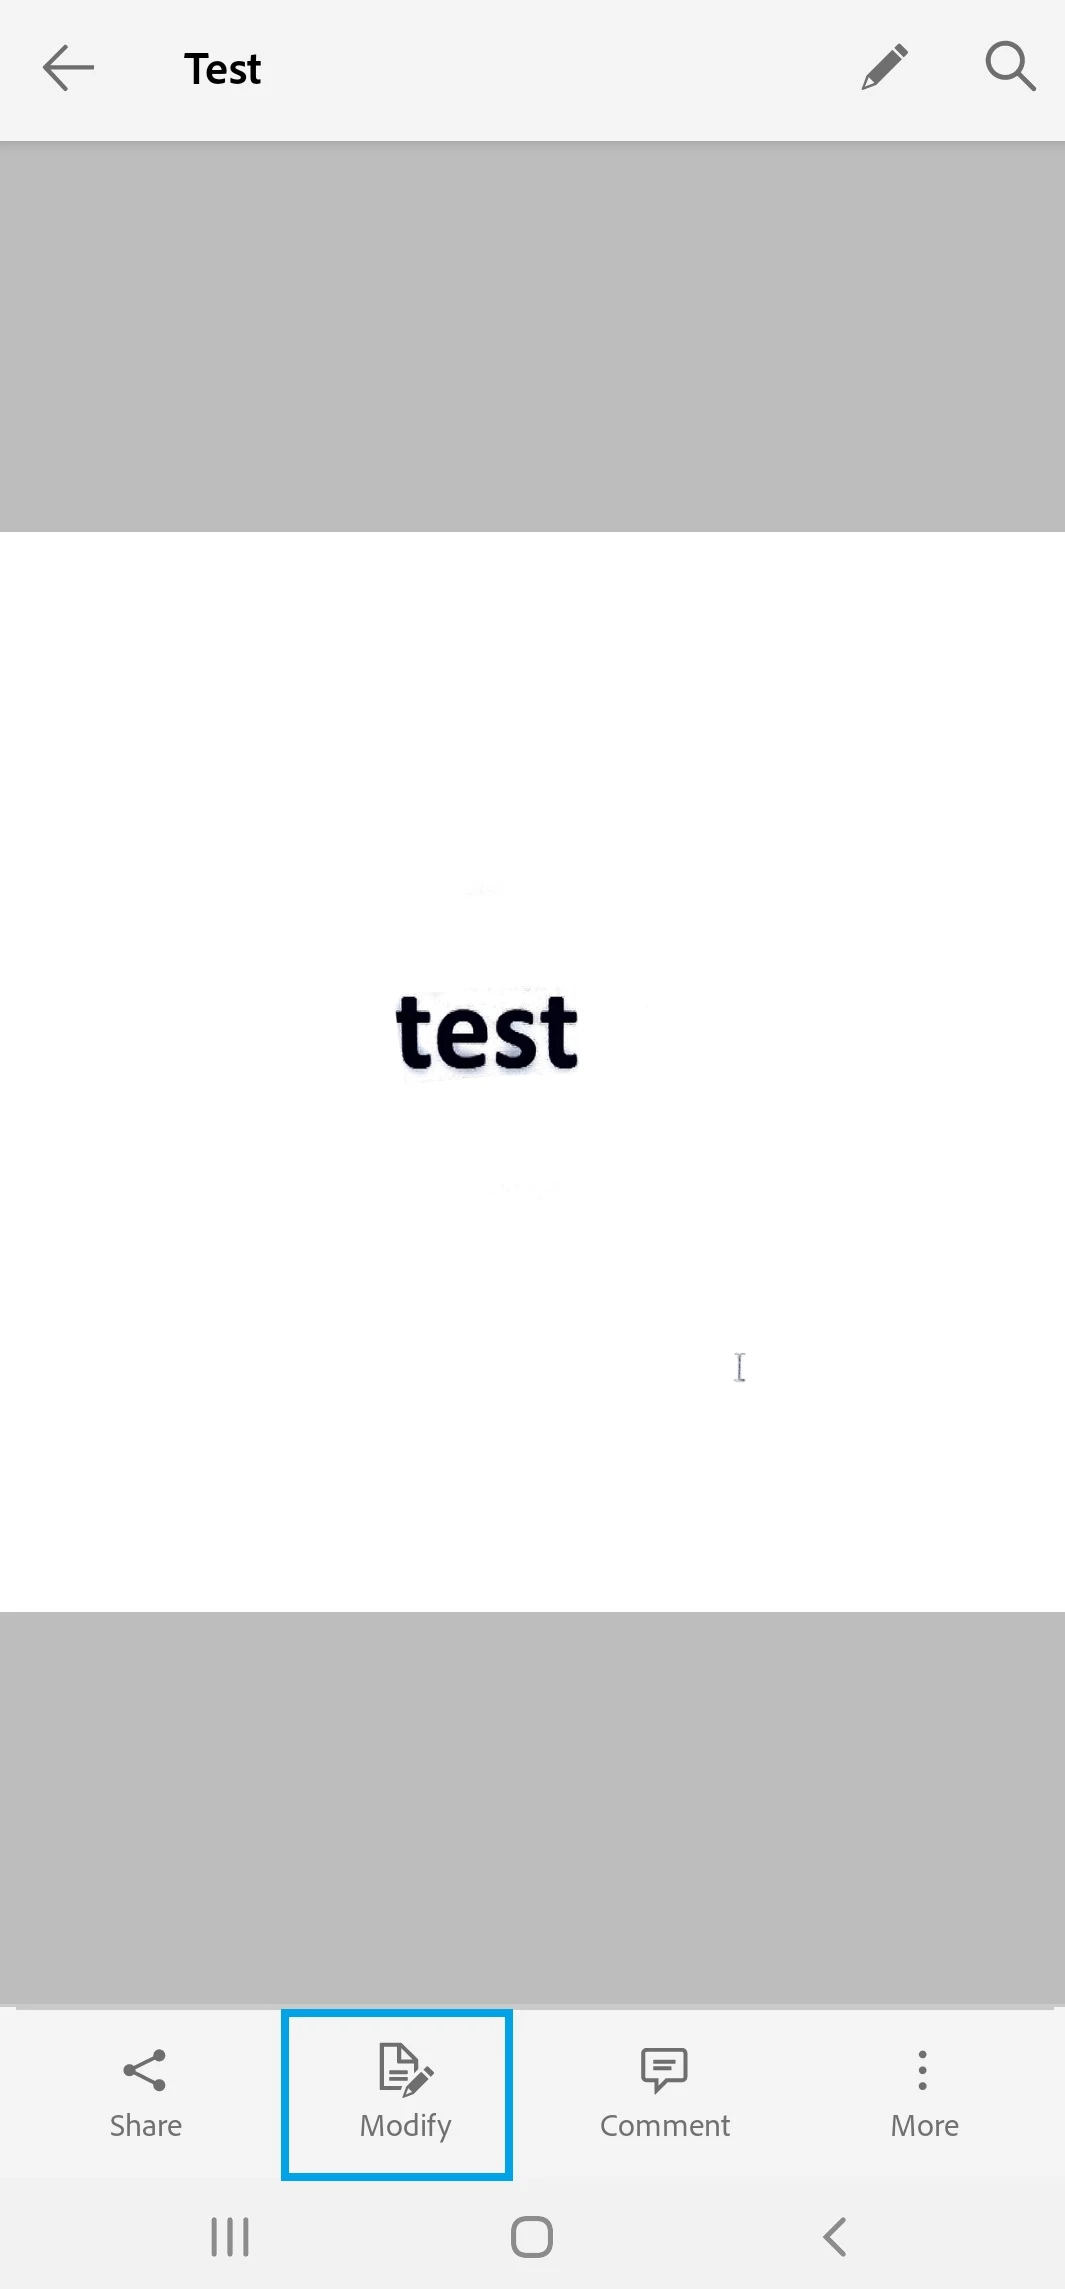
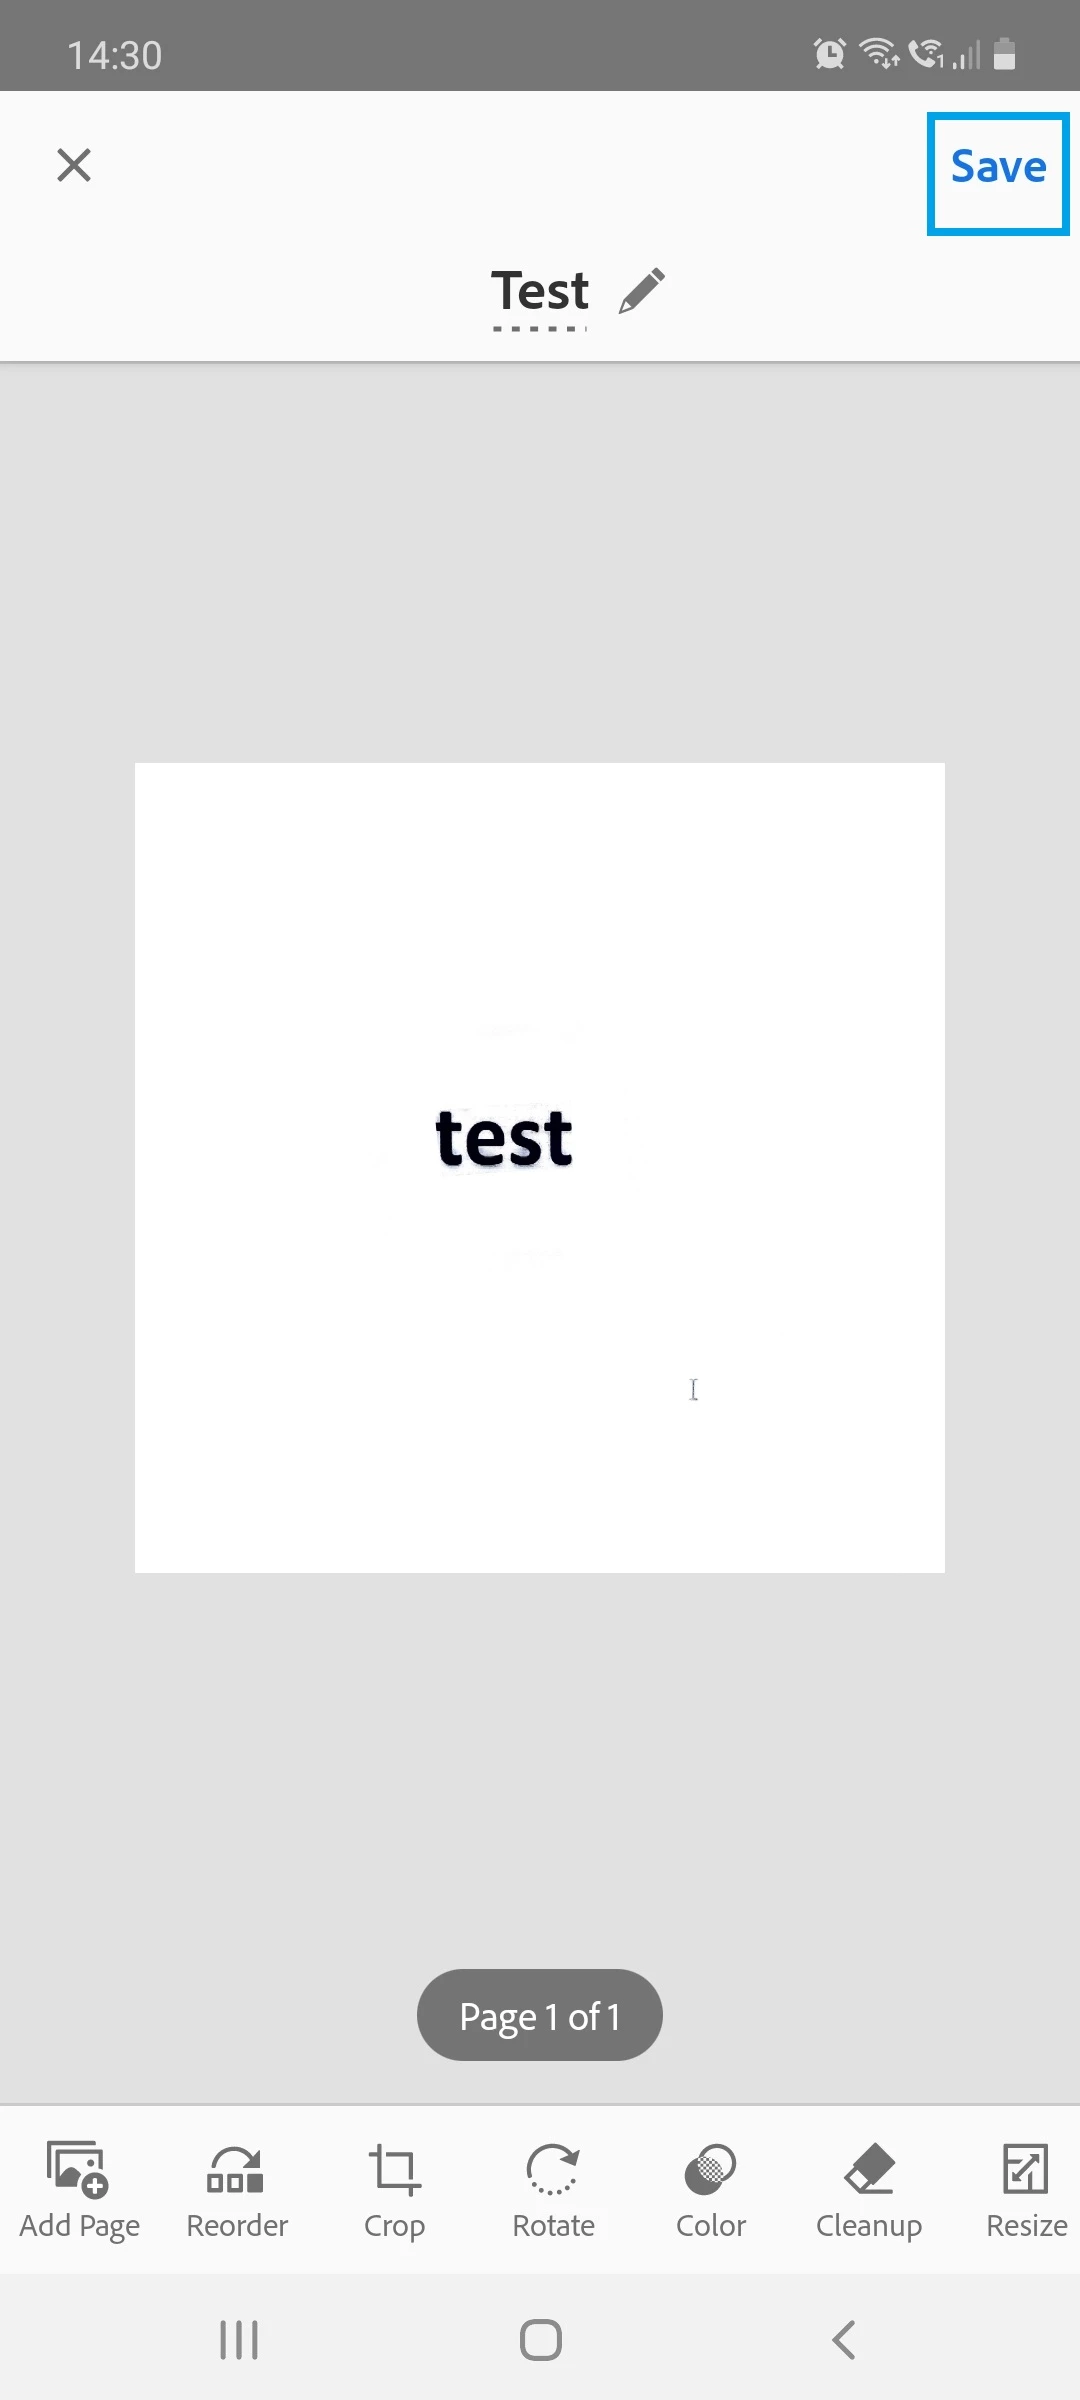
Adobe Scan provides various options to modify or make changes to the old or new scans. If you are scanning a new document, the options are available in the review mode and if the scan is already saved, then open the document and tap on the Modify option.
Find below the list of all the options that help to modify the scan:
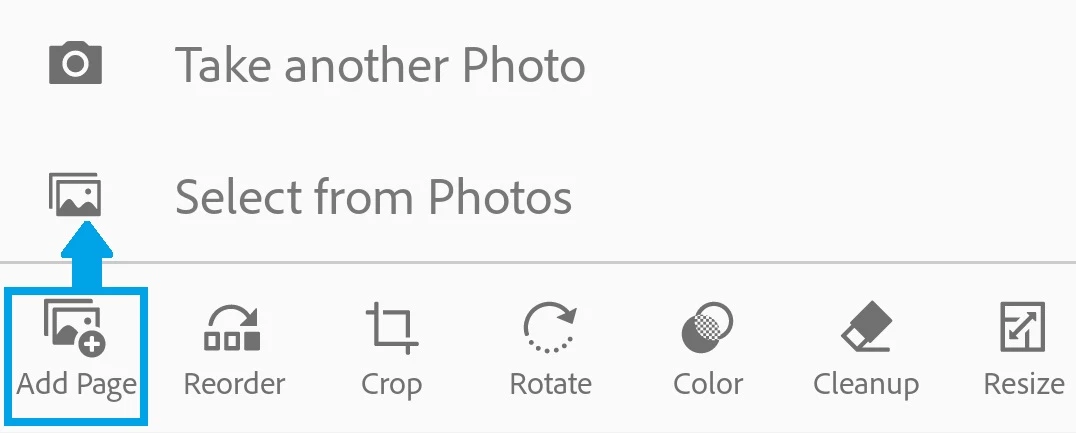
Add Page: It gives you an option to add new pages to the already saved scan document. To add new pages, you can either use “Take another Photo” or use “Select from Photos” options. The new pages will be added at the end of the document.
- Tap on the Add pages icon.
- Tap on Take another Photo or Select from Photos
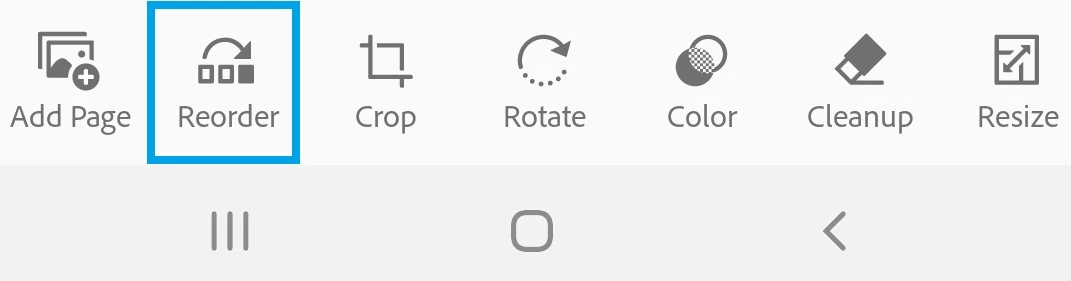
Reorder: It helps in reordering the pages in the scan. You can easily tap and hold the PDF pages. Then drag and drop it to the new location as required.
- Tap on the Reorder icon.
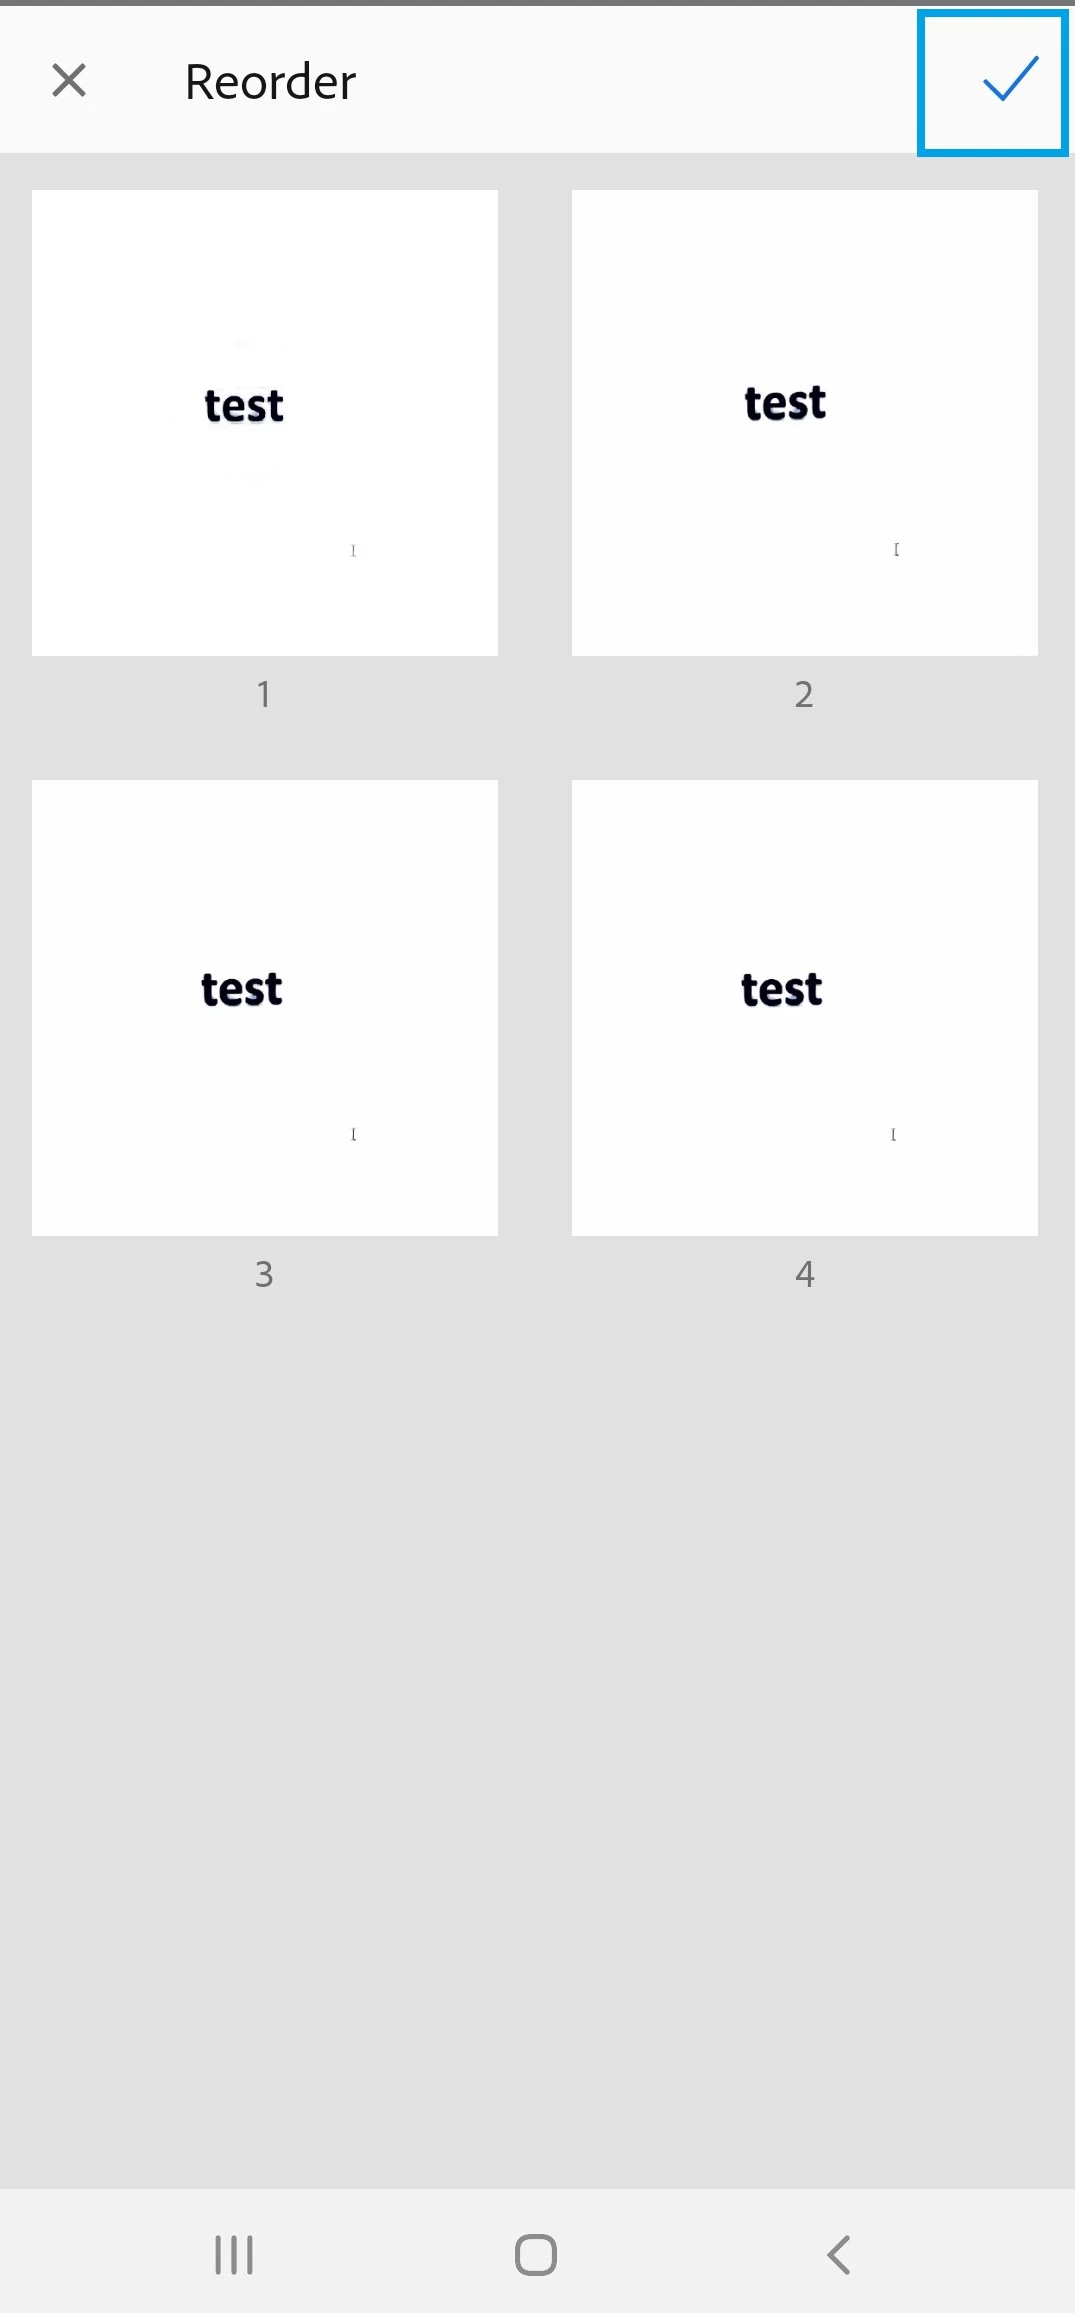
- Drag and drop the pages to the new location.
- Tap on the checkmark at the top right corner.
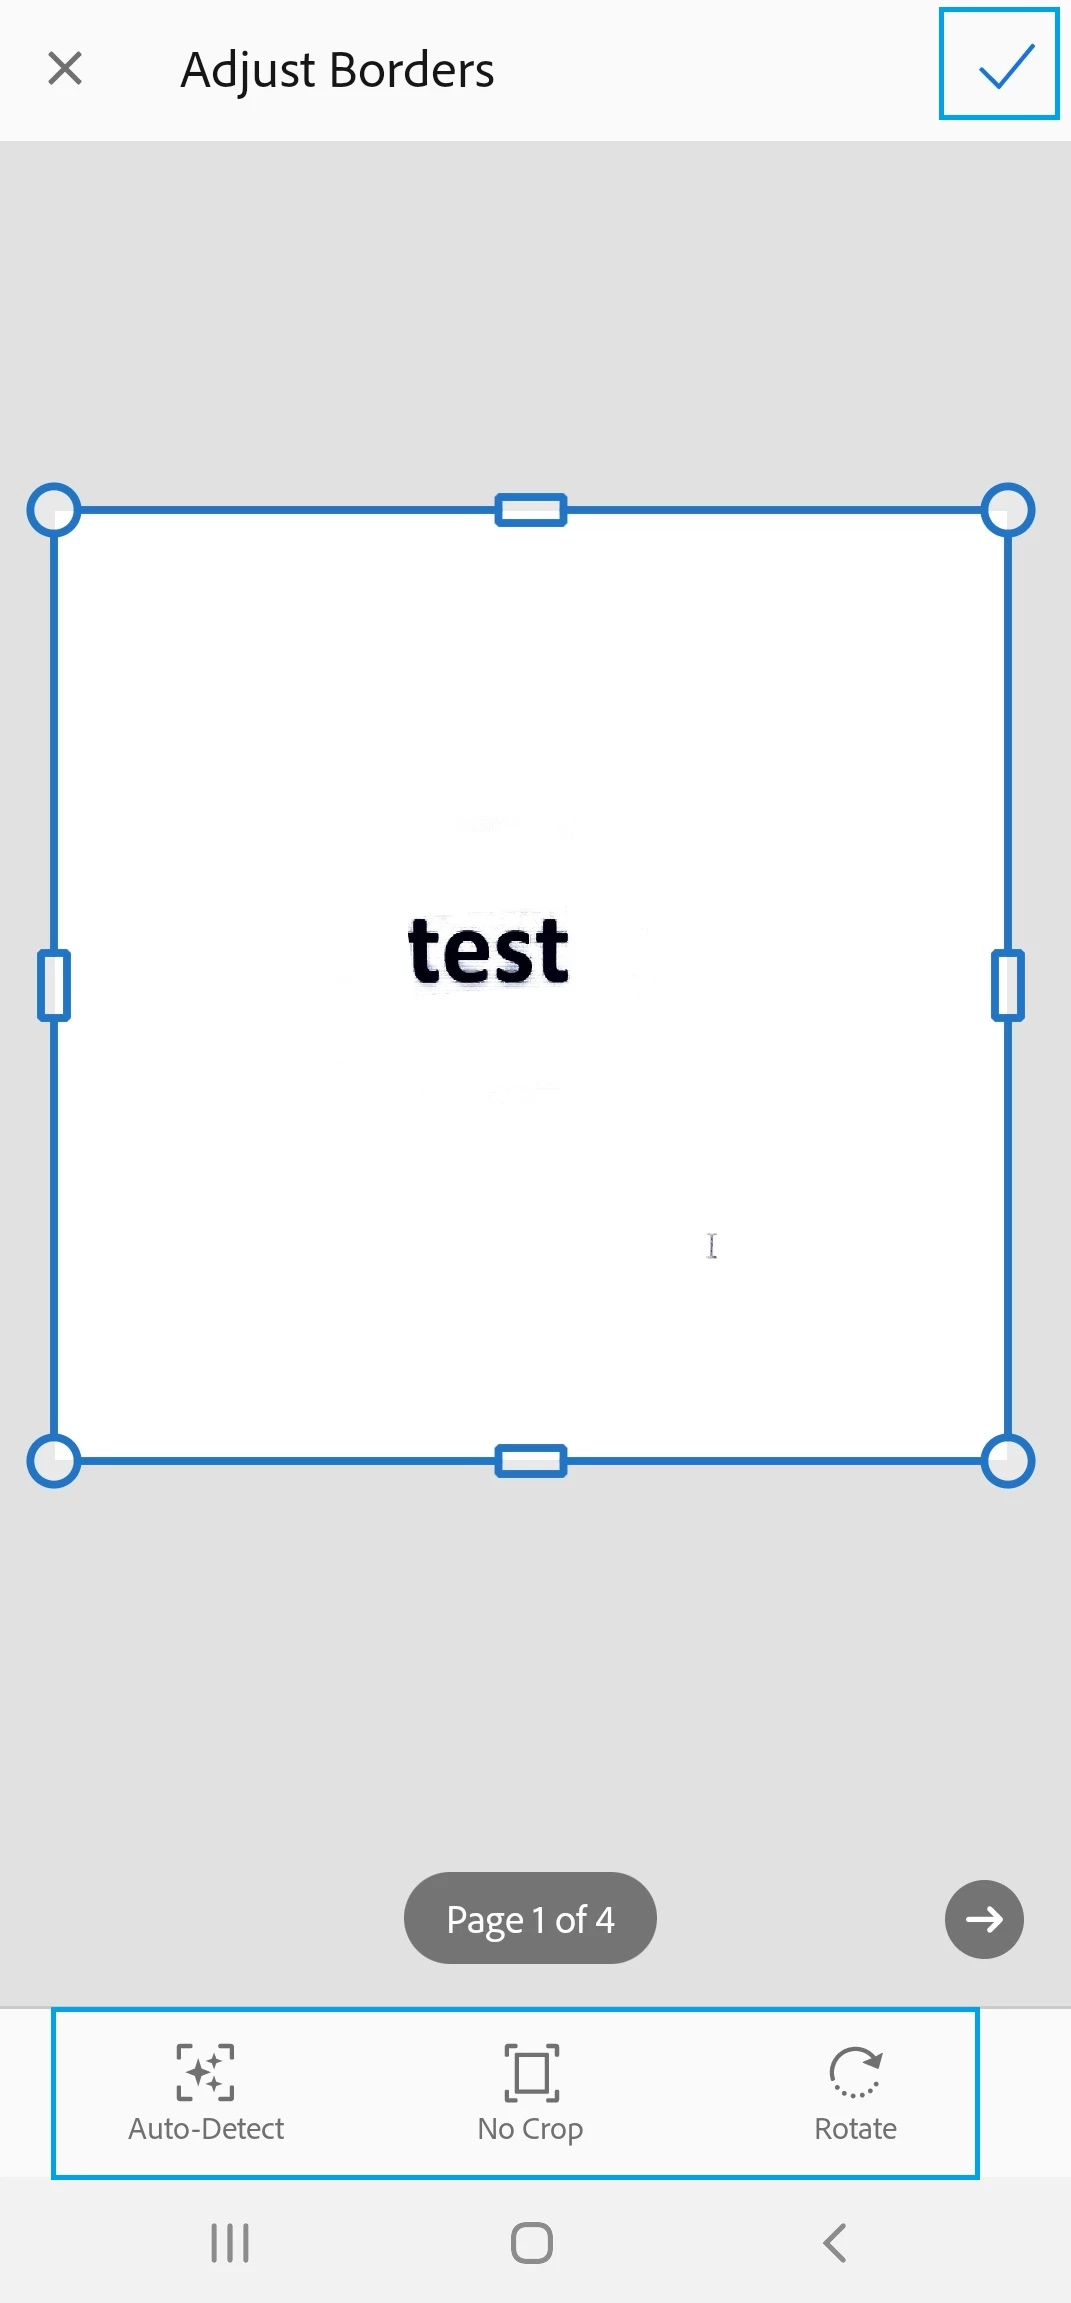
Crop: It gives you an option to adjust the scan borders even after saving the document. You may drag and drop the borders as per the requirement. Also, there are three more options are provided under the Crop tool to select from. The options are Auto-detect, No Crop, or Rotate.
Auto Detect: This feature lets the app automatically position the crop border.
No Crop: It removes/ undo the crop from the document page. Shows the complete scan.
Rotate: You can rotate the page if the scan is not saved with the correct orientation.
- Open the document and navigate to the page you want to crop.
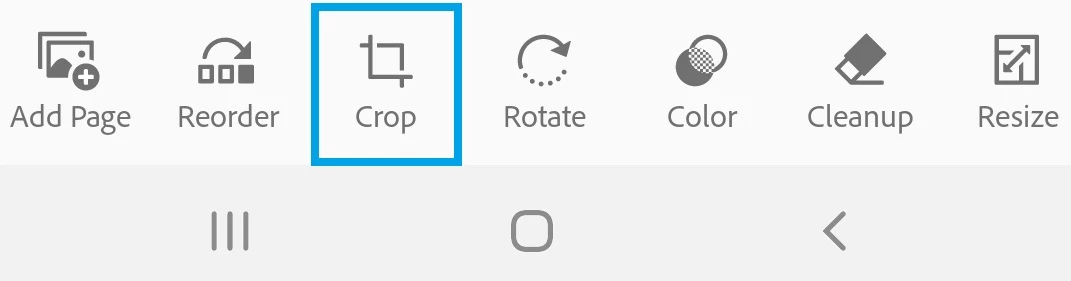
- Select the required option.
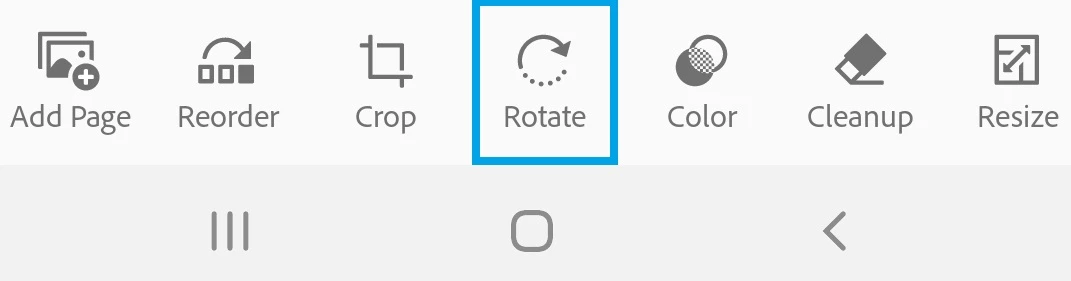
Rotate: You can rotate the scanned pages if they are not in the correct orientation.
- Open the document and navigate to the page you want to rotate.
- Tap on the rotate icon.
- Repeat as needed for other pages.
- Tap Save.
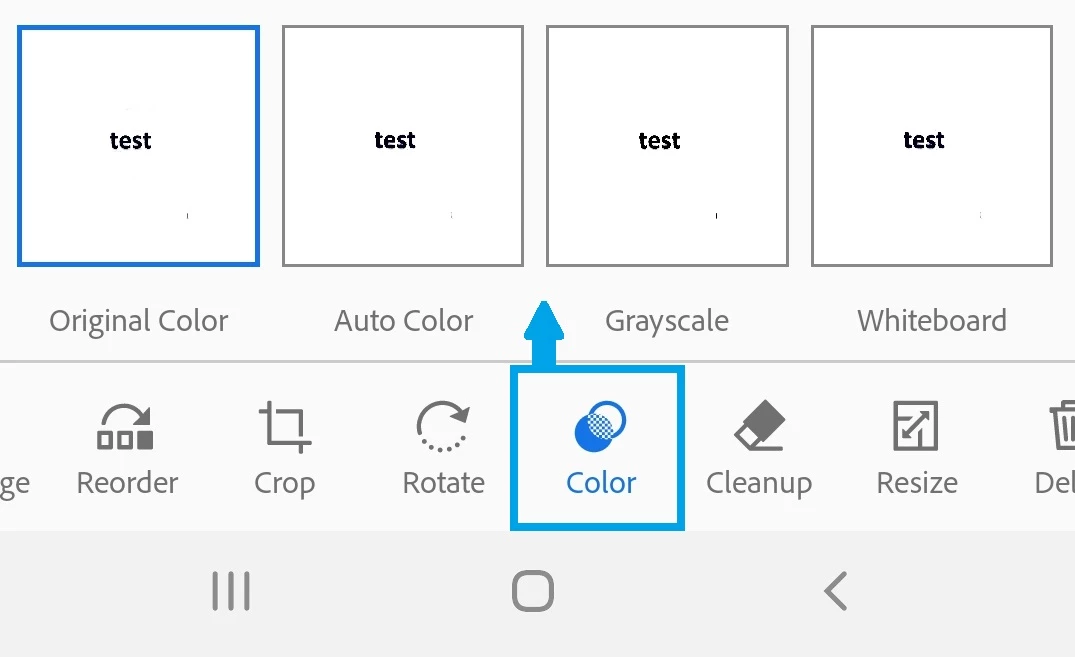
Color: You can change the color of any page in the scan. There are four color options provided in the application: Original Color, Auto Color, Grayscale, and Whiteboard.
- Open the document and navigate to the page you want to modify.
- Tap on the Color icon.
- Select the required color option.
- Enable the “Apply to All Pages” button to apply the same color on all pages.
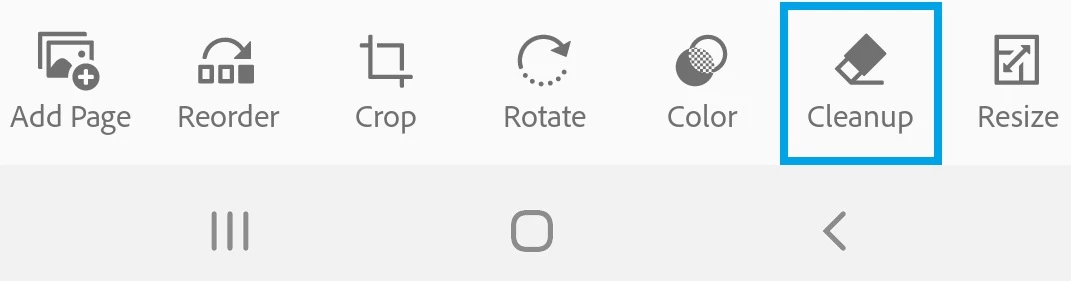
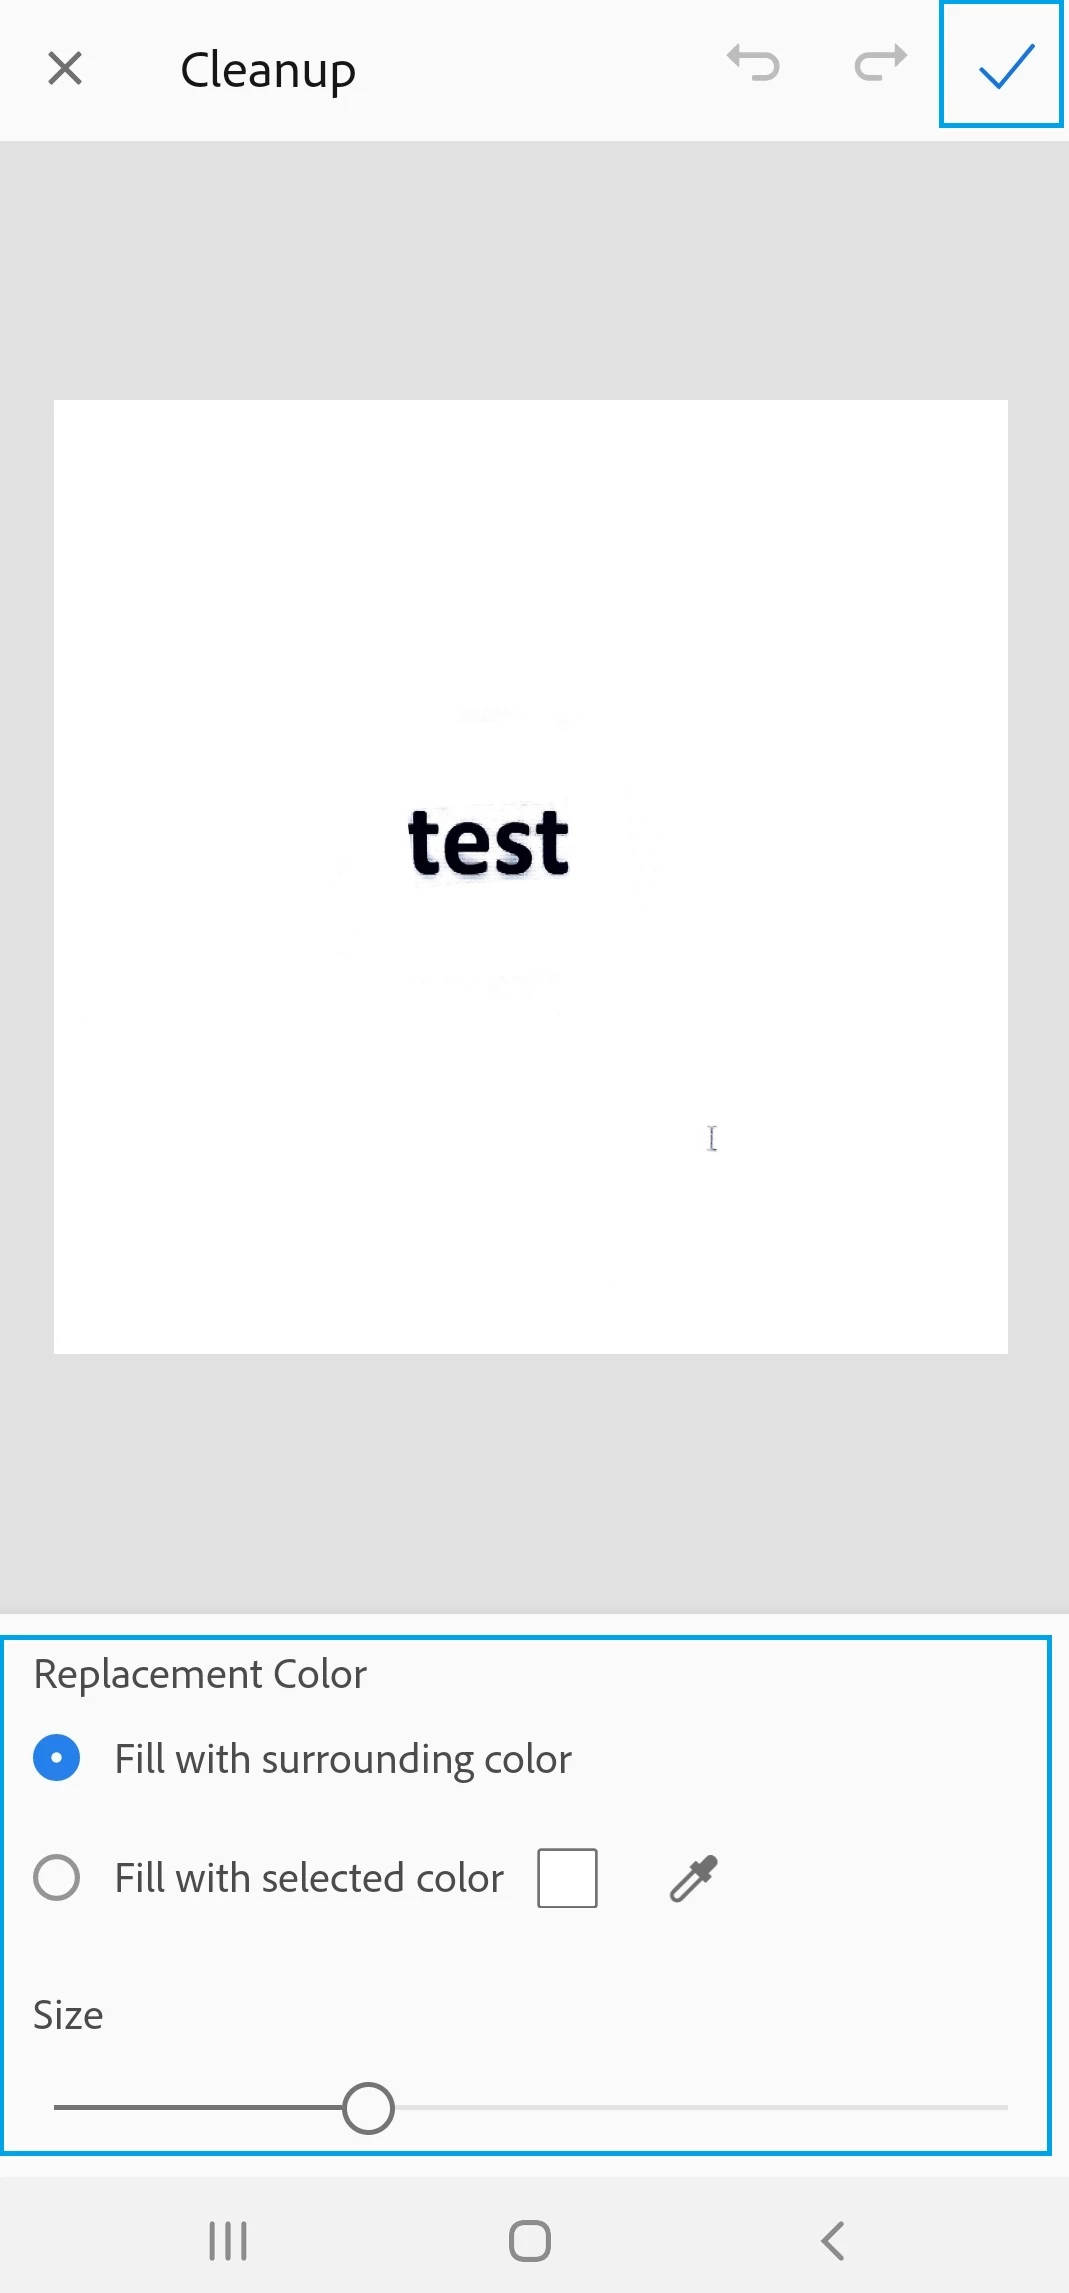
Cleanup: Using this option you can remove the erase unwanted artifacts, fuzzy images, or any other unwanted content. The “erase” action is essentially filling a selected area with a color you select (thus hiding that area).
- Open the document and navigate to the page for cleanup.
- Tap on the Cleanup icon.
- Select the required option: Fill with the surrounding color or Fill with the selected color.
1. Tap on the square to select the color.
2. Tap on eyedropper to select the color from the scan page. When the moveable eyedropper
appears, move it over color, and tap on Checkmark.
- Zoom the image in and out as needed.
- Swipe your finger over the area to erase an area.
- Tap on the checkmark at the top right corner.
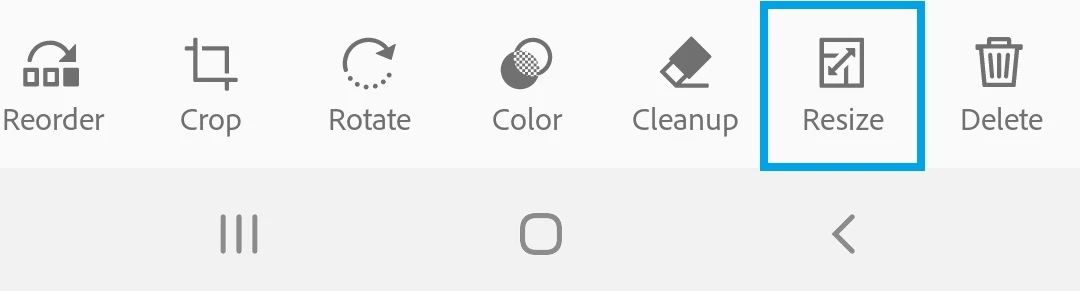
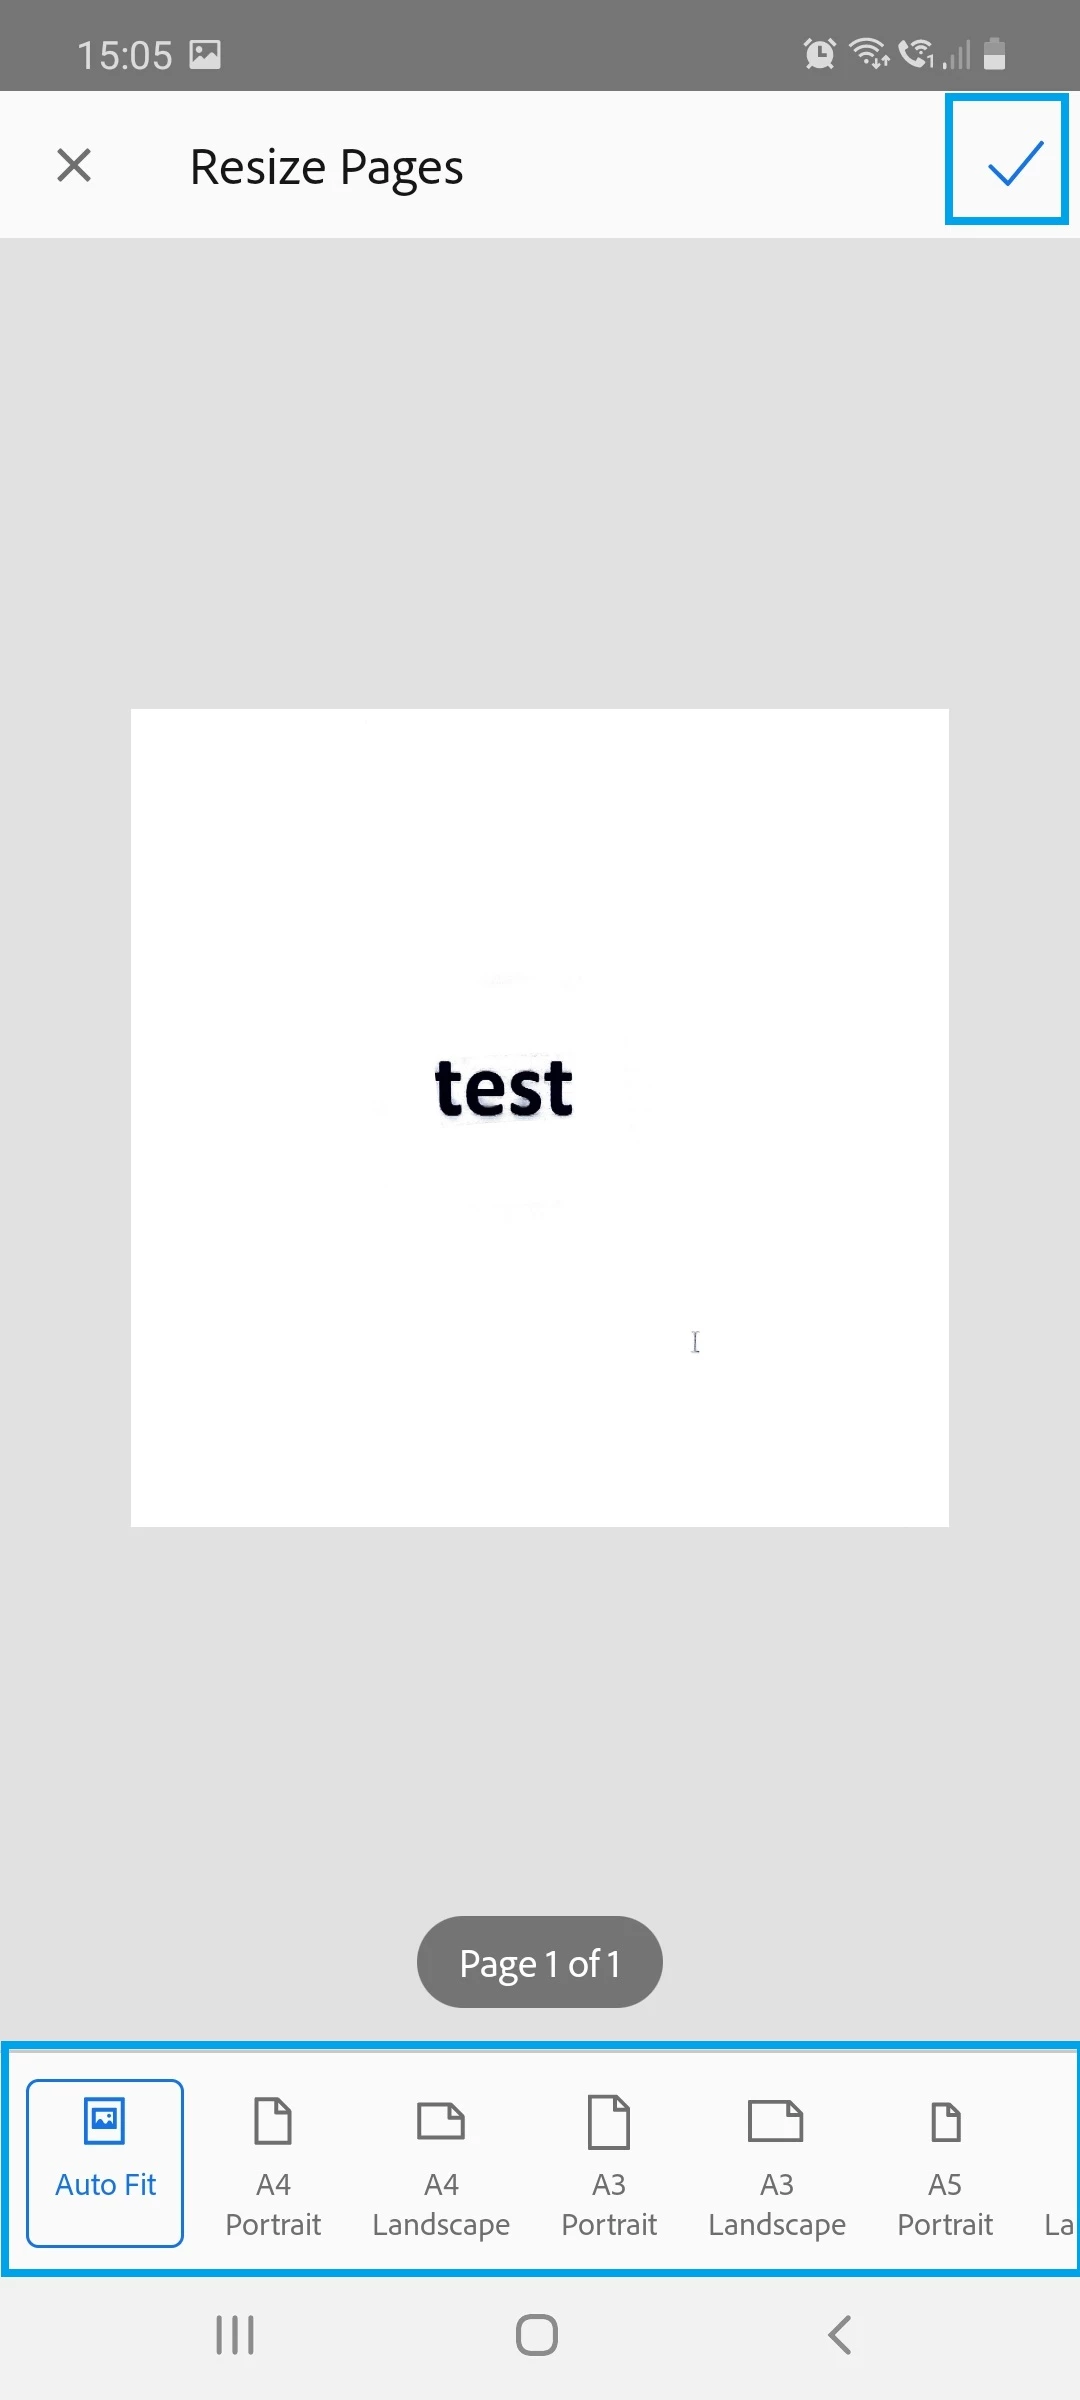
Resize: It provides you the various page layout options. You can change the page size using any of the options provided there as per your requirement.
- Open the document and navigate to the page you want to resize.
- Tap on the Resize icon.
- Select the required page size.
- Tap on the checkmark at the top right corner.
Delete: It removes any number of pages from the scan if they are not required.
- Open the document and navigate to the page you want to modify.
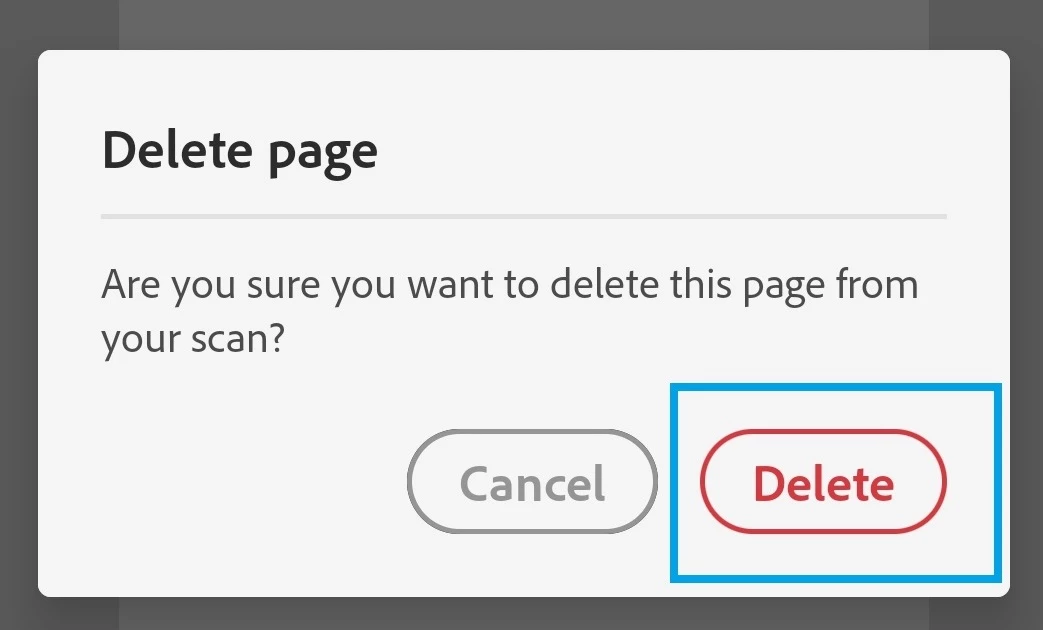
- Tap on the Delete icon.
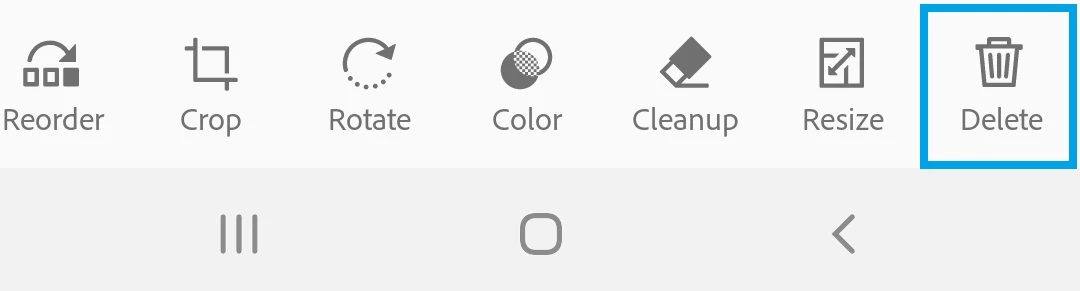
- The tap on the Delete button from the pop-up appears.
Note: Please ensure that you tap on Save after modifying the scan.
Did you find it helpful? If yes, share your experience with us: Join the conversation here. We are listening!
To discover a host of other great features – Go straight to: Save a copy of scans on your device or to other storage locations | Now save a scan as an image on a mobile device
