


How to create a custom brush for painting hair
It's really easy to create your own custom brushes for Fresco using Fresco and Adobe Capture. I've outlined the basic steps here, or you can watch the video for a more in depth tutorial.
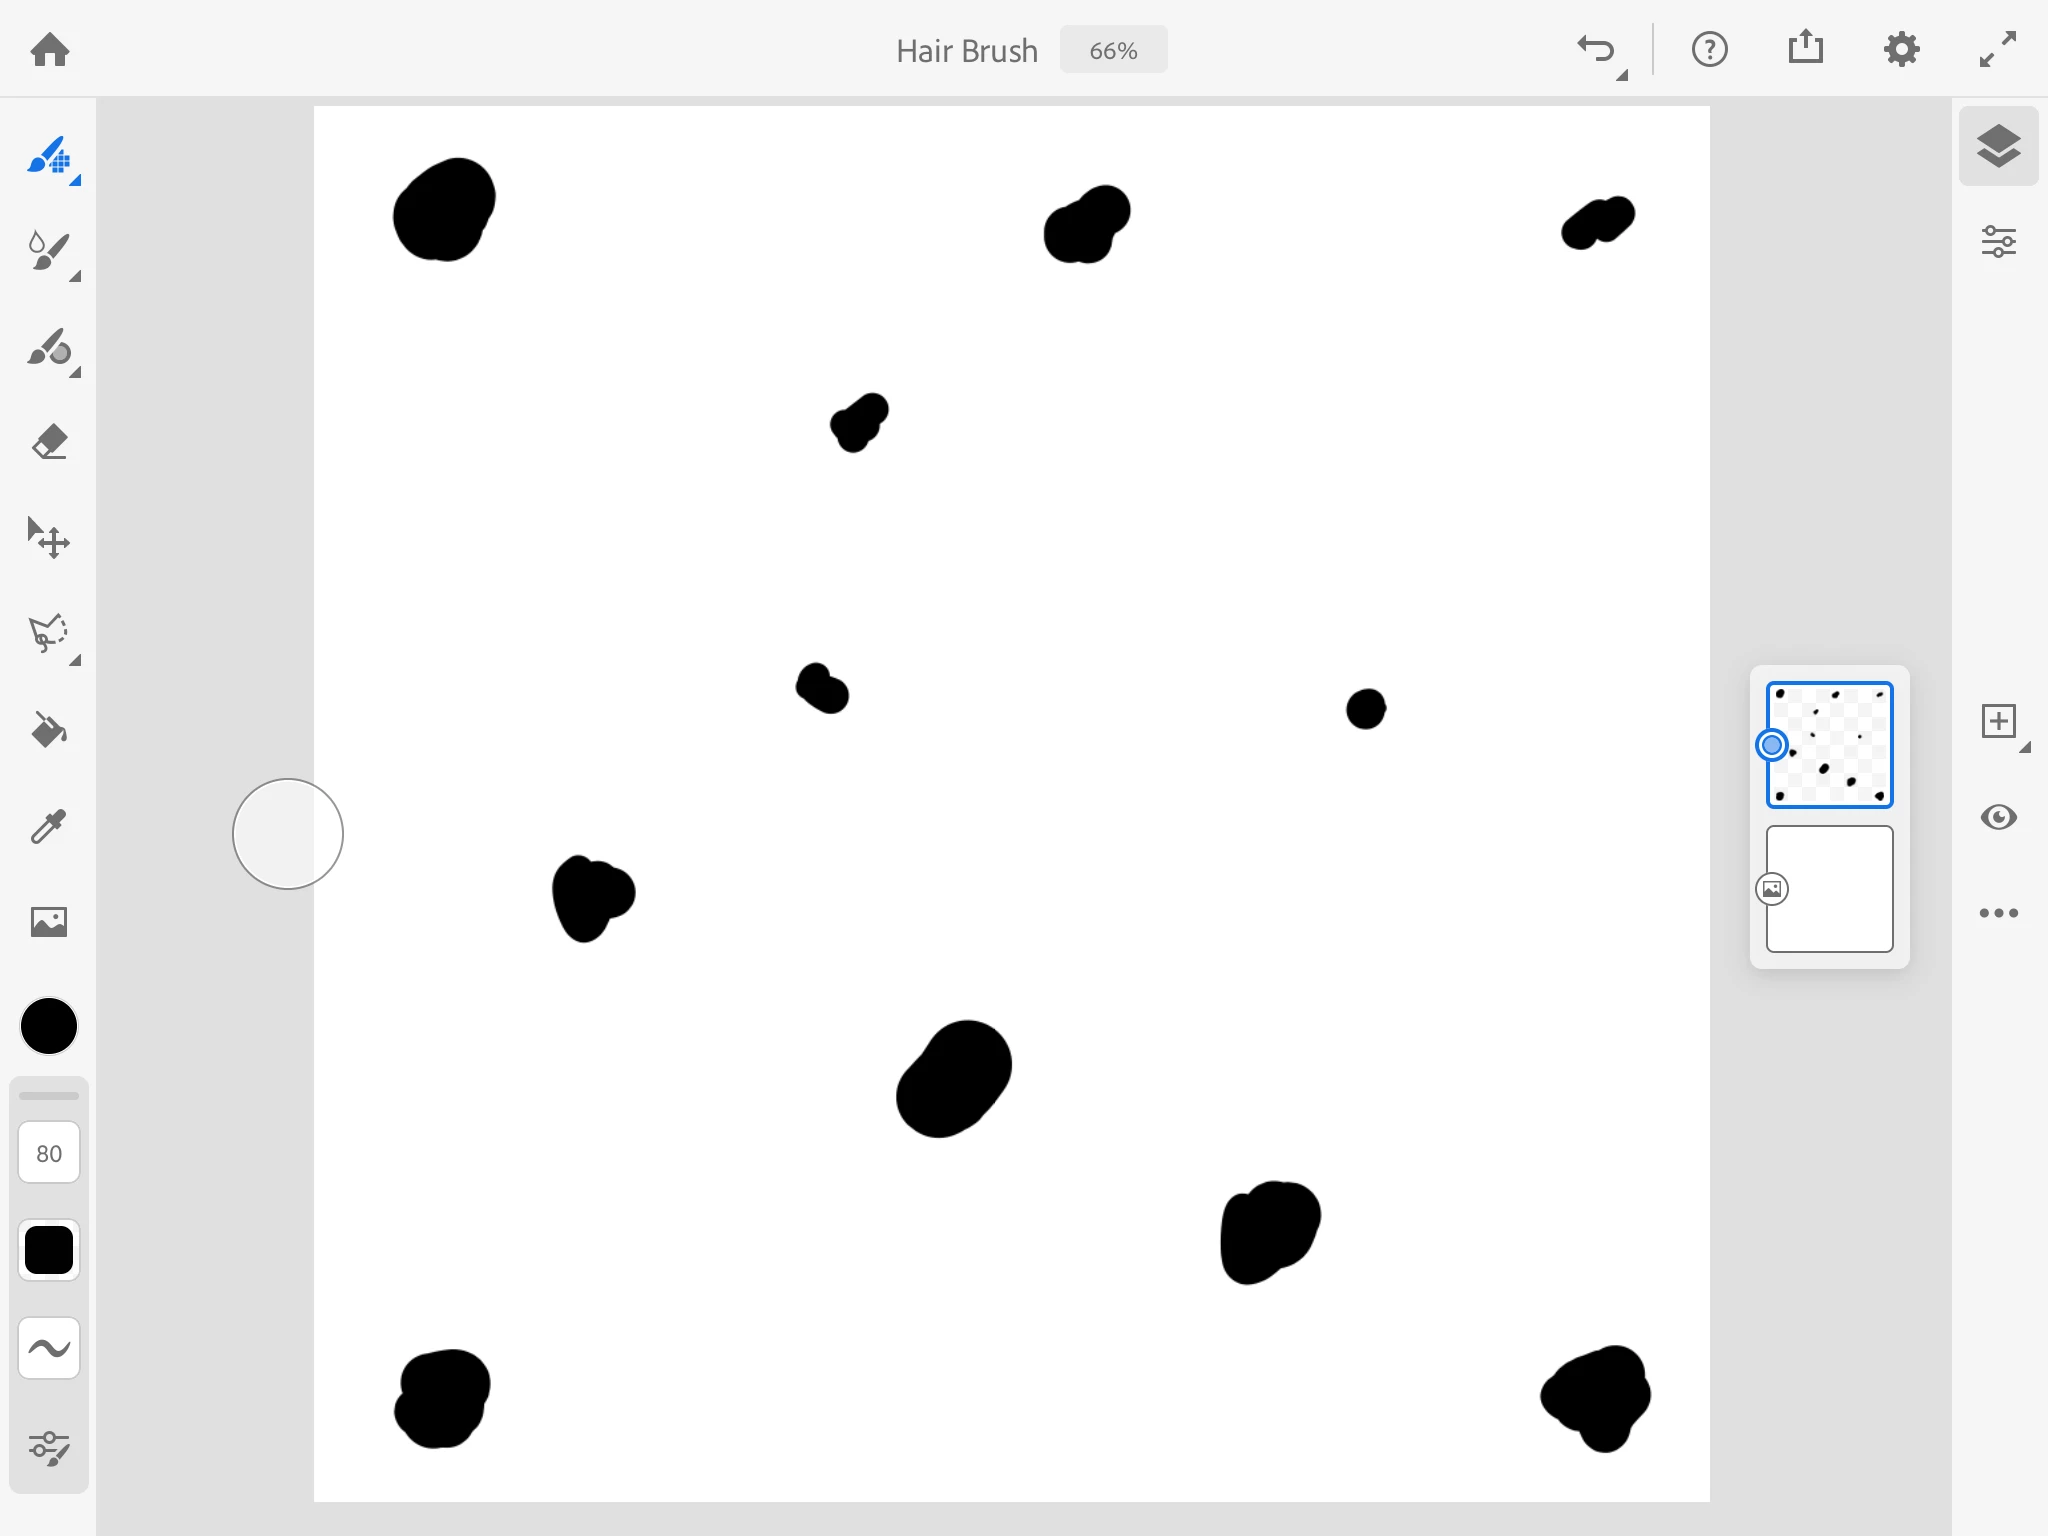
1. Create a square document in Fresco and paint some dots on it.
2. Quick export an image to the camera roll.
3. Open the image in Adobe Capture and choose to create a Brush asset.
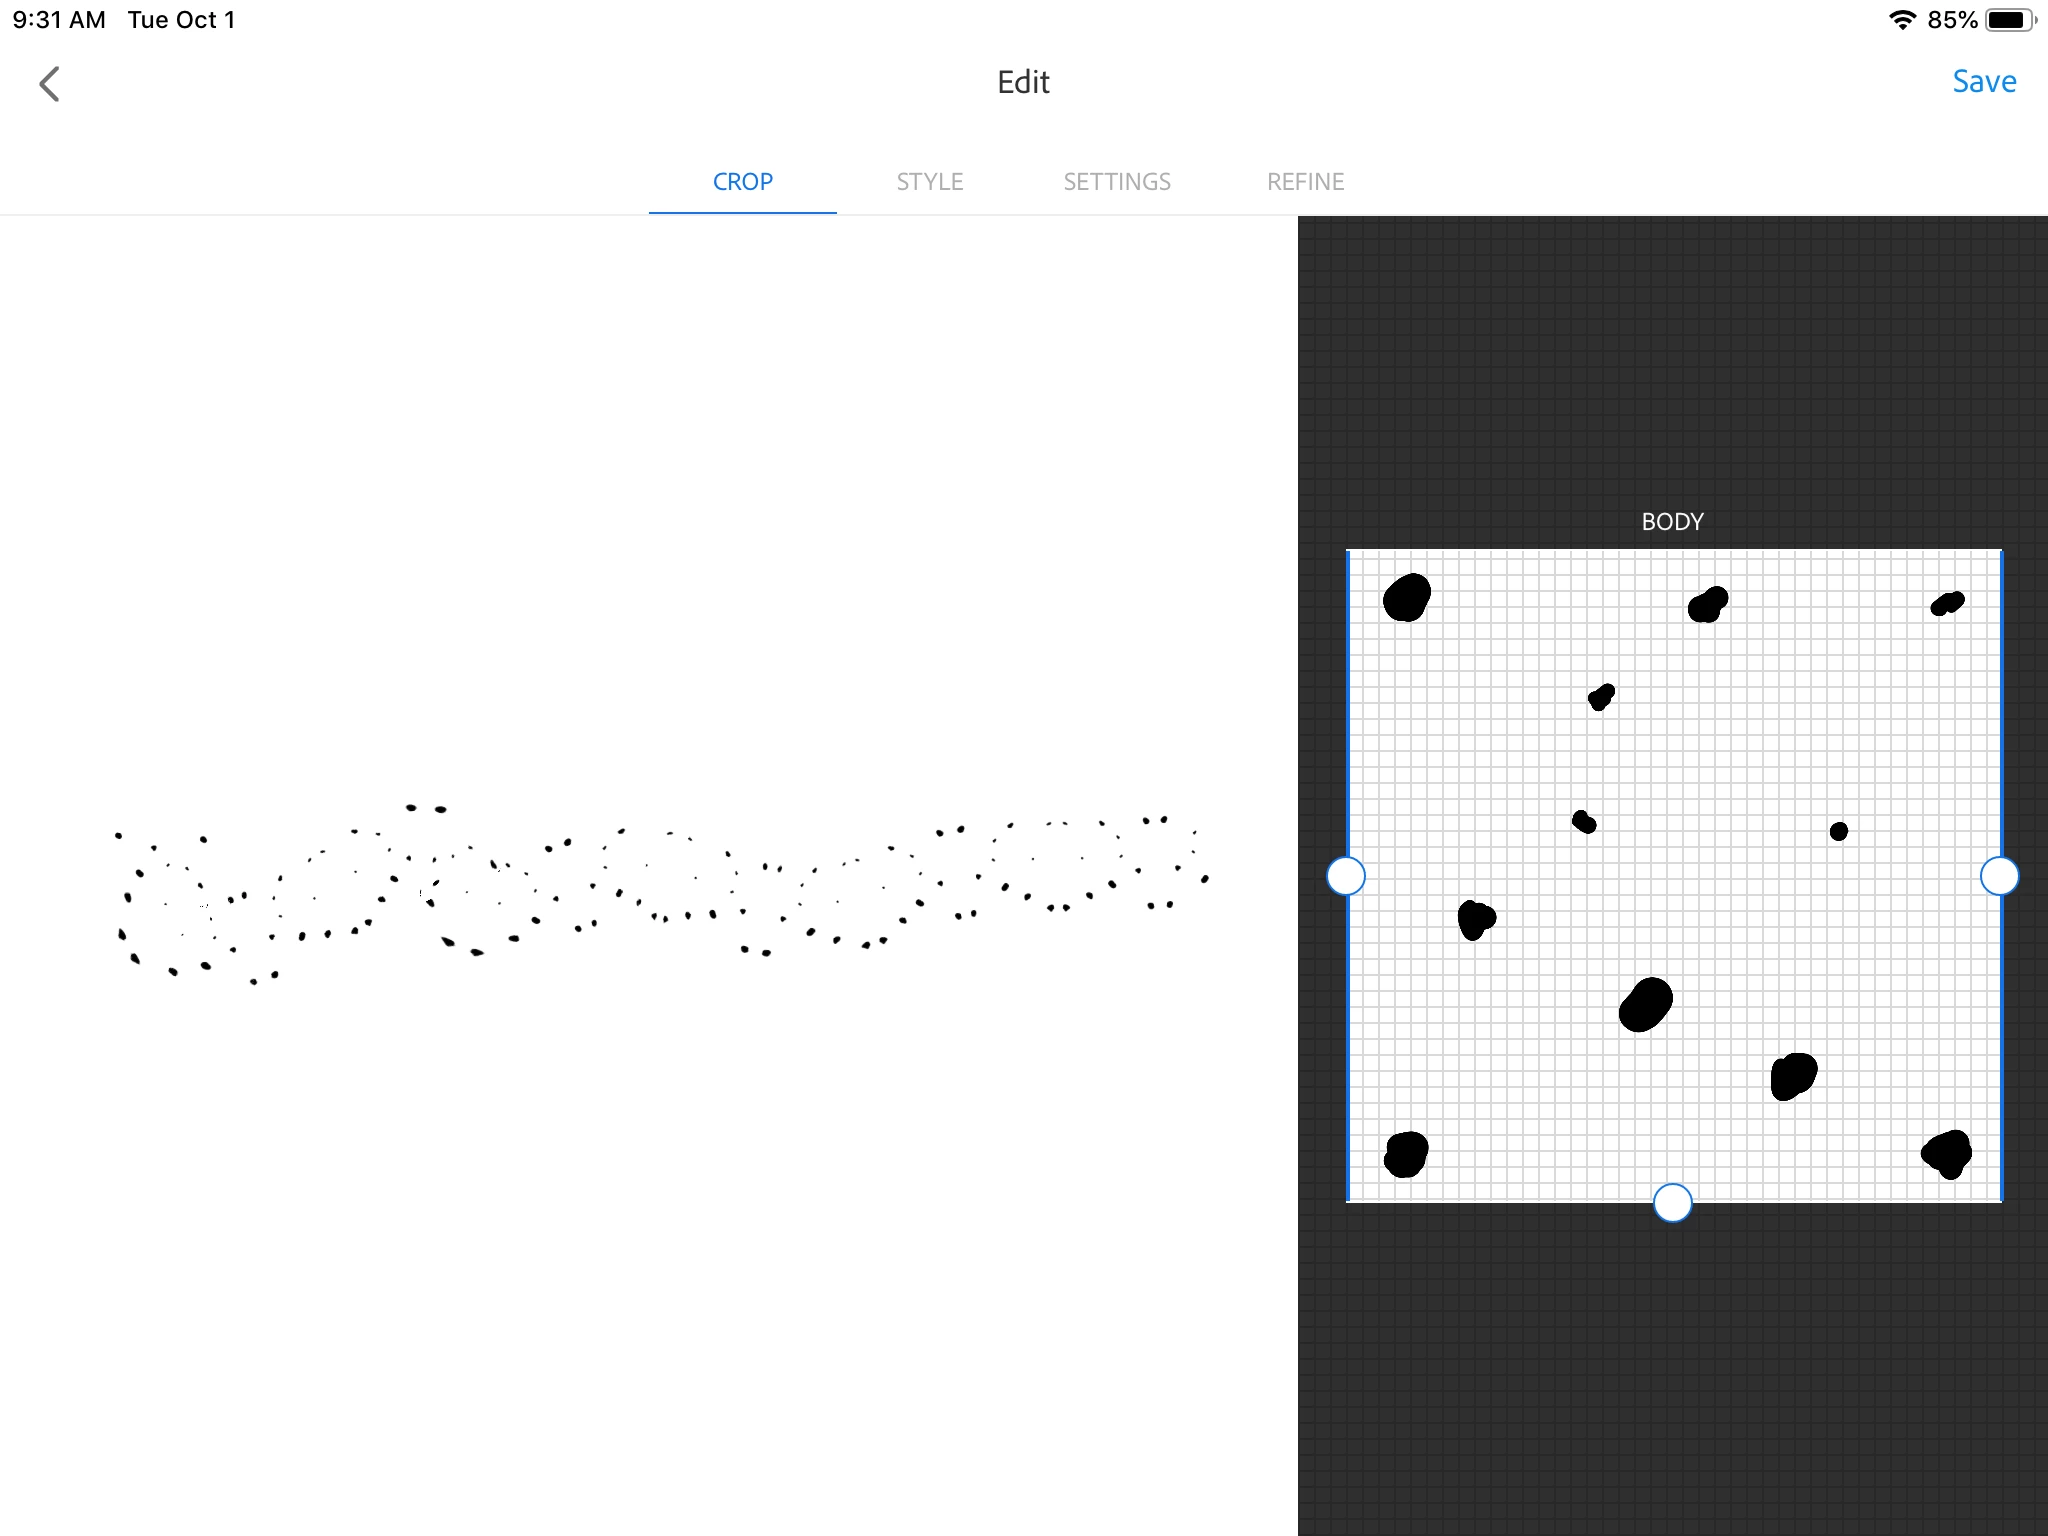
4. Edit the Crop so you have all BODY, no TAIL or HEAD. You can also rotate the drawing in this view to get different effects.
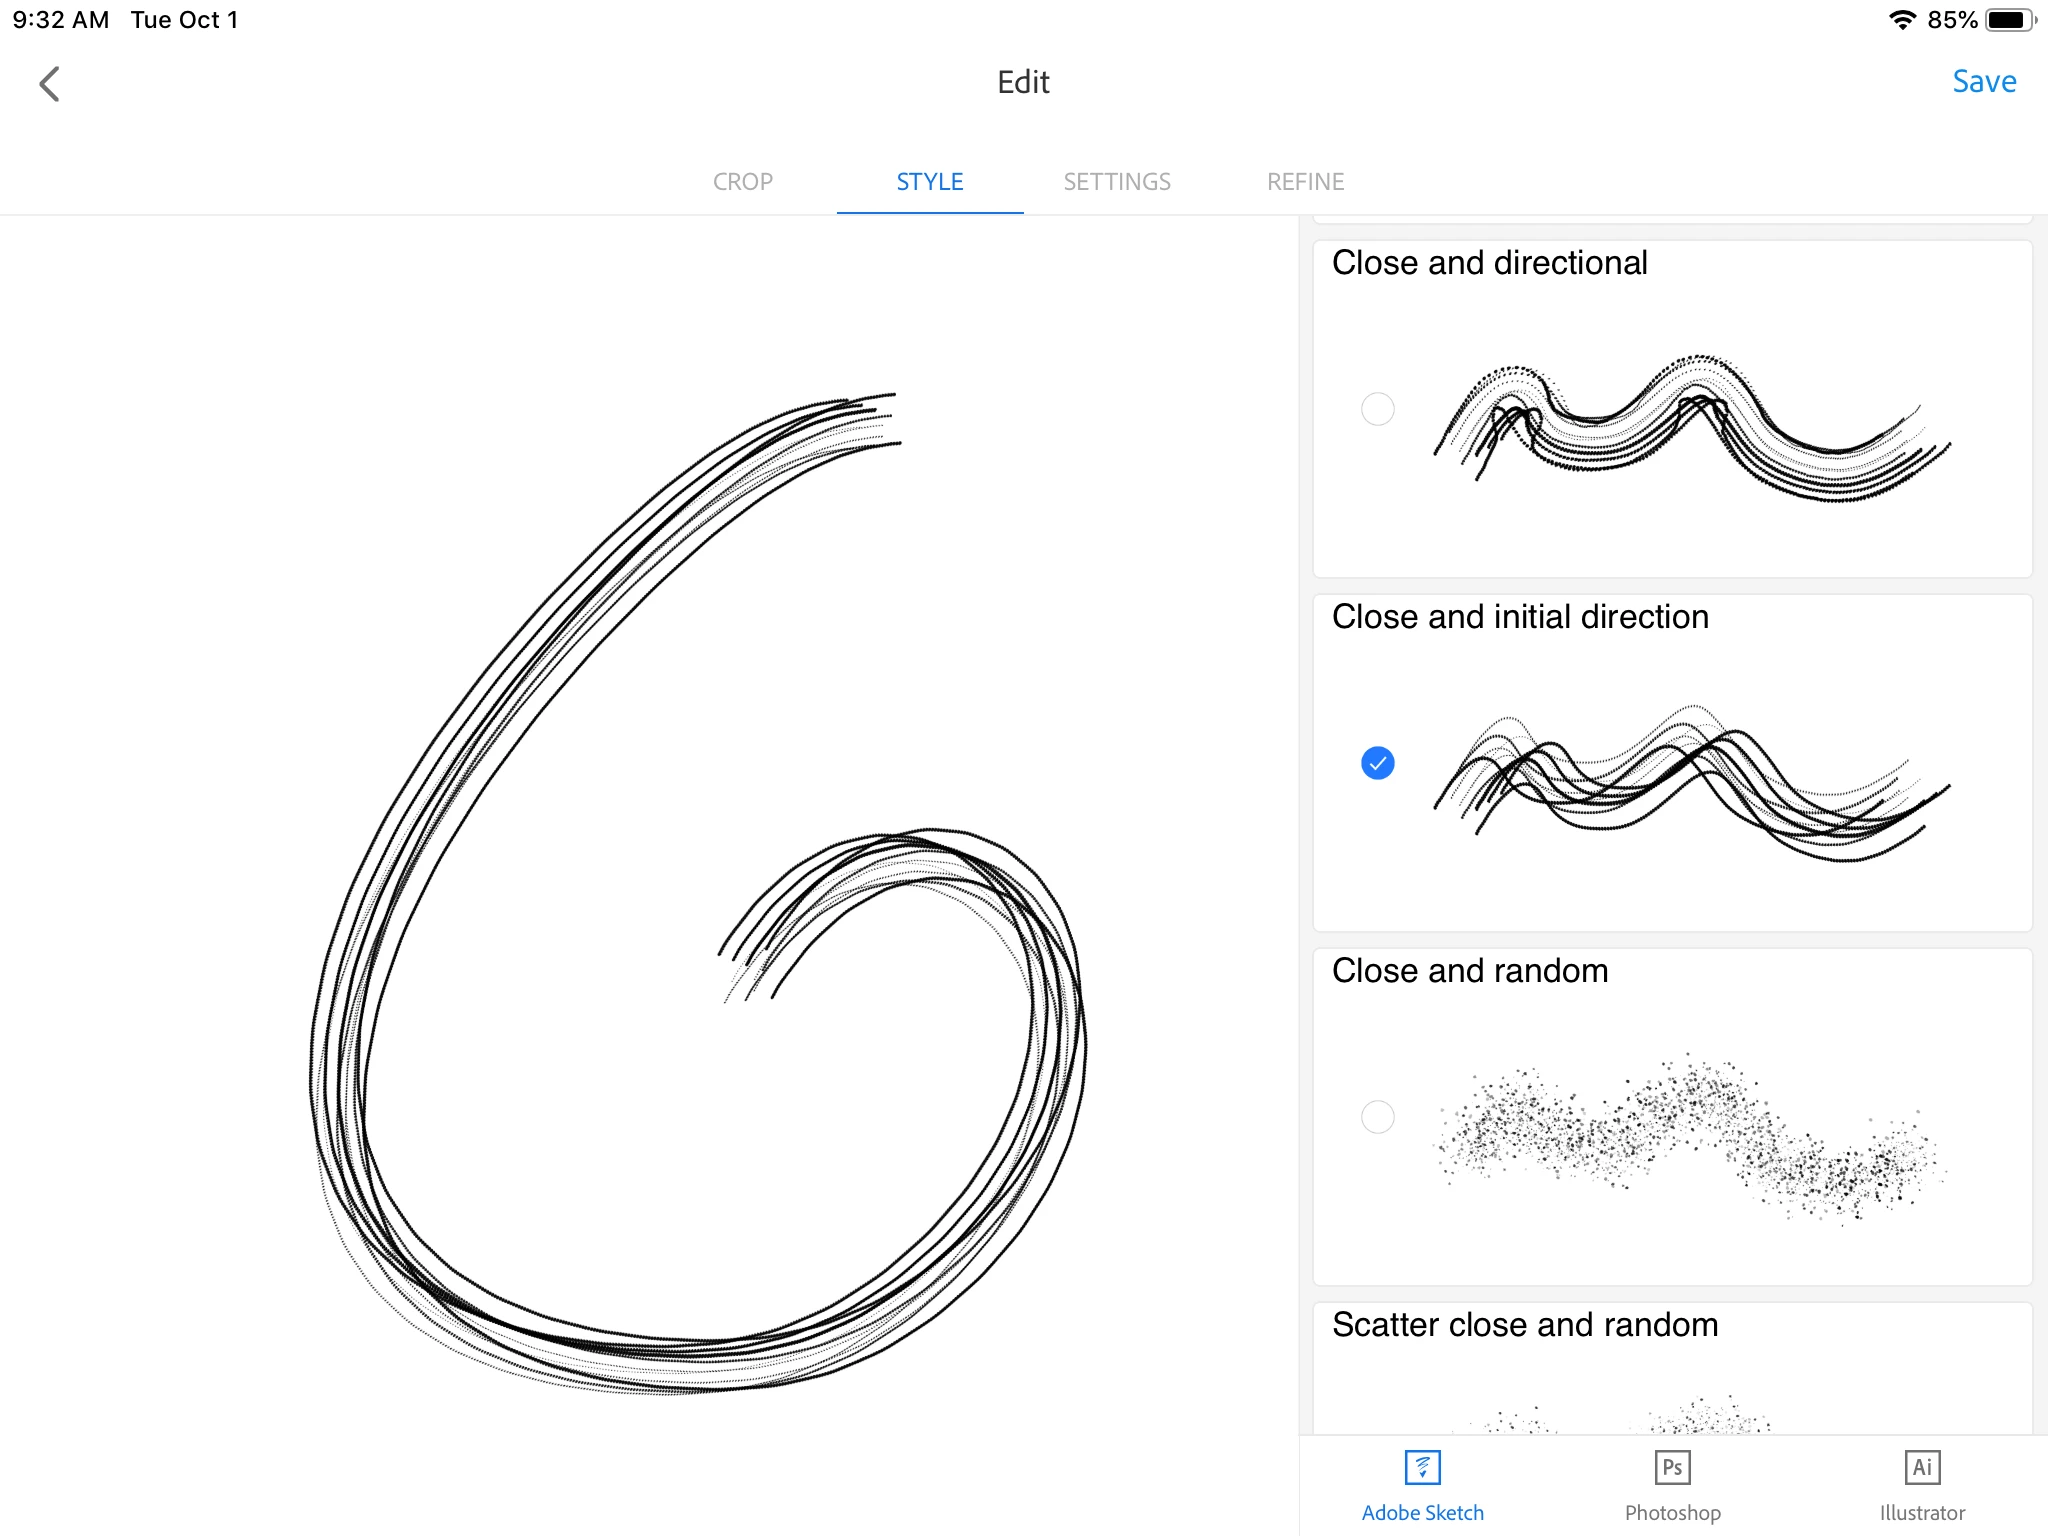
5. Chose the Close and intial direction Style.
 6. Turn of the Size under the pressure setting, for drawing with an Apple pencil. Take the spacing to 1%.
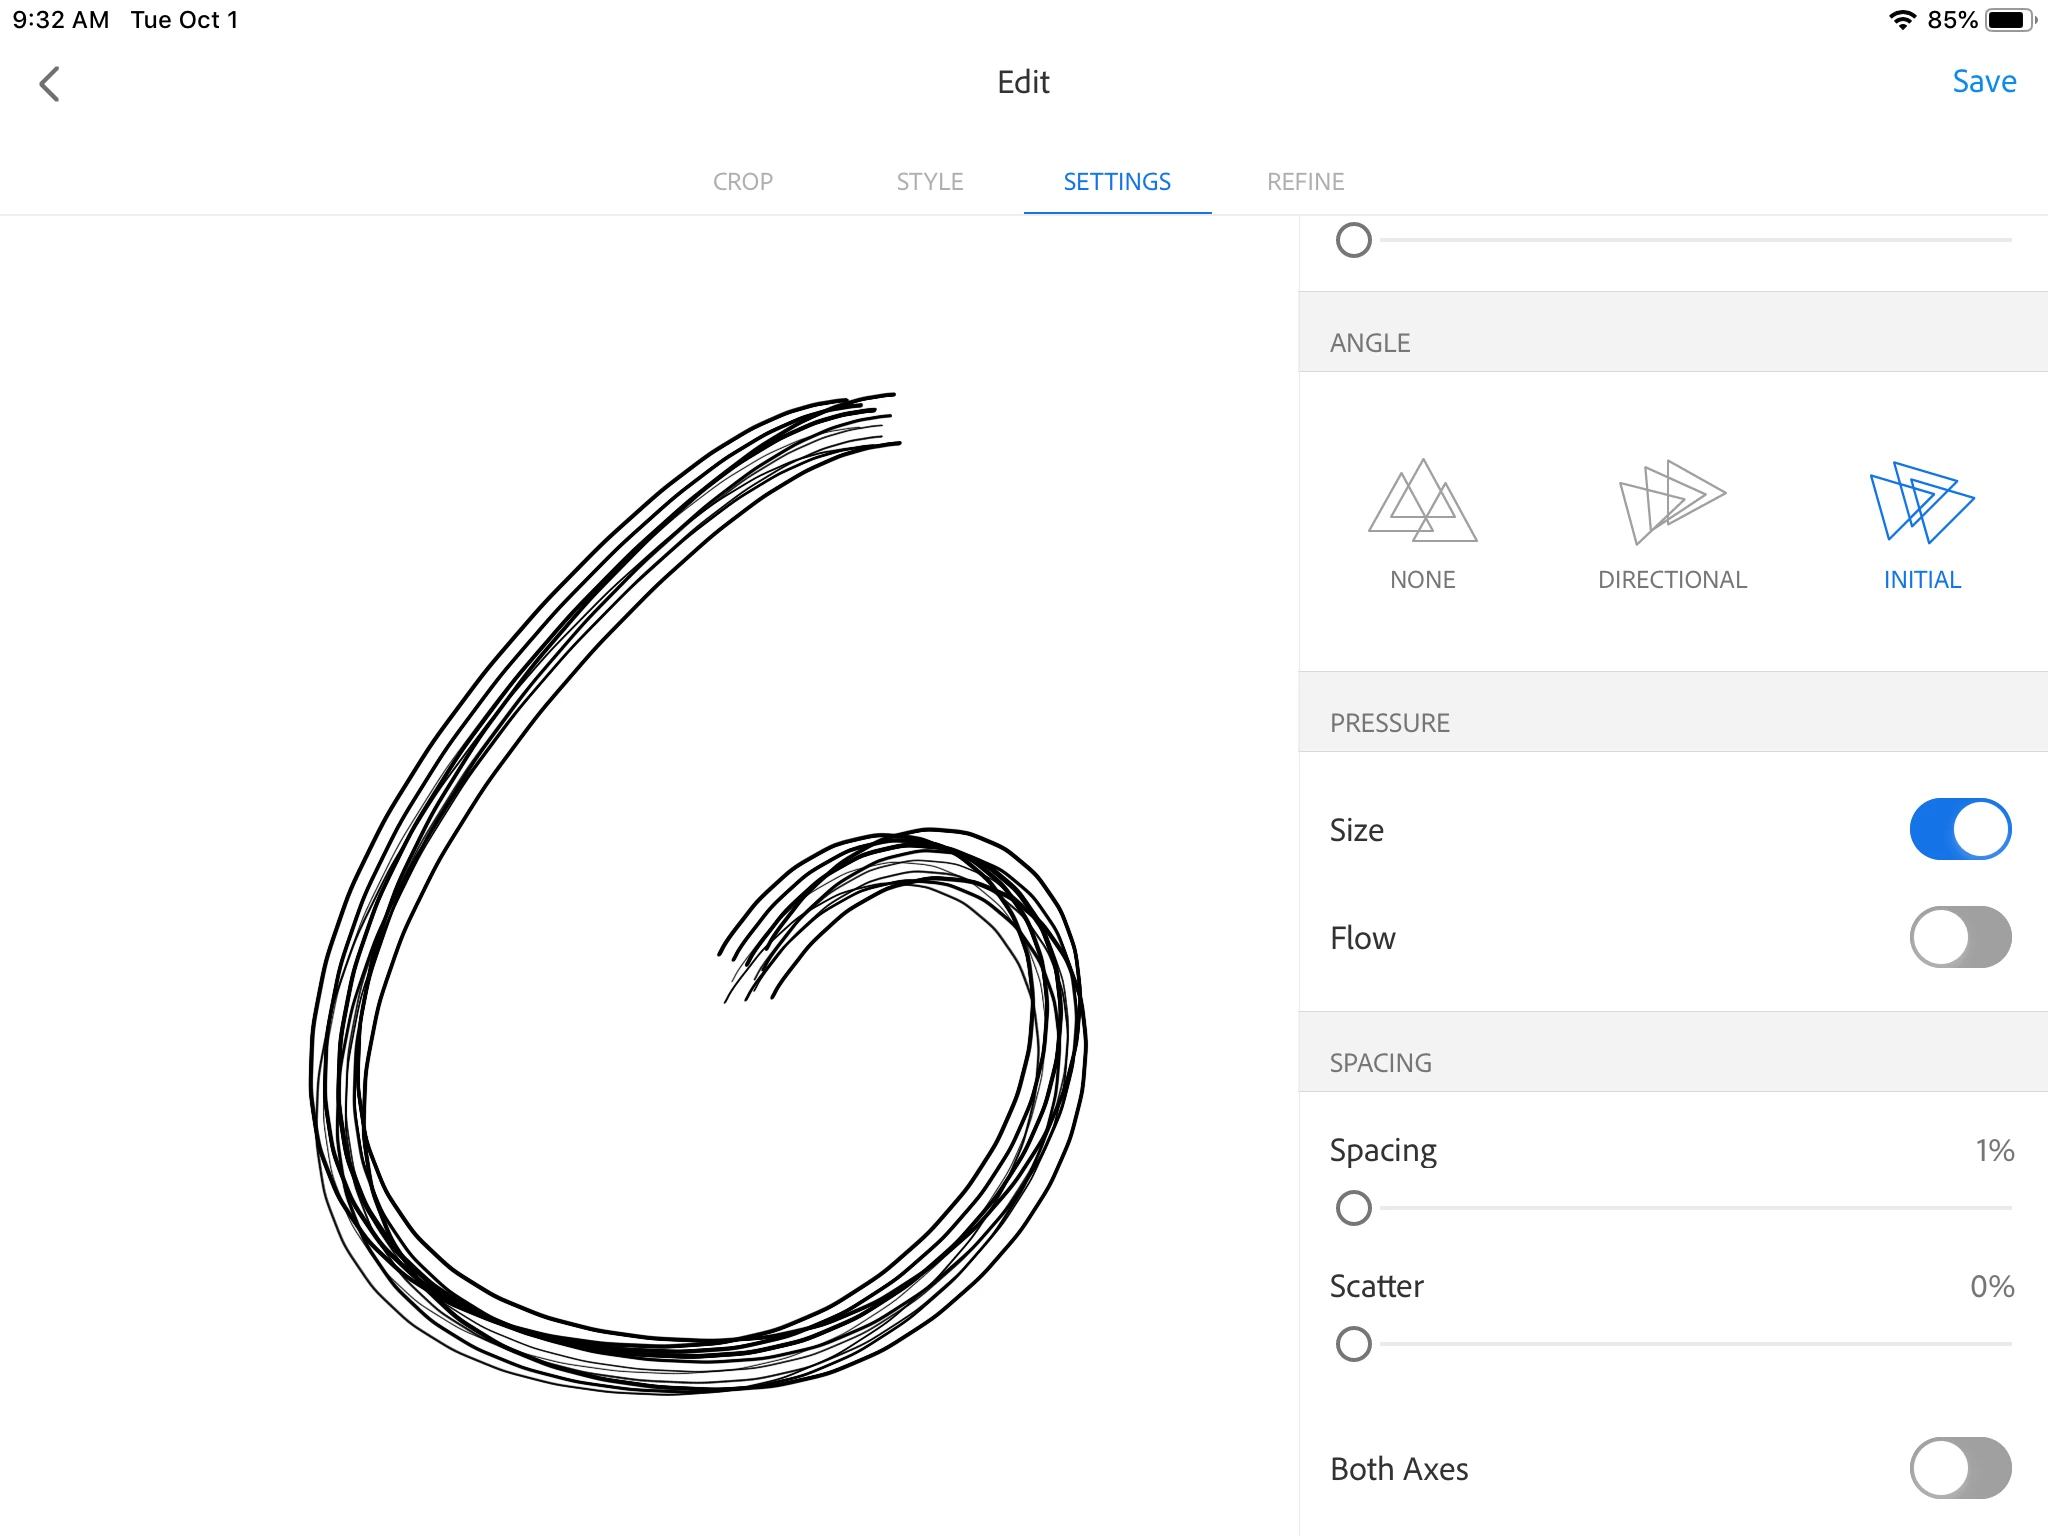
7. Save the new brush to a Creative Cloud Library.
8. Now you are ready to start painting with it in Fresco. Return to Fresco and open a document to work on.
9. Find the custom brush in the Pixel Brushes. Swipe to the bottom and Find the Creative Cloud Libraries. Your new brush will be in a Library. You can create a Library just for Fresco brushes as I have done here.
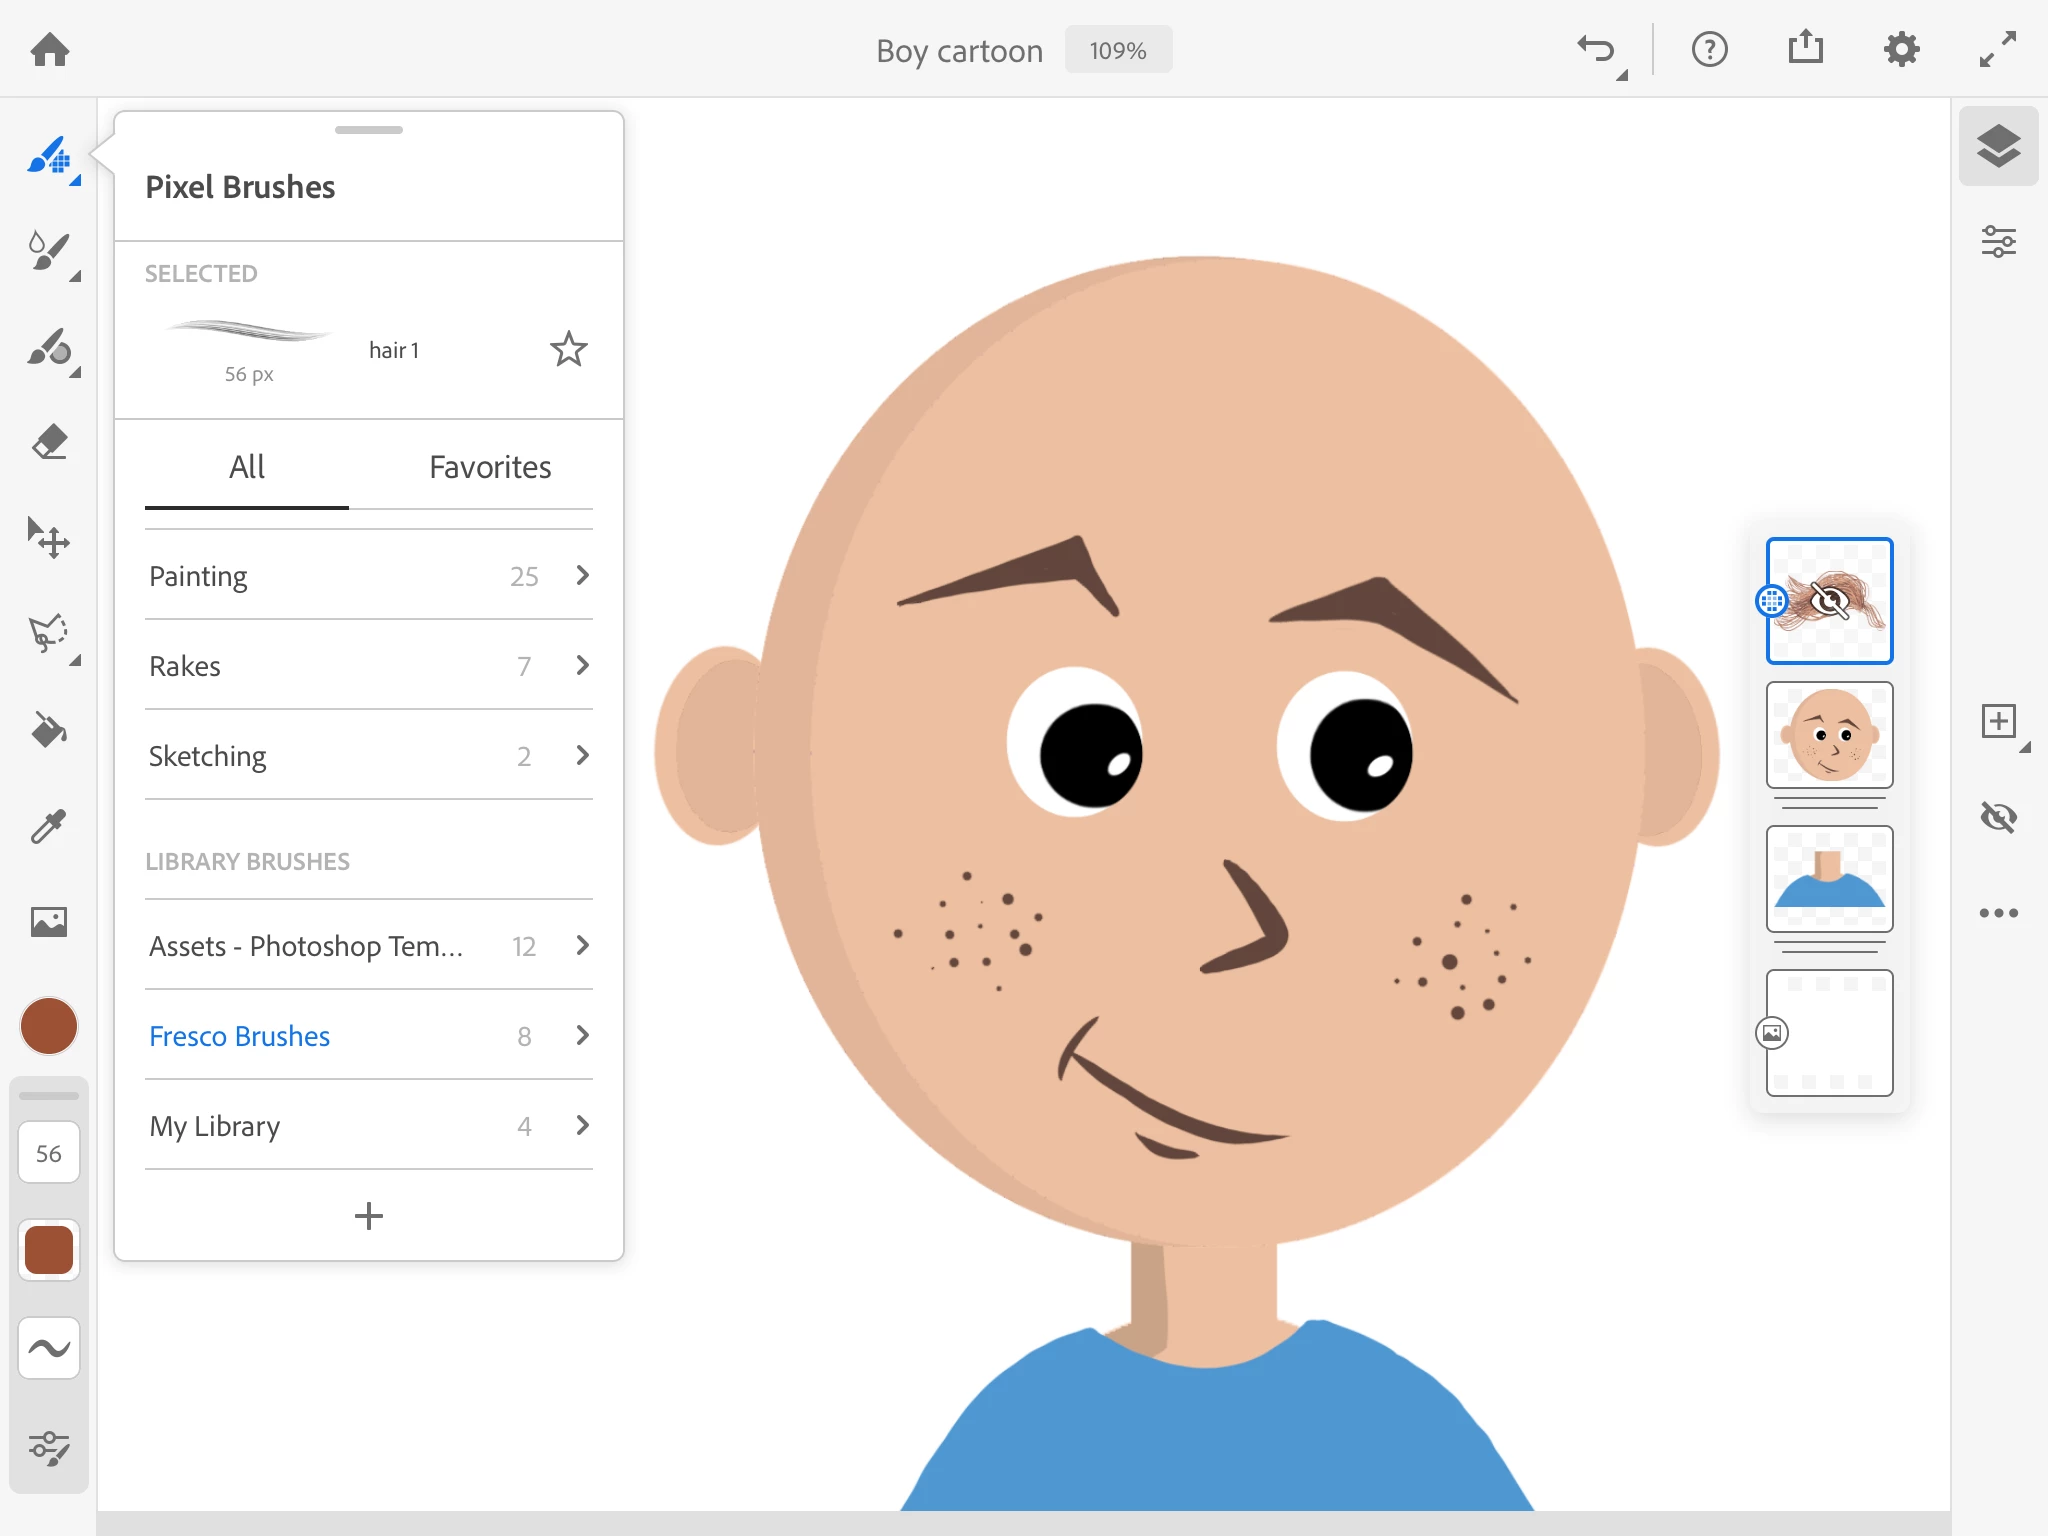
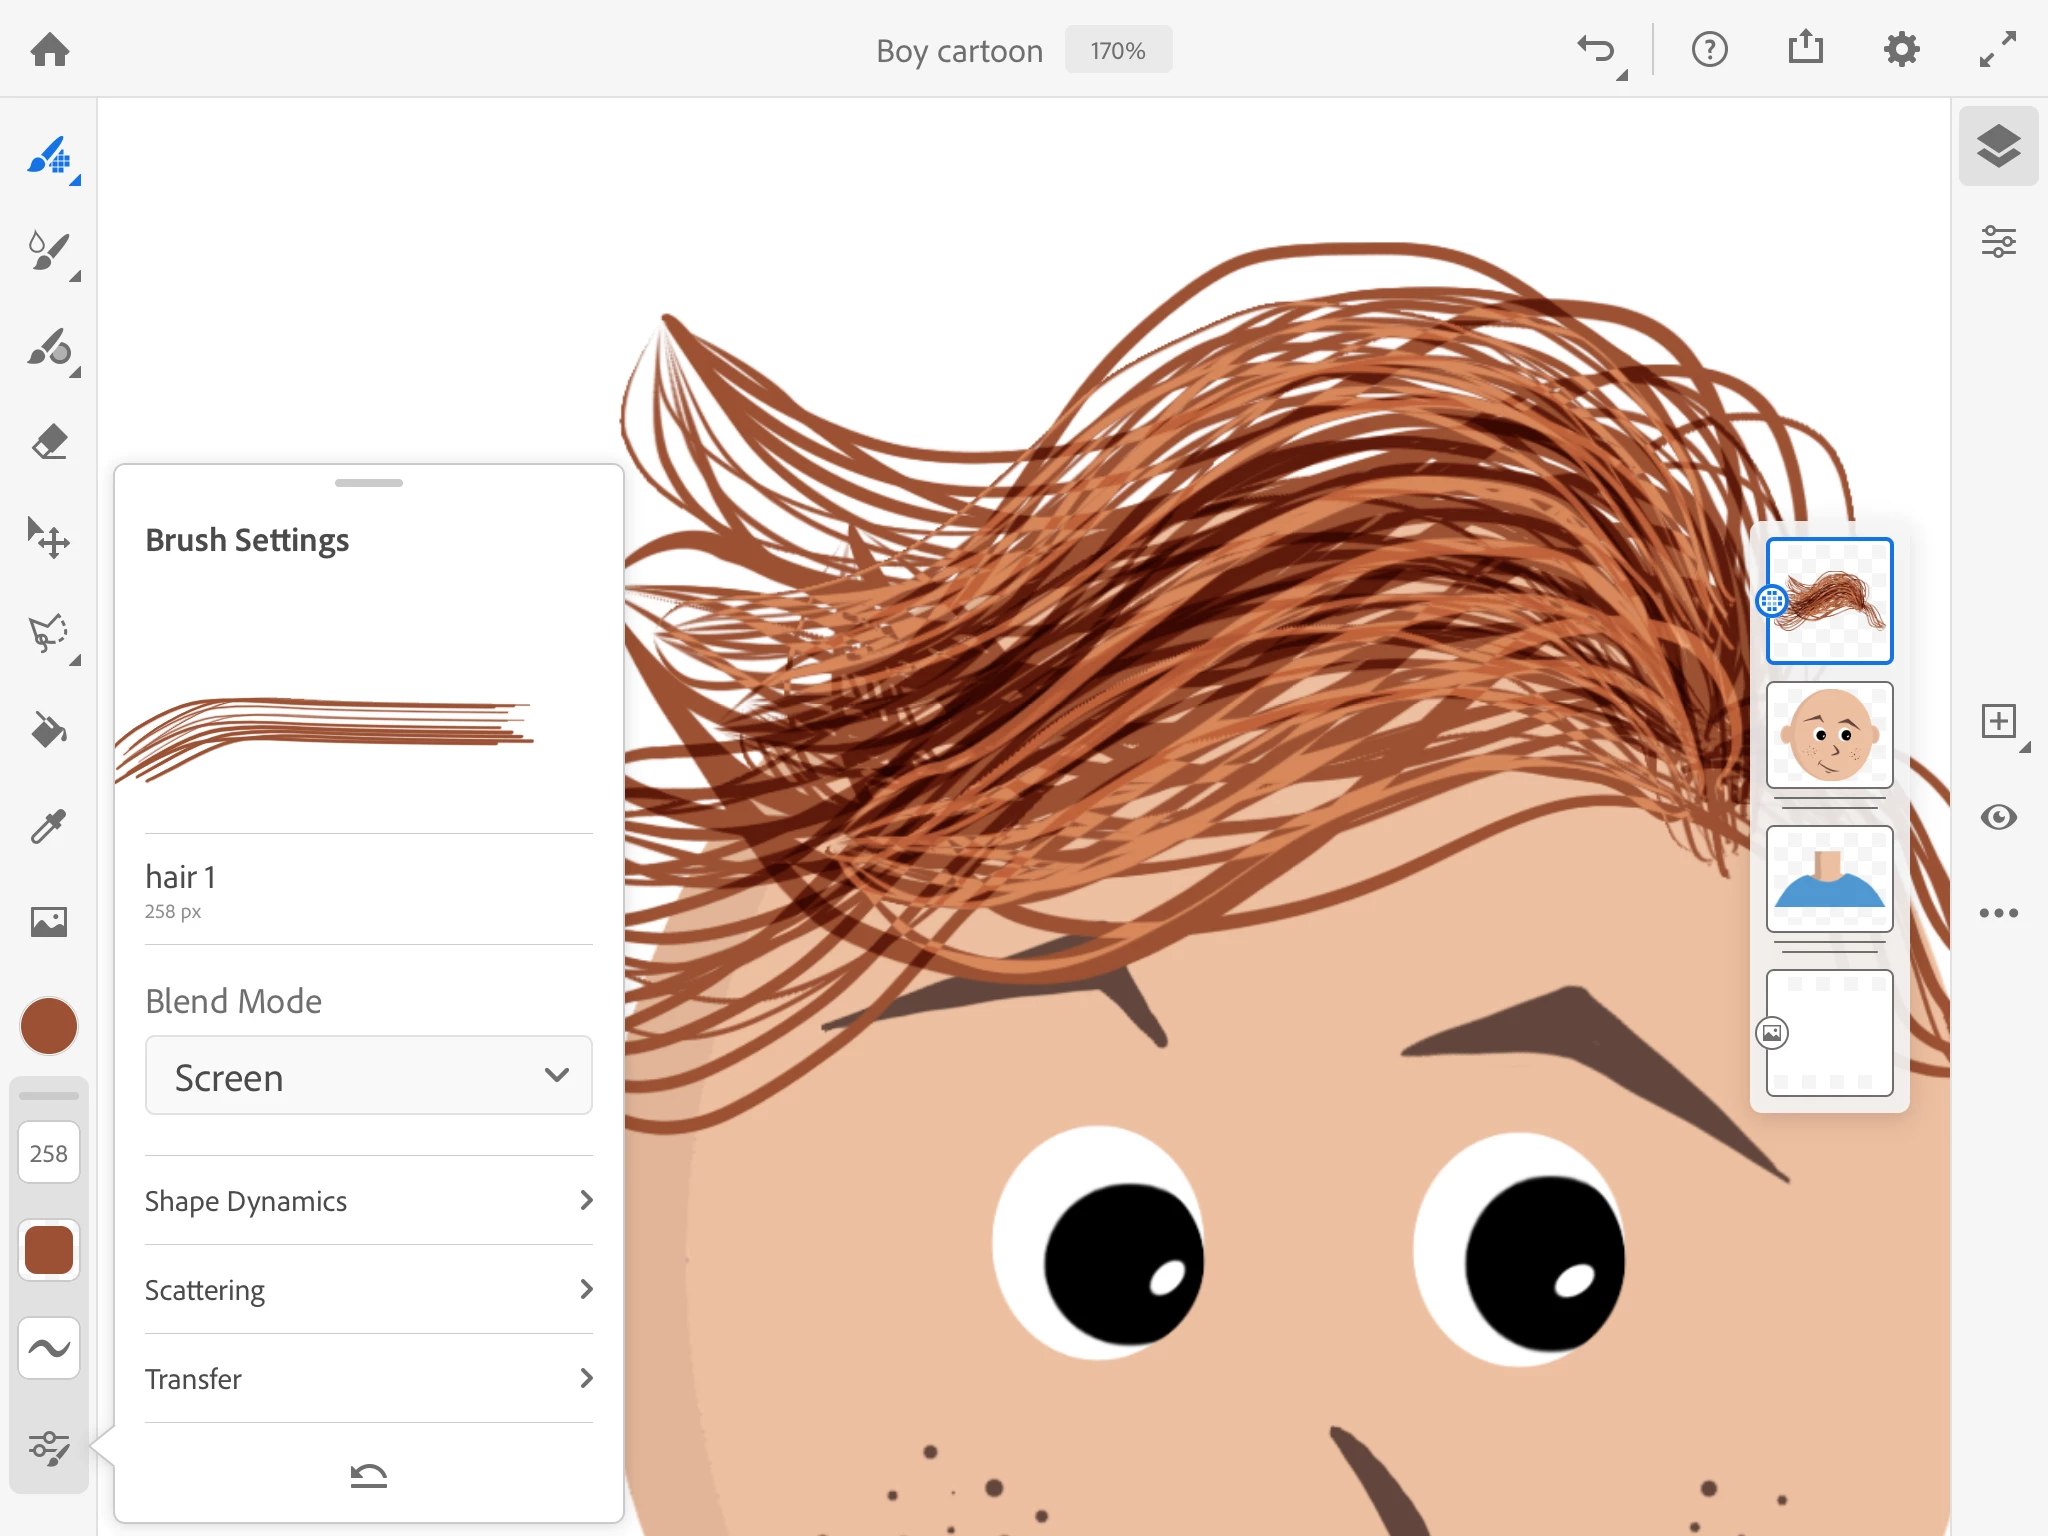
10. Choose a color for the hair, and a large brush size for cartoon lines like shown here. Or paint with a small brush for more realistic looking hair.
11. Change the brush blend mode to create layered highlights or shadows.
I hope you found this helpful or inspiring. I'd love to see what you create with your own custom brushes.