ashimg23377171
Inspiring
June 6, 2018
Answered

Different stroke colors for a polygon

  • June 6, 2018
  • 3 replies
  • 4574 views

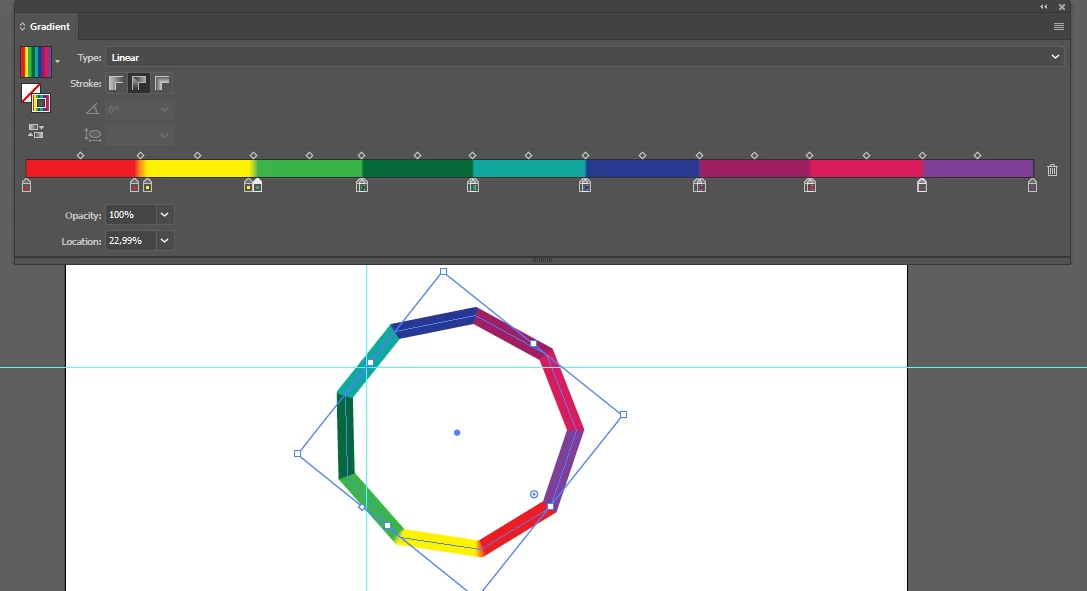
Hi I wish to have the following design where the strokes of a 9-shaped polygon are of diff colors.

I am aware of the shape builder tool, but I am not sure how to apply it in this case.

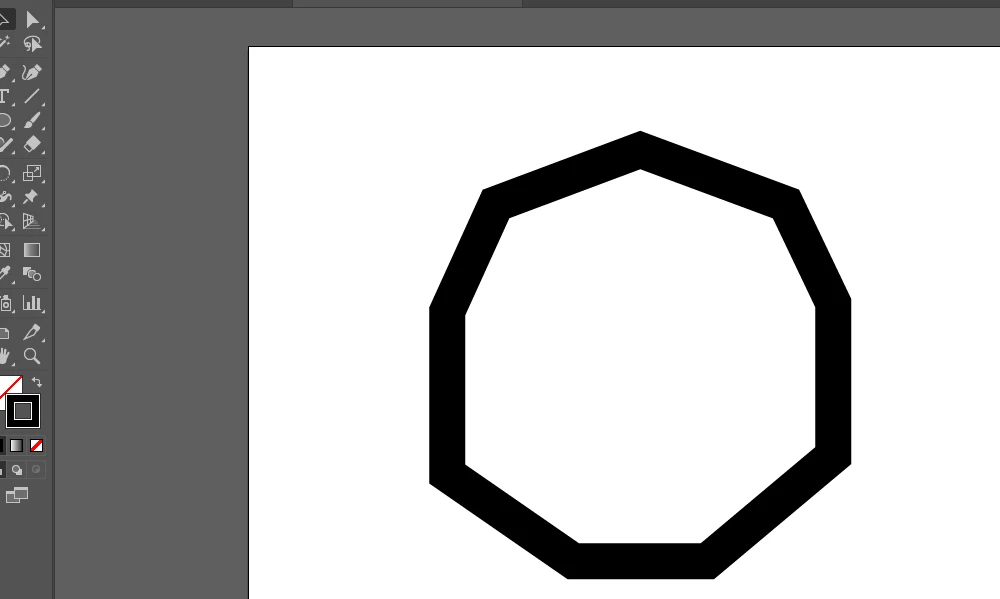
All I have been able to get to is creating a polygon with a thick stroke. The next steps are eluding me. I'd really appreciate if you can guide me on how to have diff color strokes for each of the 9 sides of a polygon.

Regards

Ashim

    This topic has been closed for replies.
    Correct answer Anna Lander

    You have to set 2 same stoppers for each gradient step and set the consequent stoppers as close as possible:

    Location 0% Yellow

    Location 11% Yellow

    Location 12% Red

    Location 22% Red

    Location 23% Green

    Location 34% Green

    etc.

    Use two same stoppers instead of moving the center points.

    3 replies

    Doug A Roberts
    Community Expert
    Community Expert
    June 6, 2018

    if you want separate shapes to fill, i would:

    select your object and go to Object > Path > Outline Stroke.

    then Object > Compound Path > Release

    with the white arrow, shift-click and deselct one of the anchor points (this is because illustrator treats selecting a whole object and selecting all its anchors the same, and we need a contextual command that just acts on selected anchor points).

    click on Cut Path at Selected Anchor Points in Properties panel or Control bar depending on your workspace.

    select only the last anchor point and use the same command.

    use the black arrow and select a set of parallel paths. press ctrl + J twice to join each end:

    do this all the way round and you'll have separate closed shapes you can fill.

    Anna Lander
    Inspiring
    June 6, 2018

    You can do this using Appearance panel: create 2 strokes, align one of them inside and the other one outside, then set them gradients with "along stroke" option.

    Really, this will take a lot of work.

    I would better use another workwlow (if you'e sure that you want the certain shape and don't plan to change it):

    1. Draw the 9-sided polygon

    2. Create Offset Path (Object > Path > Offset Path) with positive value (e.g. 1 mm)

    3. Create Offset Path (Object > Path > Offset Path) with negative value (e.g. -1 mm)

    4. Draw lines from the Polygon center through the shape

    5. Use Divide option in the Pathfinder panel and ungroup the result.

    Sounds quite long but actually quick enough because each action is very small and fast.

    Then you will have all elements as separate objects which you can change like you wish.

    Doug A Roberts
    Community Expert
    Community Expert
    June 6, 2018

    you can either use separate shapes or divide the stroke up with a gradient and no space between stops:

    a five-sided polygon, for instance, would have two stops each at 20%, 40%, 60% and 80% as well as one at each end. if i shift one of the stops slightly you can see where they overlap:

    ashimg23377171
    Inspiring
    June 6, 2018

    Hi Doug

    Thanks for weighing in.

    I am trying to follow the gradient approach; however, my gradients aren't as sharply defined as yours. what could I be missing here.

    Anna Lander
    Anna LanderCorrect answer
    Inspiring
    June 6, 2018

    You have to set 2 same stoppers for each gradient step and set the consequent stoppers as close as possible:

    Location 0% Yellow

    Location 11% Yellow

    Location 12% Red

    Location 22% Red

    Location 23% Green

    Location 34% Green

    etc.

    Use two same stoppers instead of moving the center points.