New Participant
June 26, 2023
Answered

Help with pathfinder modes not working as expected

  • June 26, 2023
  • 3 replies
  • 831 views

Hi All and thanks for the help.

I am trying to create a file for a graphic plotter and wanting to add weeding lines.  Plotters cut EVERY path so extraneous paths are a no-no.


This is my workflow:

Type text. Convert to outline. Select all and pathfinder> Merge (this stops the plotter from cutting teeny bits where the letters overlap

Add a line where I want an extra cut however I don't want the plotter to cut through the letters so I need to trim the line around the letters.

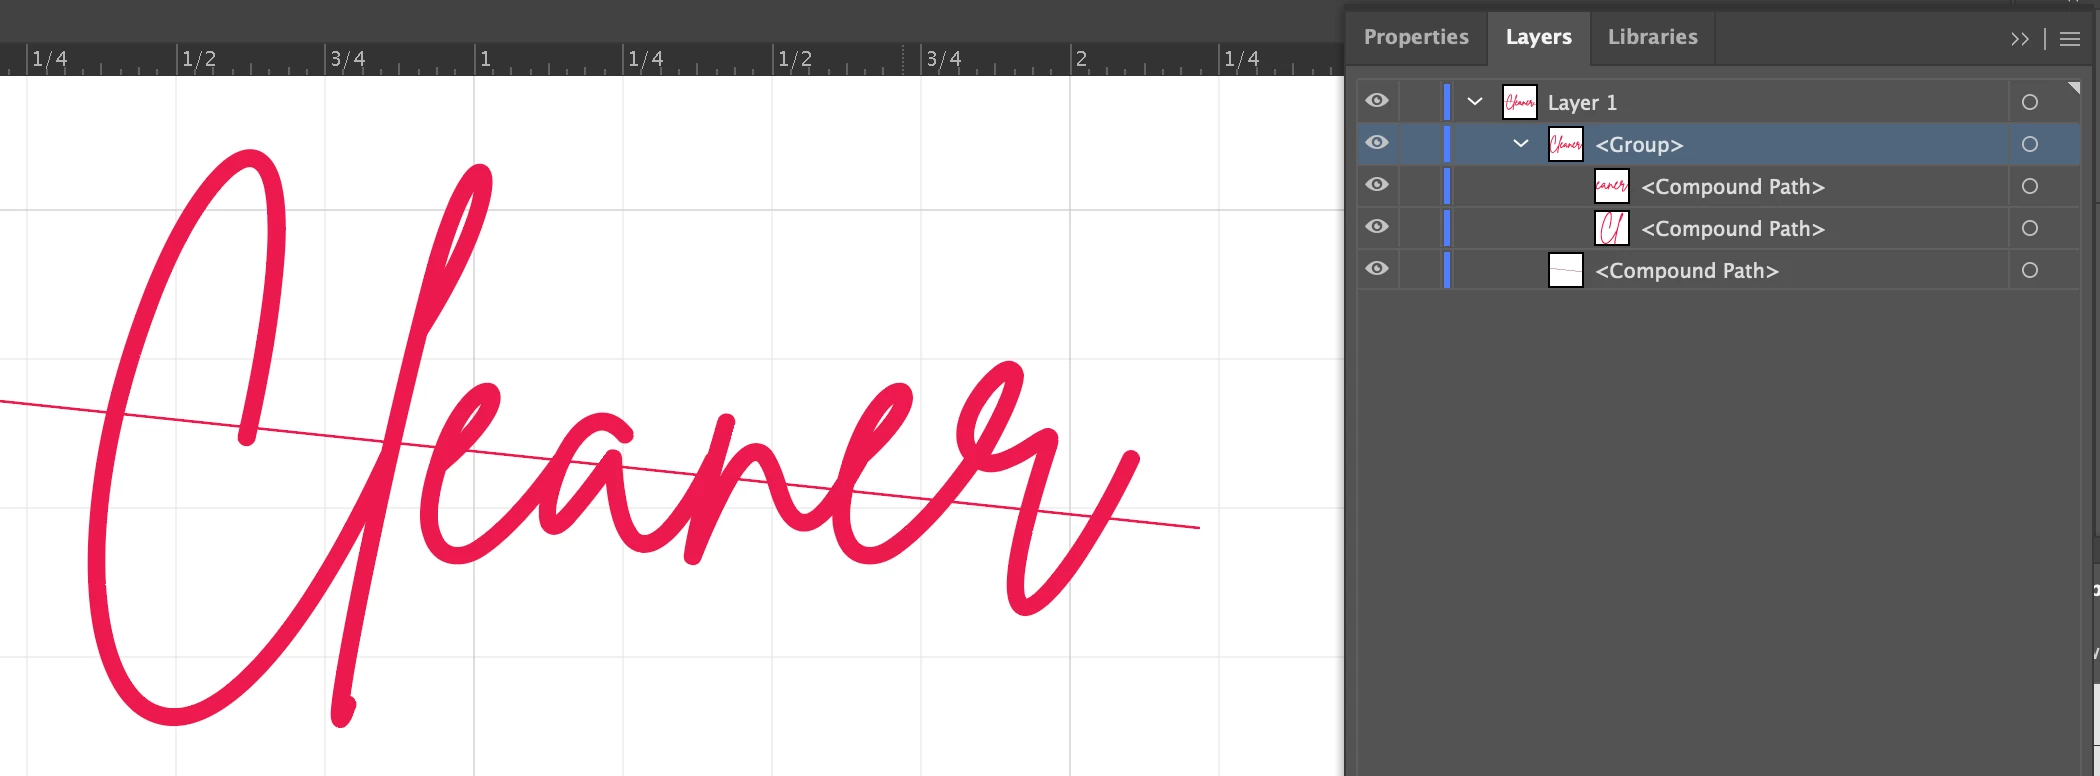
It doesn't seem to matter whether I leave the line as a line or convert it to a compound path.  It does seem to be important that the line has a color for fill.

I also make sure the line is at the back.

When I try and use minus front Shape Modes>Minus Front, (which would leave the line segments I need,  get the following error:


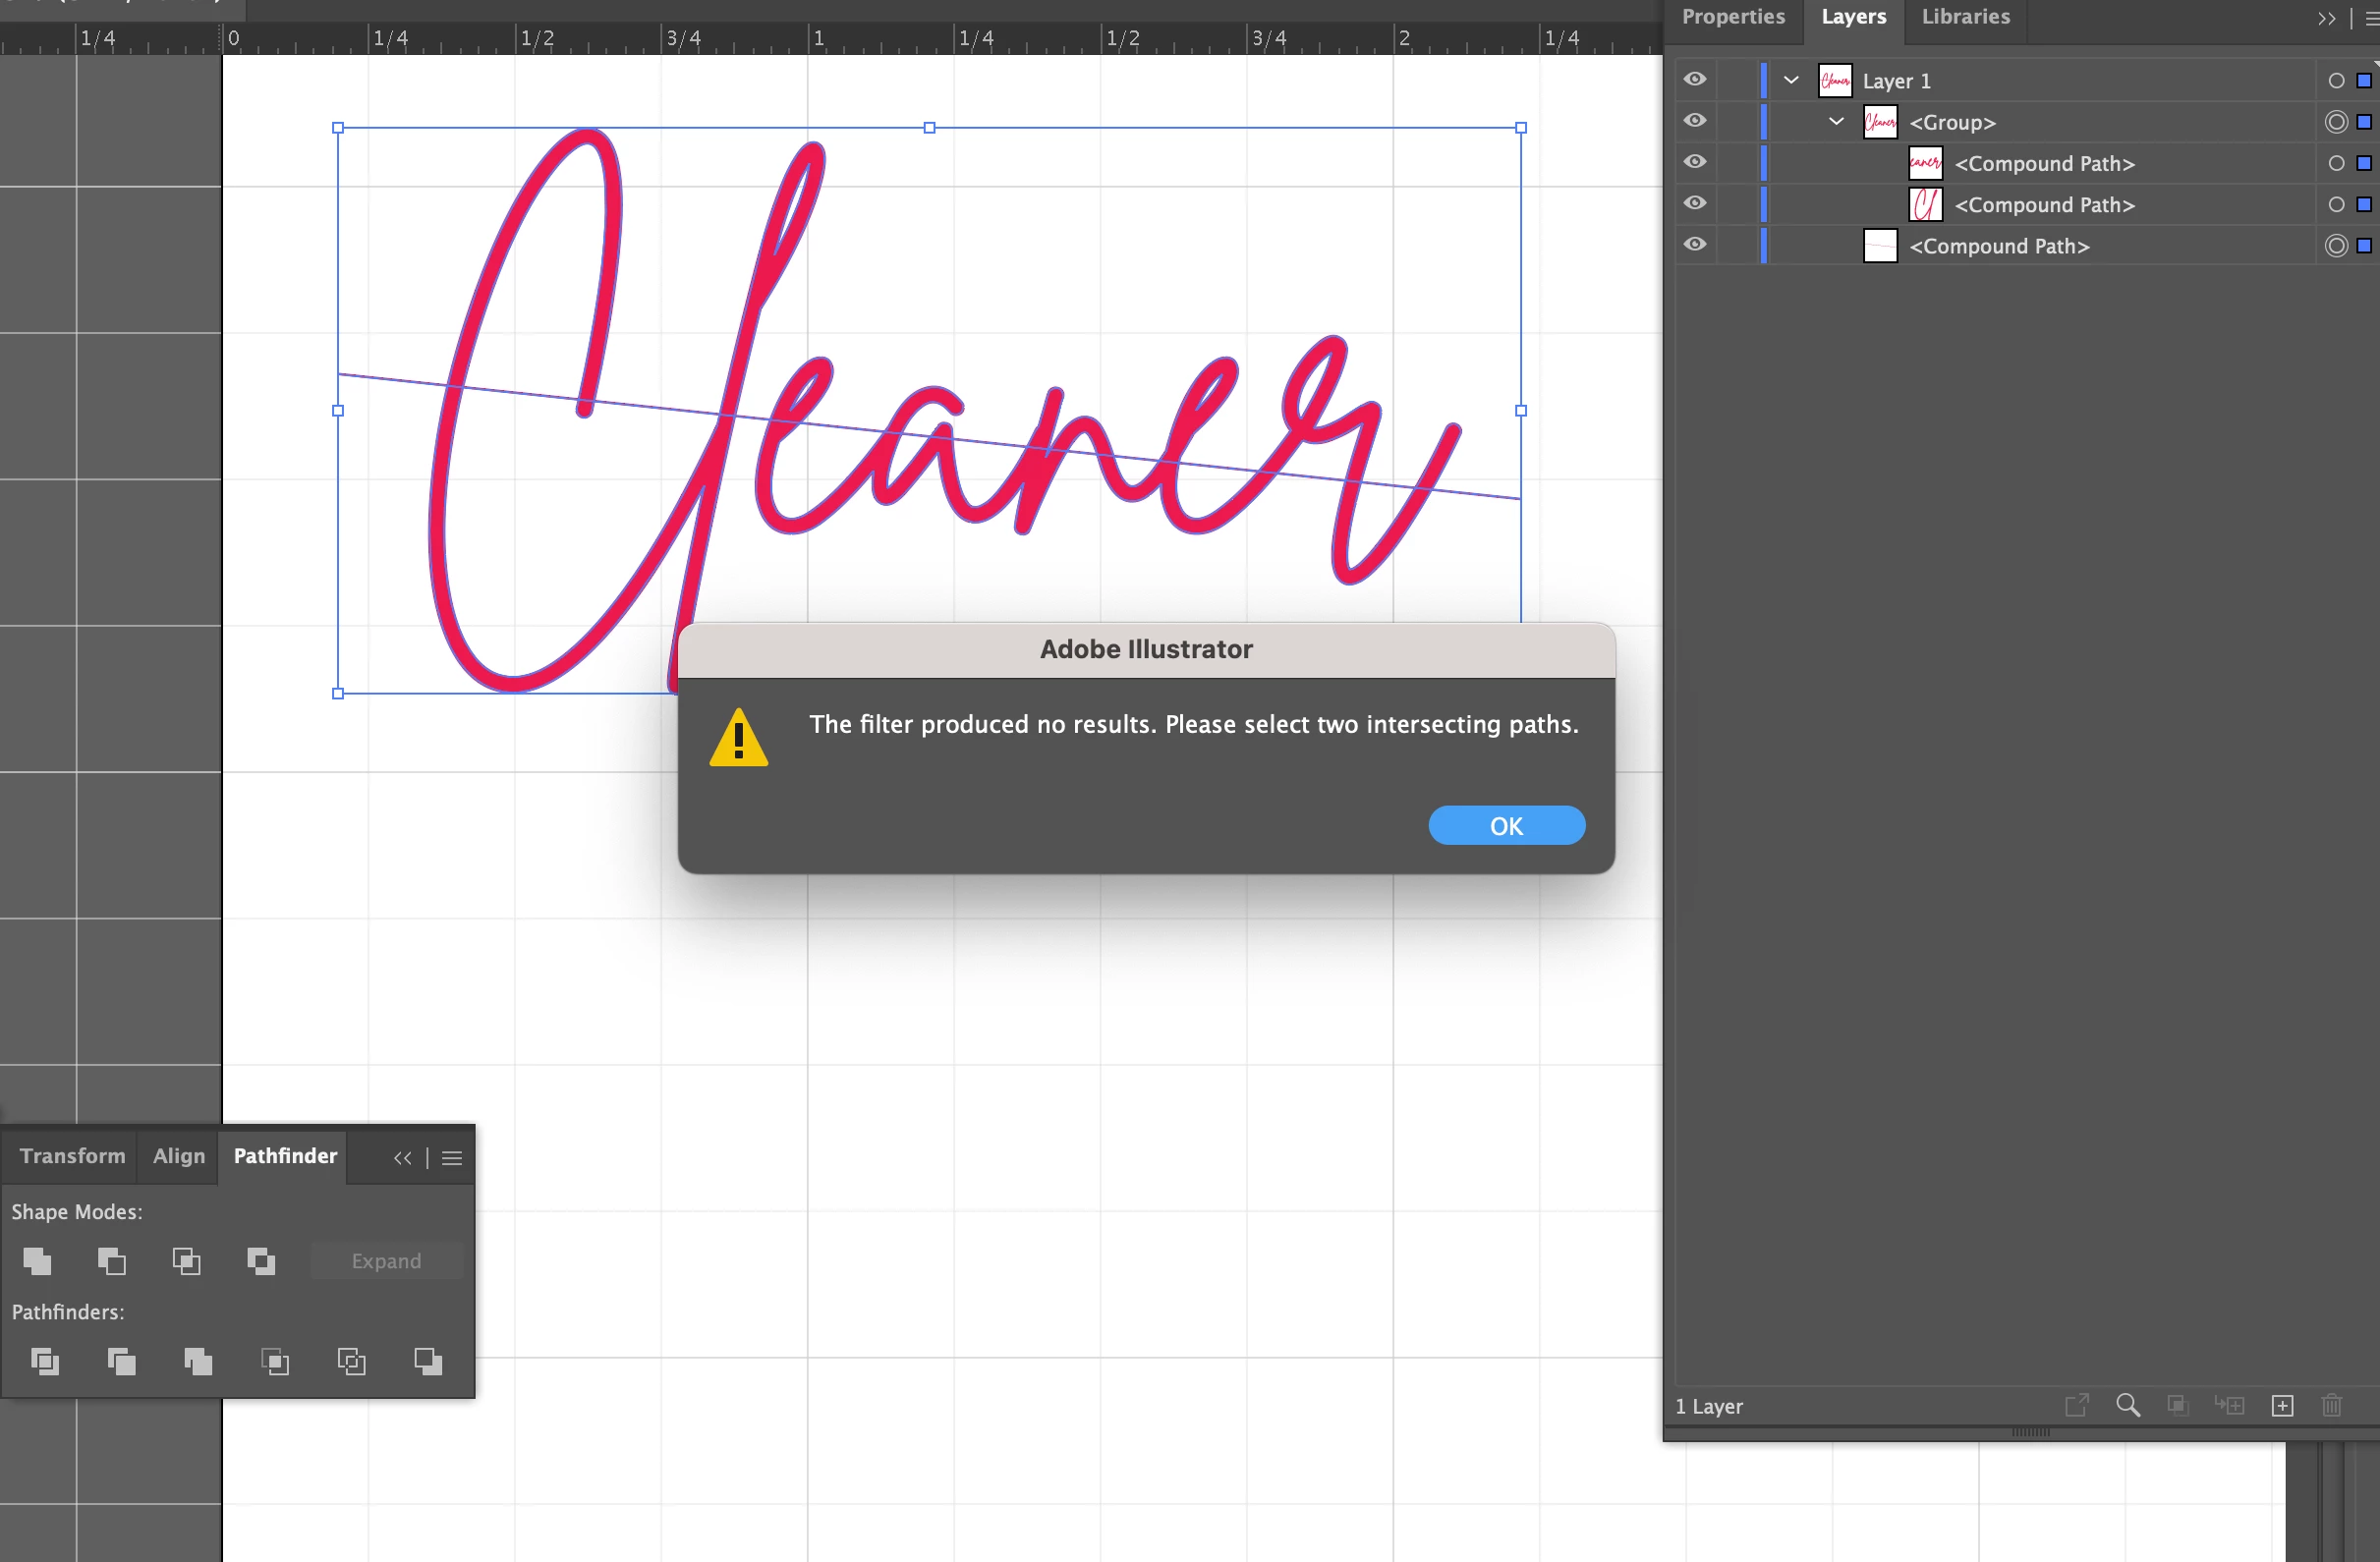
Yet I DO have two intersecting paths selected.

If instead, I use the Pathfinder>Trim option, I get this which looks correct

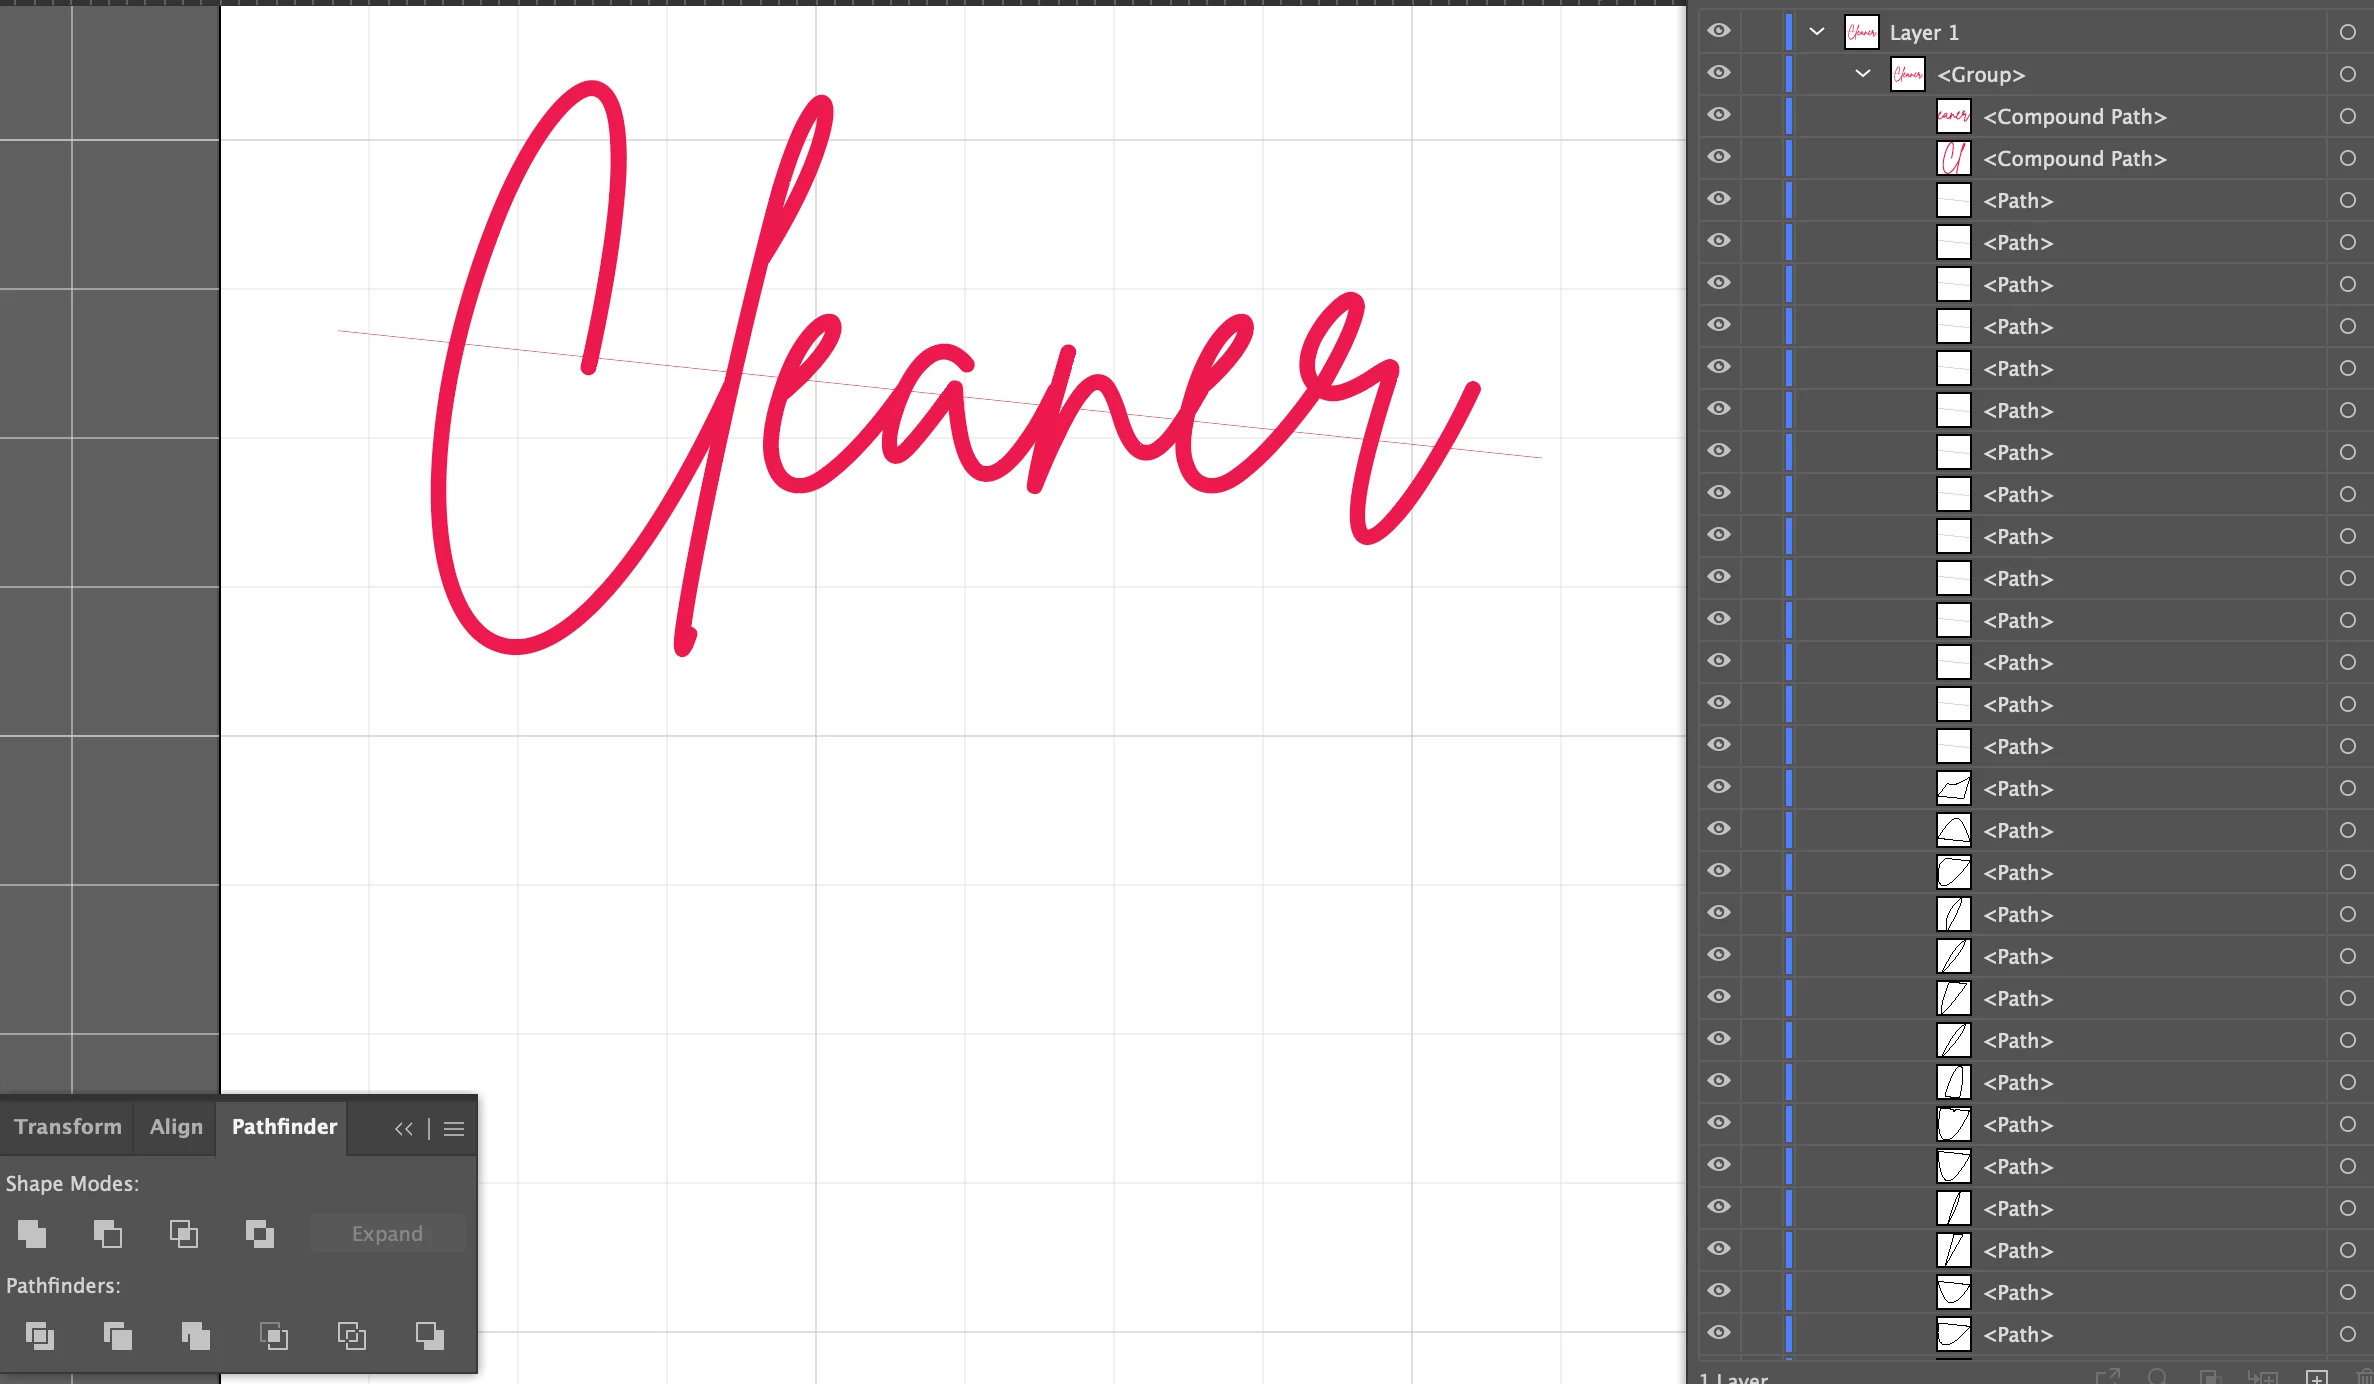
until you remove the letters to see what's left and I have all these artifacts - look at the paths and see below


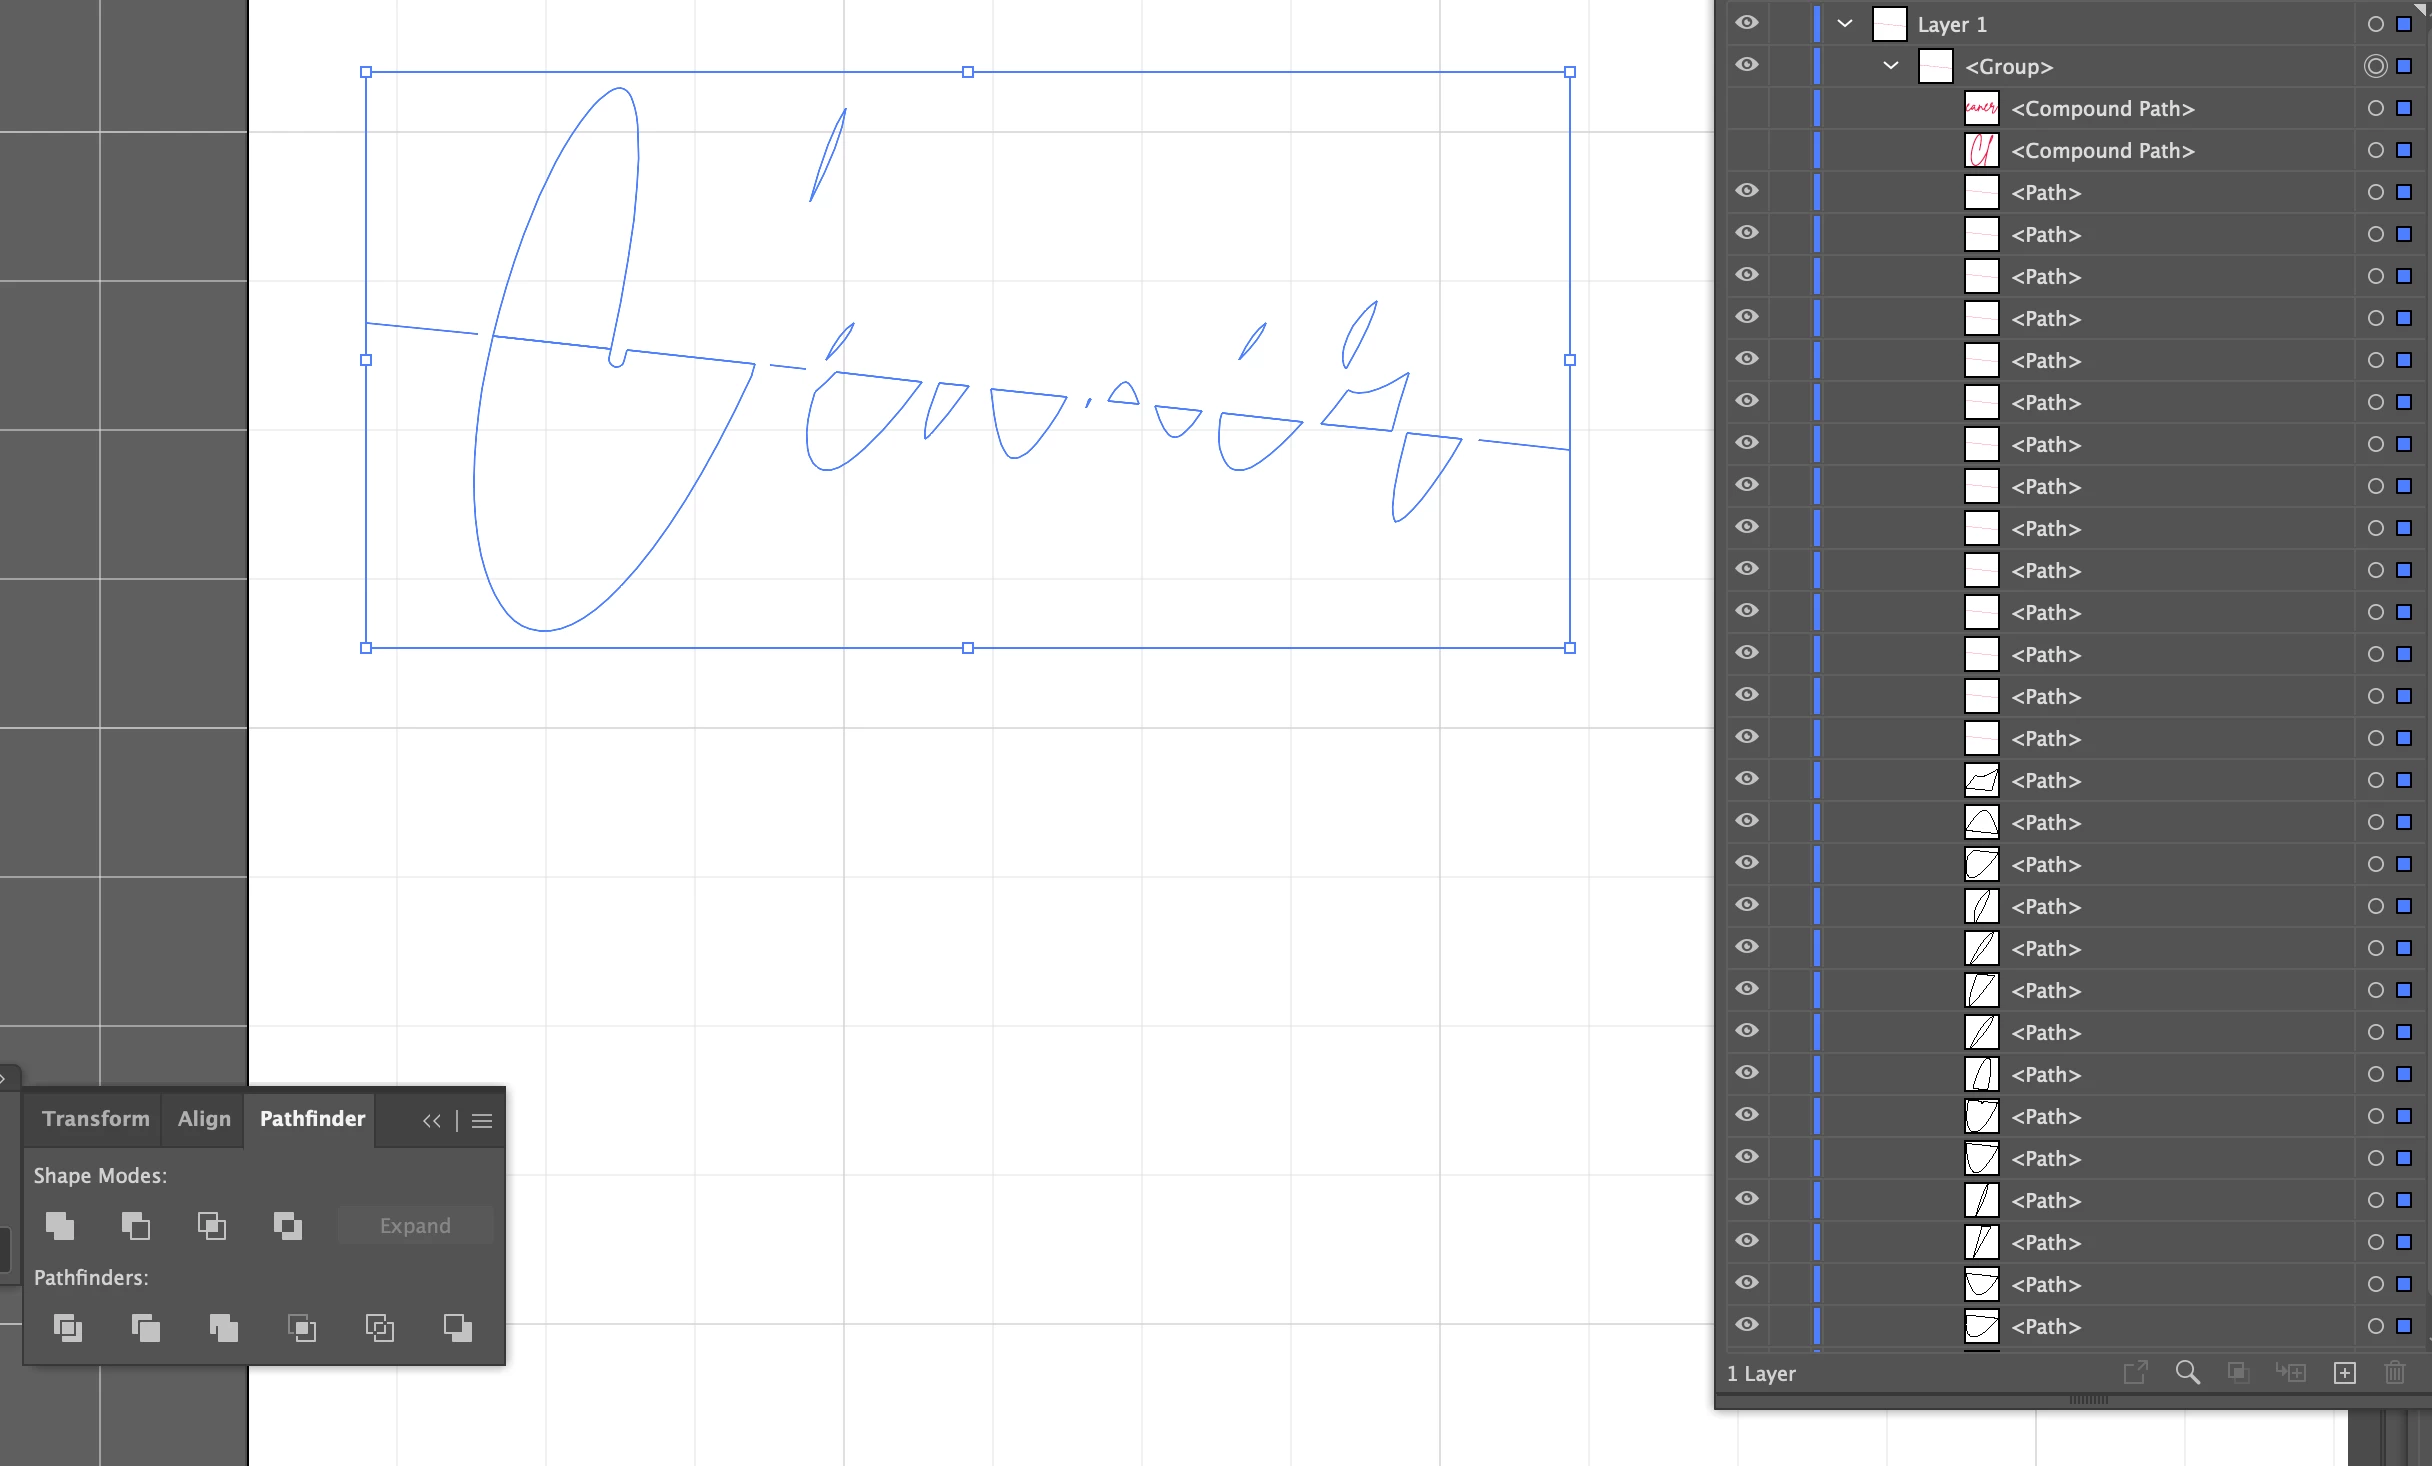
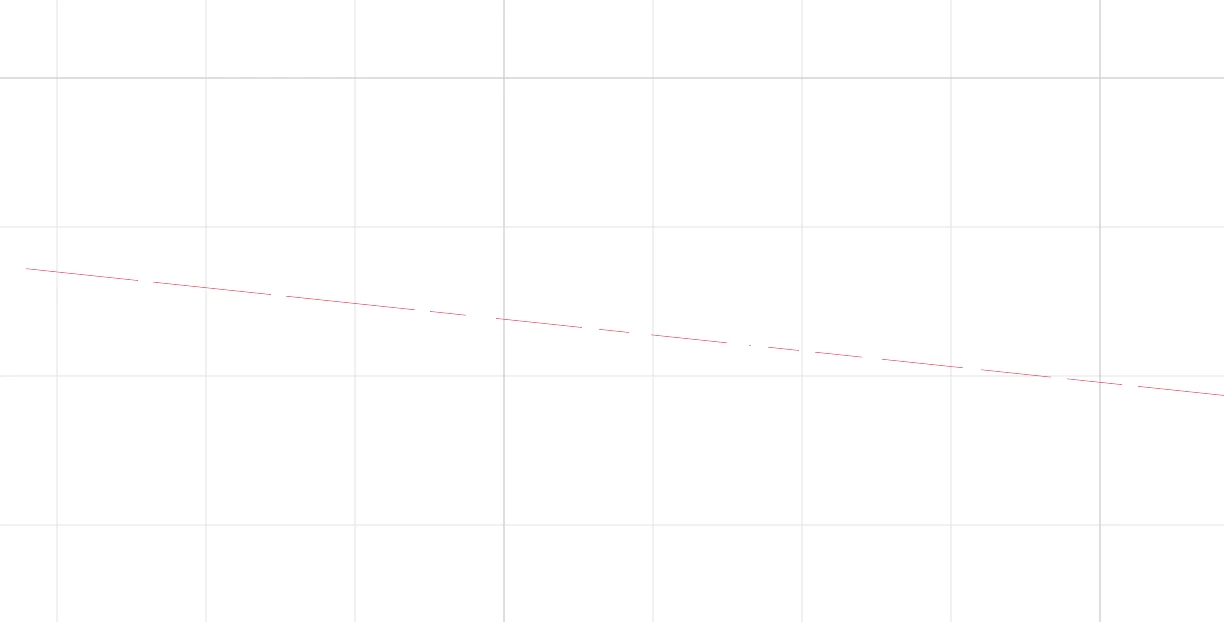
What I really need is just the line segments:

I work on big projects and the cleanup is too time consuming.  What am I missing?

This topic has been closed for replies.
Correct answer Jacob Bugge

Loves2create,


I am afraid that with AI, the closest you can get to what you have in mind/are used to, requires your turning the weeding line into a closed path, then clean up by getting rid of the unwanted parts, as follows.


With the text as two Compound Paths and the weeding line as a stroked path beneath the text, you can:


1) Create a copy of the whole text (Ctrl/Cmd+C+F) and hide it (both Compound Paths);

2) With the Pen Tool Click one of the end Anchor Points of the weeding line, then Click beneath the text on both sides, then Click the other end Anchor Point of the weeding line so it forms a closed path with only the original section crossing (behind) the text;

3) Select everytning and Pathfinder>Minus front;


This will create a closed path with the lower parts of the text included along with the three new segments created in 2);


4) Deselect, then with the Direct Selection Tool ClickDrag across each of the different unwanted parts of the path and press delete (only once);


Now you only have the desired pieces of weeding line as separate paths;


5) Show (the copy of) the text in front of the weeding line(s).


Now you have everything.


3 replies

Community Expert
June 26, 2023

Why is there a diagonal line running through the lettering? Are the "Cleaner" letters being cut out of roll vinyl on a plotter? While it is a must to weld over any overlaps in connected script lettering prior to cutting I don't understand the purpose of the diagonal line.

Jacob Bugge
Community Expert
June 26, 2023

Bobby,


I believe Loves2create wishes to switch to AI with this,

https://www.silhouetteschoolblog.com/2014/08/adding-weeding-lines-in-silhouette.html


New Participant
June 26, 2023

Jacob, wow, YES exactly this but that software is generally so limiting I did not even think to use it.


Bobby, as mentioned in my post this will be cut from vinyl on a plotter.  The diagonal lie is a weeding line.  It is much easier to weed small details or letters if you add in weeding lines.

Jacob Bugge
Jacob BuggeCorrect answer
Community Expert
June 26, 2023

Loves2create,


I am afraid that with AI, the closest you can get to what you have in mind/are used to, requires your turning the weeding line into a closed path, then clean up by getting rid of the unwanted parts, as follows.


With the text as two Compound Paths and the weeding line as a stroked path beneath the text, you can:


1) Create a copy of the whole text (Ctrl/Cmd+C+F) and hide it (both Compound Paths);

2) With the Pen Tool Click one of the end Anchor Points of the weeding line, then Click beneath the text on both sides, then Click the other end Anchor Point of the weeding line so it forms a closed path with only the original section crossing (behind) the text;

3) Select everytning and Pathfinder>Minus front;


This will create a closed path with the lower parts of the text included along with the three new segments created in 2);


4) Deselect, then with the Direct Selection Tool ClickDrag across each of the different unwanted parts of the path and press delete (only once);


Now you only have the desired pieces of weeding line as separate paths;


5) Show (the copy of) the text in front of the weeding line(s).


Now you have everything.


New Participant
June 27, 2023

Thanks.  This works.  It's messier and more time consuming than the Silhouette software especially when I have multiple lines of text.  The Silhouette software is free to download even if you don't use that plotter,  so I may try it.

Jacob Bugge
Community Expert
June 27, 2023

For my part you are welcome, Loves2create.


Monika Gause
Community Expert
June 26, 2023

I don't think I understand what you are trying to achieve.