I started to study it through, but it's too much of a study for me with all the stuff I'll never use or need, so I went to work directly and refer to it when I need to. However, it didn't help with this problem now of moving an object to wrap around it.
Morty
Morty—I agree 100% with Jane's advice. It is a herculean task to learn InDesign while laying out a document. First learn InDesign, then lay out your file.
That said, this is the workflow I suggested.
- Here is the file in Word. The photos are each on their own paragraph, and centered.
- Here is the same file in InDesign. With this set up, the images will flow with the text. If you add/delete text above them, they will move with the text. This is also why you can't drag them where you want to.
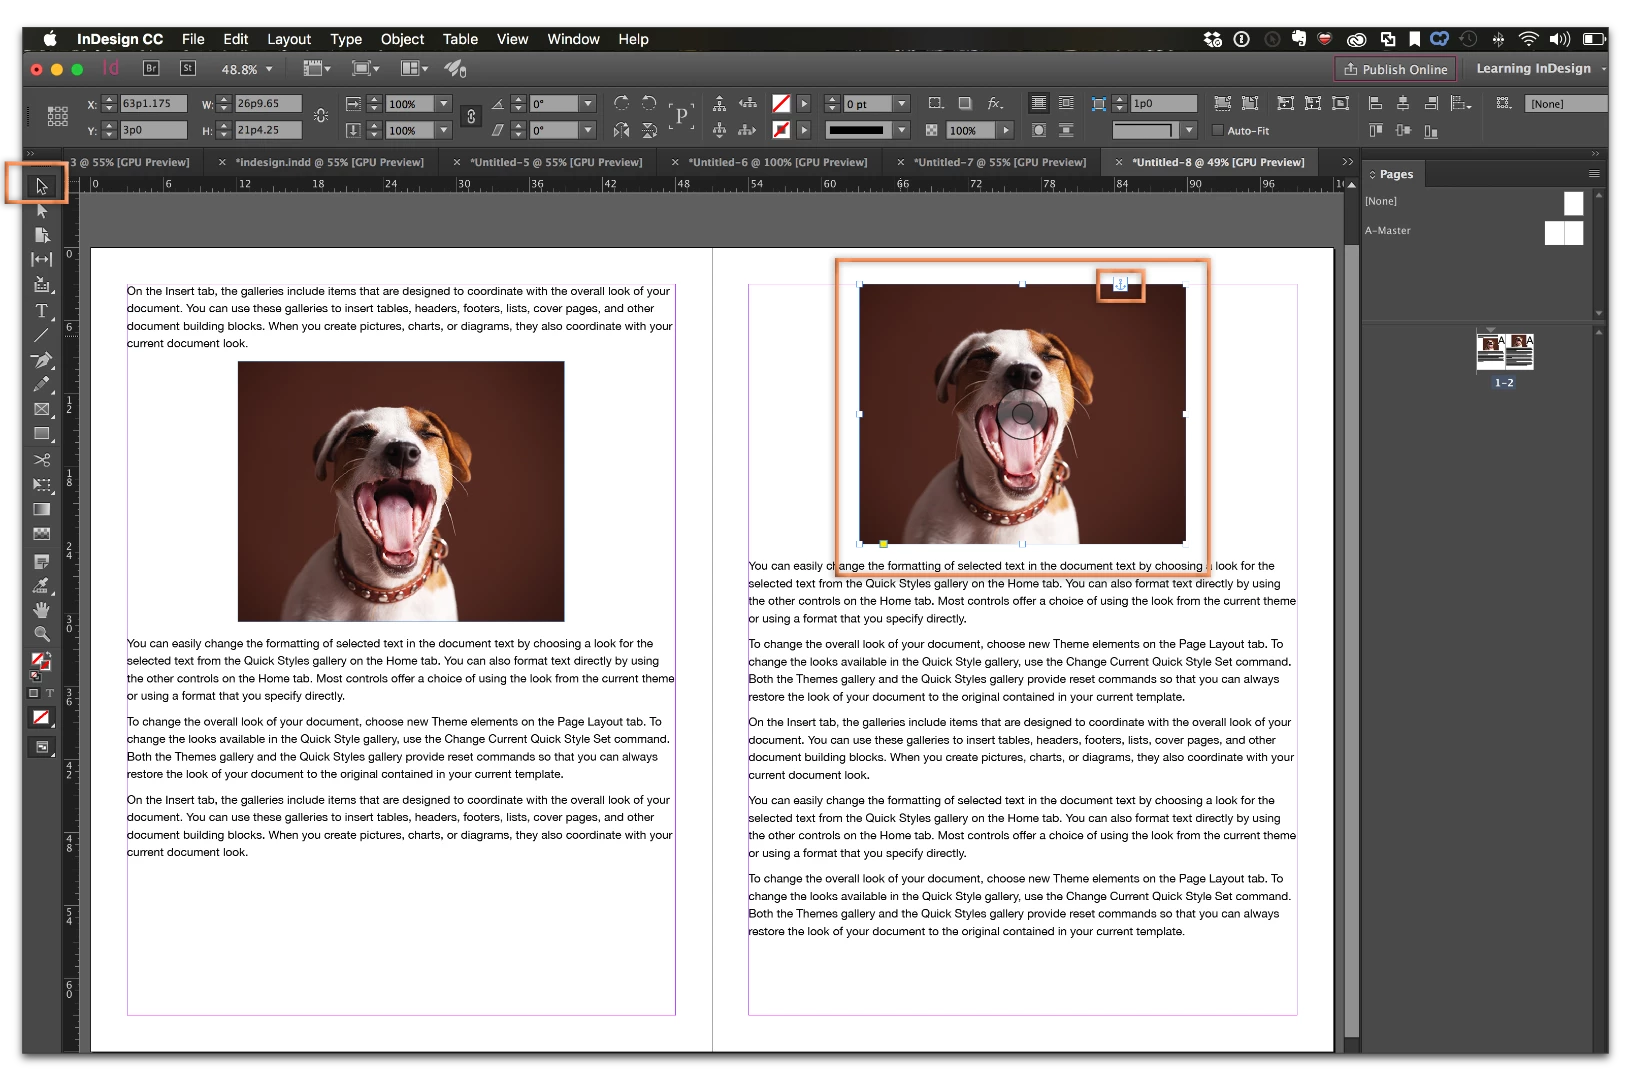
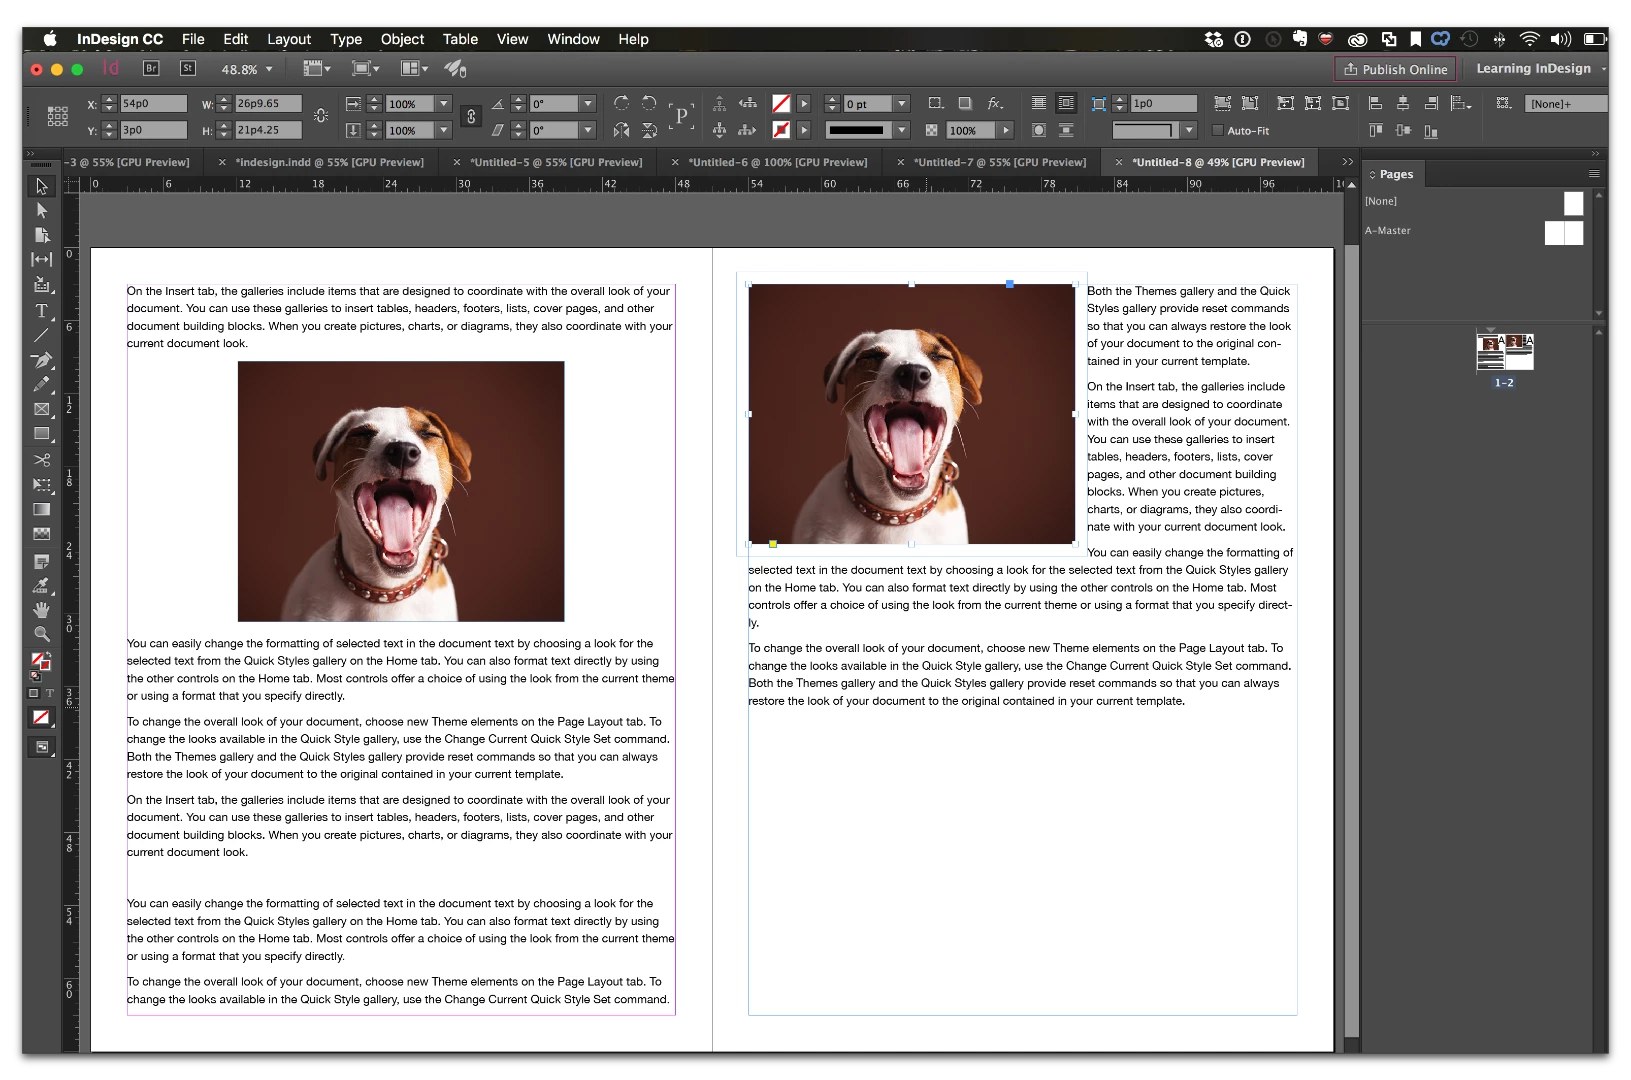
- Using the Selection tool, click on an image. Do not click the doughnut in the center. Note the bounding box on the selected image, and the anchor symbol in the top right.
- Edit > Cut

- Edit > Paste. The selected object will always paste in the center of the current view. That is fine. Do not deselect the image.
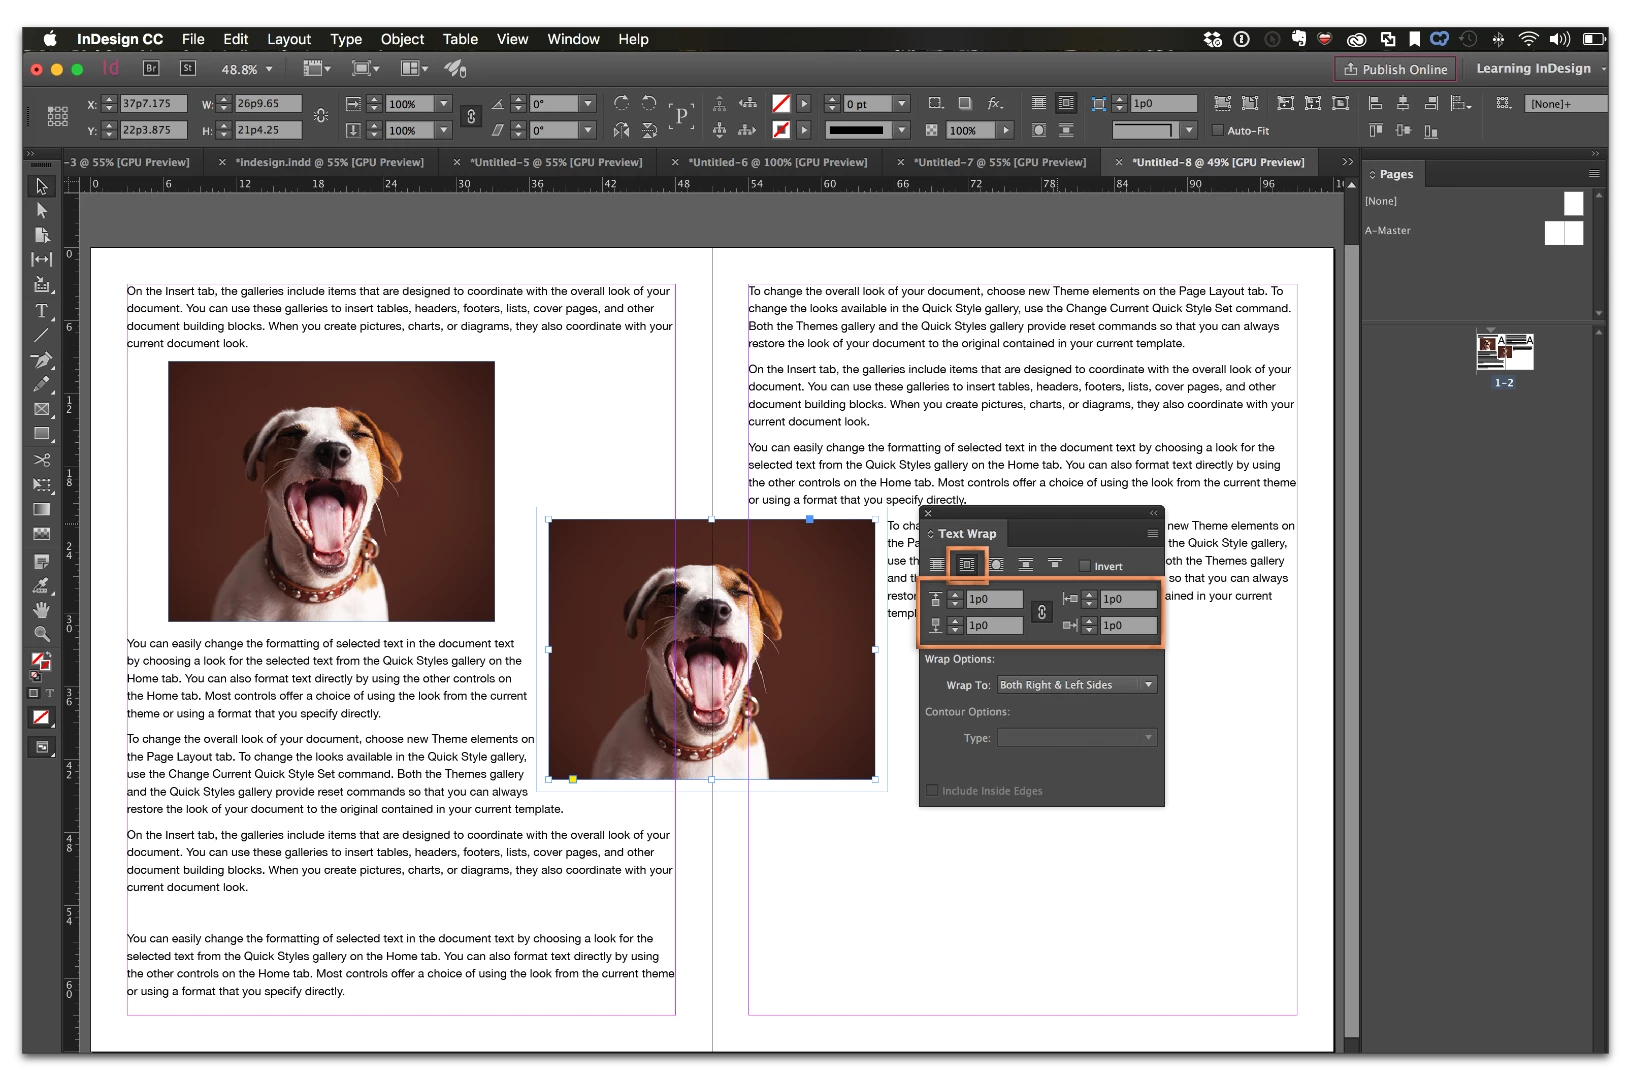
- Window > Text Wrap. Pick button #2 to turn on text wrap around the bounding box. Set the offset to move text away from the edge of the image.
- Use the Selection tool to drag the image to the desired position on any page.
NOTE: These specific steps allow you to move an image anywhere you want, but the image will not flow with the text if you add or remove text in advance of the image. If you need the images to move, you will need to re-anchor them. That is a separate question, and should be asked as a separate post, but before you do that, work though this online documentation: Work with anchored objects in InDesign .