Inspiring
October 3, 2017
Frage

PhotoShop Image Processor Pro not sizing images correctly
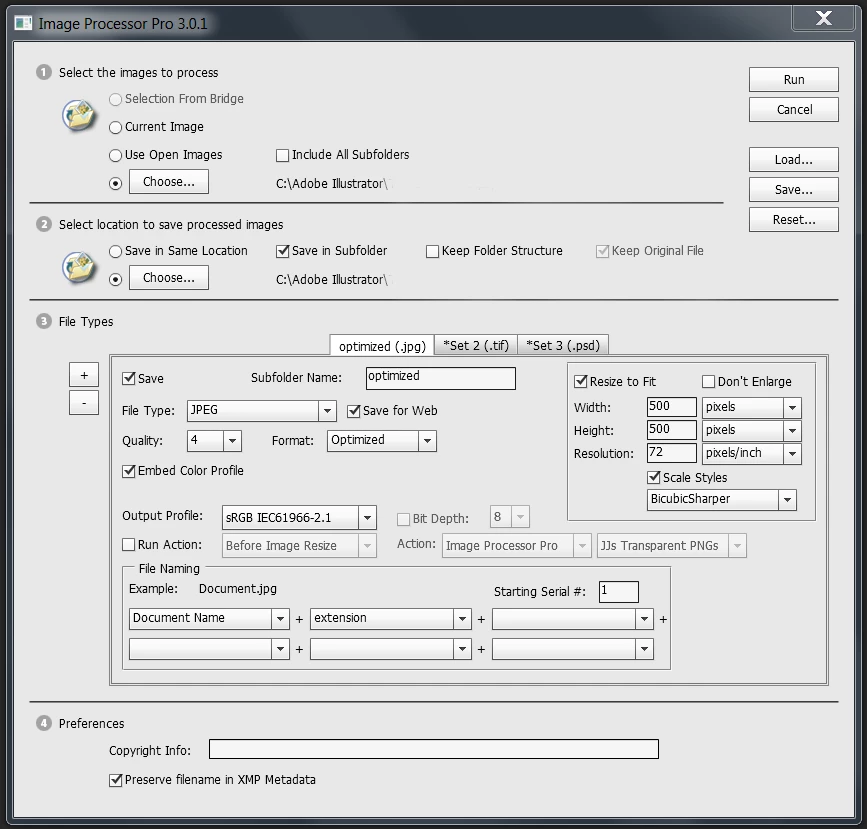
  • October 3, 2017
  • 2 Antworten
  • 3934 Ansichten

Hello!

I'm trying to convert a batch of .jpg images that are 800 x 1070 to images that are 1334 x 1970 through PhotoShop and Image Processor Pro.   Instead of getting 1334 x 1970 I was getting 1334 x 1784.  I ran a test to see what would happen if I tried to convert them to 500 x 500... it converted them to 374 x 500.  It appears to be trying to hold on to the aspect ratio or something.  Here are my settings.  What am I doing wrong??   THANKS!!   

Dieses Thema wurde für Antworten geschlossen.

2 Antworten

Participant
April 11, 2023

I had the same problem, what you need to do is set up an action first recording the file resizing and the folder you want to save it in. Then you need to do a file, automate batch process


Creating an image export action

1. Open up the Actions palette by clicking on the Window menu > Action, and create a new set by clicking on the folder icon at the bottom of the actions palette. Call it "Batch Actions."

2. Then create a new Action by clicking on the new action icon at the bottom of the Action palette, and give it a descriptive name, for example, let's call it "AutoContrast-Resize".

Your Action should now be recording, so anything you do from this point on will be included as an Action step.

Do all the editing you want to record such as adjusting the contrast of the image, resizing it if you want all of the images to be of the same height or width, then save the changes. When you're done, you'll see this new command listed in the Actions palette. If you expand this command, you'll see all of the settings you've applied editing that photo.

After all the editing is complete, stop recording your Action by clicking on the stop icon on the Actions palette. Now you're ready to batch process.


Applying the Action to a batch


Now apply this batch to a folder full of images. In this case, make sure all of the images you want to apply this action to are all contained in one folder. Here's how that works.

1. Choose File > Automate > Batch.

2. At the top of the dialog that pops up, select your new Action from the list of available Actions.

3. In the section below that, set the Source to "Folder." Click the "Choose" button, and select the folder that contains the images you want to process for editing.

Check the following options:
* Suppress File open options dialogs
* Suppress color profile warnings
These will suppress warnings that would otherwise interrupt the batch process.

4. In the section below that, set the Destination to "None." This will allow you to use the destinations that you recorded in your Action, so that the photos will be saved in the same folder. (If, in the future, you want your images exported to a single folder, you can set the destination to "Folder," then choose the destination folder on the fly in the Batch dialog.)

When you choose "None" as your destination, all other options in that section will be grayed out.

5. Now hit the "OK," and Photoshop will begin processing your images.

 
magical_Skyline0D4A
Inspiring
October 4, 2017

when you use this method the proportions are blocked, this means that ... if you specify 500 x 500 px all panorama images will be reduced to 500 px for the longest side and the automatic height in proportion.

Likewise, all portrait images will be reduced to 500 px in height and width in automatic and proportional.

if it turned a 1920 x 1080 image into 500 x 500 px the image would be completely distorted and deformed.

P BAutor
Inspiring
October 4, 2017

Bonjourno Giordano, thanks for jumping in!

You're absolutely correct that there is distortion when altering the aspect ratio.  The 500 x 500 was an extreme and only for testing.  I am forced to accept a more modest amount of distortion for this project going from 800 x 1070 to 1334 x 1970; I have no choice.

I have successfully converted hundreds of these images to these sizes successfully.  For some reason this particular mini-project won't convert without forcing the same aspect ratio.  I feel like there's a setting that I have set incorrectly and I'm probably staring right at it and not seeing it.  Do you by any chance know what it is?


Thanks...

Stephen Marsh
Community Expert
Community Expert
October 4, 2017

AFAIK IPP uses the equivalent of the “fit image” command, so it is not a bug and by design that the aspect ratio is maintained and that the resulting image is not distorted/stretched.