Hi,
I think a few explanations might be in order to clear up some of your confusion re. this issue.
There are two separate applications which make up the Photoshop Elements 13 product - the Photoshop Elements 13 Organizer and the Photoshop Elements 13 Photo Editor. The Organizer has its roots in an application called Photoshop Album and is for cataloging your images, making quick fixes and sharing your final projects - it is a very different product than Photoshop and therefore any WebP Photoshop-compatible plug-ins will not work in the Organizer. The Photo Editor does have its roots in Photoshop and thus, in many cases, can run Photoshop-compatible plug-ins. So the trick is to locate the correct location for your WebP plug-in.
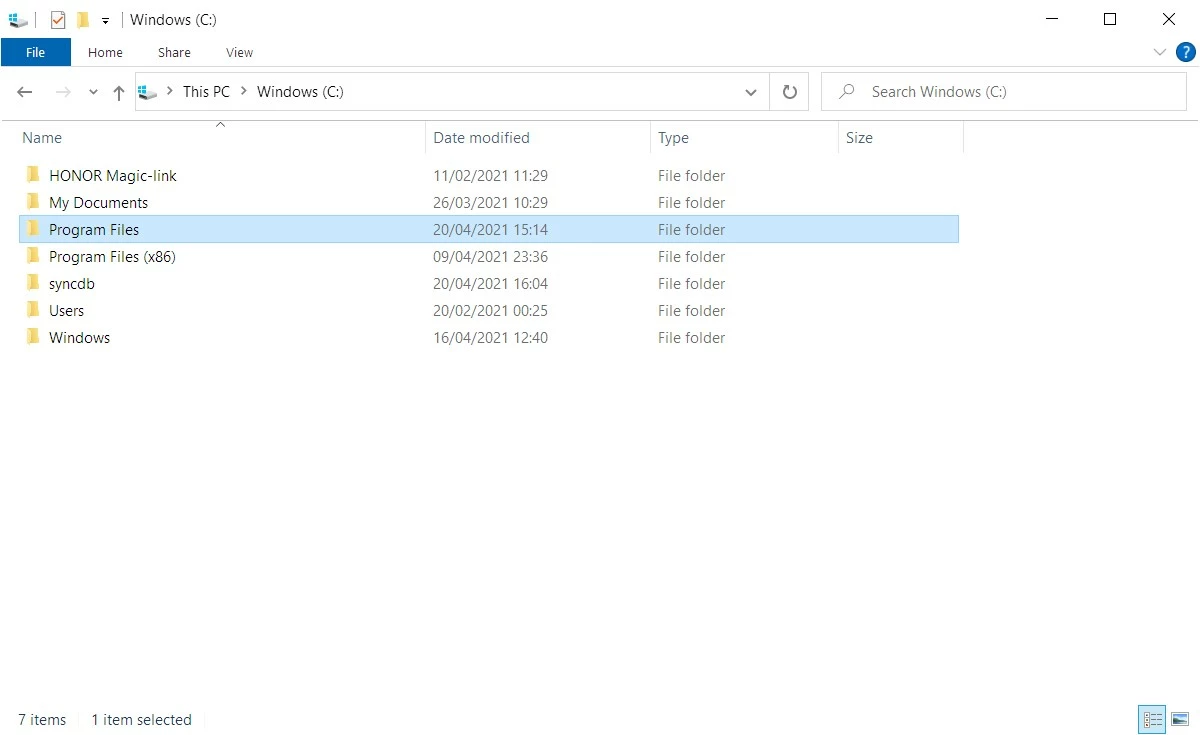
First off, the fact that you have a Program Files (x86) folder on your computer means you are running a 64-bit version of Windows 10. Secondly, as you don't have an Adobe subfolder inside your Program Files (x86) folder means you are also running the 64-bit version of Photoshop Elements 13.
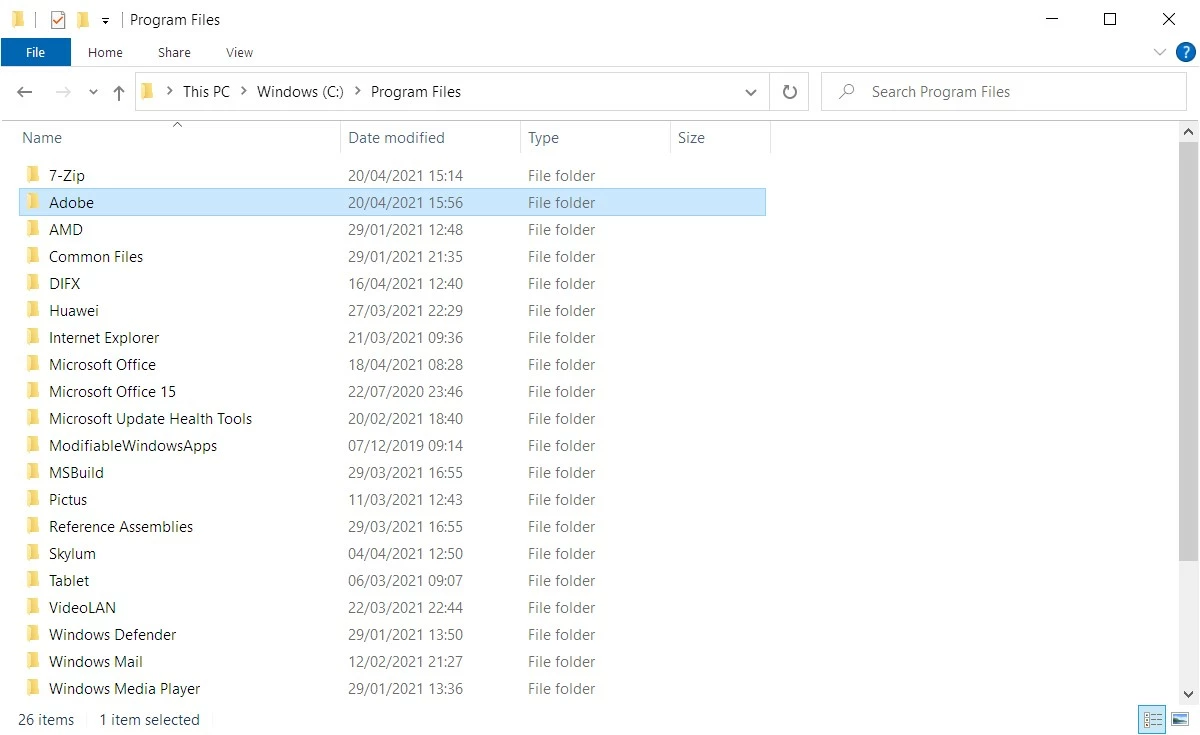
If you have installed Photoshop Elements 13 using the default install location (which I'm pretty certain you would have done!), then the correct location to install the WebP plug-in will be:
C:\Program Files\Adobe\Photoshop Elements 13\Plug-Ins\
Here's some screenshots of the folders you need to be looking for in order to navigate to the correct location (of course my other folders will be different than yours, so I've highlighted the folders you need to open):
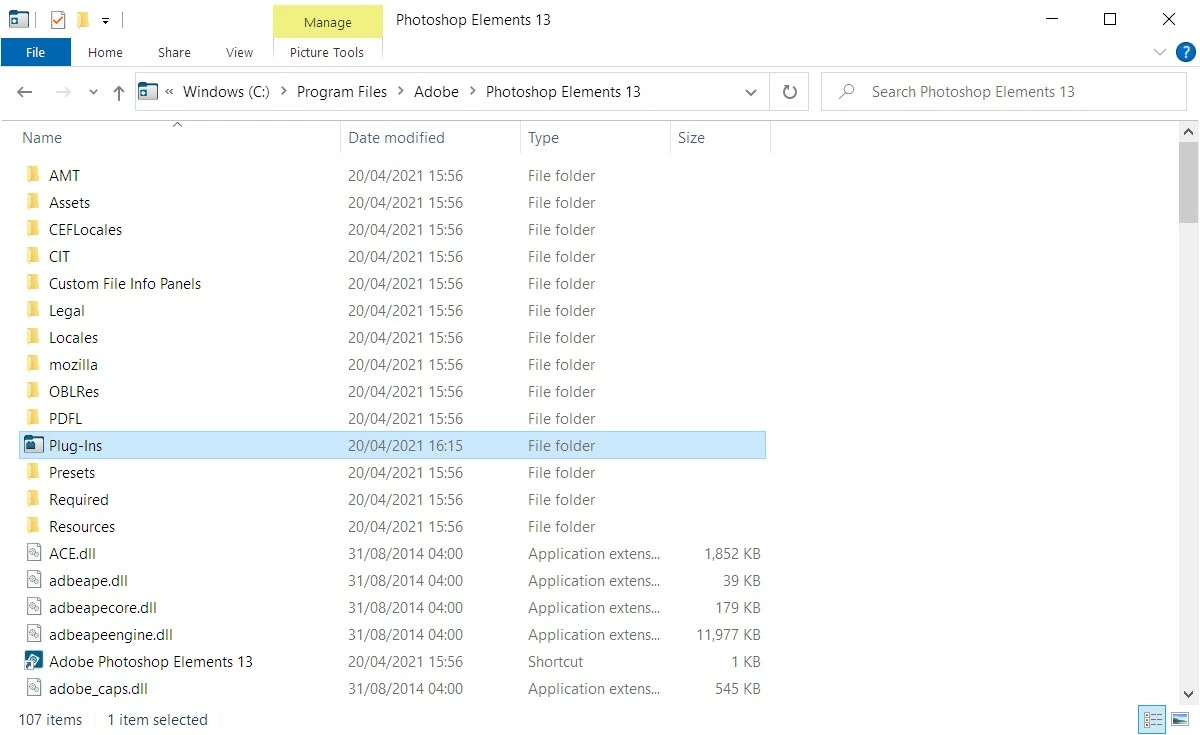
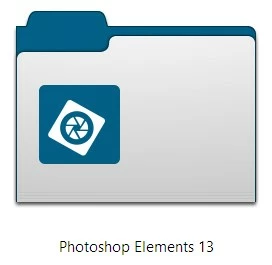
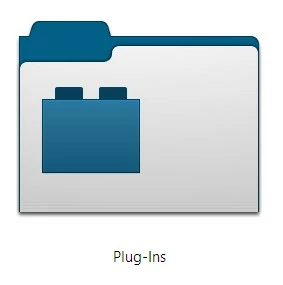
Don't be confused by the custom graphics that the Photoshop Elements 13 folder and the Plug-Ins folder use:
So, on to the WebP plug-in... the WebP file format was developed by Google, hence the best WebP plug-in to download will be the one developed by Google: WebPShop (you mentioned this in your original post, but as you now know, it wasn't in the correct application's plug-in folder!)
Here is the direct link to download the latest 64-bit Windows version of WebPShop:
https://github.com/webmproject/WebPShop/releases/download/v0.3.3/WebPShop_0_3_3_Win_x64.8bi
So now you need to locate that downloaded file, WebPShop_0_3_3_Win_x64.8bi (it's probably in your This PC > Downloads folder), then copy & paste that file into your C:\Program Files\Adobe\Photoshop Elements 13\Plug-Ins\ folder.
Now start up Photoshop Elements 13 and from the Welcome Screen, open the Photo Editor. If you go to Help > About Plug-In > WebPShop... you will see a little window appear to confirm that the WebPShop plug-in has been found and is up and running:
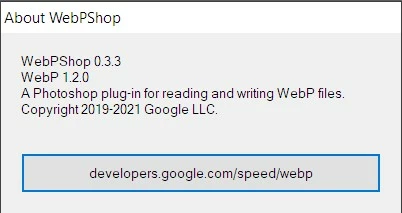
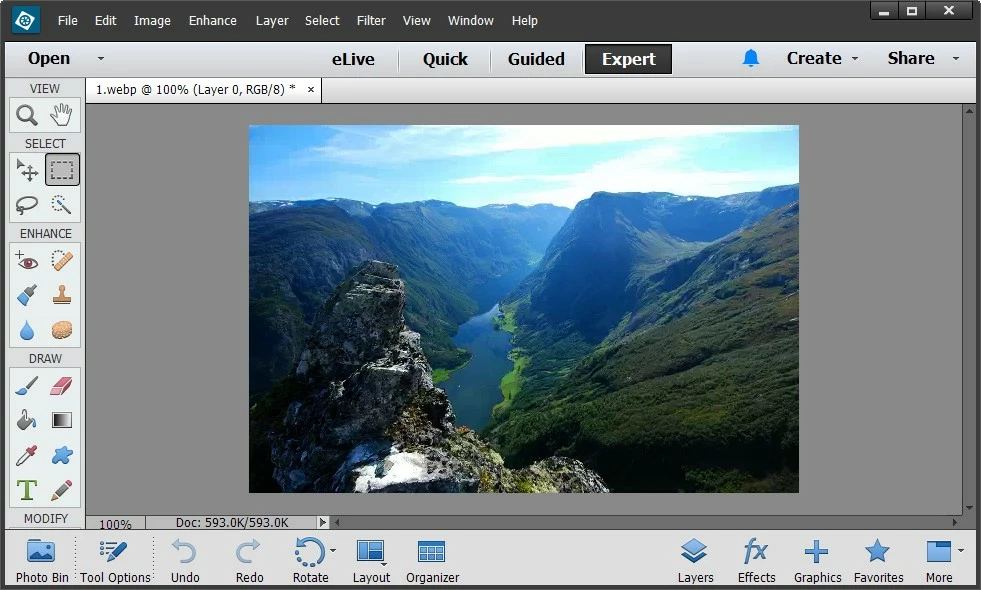
Click on that window to make it disappear again, and now you should be able to open and save WebP images in the Photoshop Elements 13 Photo Editor, like this one:
Unfortunately, you won't be able to view WebP images in the Organizer as no WebP plug-in has been developed for that application.
And just a little bit of background on the WebP file format just so you know why Photoshop Elements 13 didn't support this file format at the time of release (and why even the latest version doesn't either).
The WebP file format is a relatively new file format developed by Google for images on the Web. When Photoshop Elements 13 was released 7 years ago, relatively few people would have heard of WebP as it was only supported by the Chrome web browser at that point. Edge added support in 2018, Firefox followed in 2019, but Safari (on both macOS and iOS) didn't add WebP support until late 2020. Cross-browser support is pretty essential for any web file format, so it's only now that WebP has become a real alternative to JPEGs and PNGs.
Hope that all this makes everything a little clearer for you 🙂

