

- Home
- Download & Install
- Discussions
- Re: How do i put a transparent gradient on an imag...
- Re: How do i put a transparent gradient on an imag...

Copy link to clipboard
Copied
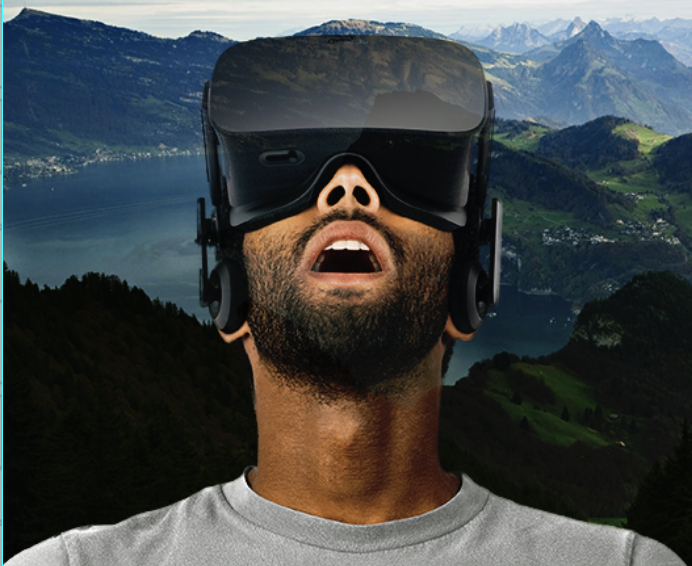
Hello, how do i set a gradient with opacity on this guy so you can only see the background through it at the top? I have 1 layer mask on the guy because i deleted the background of the guy.
Thanks in advance!


 1 Correct answer

If you are looking for a particular light to dark value, choose the Gradient Tool after making a selection.
In the Options bar click on the black to white gradient shown.
In the slider of the gradient shown in the Gradient Editor, double click on the bottom left one and choose a dark gray
Next, double click on the bottom right one and choose your light gray
Click OK and use that in your selection area, the goggles. Alter the opacity of the selected goggle area for the degree of show-though you want
... 17
Replies
17
17
Replies
17

Copy link to clipboard
Copied
Create a photoshop file with two layers - one blank and the other containing the image to be made transparent. Select the image's layer.
Click the Add layer mask icon at the bottom of the layers palette.
A layer mask is created in the image layer.
Add Layer Mask Layer Mask Applied
Gradient ToolSelect the gradient tool and apply a black/white gradient to the image layer.
Copy link to clipboard
Copied
And i tried this but i can never get it right, my image just gets black and white in gradient shape...
I dont know what i am doing wrong...
Copy link to clipboard
Copied
If you are looking for a particular light to dark value, choose the Gradient Tool after making a selection.
In the Options bar click on the black to white gradient shown.
In the slider of the gradient shown in the Gradient Editor, double click on the bottom left one and choose a dark gray
Next, double click on the bottom right one and choose your light gray
Click OK and use that in your selection area, the goggles. Alter the opacity of the selected goggle area for the degree of show-though you want.
Copy link to clipboard
Copied
After doing that, how do I delete the white background of the guy?
Because it doesn't seem to work anymore by making a selection and adding a layer mask. It says vector mask now.
Copy link to clipboard
Copied
You seem to have made a selection of the. area around the man. Now strike the Delete key
On that layer choose the image, not the mask, for the deletion.
Copy link to clipboard
Copied
Okay thanks man! don't know what answer to mark as correct now because i found it through multiple of your answers but it works now
Copy link to clipboard
Copied
Post #6 most closely answers your question once you clarified the result you were after.
Copy link to clipboard
Copied
But if i do it this way i can't make the selection better with 'select and mask...'?
Copy link to clipboard
Copied
If you use Select and Mask, it hides all but the visor, including the man.
By the way,
When you do have a need for Select and Mask, it would be prudent to choose "New Layer with Layer Mask" and checkmark "Decontaminate colors" in the Output to field.
Copy link to clipboard
Copied
But how do i refine the hair for example or the white color between the goggles and the head?
Copy link to clipboard
Copied
![]()
Sorry, but I don't see any hair or white that you referred to. However, you may want to delete the white I have marked so that the background shows through. If the background is just below the man select those areas and strike delete.
Good luck.
Have to leave now.
Copy link to clipboard
Copied
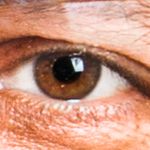
yeah, how do i cut this out precisely, like (i added 2 arrows) normally i did that with the 'select and mask' option so the little bit of white next to the hair (at the 2 bottom arrows) would dissapear too, but now i can't do that anymore because there is already a layer mask with the gradient in it.
Thanks for helping and reply whenever you have time!
![]()
Copy link to clipboard
Copied
You can paint the mask...black will make the image transparent at that place, white will make it opaque.
the easiest will be to do your selections, select the mask and use fill “black”. You may before use the refine selection to modify slightly. Then refine the selection manually by painting the mask.
For painting the mask, you select the mask in the layers panel and select a painting tool (the brush works best).
Copy link to clipboard
Copied
Just adding that filters also work on masks. Consider a mask being a greyscale image and and most if not nearly all you can do with images you can do also with masks.
Copy link to clipboard
Copied
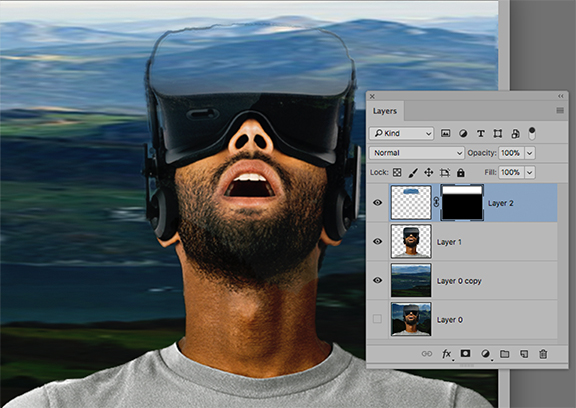
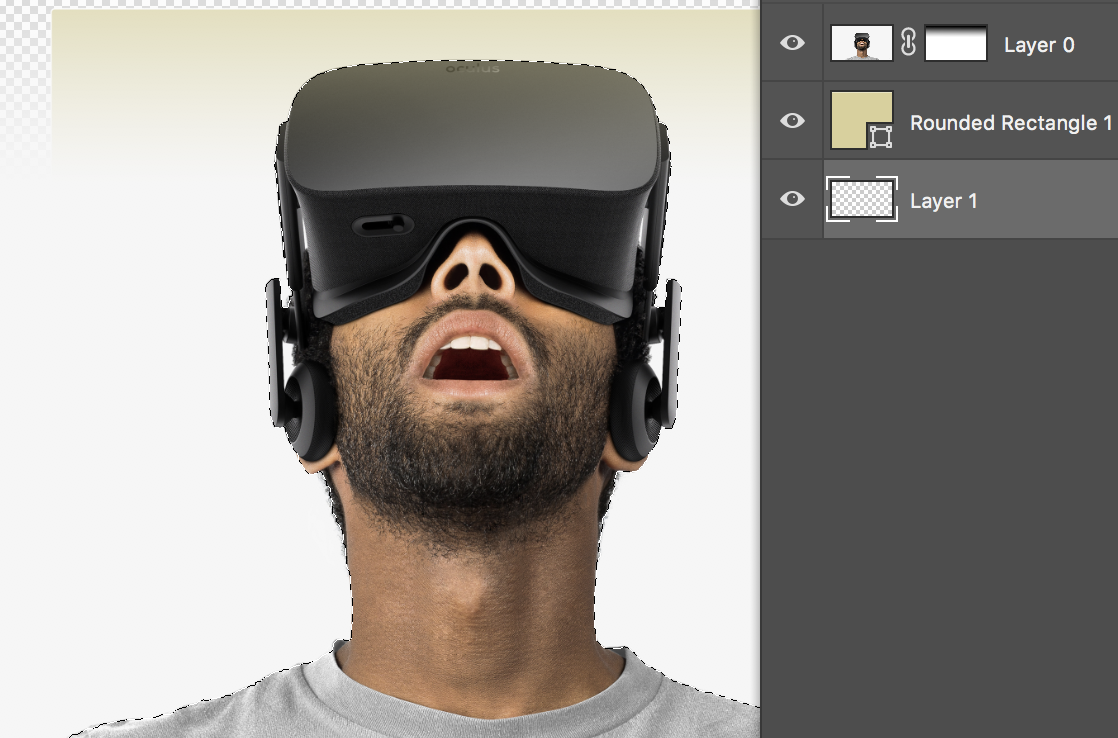
If this is. what you had in mind:
Since your posted file was a composite, I created a separate background (Layer 0 copy) and isolated the figure on a separate layer (Layer 1) to simulate what you had created before flattening.
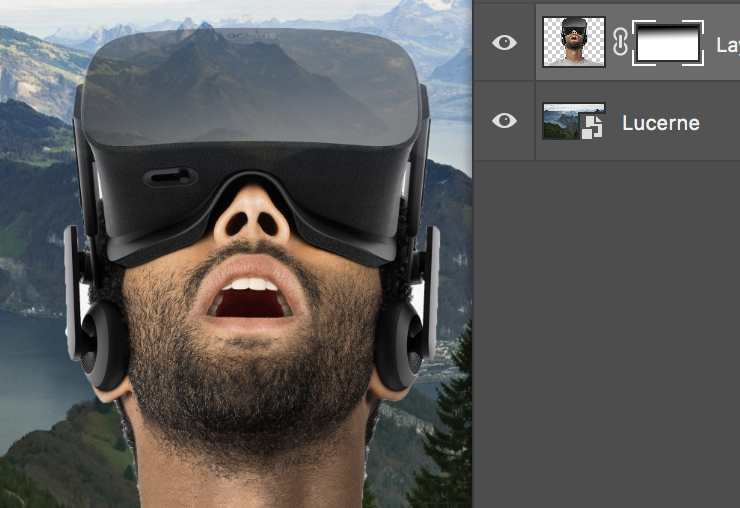
Make a selection. of the goggles, then choose the background layer so the selection appears there. Cmd+J to put that slice of the background on a separate layer. Move it to the top of the stack. Add a black/white gradation mask
Copy link to clipboard
Copied
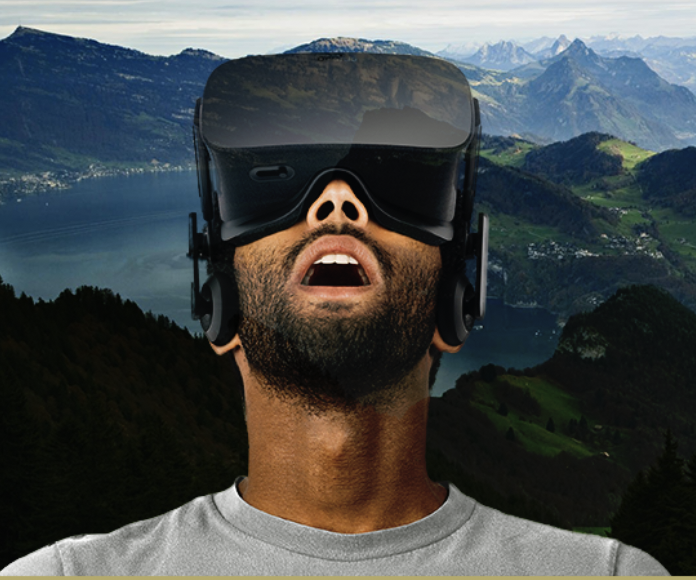
Also a helpful solution but what I actually want to become is the picture I posted.
This is what i have now:
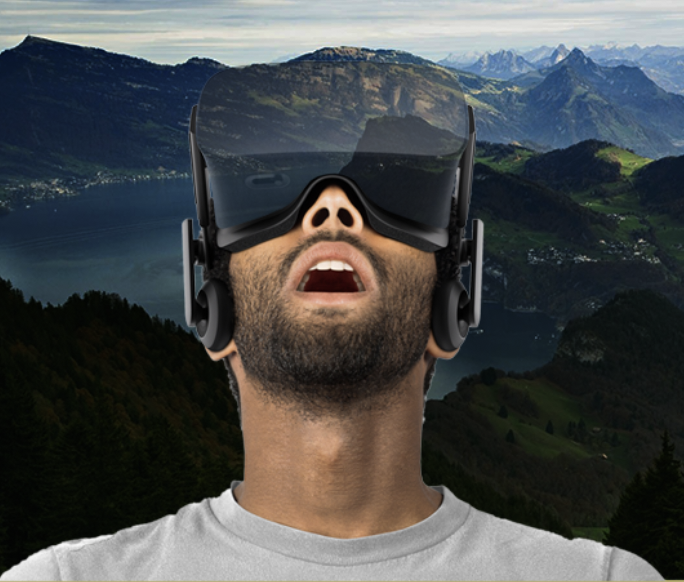
and this is what i want:
Copy link to clipboard
Copied
change the Opacity value.

 AdChoices