Inspiring
January 26, 2021
Answered

Object Style Image Border does not resize to each new image

  • January 26, 2021
  • 2 replies
  • 1528 views

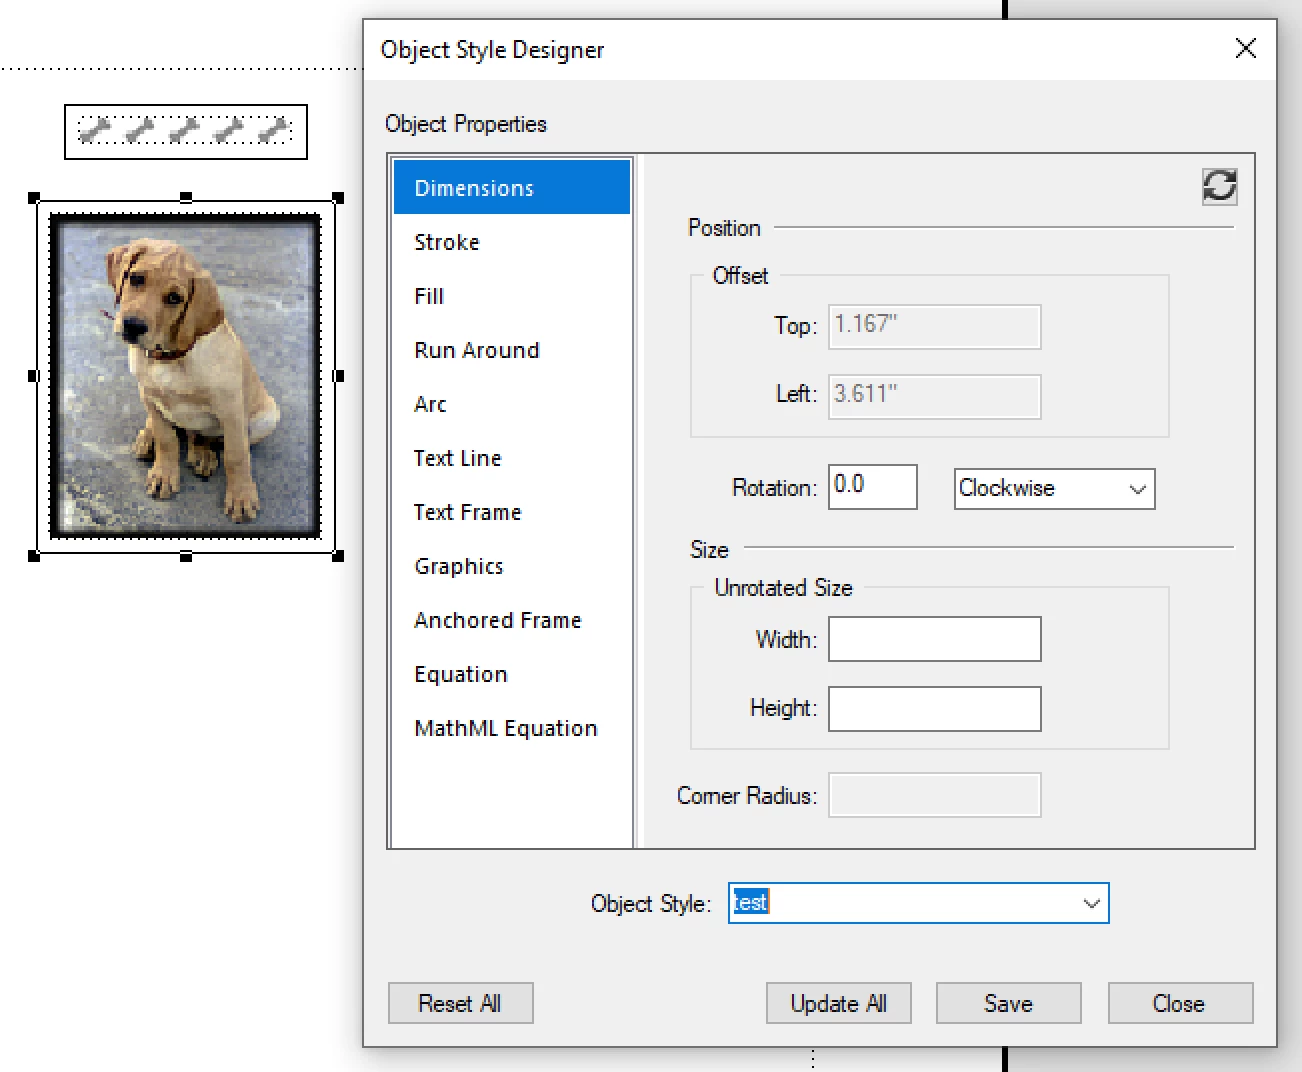
I am trying to create a 1pt frame border around my Framemaker book images.  I created an Object Style for an image and named the Object Style: Image Border. I applied the border from the Object Style Catalog (Image Border) to the image I created the Object Style from and the border applied just fine.  I clicked on a second image, applied Image Border to it, and the image resizes to the size of the original image that I created Image Border from.  I need to find out how the Object Style Image Border resizes when applied to each new image, instead of resizing exactly to the same dimensions as the orginal image every other time.

    This topic has been closed for replies.
    Correct answer Barb Binder

    Modify the object style:

    • Remove the width and height values (leave blank)
    • Set the resolution for the images. 

    ~Barb

    2 replies

    Barb Binder
    Community Expert
    May 9, 2021

    Hi @Matt5FA9:


    Sorry about the delay. We are volunteers here and I've been wrapped up in work as humans are suddenly emerging from their COVID haze. I was hoping someone else would step in, but, they didn't so... here we go.


    Object styles (OS) in FrameMaker are both powerful and flaky. I would recommend just starting with a brand new style. Take your time and define it correctly from the beginning. From your string, I gather you need a border around varying sized frames with varying resolutions. Select the frame (not the image inside) and define the border and then open Object > Object Style Designer. In Dimensions, leave the W and H blank. In Graphics, leave Scaling Percentage blank, and leave the resolution as As Is. You can review the border in the Stroke and Fill categories (Fill is where the color is defined). Once it looks right, then give it a name, choose Save (inexplicably the name disappears) and then Close. The new style will appear in the OS Catalog but it will not be assigned to anything, including the selected frame. 


    Assign it to the selected frame. Then assign it to the other frames. 

    You can modify an existing OS—that's the point of using them—but you (and by you, I mean me) have to really pay close attention to be successful. I need to give OSs my full attention when designing styles in my documents and when teaching them in class. They don't conform to how the other Designers work, and one misstep will derail the process. 


    ~Barb 

    ~Barb at Rocky Mountain Training
    Participating Frequently
    May 21, 2021

    Hi Barb, 
    Thank you for your response.  This is a detailed and thoughtful explanation to the issue I was having.
    As you correctly diagnosed, one of the issues was that I was selecting the image, not the frame. When I did select the frame, then followed your instructions regarding the Dimensions, Stroke, and Fill selections in the Object Style Designer, everything fell into place.

    Here is some additional detail to add to this issue:

    • In Object Style Designer, be aware that the Object Style Name appears at the bottom, not the top.  The only visual indicator that no styles exist is a blue bar running along the bottom of the Object Style dropdown box. 

    • Do not apply the Object Style from the Object Properties. Only apply from the Object Style Catalog.
    • For larger documents, create the Object Style once. Use Import Formats to import that object style into other sections. Unlike existing object styles, the newly imported style appears without a checkmark.

    • Object frame may need to be re-sized to match the image.
    • Image spacing may need to be adjusted to account for updated border.

    Thanks again.

    Matt


    Barb Binder
    Barb BinderCorrect answer
    Community Expert
    January 26, 2021

    Modify the object style:

    • Remove the width and height values (leave blank)
    • Set the resolution for the images. 

    ~Barb

    ~Barb at Rocky Mountain Training
    Participating Frequently
    April 8, 2021

    This correct answer does not work for me. I remove the height and width. Click Save.


    FM removes the Object Style name (MyObjectStyle).

    Click on another figure. Select MyObjectStyle.

    The Object Style properties have not been retained.

    The height and width change to a size I do not want. 

    Participating Frequently
    April 27, 2021

    Per the Correct Answer:

    The first bullet is straightforward enough. Remove the height and width.

    I am not seeing where Resolution is part of any of the tabs (Dimensions, Stroke, Fill, etc.) in the Object Properties dialog box.