Participating Frequently
September 25, 2022
Answered

How to create Fresco illustrations without extra artifacts and good quality to use in a printed book

  • September 25, 2022
  • 2 replies
  • 200 views

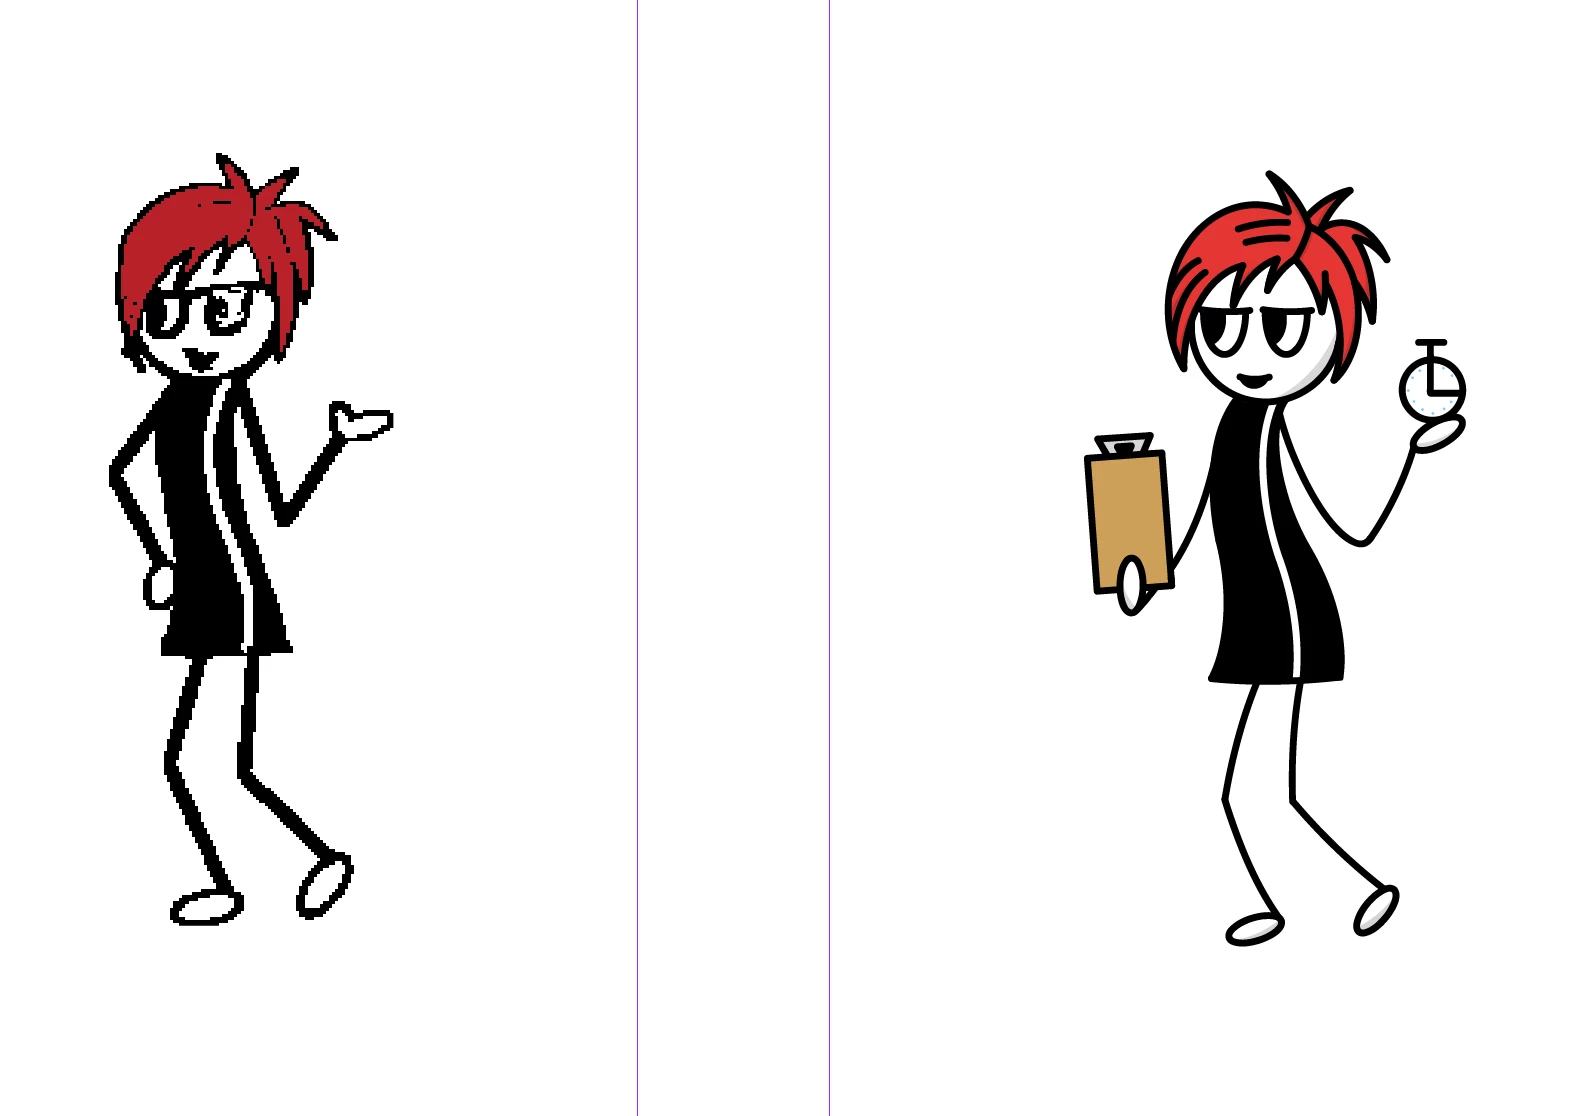
I have some avatars I've created using Fresco and want to then put them into indesign for a book I am writing. I am drwaing them freehand and using the fill tool. However, I notice that as I'm drawing, erasing things, using the fill tool etc that there seem to be a lot of anchor points and extraneous information that carries over when I open the files in illustrator. My teenage son (untrained) did a clean up by redrawing them and he said not to use the fill tool, to instead use the brush to fill in the color. Which seems like a lot more work that I'm not sure is necessary. However you can see the difference between the original version on the left (mine with multiple iterations), and his. 

When I place them into indesign I get the following message:


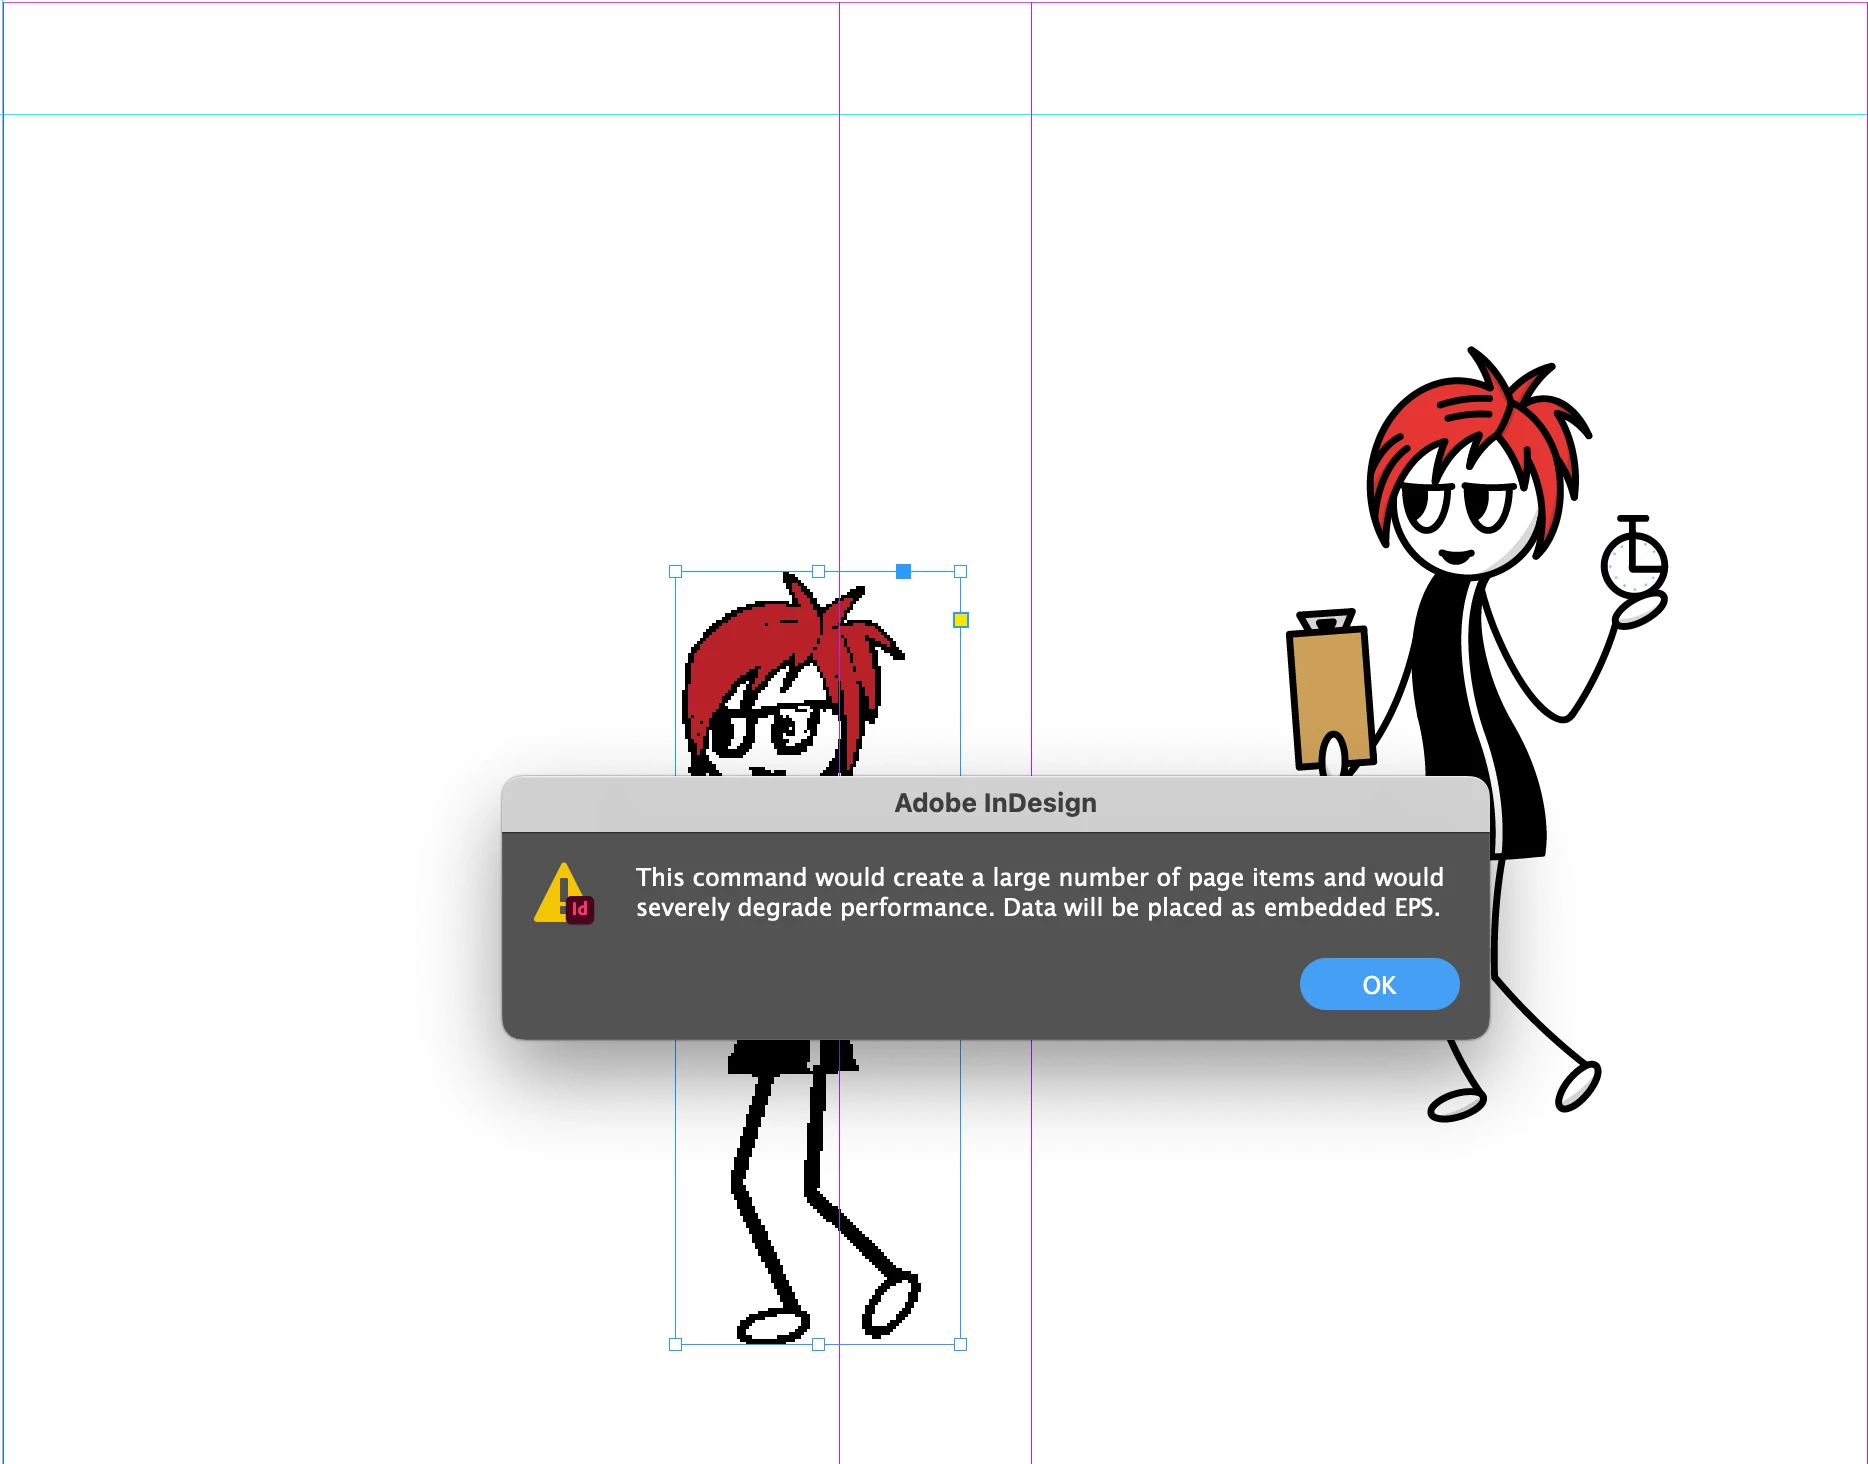
Then when I say 'ok' I get the following terrible looking quality. Which ok, I understand might just be the lower fidelity display settings so I'm not sure if it's really a problem or not?

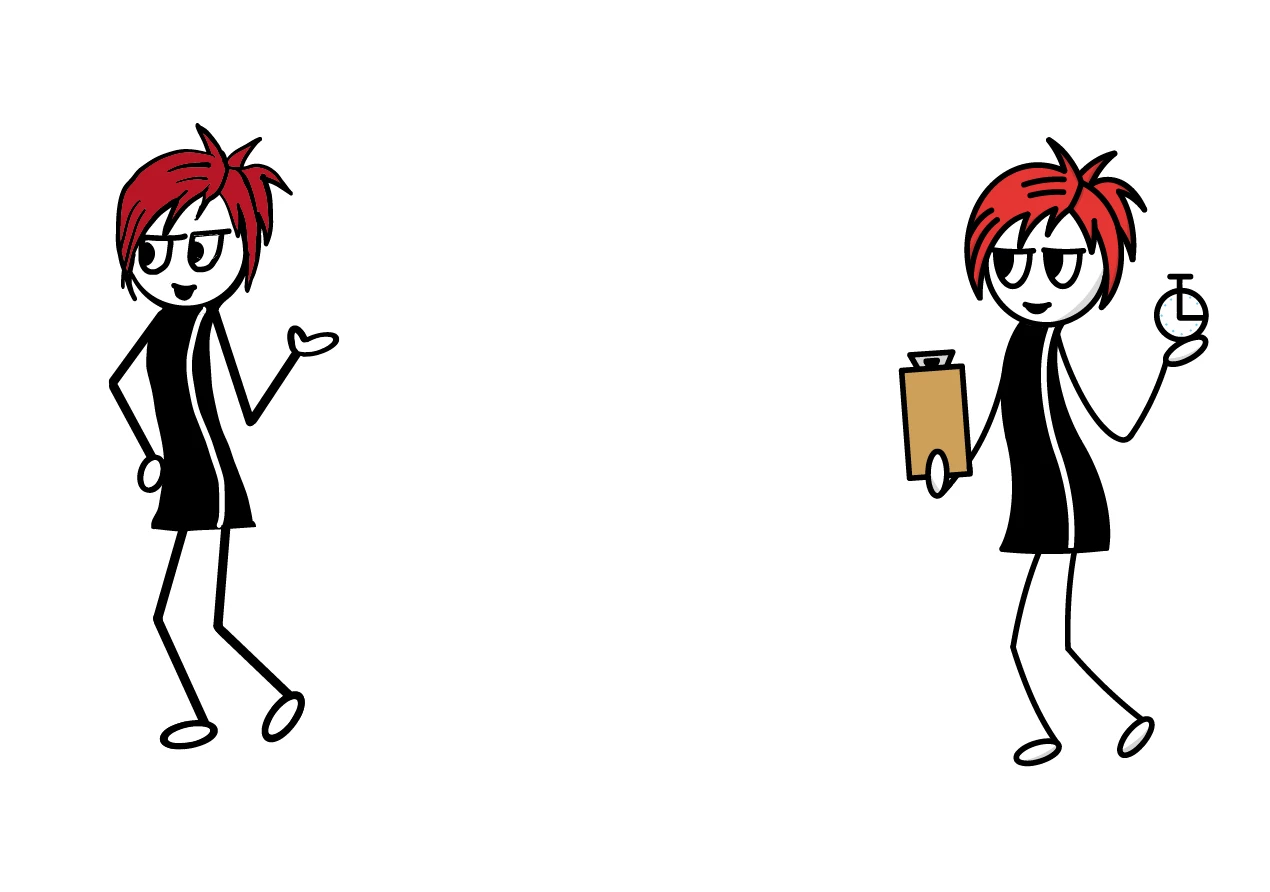
As when I go to preview both look fine (the image below). Any tips and advice on how to best create in Fresco, export from illustrator (eps or .ai file?) and import into indesign would be most appreciated. I'm self-taught as I go doing the minimum to get this working as it's not my main career. I would love some help!

Thank you in advance.

This topic has been closed for replies.
Correct answer Sjaani

I think that the pixelation is due to the default import option in inDesign, you can solve that easily by viewing at a higher quality.


In Fresco Vector lines are exported as shapes when opened in Illustrator.

If you already have a subscription to Illustrator I would consider using Illustrator for iPad which will then create much cleaner results when opened in your desktop apps.

2 replies

Sjaani
Community Expert
SjaaniCommunity ExpertCorrect answer
Community Expert
September 27, 2022

I think that the pixelation is due to the default import option in inDesign, you can solve that easily by viewing at a higher quality.


In Fresco Vector lines are exported as shapes when opened in Illustrator.

If you already have a subscription to Illustrator I would consider using Illustrator for iPad which will then create much cleaner results when opened in your desktop apps.

Participating Frequently
September 27, 2022

I think you are right. I don't like it as much but maybe it's the better way to approach it. Thanks

Participating Frequently
September 25, 2022

Oh! Is it as simple as exporting as an eps first from illustrator rather than copying and pasting in? Lol. I think that might well be the case. If it is, let me know. And also the remaining question on whether I should use the fill tool in fresco or the brush instead? And if you know this one, all of the elements I erased still show up as 'ghost' elements. If I select an an avatar, as shown below you can see all of the erased lines. Why this might matter is if in the future I want to use a tool like Video scribe to draw around the elements for animation, they may show up. Just curious if this is a real concern or not.