Exit
  • Global community
    • Language:
      • Deutsch
      • English
      • Español
      • Français
      • Português
  • 日本語コミュニティ
  • 한국 커뮤니티
0

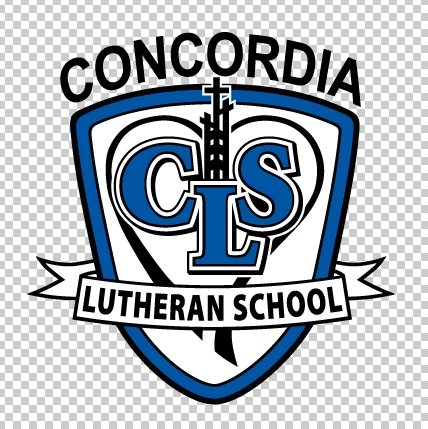
Creating a die line with fill.

Explorer ,
Aug 31, 2024 Aug 31, 2024

I have tested some other options from searching and not getting the results that I needing.   On the image I need to create a fill behind the entire image that is the same shape as the design, but increase the size to create a cut line.

The options that I have tried are putting a path behind the Concordia text in the shape of the letters instead.  I am certain that I have not explained this very well. 


CLSImage.png

TOPICS
Draw and design , How-to
411
Translate
Report
Community guidelines
Be kind and respectful, give credit to the original source of content, and search for duplicates before posting. Learn more
community guidelines

correct answers 1 Correct answer

Community Expert , Aug 31, 2024 Aug 31, 2024

This is a vector image, right?

And you need this as a cutline, and it doesn't need to be editable?


In that case:

duplicate the layer. Lock the original

In the duplicate outline all the fonts. Outline all the strokes. Expand effects (if any)

Select all and use Unite from the Pathfinder panel (top left button)

Then apply Effect > Path > Offset path to that.

Make it so large that all the gaps are closed.

Object > Expand Appearance

Apply Effect > Path > Offset path again. This time a negative valu

...
Translate
Adobe
Community Expert ,
Aug 31, 2024 Aug 31, 2024

Is everything on the same layer?
If so, then activate the layer and then open the Appearance panel and add a new contour there. Give this contour the effect: Offset Path.

Translate
Report
Community guidelines
Be kind and respectful, give credit to the original source of content, and search for duplicates before posting. Learn more
community guidelines
Community Expert ,
Aug 31, 2024 Aug 31, 2024

This is a vector image, right?

And you need this as a cutline, and it doesn't need to be editable?


In that case:

duplicate the layer. Lock the original

In the duplicate outline all the fonts. Outline all the strokes. Expand effects (if any)

Select all and use Unite from the Pathfinder panel (top left button)

Then apply Effect > Path > Offset path to that.

Make it so large that all the gaps are closed.

Object > Expand Appearance

Apply Effect > Path > Offset path again. This time a negative value, Make rounded corners. And adjust to the size you need

When done, Expand Appearance again

Translate
Report
Community guidelines
Be kind and respectful, give credit to the original source of content, and search for duplicates before posting. Learn more
community guidelines
Explorer ,
Sep 03, 2024 Sep 03, 2024
LATEST

Thank you. I stopped one step short.  Thank you for the help, will be saving this for future use!

ericm10089679_0-1725365879019.png


Translate
Report
Community guidelines
Be kind and respectful, give credit to the original source of content, and search for duplicates before posting. Learn more
community guidelines