Exit
  • Global community
    • Language:
      • Deutsch
      • English
      • Español
      • Français
      • Português
  • 日本語コミュニティ
  • 한국 커뮤니티
0

Double lines after Image Trace

Community Beginner ,
May 29, 2017 May 29, 2017

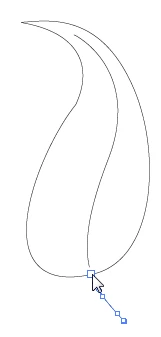
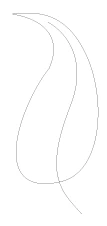
I've created a leaf doodle (black and white) on the Procreate iPad app and have saved it as a jpg. Placed on an Adobe Illustrator file and went to Image Trace.

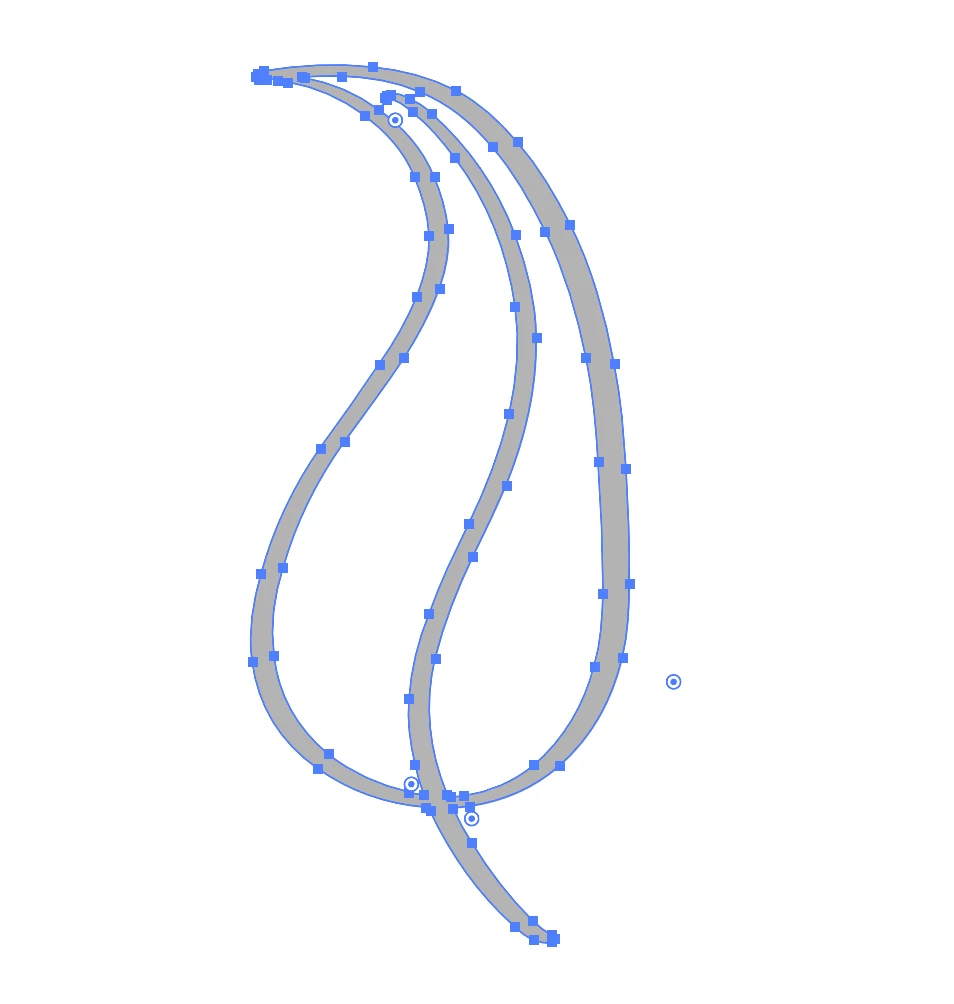
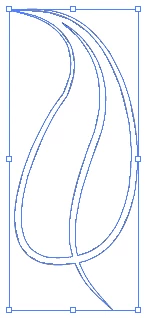
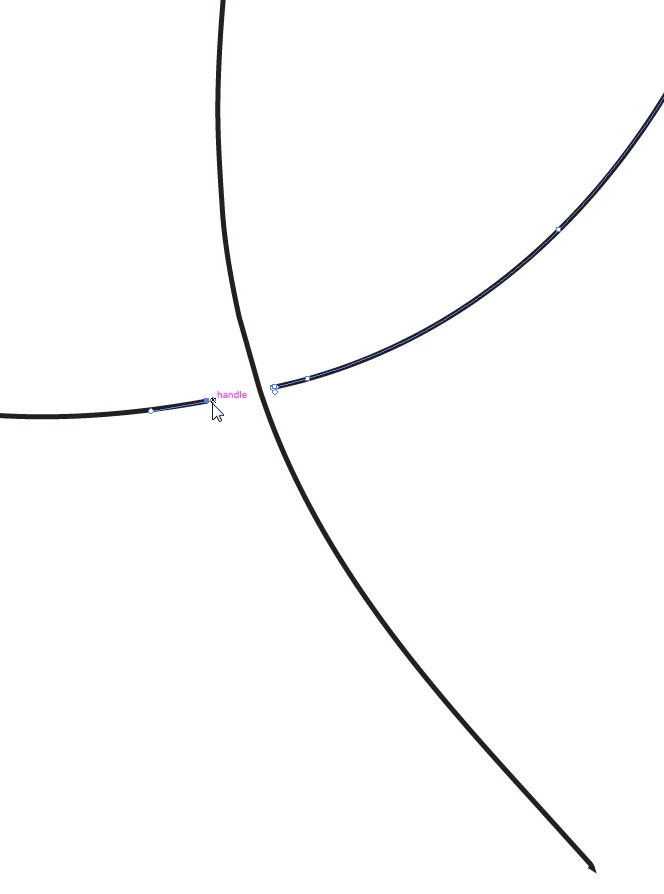
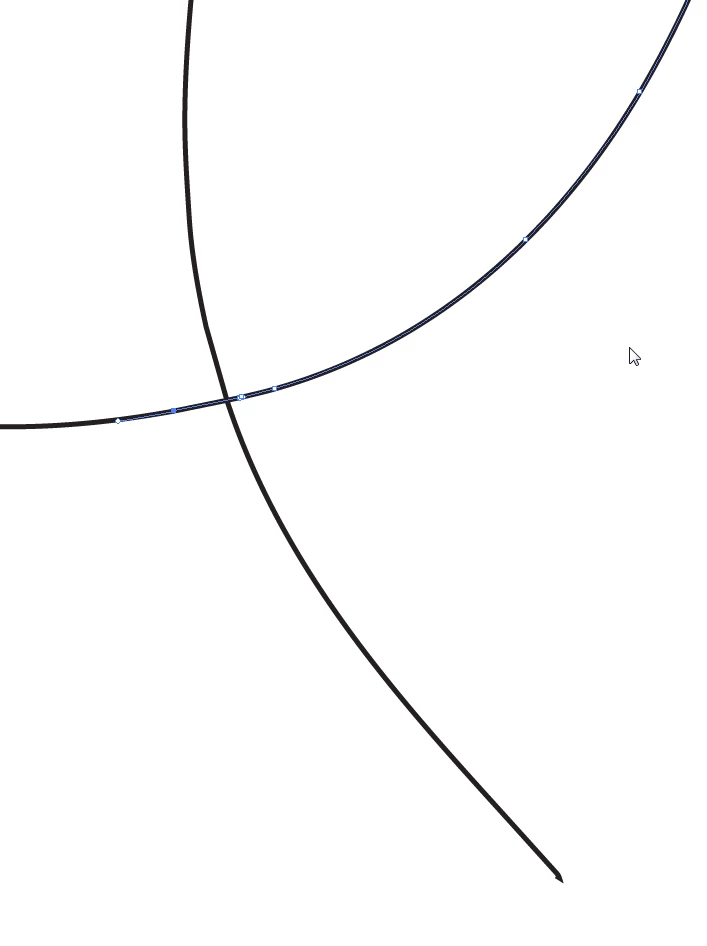
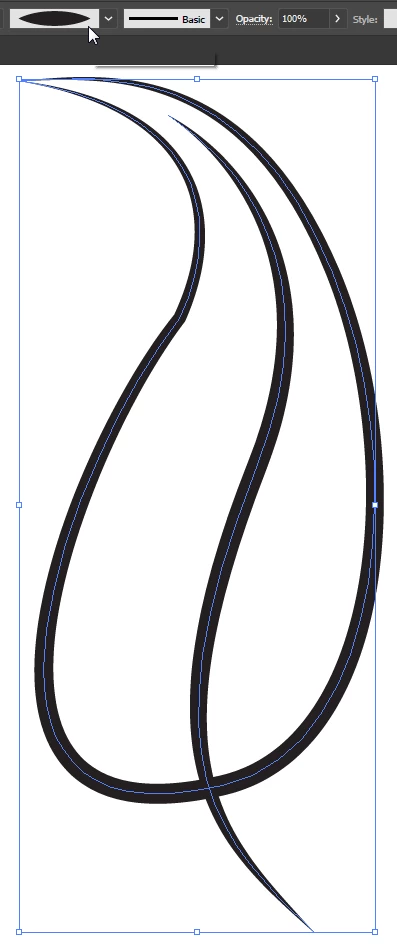
Now, my question is: I can’t work out why when I image trace a line drawing, every line of the original drawing gets converted into 2 lines of anchor points.

Any idea what I’m doing wrong?

I've attached a screen shot for you guys to get a better idea of what I'm talking about.

What I initially want is to have it as one stroke and for me to be able to fill in the leaf with different colors.

Cheers!

Screen Shot 2017-05-29 at 8.49.07 PM.png

9.5K
Translate
Report
Community guidelines
Be kind and respectful, give credit to the original source of content, and search for duplicates before posting. Learn more
community guidelines

correct answers 1 Correct answer

Community Expert , May 29, 2017 May 29, 2017

That's the way image trace works, so there is actually nothing wrong.

When tracing, one of the choices is Outline, and I think that is what you are after. Unfortunately, it has never worked right.

Trace the image in black and white as you normally would, and Expand.

Probably the fill will be black with no stroke.

Click the double-headed arrow in the upper right to swap the fill and stroke.

Delete one set of lines. With the Scissors tool you can click the anchor point at the base of the leaf to separa

...
Translate
Adobe
LEGEND ,
May 29, 2017 May 29, 2017

You likely have a "Compound Path". The app may have created duplicate lines.

You can probably "direct-select" (hollow arrow) the two, inside shapes, cut and paste-in-place. This will separate them from the gray background shape and allow you to colorize them separately.

Translate
Report
Community guidelines
Be kind and respectful, give credit to the original source of content, and search for duplicates before posting. Learn more
community guidelines
Community Beginner ,
May 30, 2017 May 30, 2017

Thank you, that works too!

Translate
Report
Community guidelines
Be kind and respectful, give credit to the original source of content, and search for duplicates before posting. Learn more
community guidelines
Community Expert ,
May 29, 2017 May 29, 2017

That's the way image trace works, so there is actually nothing wrong.

When tracing, one of the choices is Outline, and I think that is what you are after. Unfortunately, it has never worked right.

Trace the image in black and white as you normally would, and Expand.

Probably the fill will be black with no stroke.

Click the double-headed arrow in the upper right to swap the fill and stroke.

Delete one set of lines. With the Scissors tool you can click the anchor point at the base of the leaf to separate the stem.

With the Direct Selection tool, select the two end points on the center line and Ctrl J (PC) or Command J (Mac)  to join them.

Select the 2 end points on the main part of the leaf and join them.

Now you'll be able to work with the leaf the way you want.

Whew! That took awhile. It would be so much faster to just draw the leaf in Illustrator to begin with!

It took me about a minute to draw the leaf and apply the Width Profile that you see.

Translate
Report
Community guidelines
Be kind and respectful, give credit to the original source of content, and search for duplicates before posting. Learn more
community guidelines
Community Beginner ,
May 30, 2017 May 30, 2017

Thank you so much!

Translate
Report
Community guidelines
Be kind and respectful, give credit to the original source of content, and search for duplicates before posting. Learn more
community guidelines
Community Expert ,
May 30, 2017 May 30, 2017
LATEST

After Image Trace, another option would be to use the Live Paint tool.

Select all of the paths that result from the expanded Image Trace.

Select the Live Paint tool.

Select the color you want from the Swatches panel, or using any other method to select the color.

When you hover over the paths the area will turn gray and you can click to fill that area with the current color.

If you double click on the Live Paint tool right in the Tools panel, you can change the options. For example, the default is to paint fills, but you can also paint strokes.

When you are done, if you no longer want to have a live paint object, you can choose Object > Live Paint. Release will remove the color and return the object to unfilled paths. Expand will retain the color and make it into a non-live paint object with individual grouped paths.

Translate
Report
Community guidelines
Be kind and respectful, give credit to the original source of content, and search for duplicates before posting. Learn more
community guidelines