That's the way image trace works, so there is actually nothing wrong.
When tracing, one of the choices is Outline, and I think that is what you are after. Unfortunately, it has never worked right.

Trace the image in black and white as you normally would, and Expand.
Probably the fill will be black with no stroke.

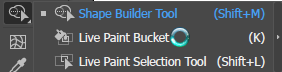
Click the double-headed arrow in the upper right to swap the fill and stroke.


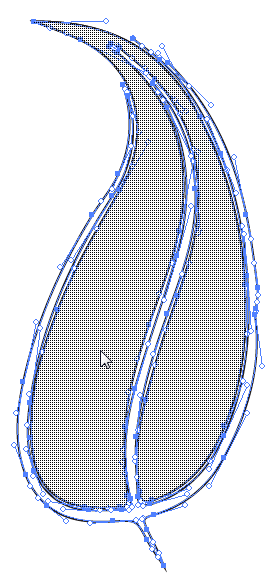
Delete one set of lines. With the Scissors tool you can click the anchor point at the base of the leaf to separate the stem.
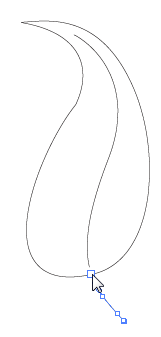
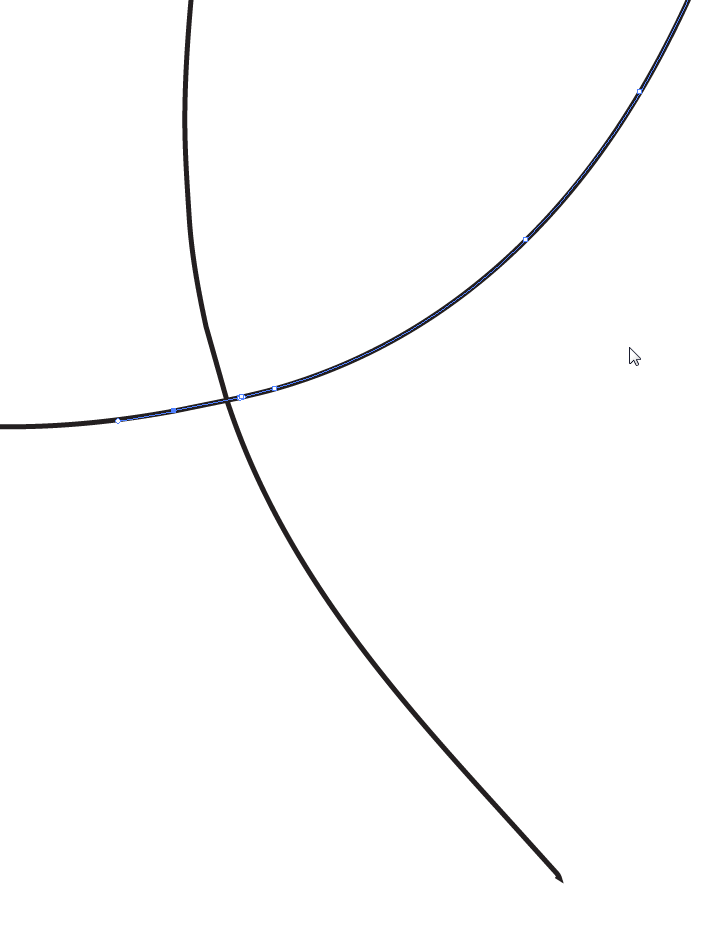
With the Direct Selection tool, select the two end points on the center line and Ctrl J (PC) or Command J (Mac) to join them.

Select the 2 end points on the main part of the leaf and join them.

Now you'll be able to work with the leaf the way you want.
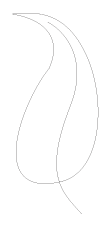
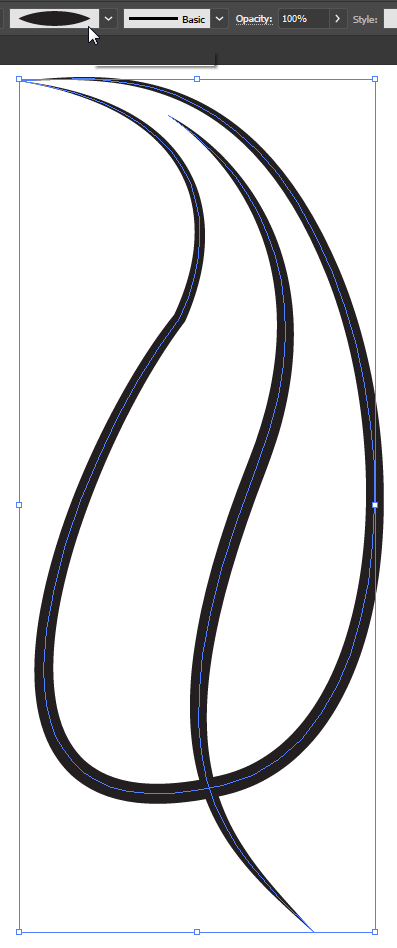
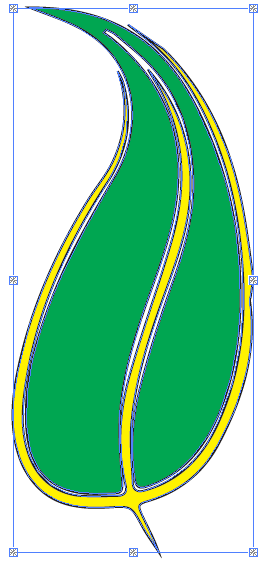
Whew! That took awhile. It would be so much faster to just draw the leaf in Illustrator to begin with!
It took me about a minute to draw the leaf and apply the Width Profile that you see.


 5
Replies
5
Replies


 AdChoices