- Home
- Illustrator
- Discussions
- Re: Fit bounding box to text in Illustrator
- Re: Fit bounding box to text in Illustrator
Copy link to clipboard
Copied
I know there must be a quicker easier way to do this, but I've looked all over the forums and can't seem to find anything!
So, I'm making some infographics in Illustrator. I often have to go in and edit text - make it longer or shorter. I'd like the bounding box of the text to somehow easily fit to the amount of text in the box, similar to 'fit to frame' in InDesign.
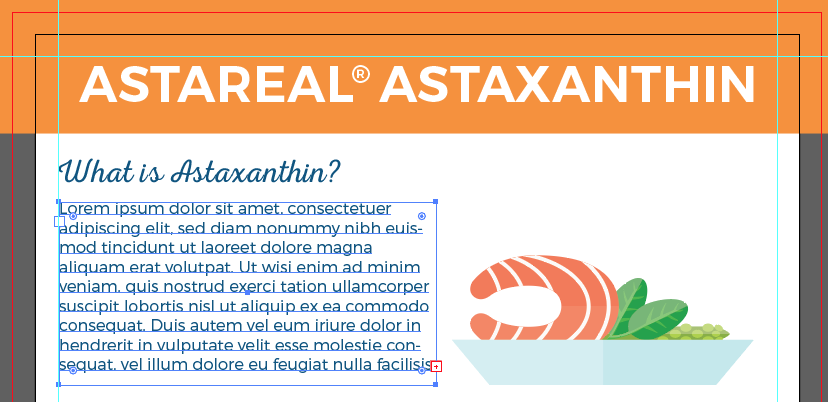
I often end up with a box that has overflow text like so

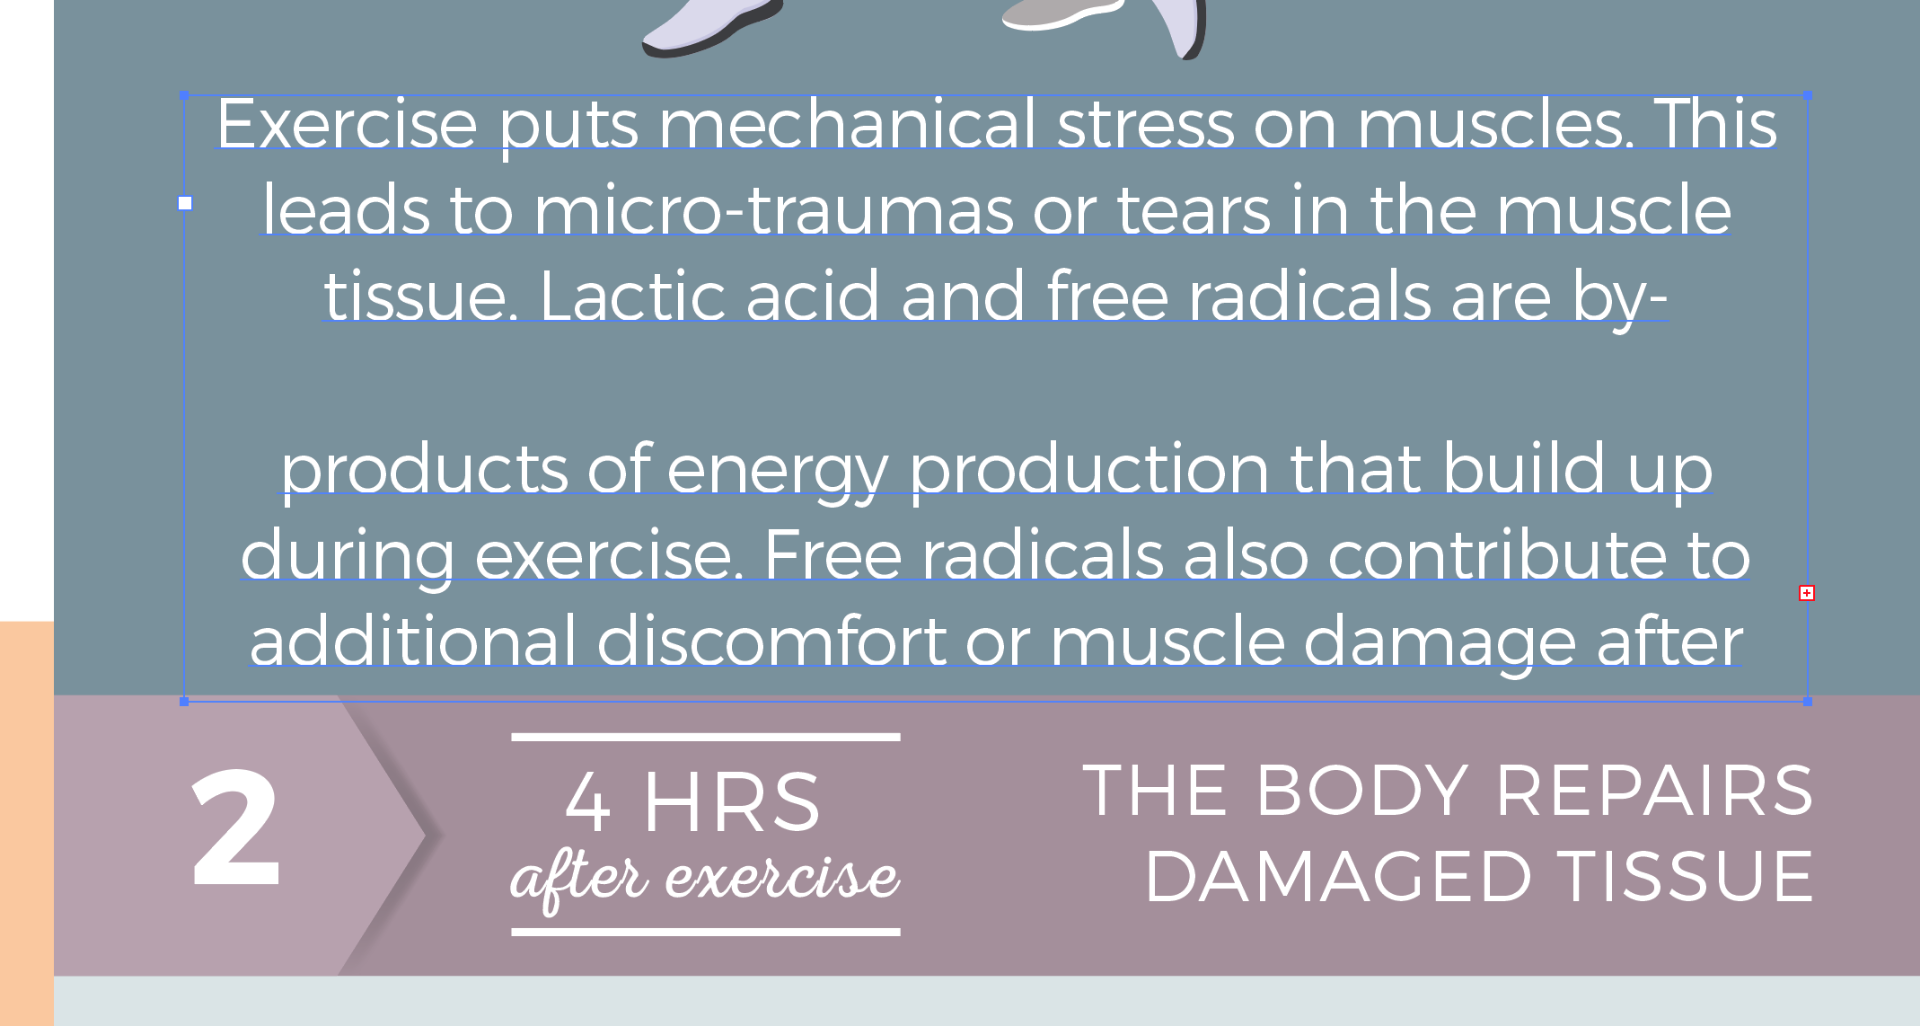
Or the box is way too big for the text and gets in the way:

Is there a way to easily and quickly resize this text box to fit the amount of text within?
Thanks for your input!
- Sarah
 1 Correct answer
Activating Auto Size New Area Type applies only to text boxes created after activation: already-existing boxes are unaffected until you turn on the behavior. Whether or not you have Auto Size activated in the Preferences, you can select text boxes and apply the behavior to them by going to the menu Type > Area Type Options and click in the box for Auto Size near the bottom.
You can also go to View > Show Bounding Box, which will reveal extended handles to the right and bottom. Double-clicking on
...Explore related tutorials & articles
Copy link to clipboard
Copied
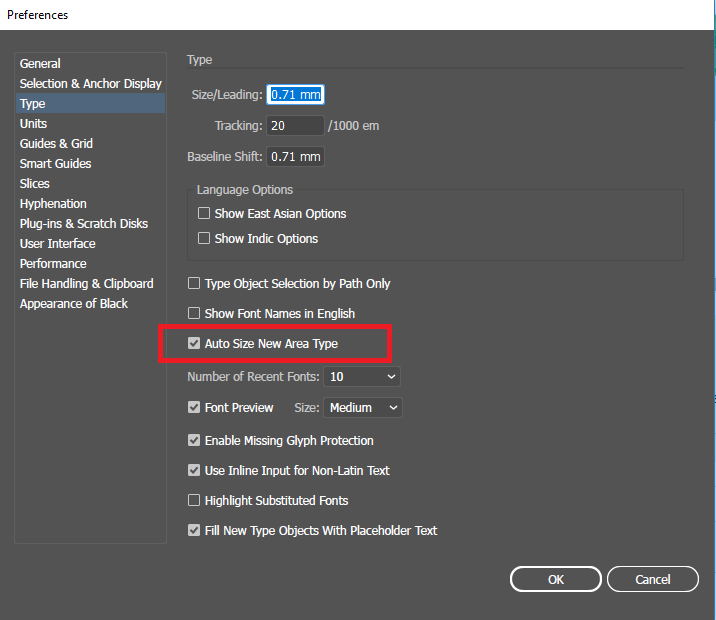
You can adjust it in Preferences > Type. It's a checkbox that the bounding box should always adjust.
Copy link to clipboard
Copied
Hi Sarah,
"Checkbox" which Monika is referring above is "Auto Size New Area Type".

Regards,
Srishti
Copy link to clipboard
Copied
Thank you for these ideas, but I'm still needing to manually drag each corner of the text bounding box to resize for the text inside... Perhaps this only works with newly created text boxes? Maybe I need to explain better what I want to do...
For instance, here I added a paragraph break to make the text overflow. The only way I know of to fit the box to the text is to use the direct selection tool to select the 2 anchor points at the bottom of the box, then drag the bottom line down to make the text box adjust. There must be a quicker/better way, I just don't know it yet. I do have "Auto size new area type" checked in prefs, by the way. I'm not sure how that function is meant to work because it didn't change anything. Thanks so much for all your ideas! Excited to hear more...

Copy link to clipboard
Copied
Activating Auto Size New Area Type applies only to text boxes created after activation: already-existing boxes are unaffected until you turn on the behavior. Whether or not you have Auto Size activated in the Preferences, you can select text boxes and apply the behavior to them by going to the menu Type > Area Type Options and click in the box for Auto Size near the bottom.
You can also go to View > Show Bounding Box, which will reveal extended handles to the right and bottom. Double-clicking on the bottom one will activate the resize behavior for that text box. It also gives you the ability to resize the text box by dragging one of the eight resize handles, should you want to use that feature, rather than selecting anchor points.

Peter
Copy link to clipboard
Copied
Oh my gosh, YES! That is exactly what I wanted. Now I can easily resize the text box. Thank you thank you!!
Copy link to clipboard
Copied
You're welcome, Sarah.
Copy link to clipboard
Copied
One workaround that I know of is to go to Edit > Preferences > General and check Use Preview Bounds. Then select your typed letter with the Selection Tool (V) and go to Effect > Path > Outline Object. You now have a bounding box which hugs the text tightly, so you can see and adjust its true dimensions in the Transform window.
If you later want to remove the Outline Object effect, select the text with the Selection Tool (V) and click the Clear Appearance button at the bottom of the Appearance window.
I'll add that the text remains live/editable with this method, and it doesn't change the appearance of the text at all. Furthermore, the Outline Object effect can be removed at any time (though there isn't a need to do so that I know of).
I'm pointing this out because Outline Object sounds suspiciously like Create Outlines, which is a completely different function that does the exact same thing as Object > Expand..., i.e., it permanently converts the text to ordinary vector objects, making it no longer live/editable, which the OP specifically does not want to do.
Find more inspiration, events, and resources on the new Adobe Community
Explore Now
