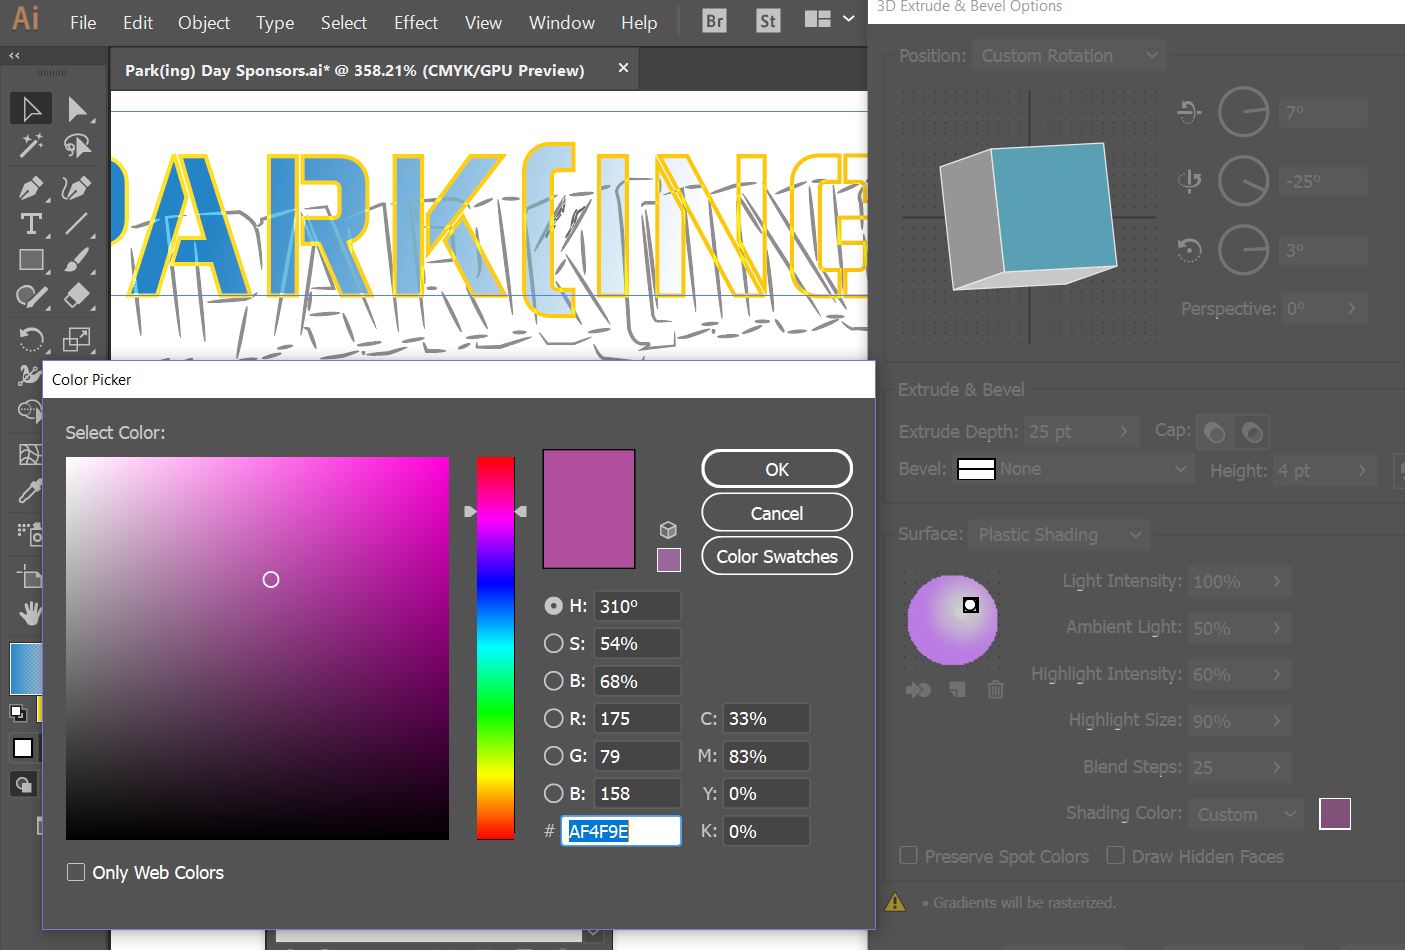
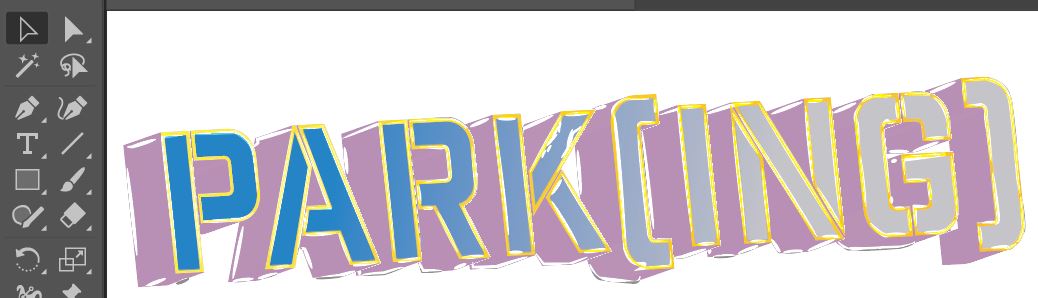
If I understand your question correctly, you need to select the Extrude-and-Bevel object and go to Object > Expand Appearance, ungroup everything, remove clipping paths. Select the paths you want the gradient on, group them, then in the Appearance panel add a fill to the group and apply the gradient. You may have to remove all or parts of some of the shapes (Shape Builder is useful here) generated by expansion, and perhaps send the group forward or backward in the stack.
Peter


 3
Replies
3
Replies


 AdChoices