Inspiring
June 22, 2019
Question

How to apply a multiply layer ONLY to non-transparent areas?

  • June 22, 2019
  • 2 replies
  • 2366 views

I'm having a real bugger here and I've tried all the options: clip, invert mask, isolate blending, knockout group, and opacity & mask define knockout shape. Nothing is working, unfortunately.

I have a rectangle with a gradient + some art. I want the gradient to blend (via multiply) into the art. Essentially, the purple shades at the bottom should get darker, while the top part of the art remains the original color.

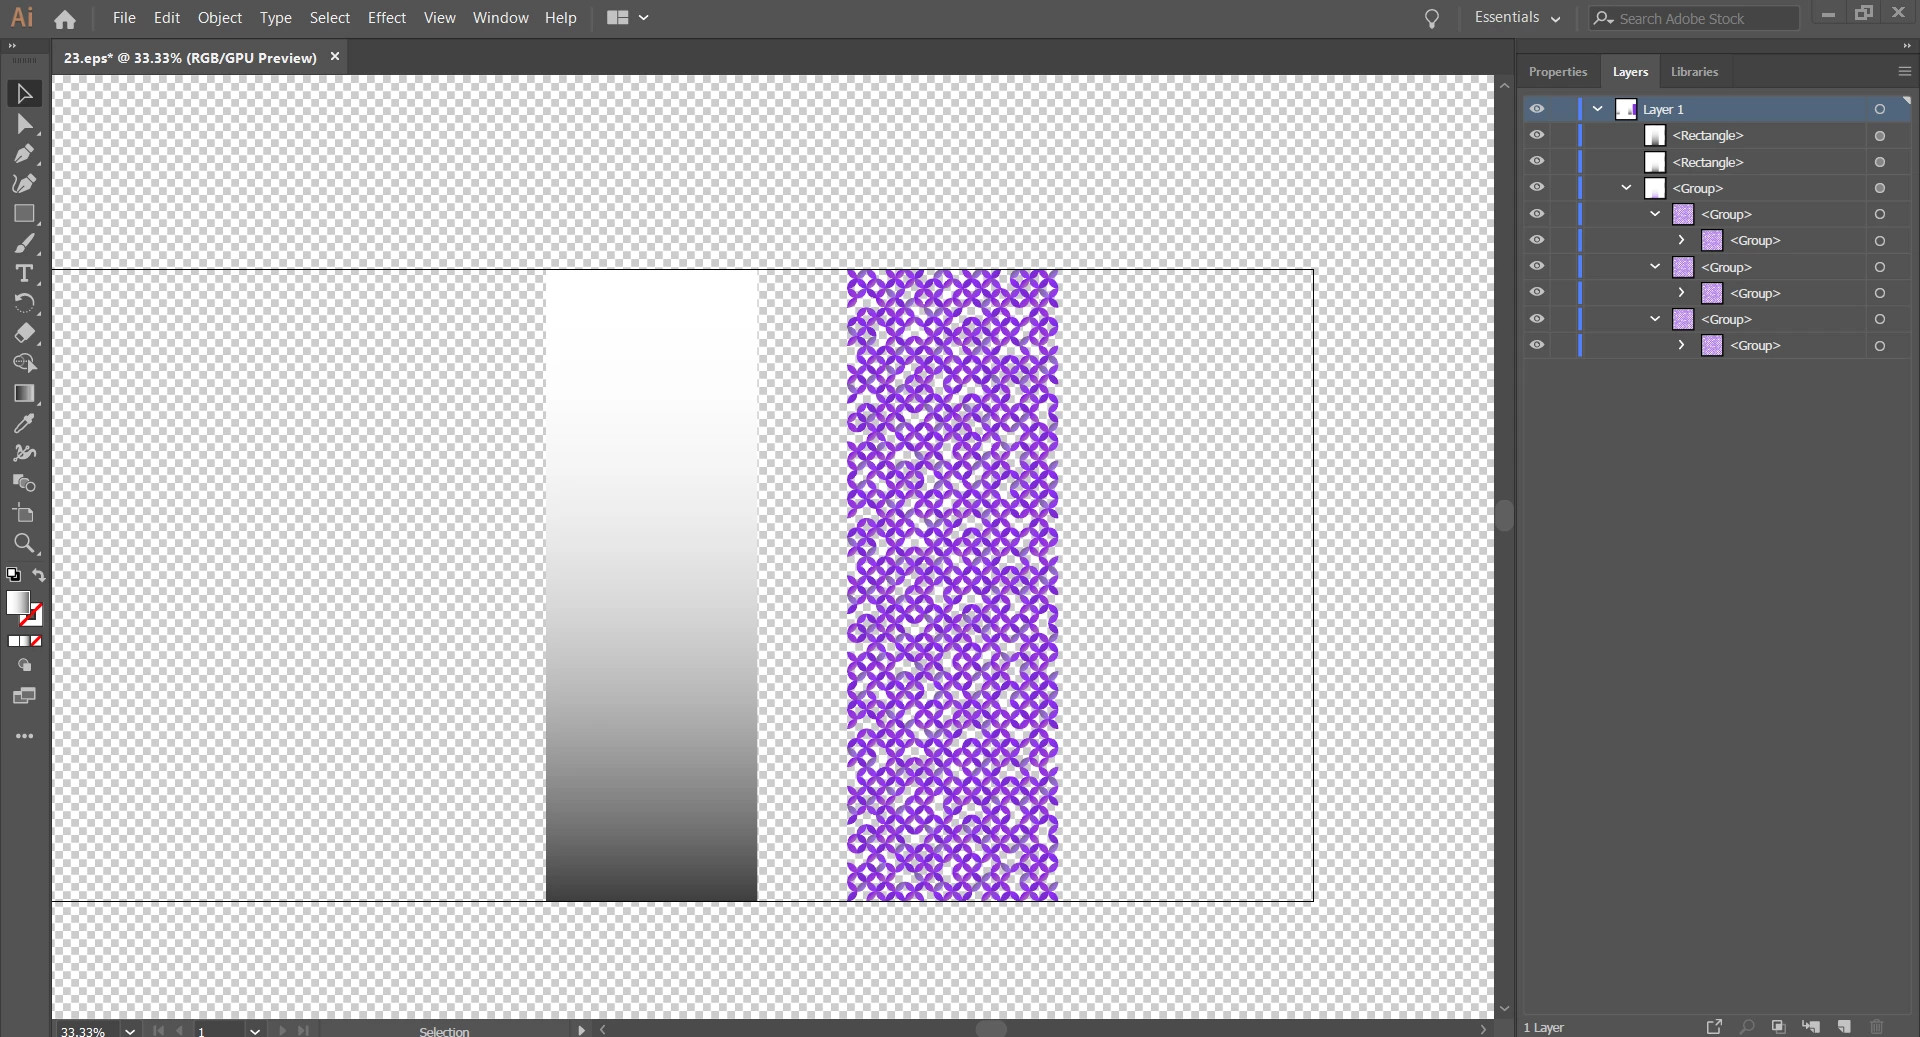
Now, I've already set the gradient layer to multiply: white should do nothing to the art and black should darken the art. It ALMOST works! Except the gradient is coloring the non-transparent areas, too!

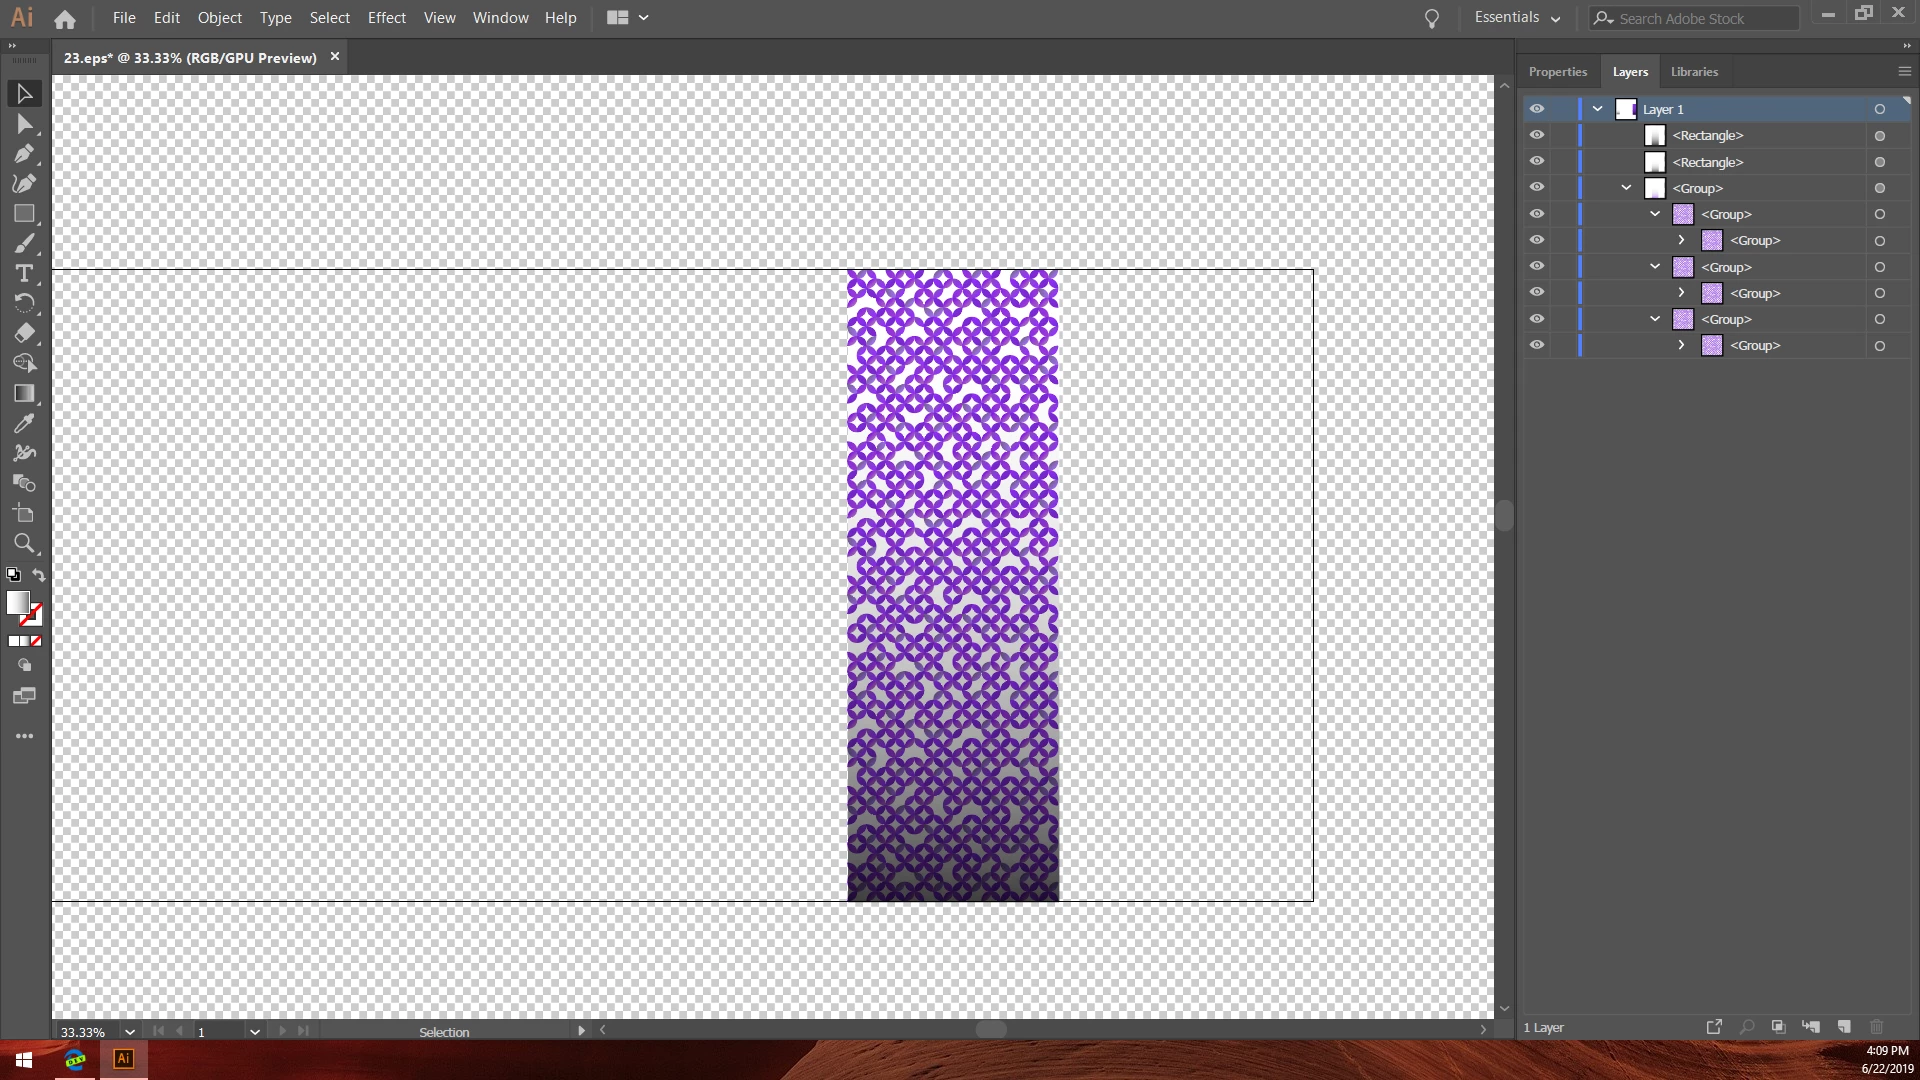
The art no longer has a transparent background. Notice:

I watched some video tutorials and guides: use a mask. So I selected both the gradient rectangle + art, then pressed SHIFT + CTRL + F10 to open the transparency menu. But, when I create the mask, somehow it starts making even the art transparent.

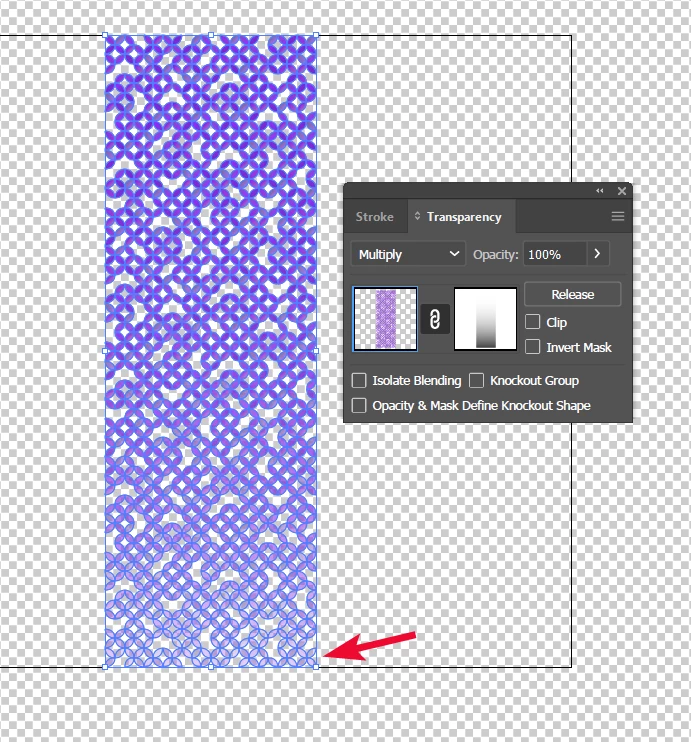
Which is...not right. I just want the gradient to change the color of the art, not make the art transparent. What boneheaded mistake am I making?

    This topic has been closed for replies.

    2 replies

    Anna Lander
    Inspiring
    June 23, 2019

    It may be a bit simplier.

    1. Group your colored shapes.

    2. In Appearance Panel add new fill to Group. Set this fill as gradient and apply Multiply mode to its Opacity.

    Monika Gause
    Community Expert
    Community Expert
    June 22, 2019

    What you need is not an opacity mask, but a clipping mask.

    Duplicate the artwork, make a compound path out of it and then apply it to the gradient rectangle as a clipping mask.

    Inspiring
    June 23, 2019

    Thank you so much for the reply, but a clipping mask unfortunately directly copies the gradient colors. I'd like to blend the colors, not replace the purple. I did set the gradient rectangle to "Multiply", but unfortunately, it still replaced the colors.


    My steps:

    1. Copy artwork.
    2. Create a compound path. (unfortunate side effect that this combines all the purple variations)
    3. Position the gradient rectangle below the purple art & make them a group.
    4. Select the group and then Object -> Clipping Mask -> Make.


    Did I miss a step? I followed the instructions here.

    Unfortunately, the guide video also shows this as the intended result: color replacement, not color blending.

    Inspiring
    June 23, 2019

    OK, I have found a workaround! I did not realize Illustrator also had a Magic Wand!

    1. Overlap the two (with the multiply blending mode) pieces, as seen before here:

         2. Select both layers and Object -> Flatten Transparency. I set the balance to 100 full vector, but there aren't any raster images here anyways.

         3. Then you may need to enable the Magic Wand Tool (or just press "Y") by opening the three-dot menu and dragging the Wand tool to your toolbar:

         4. Then select the unwanted gradients in the background via Magic Wand tool (it took me three attempts to match all the grays) and press delete--voila!

    Thank you for the reply, Monika: it helped get me thinking of alternative strategies! This might not work for all artwork (especially with complex gradients), but it worked perfectly here, FWIW.