Answered
How to recreate this squiggly rectangle
Hey, I have this source image that I'd like to recreate neatly using Illustrator. I'm having a hard time getting the curves similar to this via the Zig Zag effect. Any ideas?
Thank you
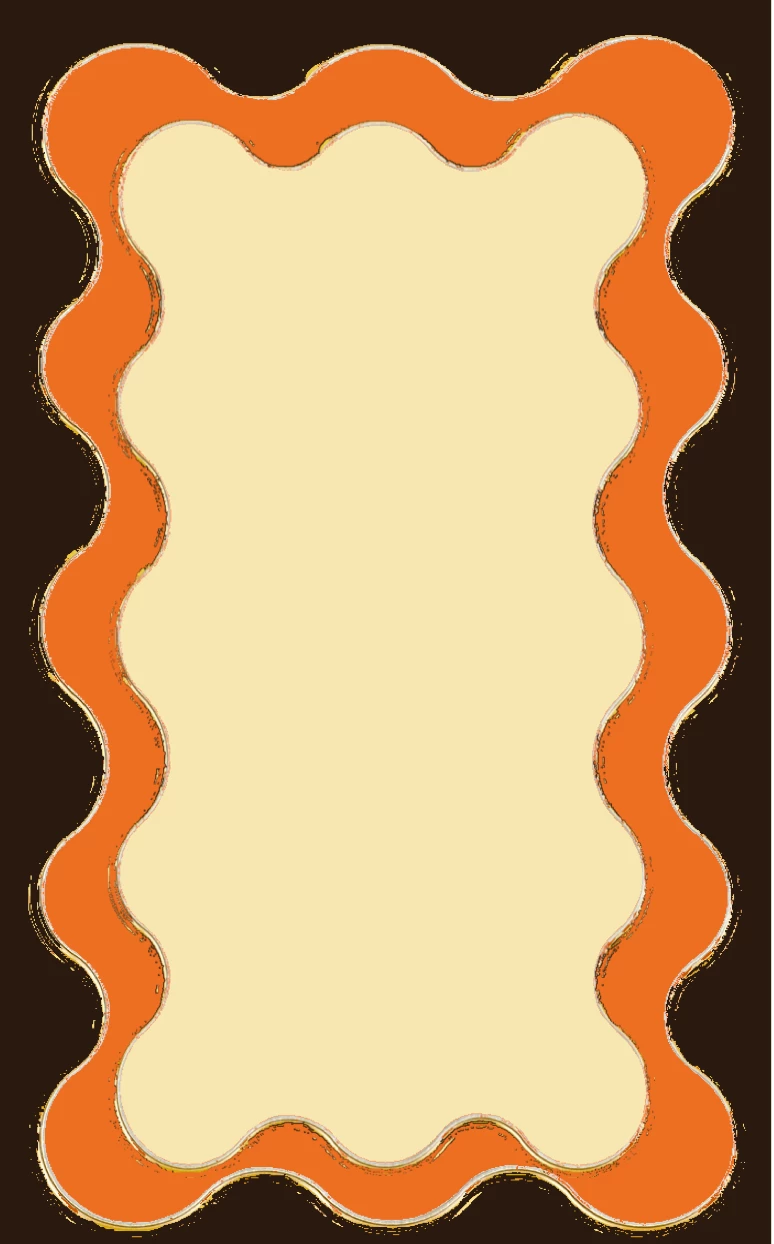

Hey, I have this source image that I'd like to recreate neatly using Illustrator. I'm having a hard time getting the curves similar to this via the Zig Zag effect. Any ideas?
Thank you
There are 2 more ways that might get you close.
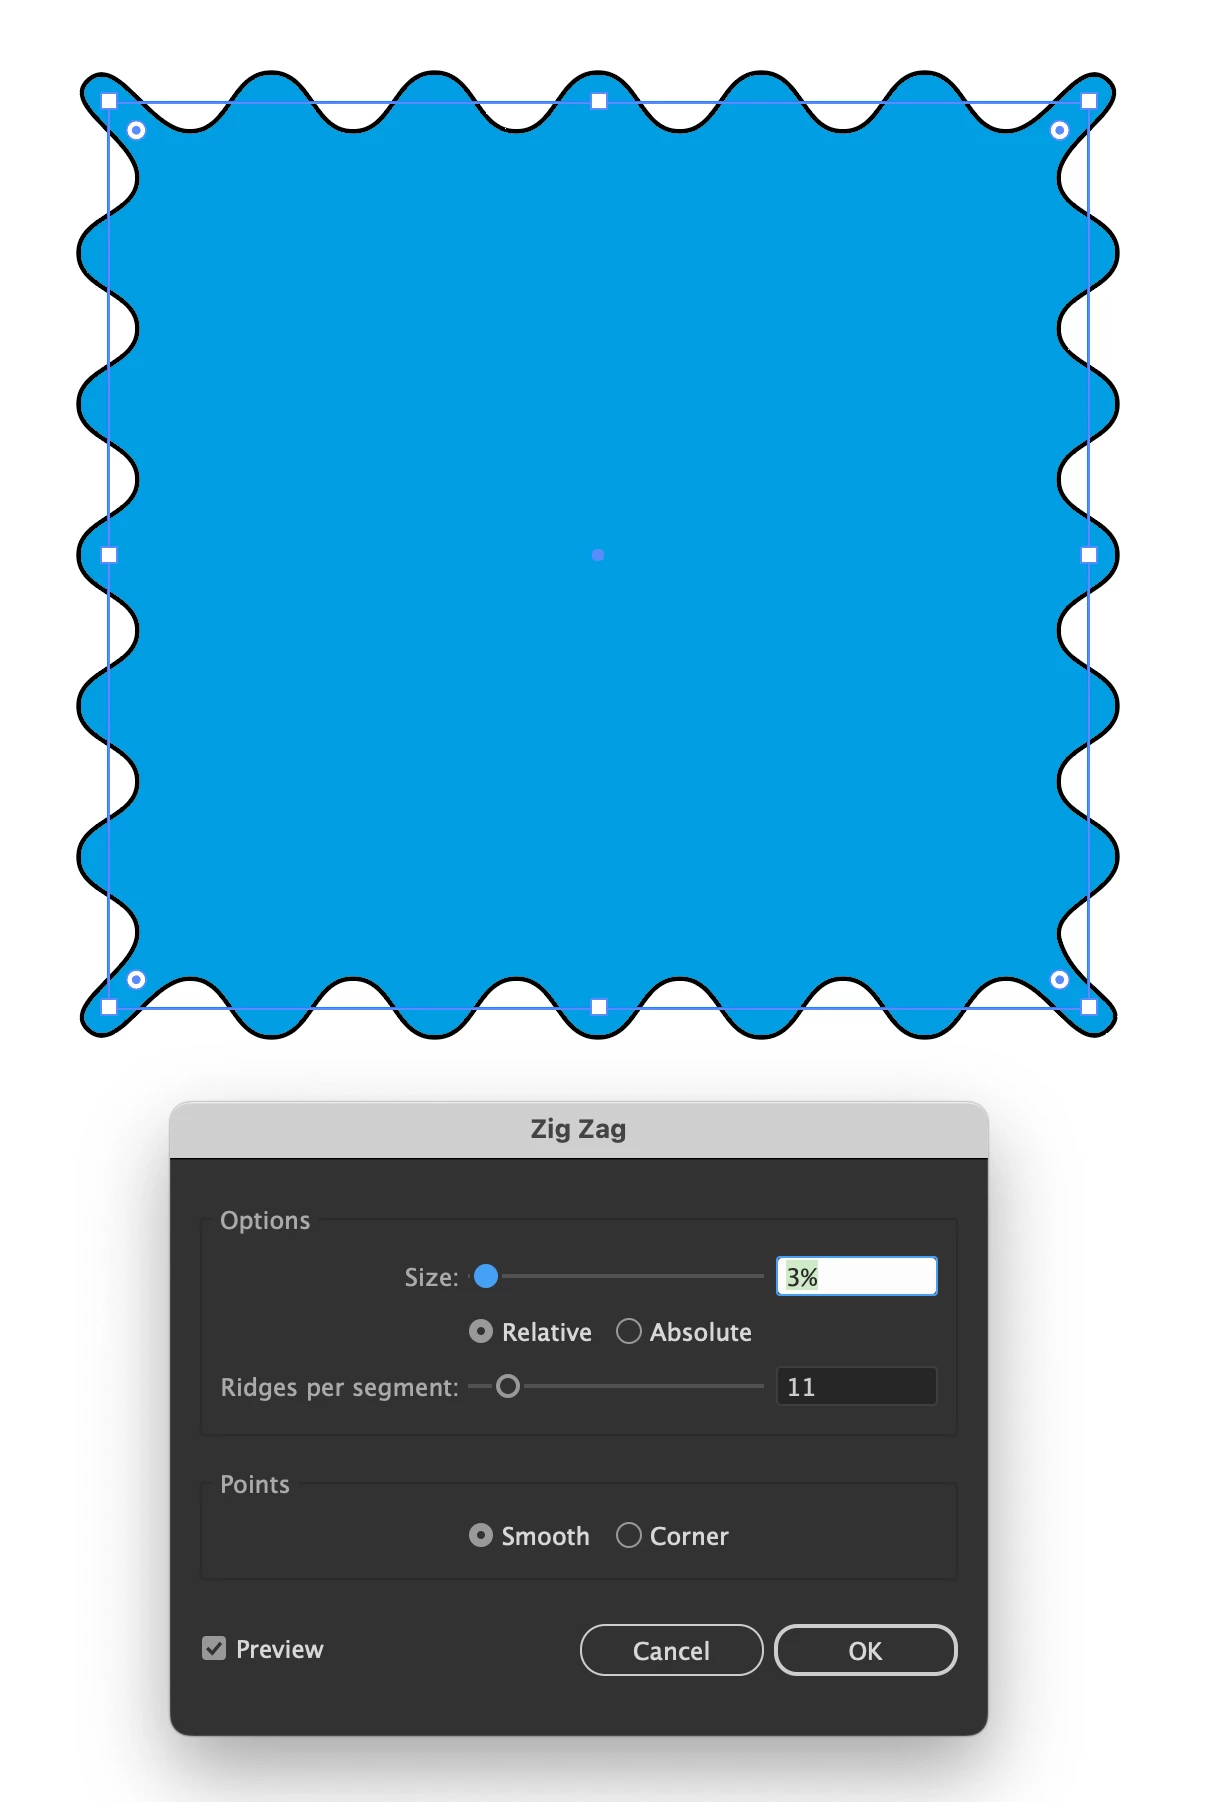
First is to draw a rectangle and apply the Zig Zag effect. Effect > Distort & Transform > Zig Zag
It will require a bit of playing around as the size of the object and scale of the effects are all variables. You can leave it as a live effect or expand the appearance if you want regular outlines. You can also appy this to a single straight line if you want a wavy line.
The other way is to create a pattern path.
Draw the repeating shape similar to what is shwn below. Open Window > Brushes and with the object selected click on the + at the bottom righr corner. This will bring up a list of options - choose Pattern Brush. This will bring up the panel below. You'll see from my example the corners don't match your image but it gets you closer.
Again Expand Appearence of the object if you want to play with the vector handles.

Already have an account? Login
Enter your E-mail address. We'll send you an e-mail with instructions to reset your password.