

- Home
- Illustrator
- Discussions
- Re: Knock out colours, and preparing for print
- Re: Knock out colours, and preparing for print

Copy link to clipboard
Copied
Hello
I'm having issued with illustrator in that I can't figure out how to stop the final knock out artwork from having this strange thin white line on all the shapes.
I know I'm missing a step in the process but I can't figure it out.
The logo has been illustrated, and then traced, then colours have been added. So a lot of small shapes and paths were added separately to get the right look - but now I need to prepare it for screen printing in two colours. The logo is currently black, yellow and with some small white parts. So if it's being printed on a white tee, the white needs to be knock out, and I need to make sure the paths are cutting through the right parts - the screenshots should illustrate this well.
I've made everything into outline, and then selected it all together - and used the divide tool in the pathfinder window. It then does allow me to delete certain areas to reveal the transparent background - but there are lines left on the black lines, from what seems like where the individual parts of the illustration have not all been joined together perhaps?
I hope someone can help!!
Charlie

Black lines with yellow shapes to block out unwanted black lines, rather than erase them....
How the actual black lines are, all overlapping each other and the text - I can only think to delete all un wanted shapes that I don't want, but below is the real problem...

Before divide effect...

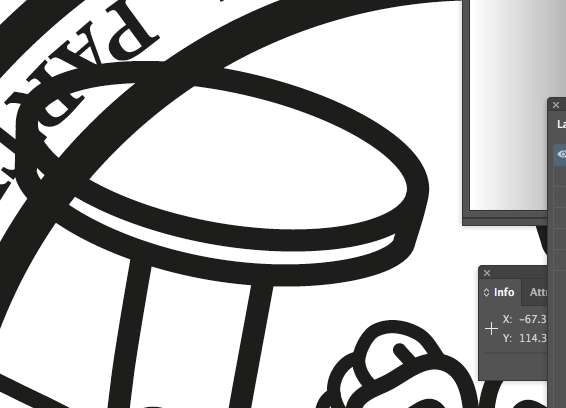
Thin white lines shown, after knockout has been done - via pathfinder, 'divide'.


 1 Correct answer

Those white lines are rendering anti aliasing display artifacts and they should not print. You could go into preferences and turn off anti-aliased. Everyone does that once for peace of mind, but you will want to put back on, so all does not look blocky.
I would though recommend you go back before you did divide and do your knockouts another way. Doing divide creates extra paths and makes you file bigger, and worst of all simple edits can be more difficult such as making a stroke thicker.
You may
...Explore related tutorials & articles
 7
Replies
7
7
Replies
7

Copy link to clipboard
Copied
Try selecting the affected black areas and using the Unite Pathfinder option.
Copy link to clipboard
Copied
Thank you Bill - this certainly solves the problem of having too many separate parts!
Copy link to clipboard
Copied
Happy to help.
Copy link to clipboard
Copied
Those white lines are rendering anti aliasing display artifacts and they should not print. You could go into preferences and turn off anti-aliased. Everyone does that once for peace of mind, but you will want to put back on, so all does not look blocky.
I would though recommend you go back before you did divide and do your knockouts another way. Doing divide creates extra paths and makes you file bigger, and worst of all simple edits can be more difficult such as making a stroke thicker.
You may have noticed the attributes panel has features for overprint, but I recommend using the transparency paleltte multiply instead to create overprints and traps. You also want to look into using windows separations preview.
Not sure what you did to get to where you are, but the yellow elipse in your first screenshot should be already knocking out the black lines underneath.
Copy link to clipboard
Copied
Perfect - thank you Mike, exactly what I needed to do, I shall remember this for the future - as it was completely failing me on how to do it!
Copy link to clipboard
Copied
For my part Charles, you are welcome.
Please visit the forums again, as we like people that can describe their issues with enough detail, but are clear, concise & provide screenshots.

Copy link to clipboard
Copied
To keep the lines from showing up on jpeg or png select art optimized super sampling in the antialiasing area when exporting. This is available with Illustrator 2020.

Find more inspiration, events, and resources on the new Adobe Community
Explore Now
 AdChoices