Copy link to clipboard
Copied
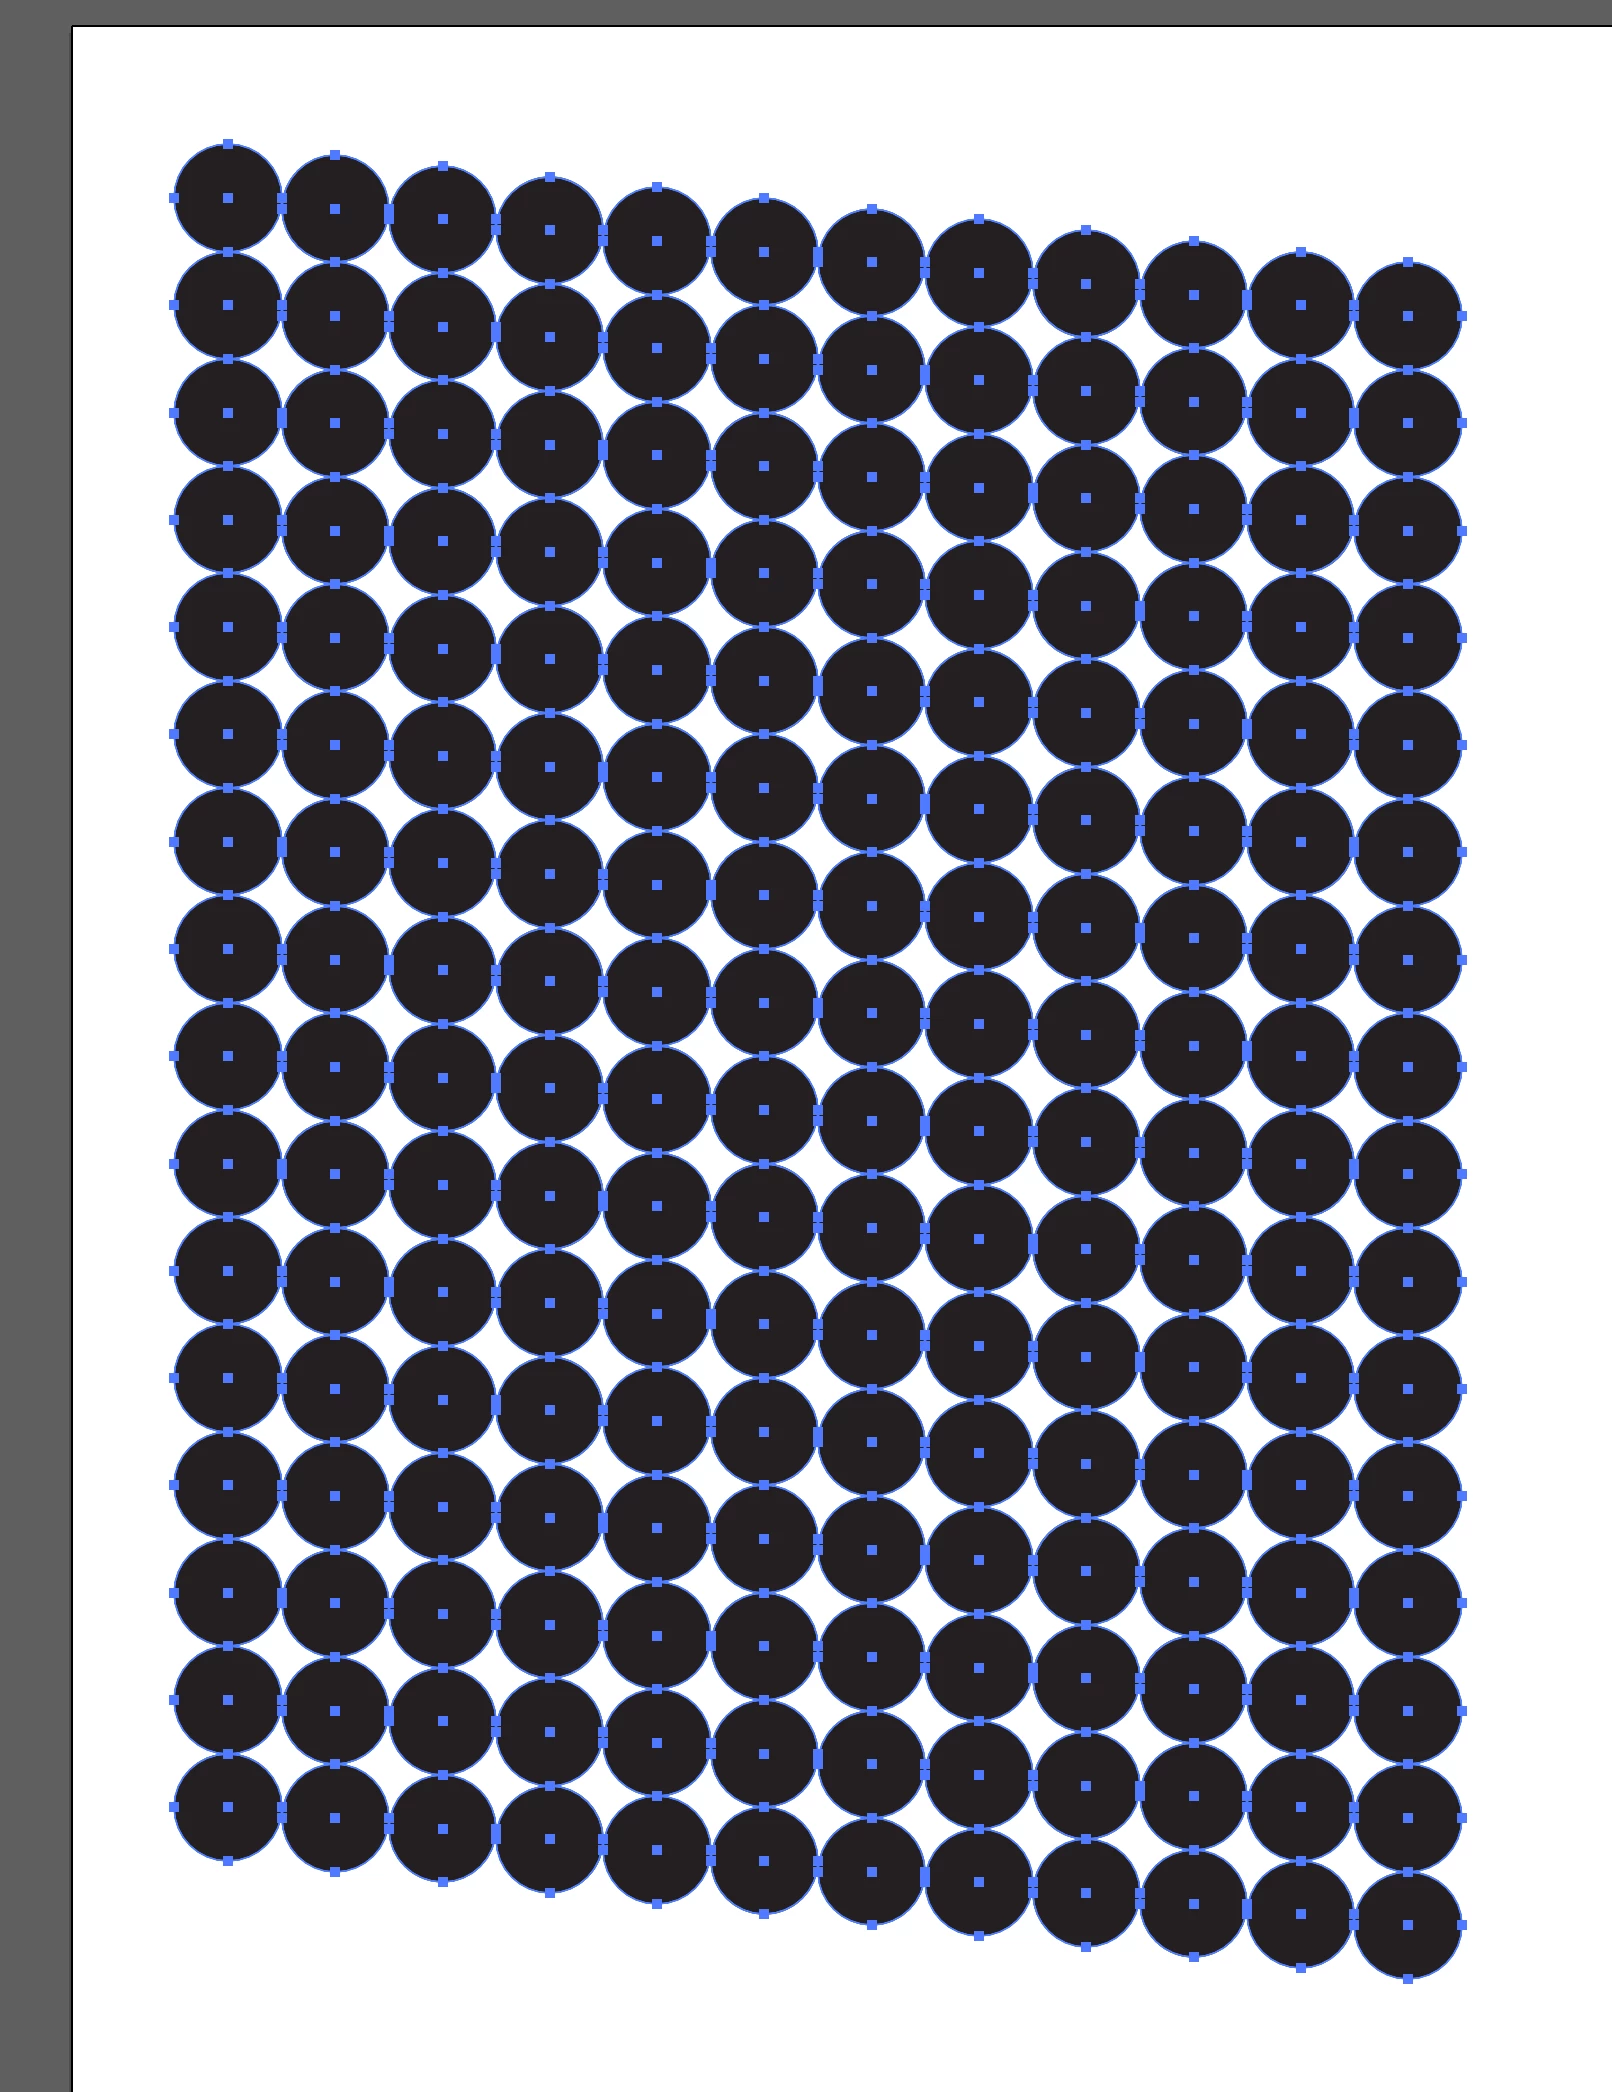
My Align Panel is not working correctly. I'm trying to create a grid of evenly spaced circles. It's not related to the Align to Artboard or Align to Selection settings - I checked that first. I also checked my transformation options after reading some of the forum posts. However, those boxes were already uncheck. Whenever I apply an alignment, the end result is something like this:
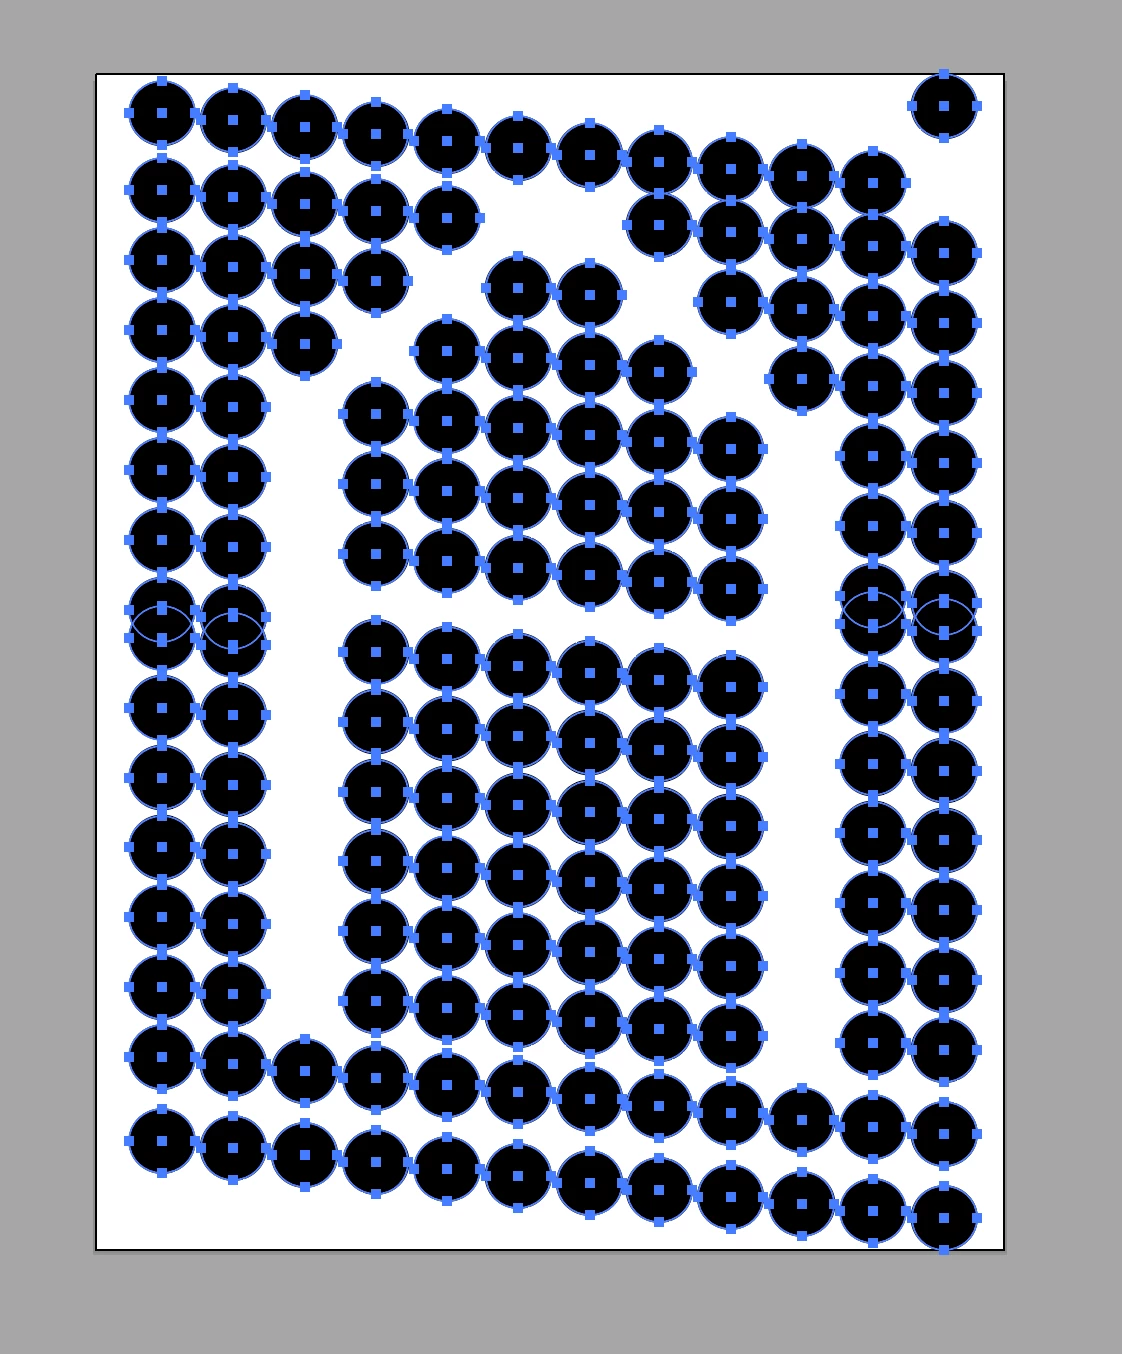
I've used the align panel before and it's worked fine. I even started this grid over from scratch, but every time I apply the alignment this happened.
I'm not sure if it's a hidden setting that causing this or what - any advice/insight would be greatly appreciated!
{Renamed by MOD}
When you try to distribute all the circles without grouping, the program considers their positions on all three axes ("Z" in this case is a Forward-Backward direction). So distribution becomes much more complex than you can expect. I would suggest one of 2 ways:
1) create the basic grid (use Ctrl/Cmd+D keys, and then remove unneeded items)
2) align/distribute each line/column, group each one, and then align the groups.
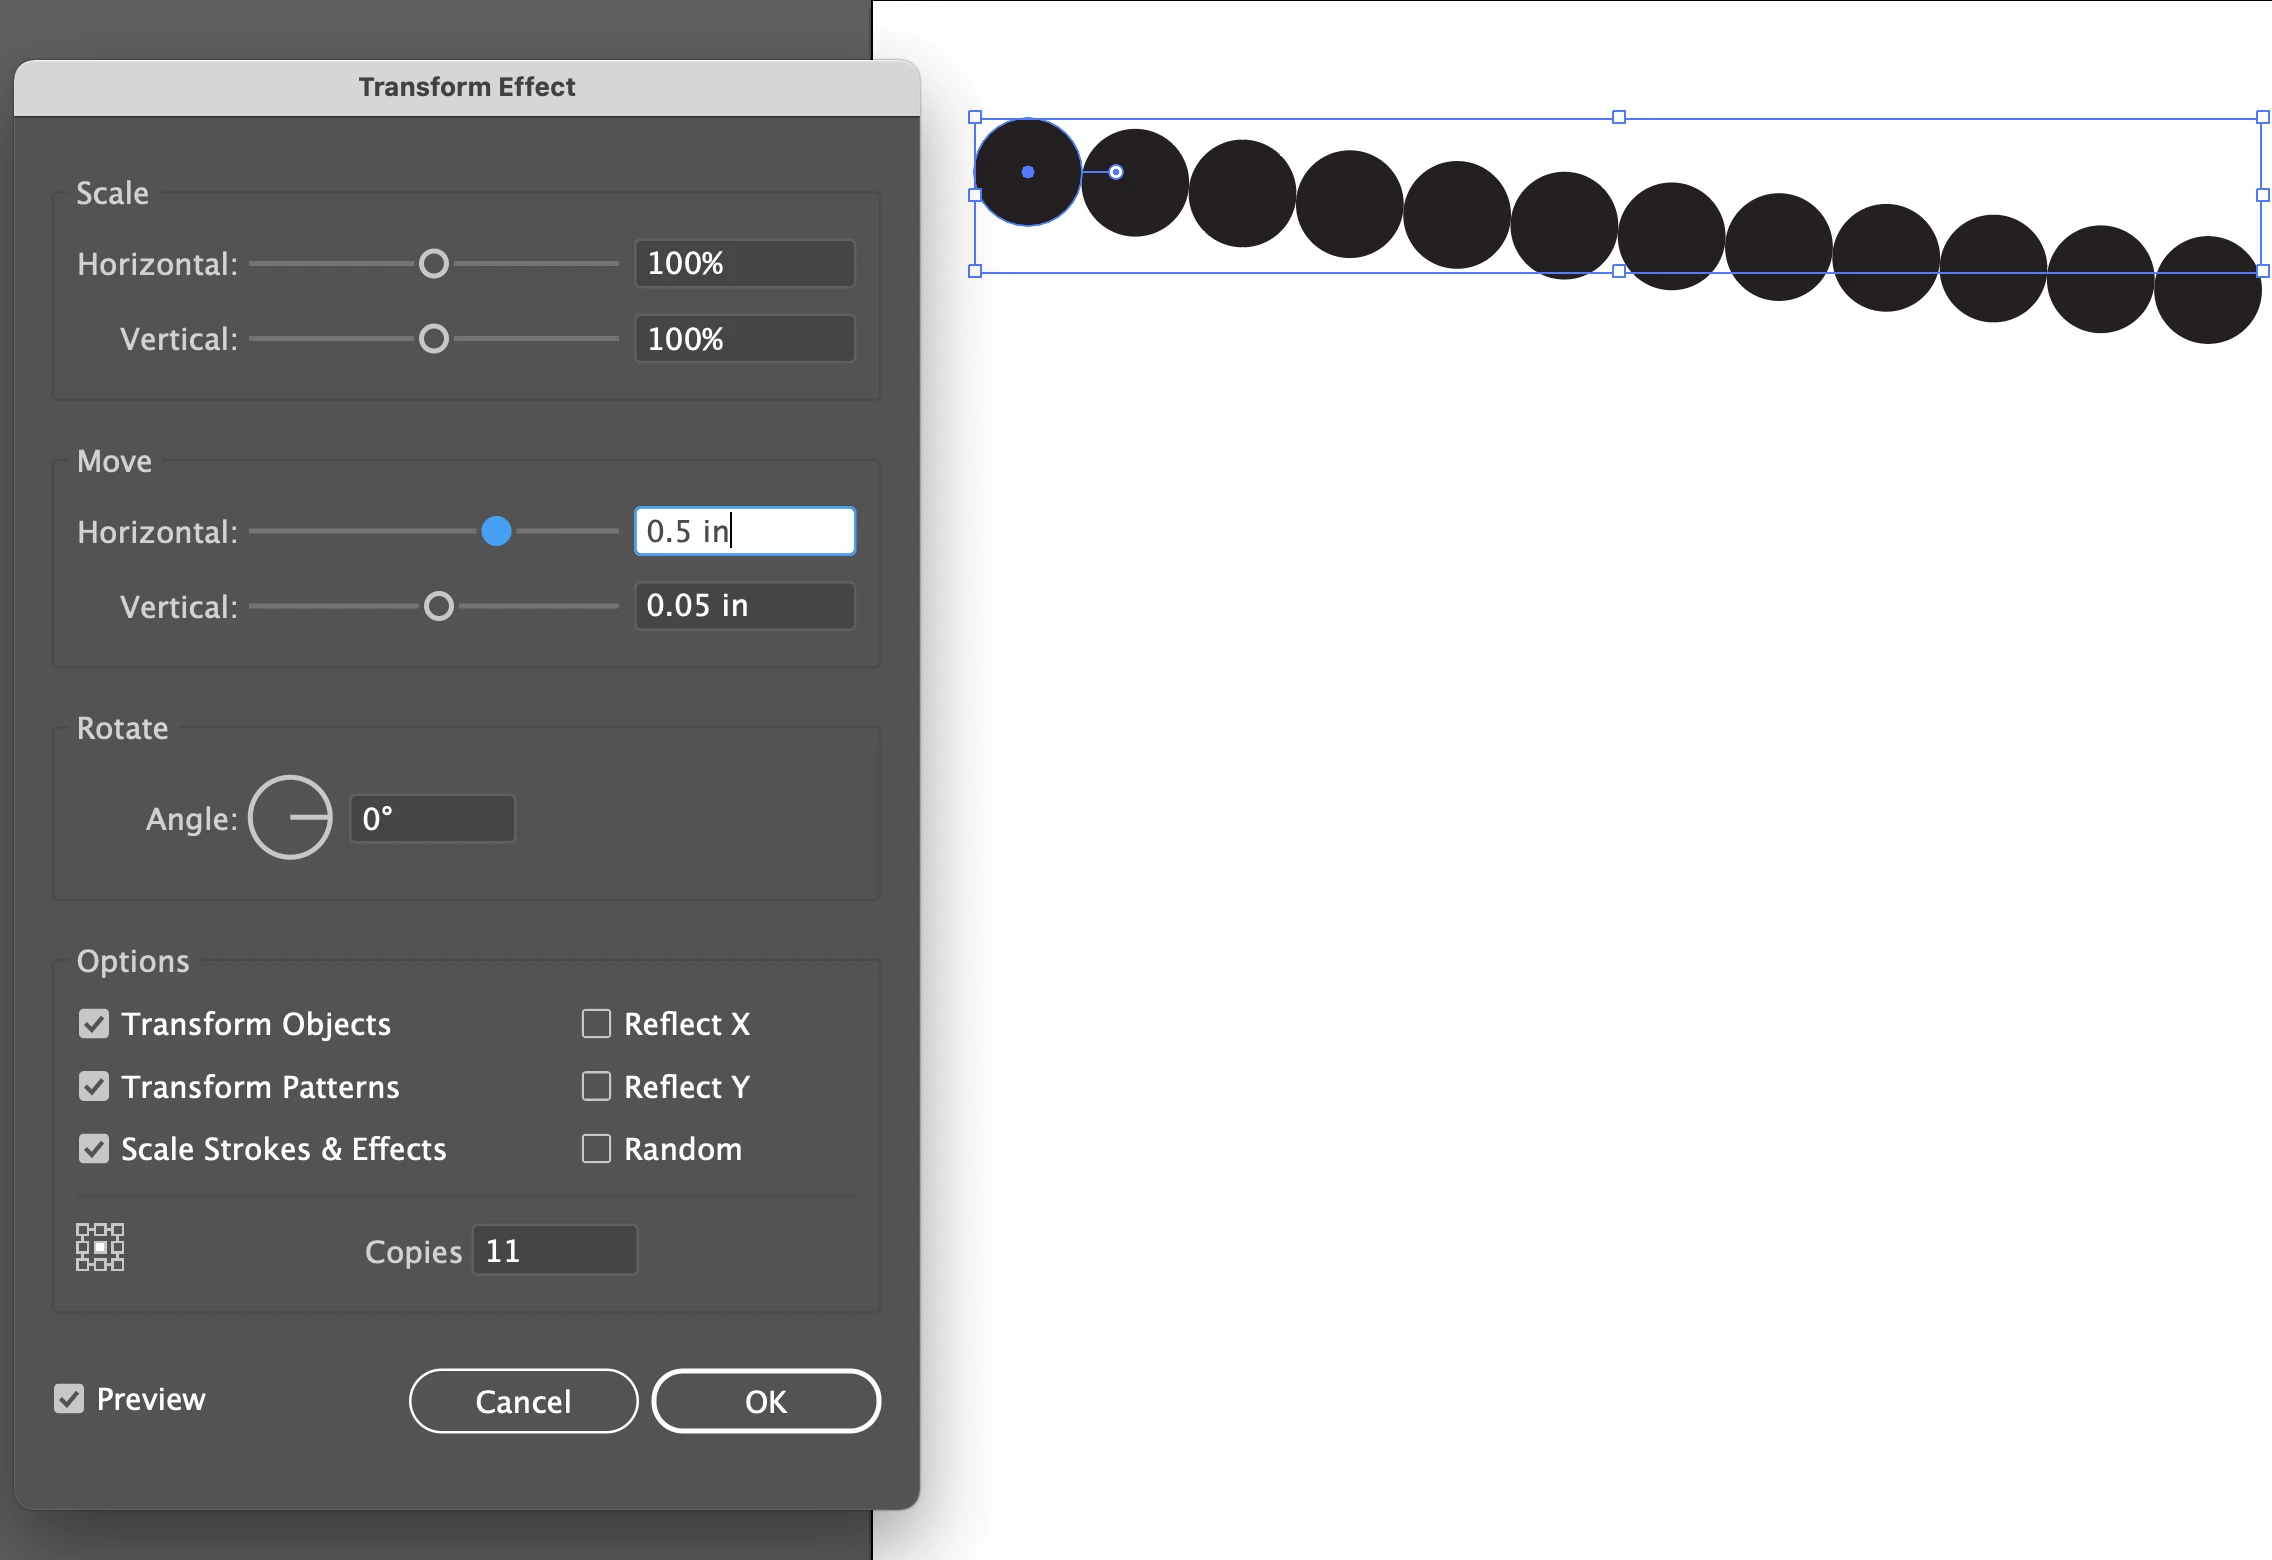
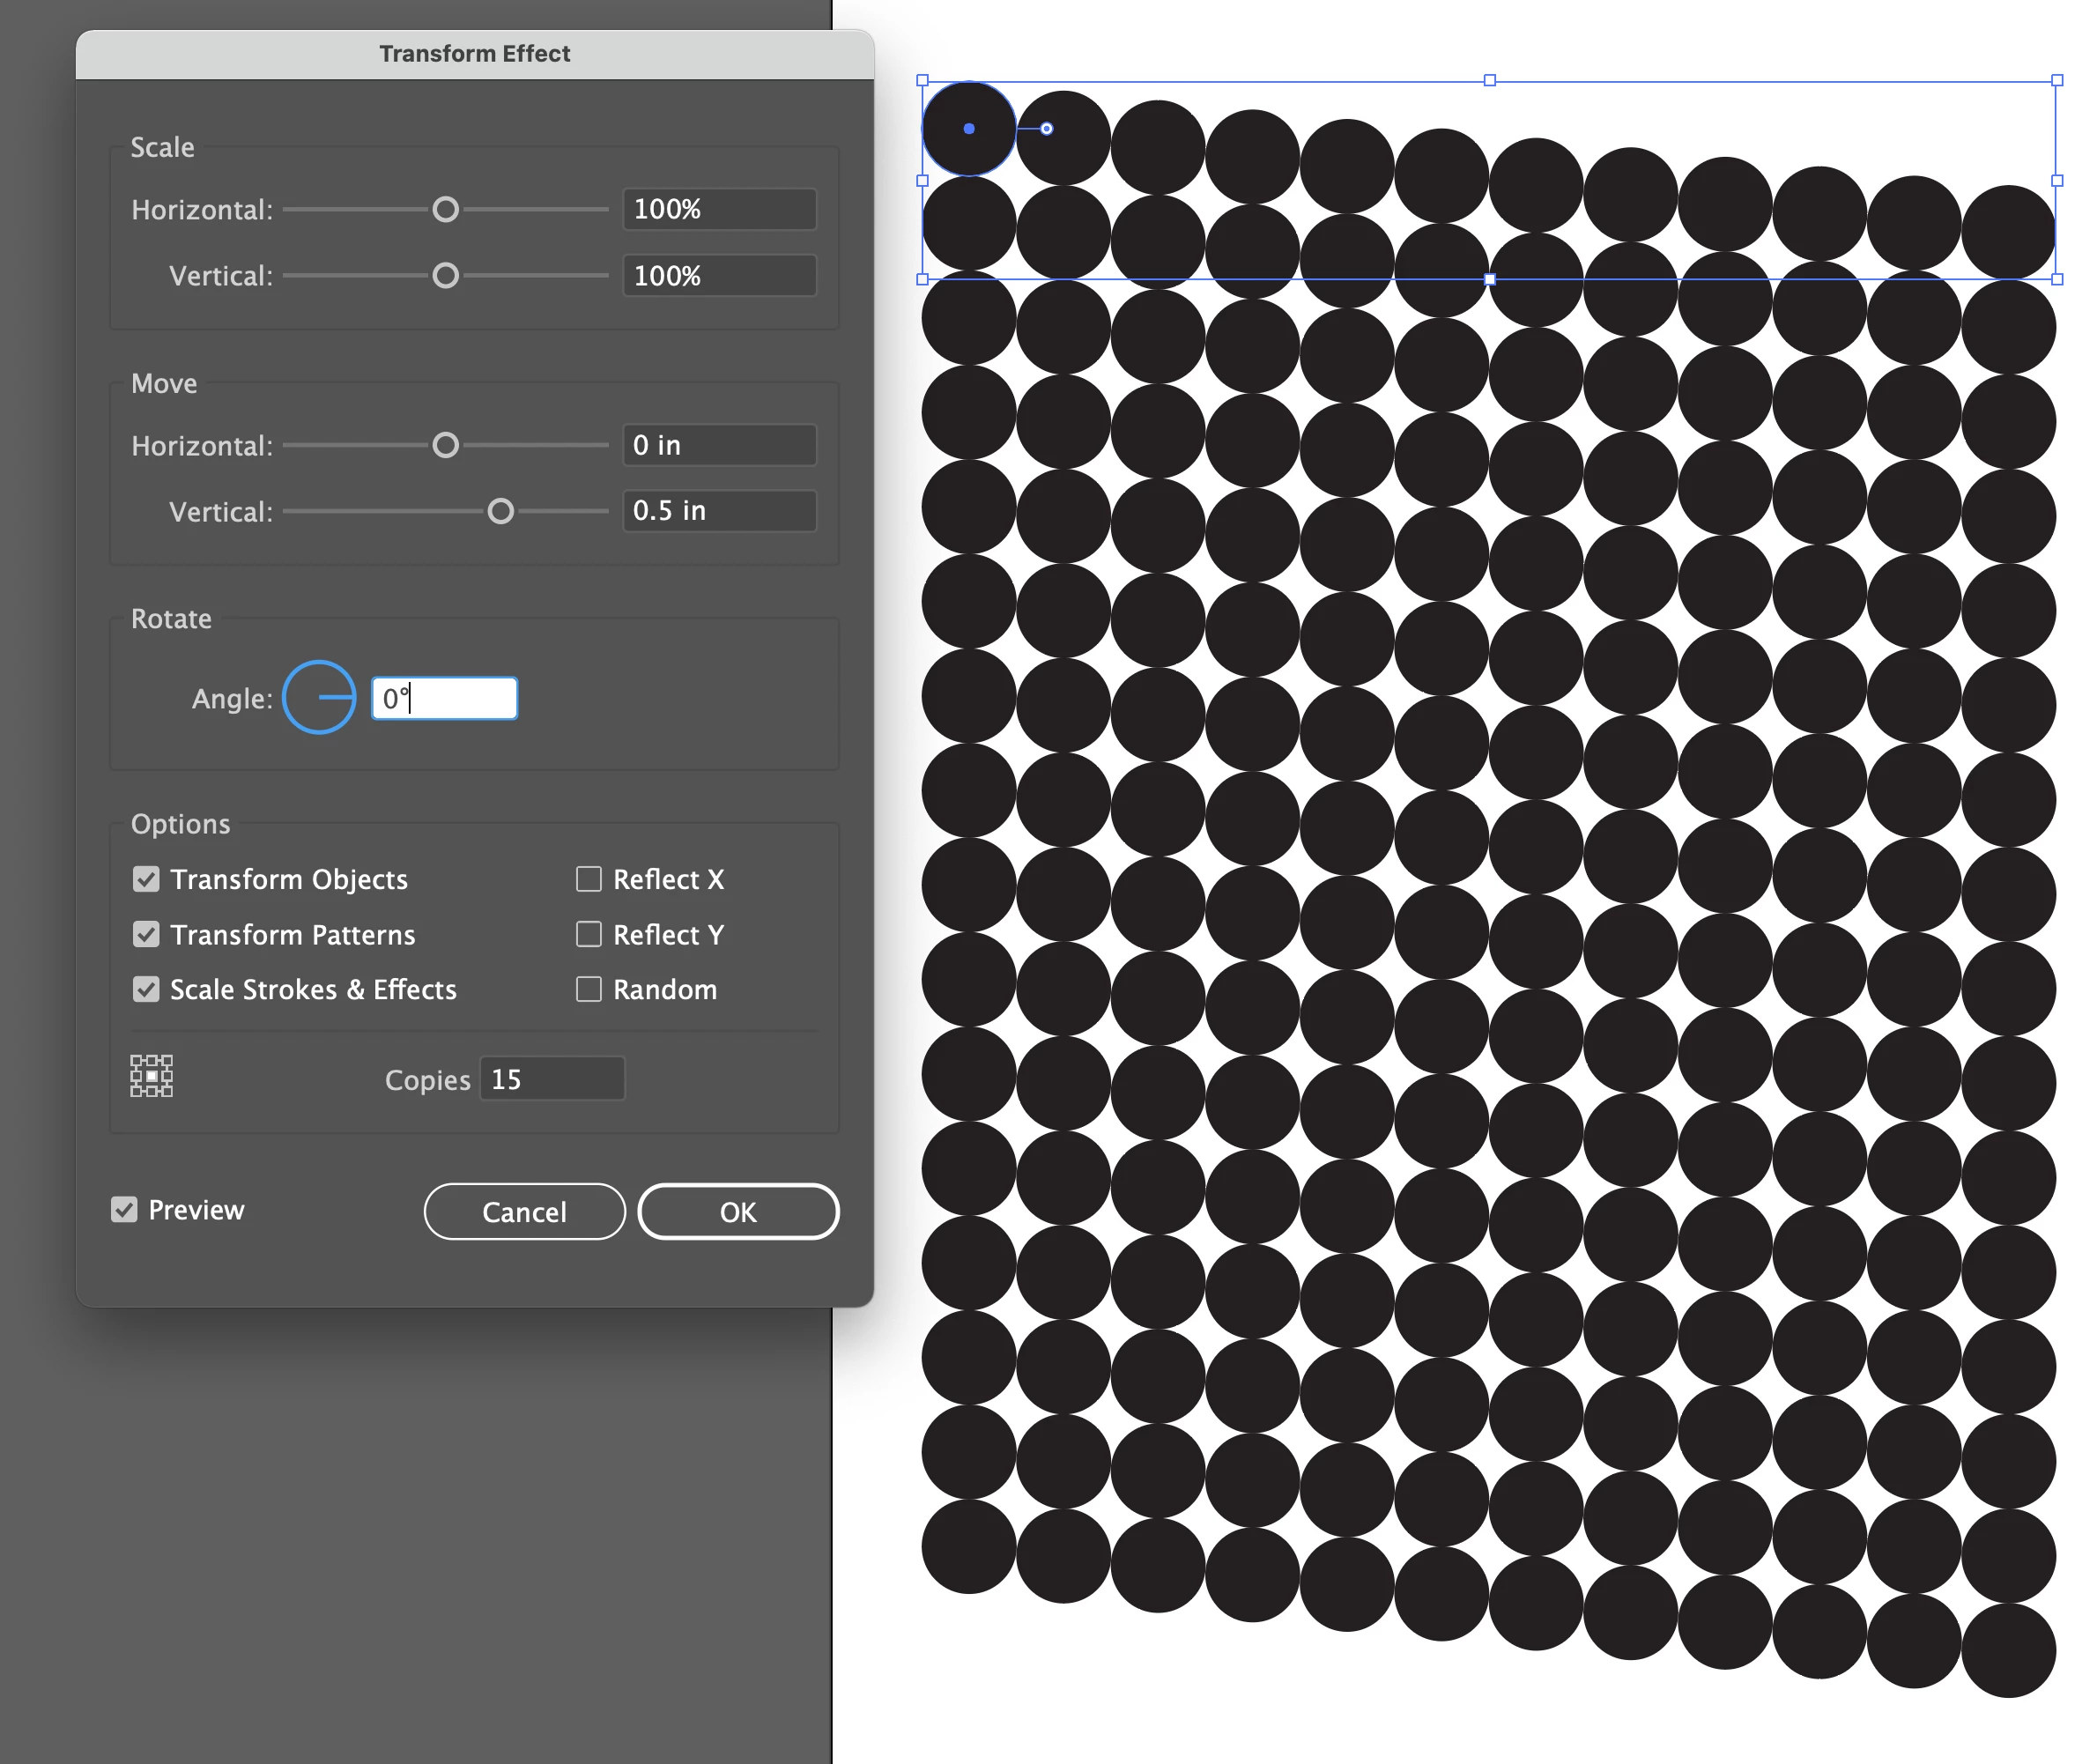
To create this grid quickly and easily, I would start with one circle, and use two instances of the Transform Effect to build the grid. Once you have your Grid, use Expand Appearance (and upgrouping a couple of times) to allow deletion of individual circles.
Copy link to clipboard
Copied
Did you check your View > Snap to settings?
Copy link to clipboard
Copied
Appreciate your response!
Yes, I've tried it with both Snap to Grid turned on and turned off, but I get the same result regardless when I click "Vertical Distribute Center".
Copy link to clipboard
Copied
Use distribute spacing which is located in the third row of align panel , not vertical distribute center.
You can aslo click on an a key object, specify the space then click on distribute vertical .
Copy link to clipboard
Copied
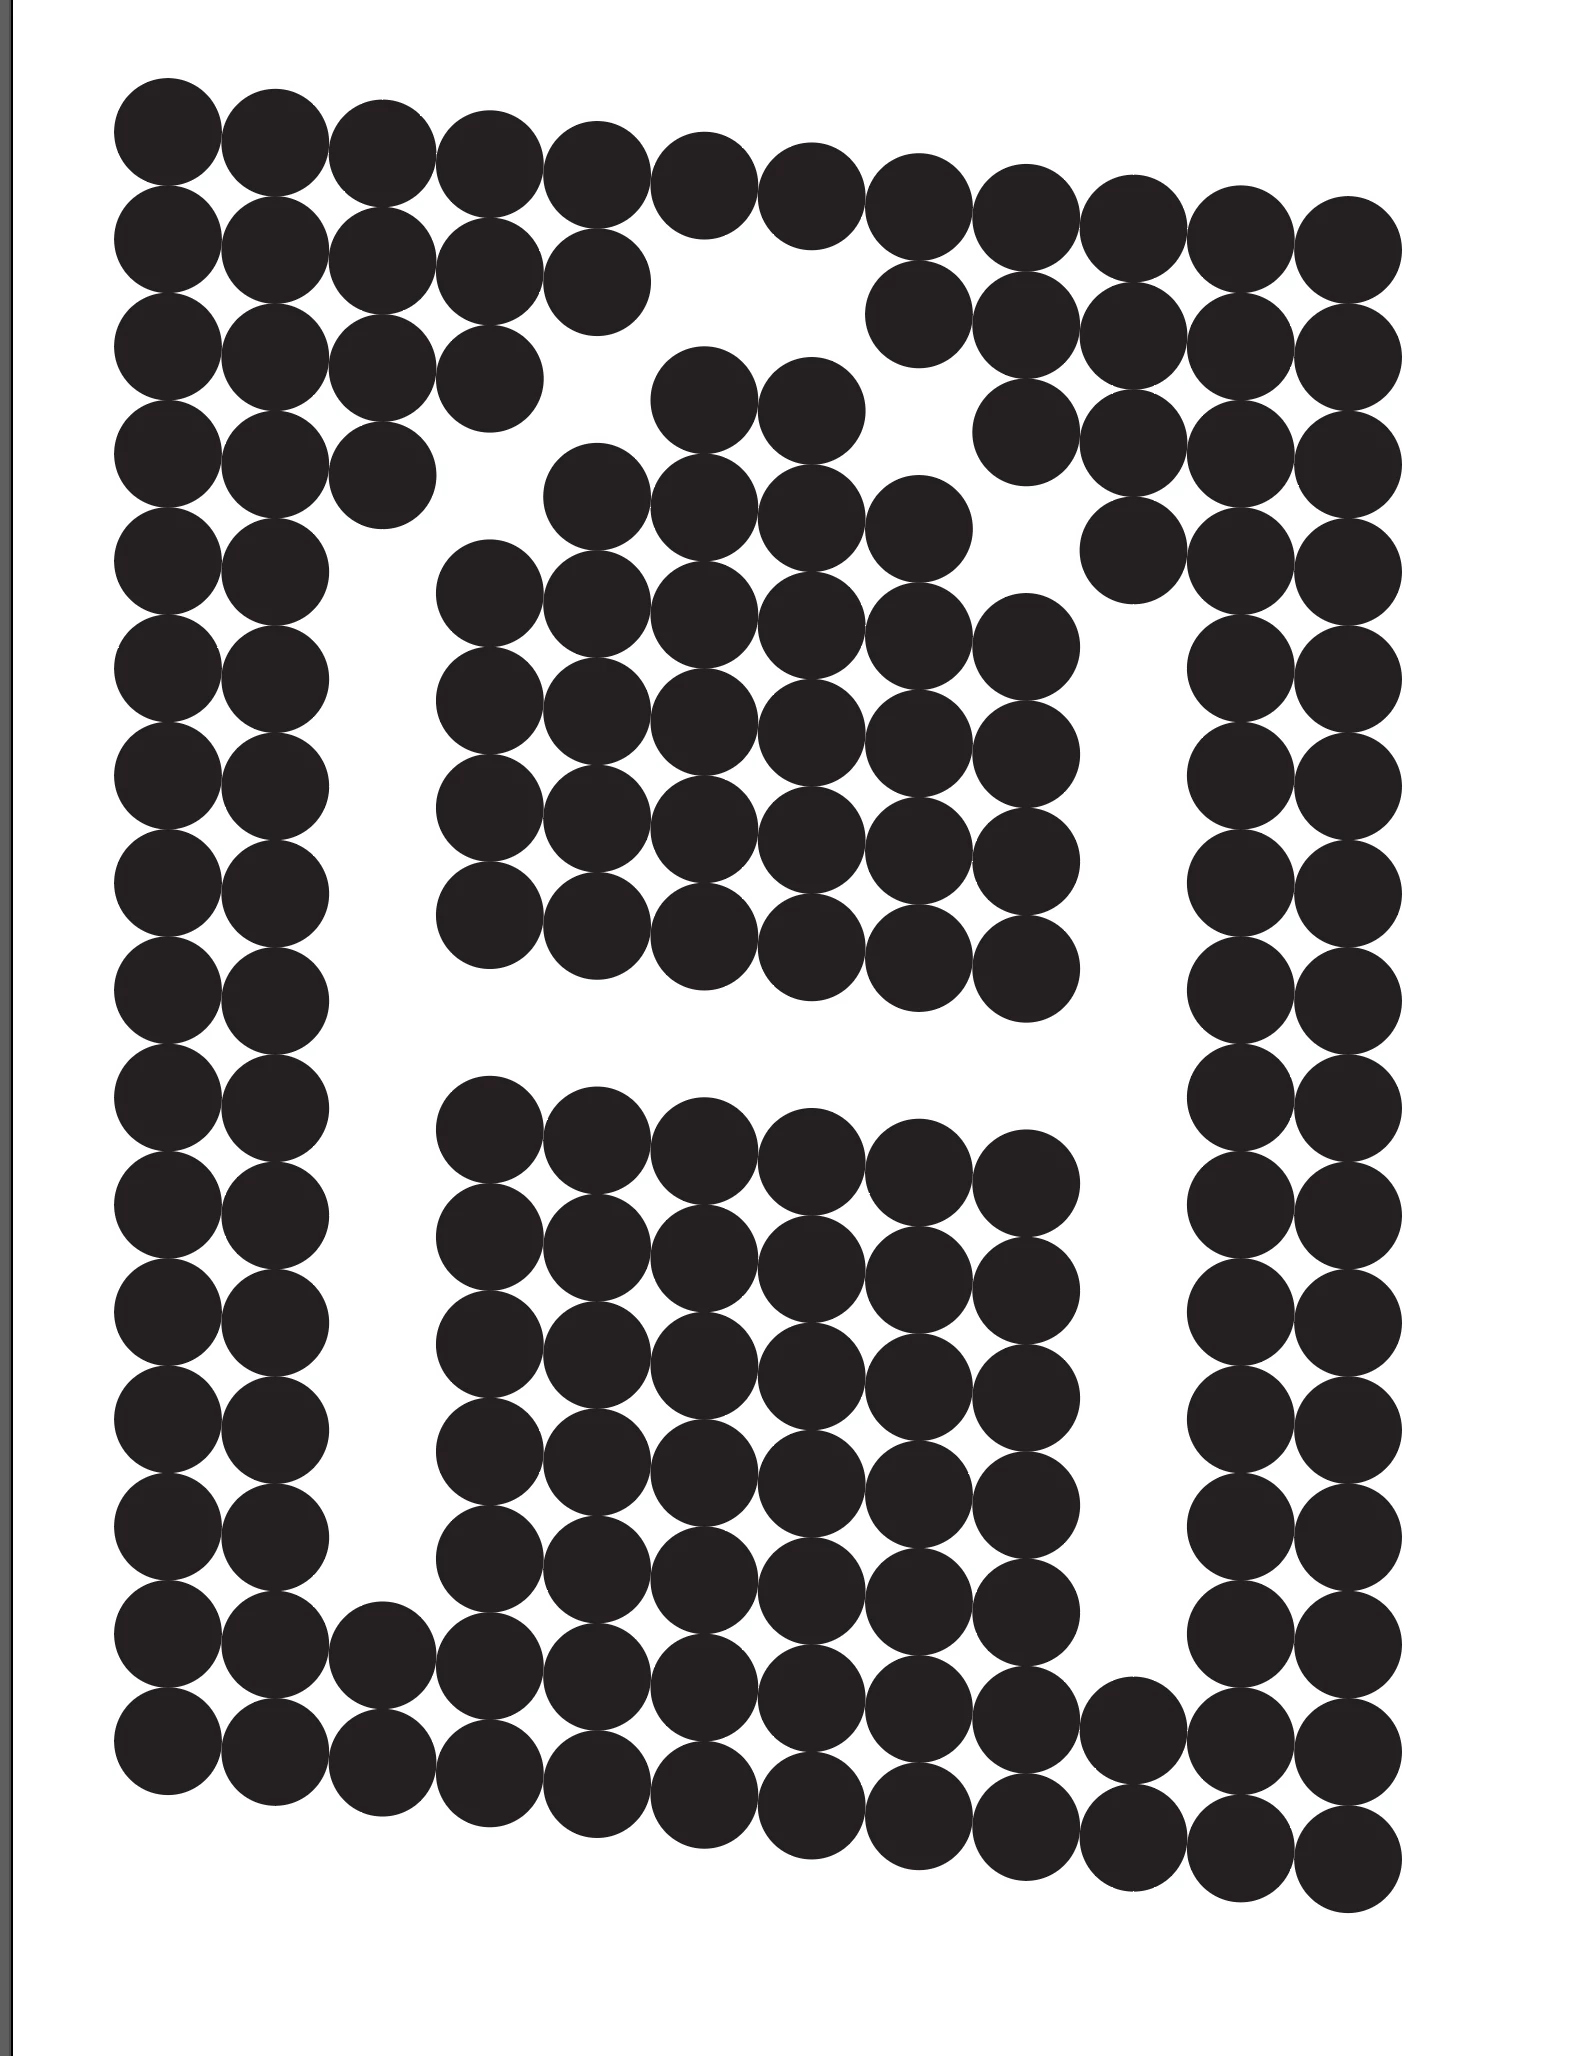
Hello, I tried your suggestions. Unfortunately this is the result when using distribute spacing:
It's producing identical results.
Align to Key Object is creating a single row of circles regardless of which object I choose as the key object and regardless of the alignment method selected.
Copy link to clipboard
Copied
Tell please,
1) did you try to distribute the elements in each column, group them and then align columns (e.g. by bottom)?
2) what do those additional items in the central part do (I mean, the circles which are not in the grid in the left and right columns)?
Copy link to clipboard
Copied
When you try to distribute all the circles without grouping, the program considers their positions on all three axes ("Z" in this case is a Forward-Backward direction). So distribution becomes much more complex than you can expect. I would suggest one of 2 ways:
1) create the basic grid (use Ctrl/Cmd+D keys, and then remove unneeded items)
2) align/distribute each line/column, group each one, and then align the groups.
Copy link to clipboard
Copied
Hi Anna,
That was exactly the issue! When I was first creating the grid I built it out with rows of circles, and the align panel was working fine. At some point I ungrouped the circles which was creating the problems.
Once I put the circles back into groups of rows, the align panel worked as expected. Simple solution and silly oversight on my part!
Thank you! 🙂
Copy link to clipboard
Copied
Actually, you can remove the unneeded items without ungrouping the rows. Just use the Group Selection tool (white arrow with "+" sign). It selects the objects in the groups and allows them to move/edit/remove.
Copy link to clipboard
Copied
Hi there,
Sorry to hear about the trouble you are facing. In addition to the suggestion shared by @Mohammad.Harb @Ton Frederiks @Anna Lander, I would suggest you update Illustrator to the latest version (25.4.1) if it is not and let us know how it goes. If, after updating the app, you are still facing this issue, then I would request you to share a few more details like:
I will be looking forward to hearing from you.
Thanks & Regards,
Anshul Saini
Copy link to clipboard
Copied
To create this grid quickly and easily, I would start with one circle, and use two instances of the Transform Effect to build the grid. Once you have your Grid, use Expand Appearance (and upgrouping a couple of times) to allow deletion of individual circles.
Copy link to clipboard
Copied
as far as I could see, the goal is to greater a straight grid, not sheared (see the lonely circle at the top-right corner :-)).
but your idea is great. Could you create a small tutorial for beginners from your post?
Copy link to clipboard
Copied
Anna
For a straight grid, the process would be the same as shown in my screen shots. The only change would be to leave the Vertical Move field at 0.
Start with a circle of a known diameter. go to Effect > Distort and Transform > Transform
That will bring up the pallet shown in my post above. Set the value of your vertical move to match the diameter of your circle.
Then go to the same menu item again, choosing Apply New Effect in the Warning box. This time, add a vertical move value that is equal to your circle diameter.
When you have the grid, Selected Expand Appeance in the Object menu, then ungroup twice to separate the circles so they can be selectively edited or removed.
Copy link to clipboard
Copied
yes, I know it and use when I want to have non-deformed items in the sheared grid.
And sometimes, when I'm too lazy to think, I just use Ctrl+D 🙂