- Home
- InDesign
- Discussions
- Auto fit a text box within a page's margins?
- Auto fit a text box within a page's margins?
Copy link to clipboard
Copied
Is there a quick way to auto size (or resize) the text box horizontally to fit within the page margins (the magenta lines)?
 1 Correct answer
Hi arjun2:
When you place text (File > Place), InDesign sets the top position of a new text frame based on where you click, but it will also seek out the left, right and bottom margins. It's more accurate than we are.
Alternatively, what version of InDesign are you using? In CC 2018, you can set up an object style set the size and position.
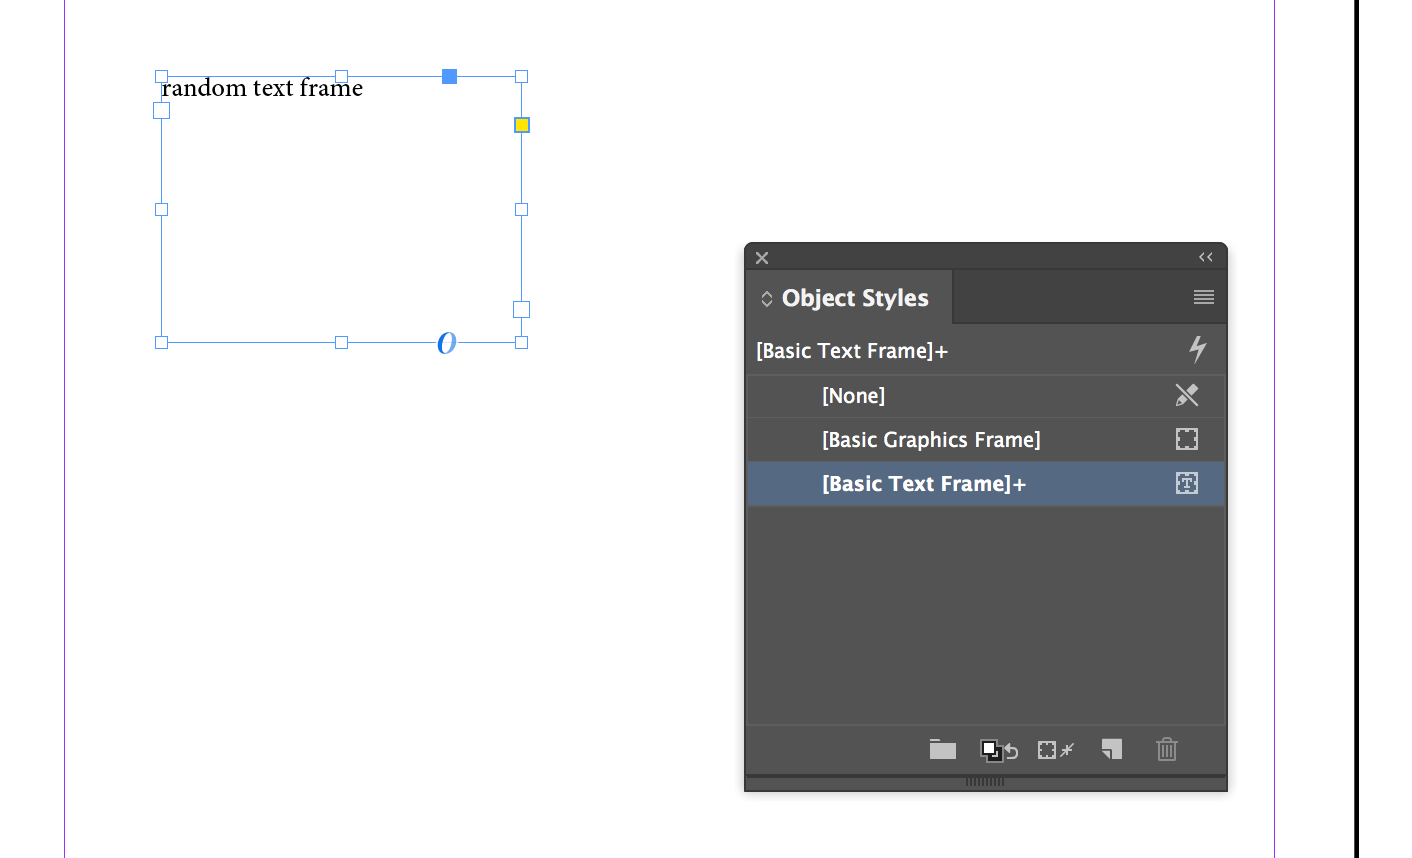
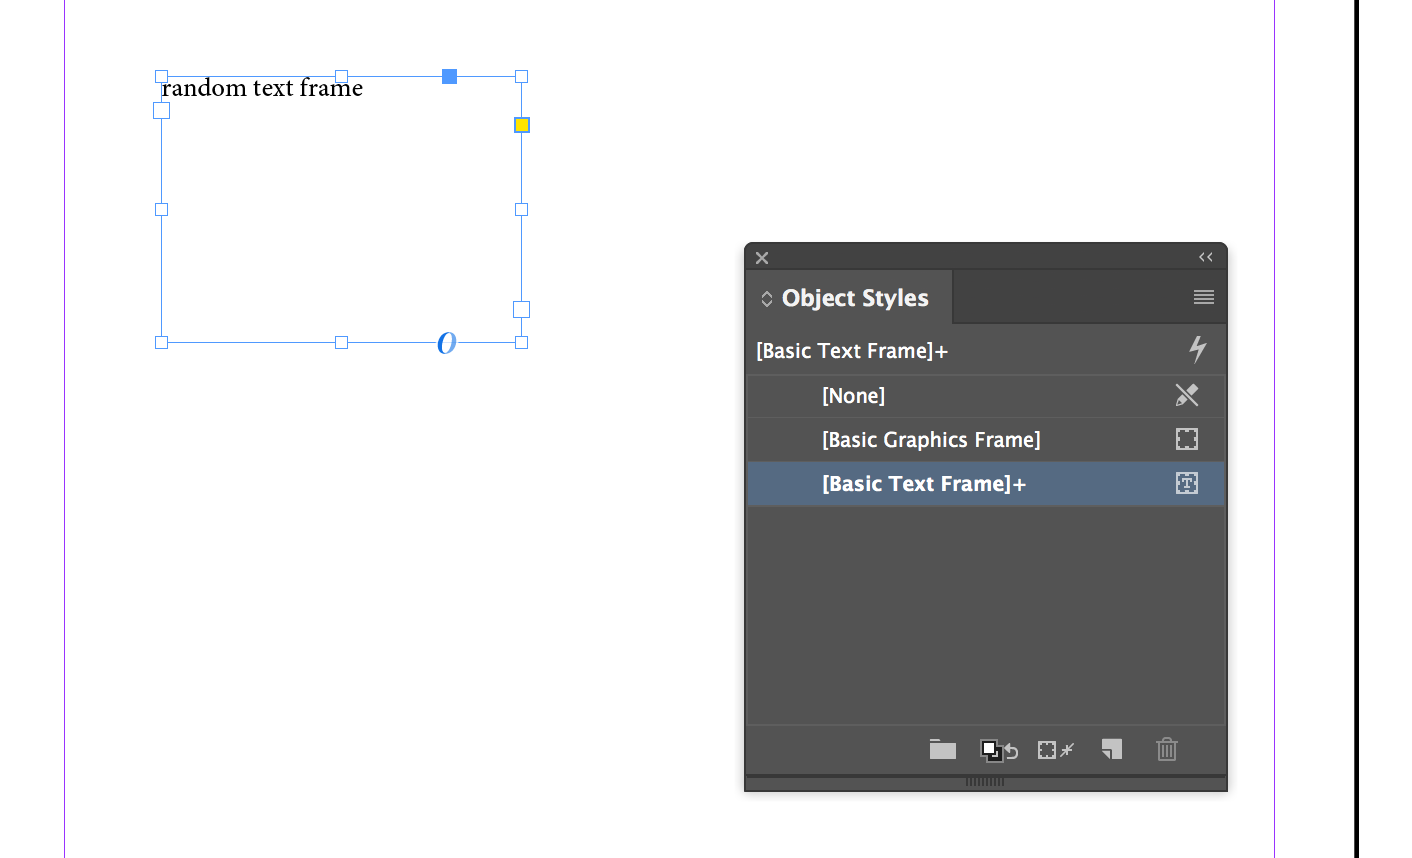
Select the frame:
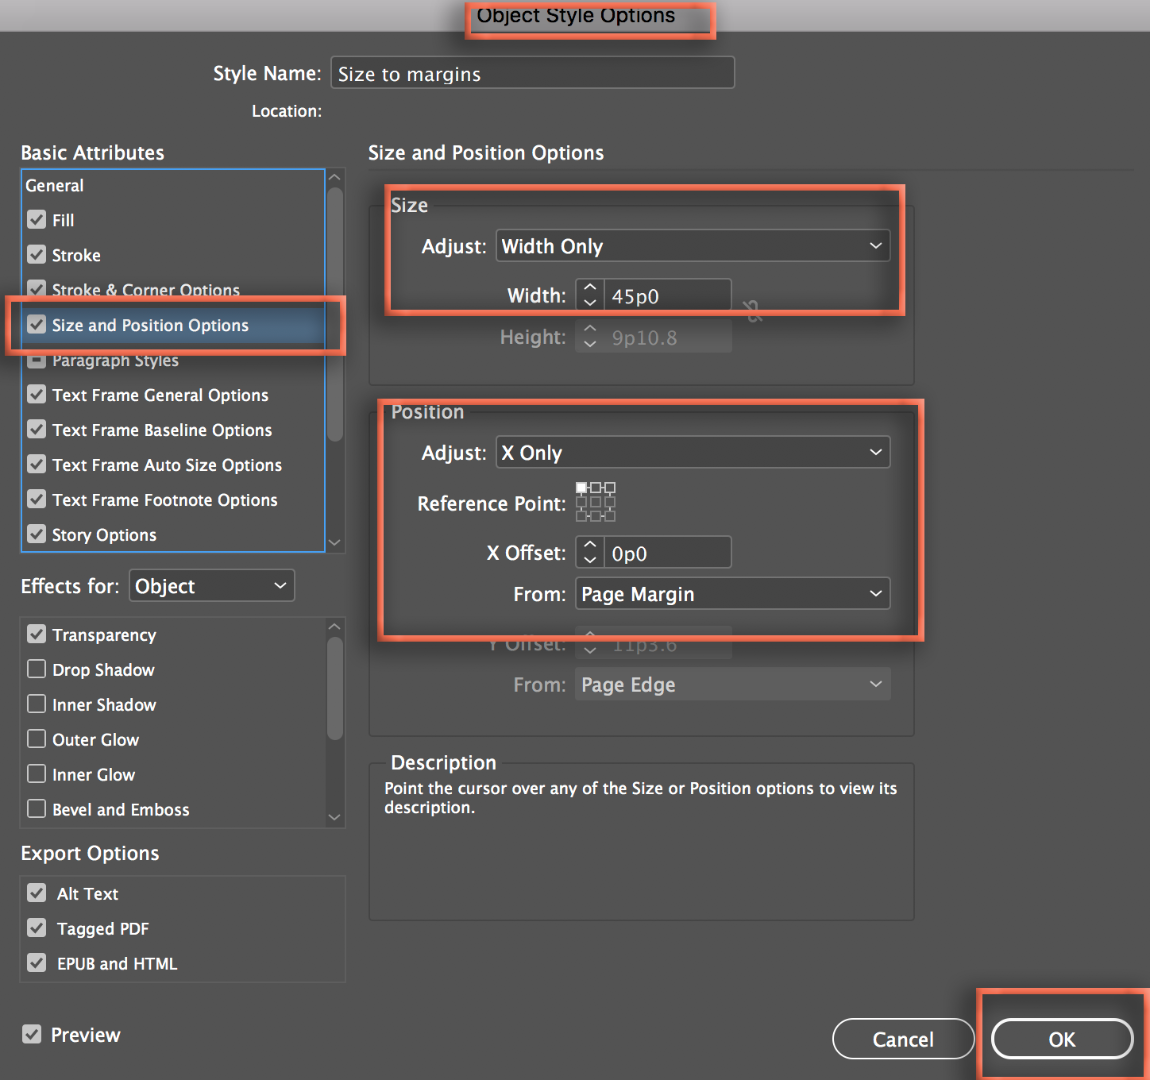
Create a new object style and set the new Size and Position options. I'm working only with Width and the X-offset, this would also work with He
...Copy link to clipboard
Copied
You should try out Primary Text Frames and see if they work for the layout you want to do.
Here are a few resources to help you learn about it:
http://www.tech4pub.com/2013/01/02/indesign-cs6-tip-using-primary-text-frames/
InDesign Primary Text Frames - YouTube
InDesign interactive document design tutorial: Using primary text frames | lynda.com - YouTube
Copy link to clipboard
Copied
Turn on Layout Adjustment (it is found in the borders and the margin dialog).
Copy link to clipboard
Copied
https://forums.adobe.com/people/Willi+Adelberger wrote
Turn on Layout Adjustment (it is found in the borders and the margin dialog).
How does it work? I enabled it and nothing happened.
Copy link to clipboard
Copied
Hi arjun2
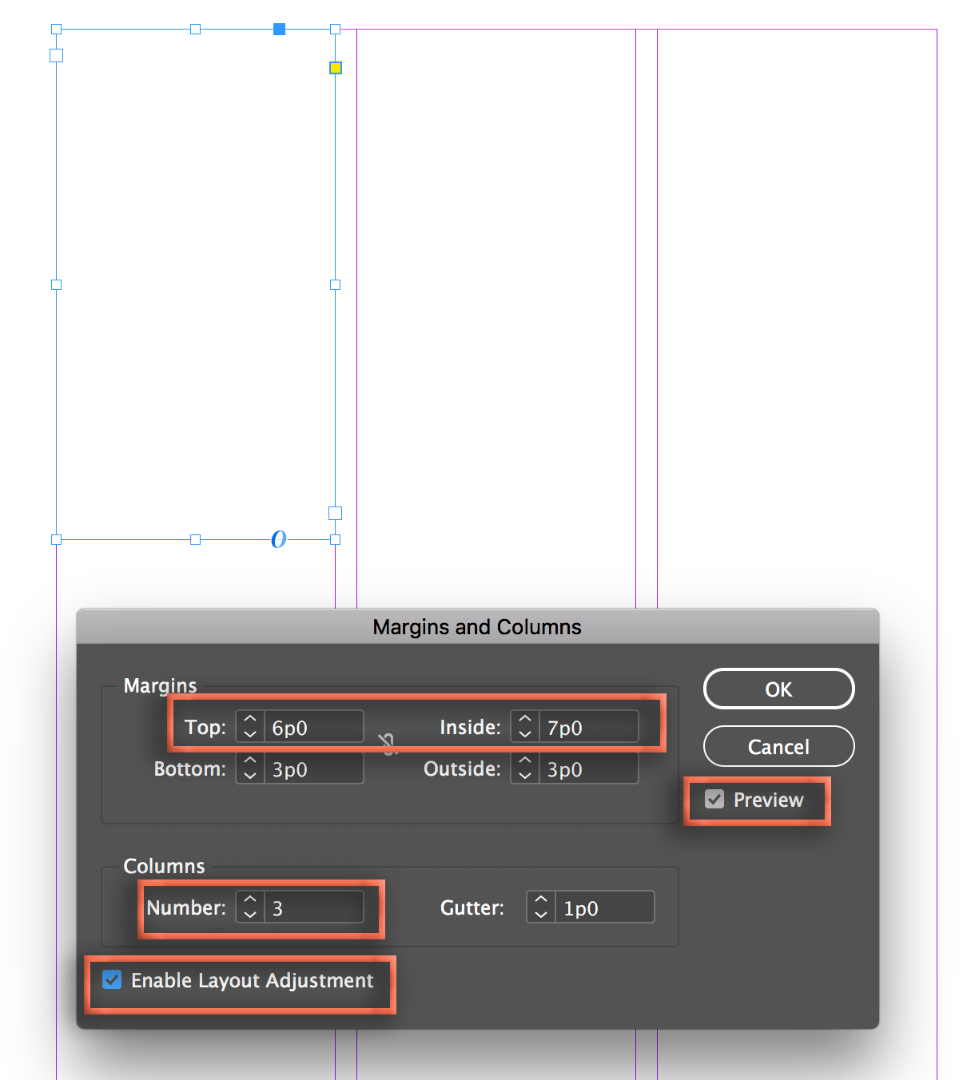
Layout adjustment will update frame sizes if you have already drawn the frames, and if they are sitting on guides. In that specific situation, if you activate Enable Layout Adjustment in Layout > Margins and Columns and then change the margins or columns, the frame will resize to match the new margins and columns.
For example, here is a frame that is snapped to the top and left margins, and is one-column wide.
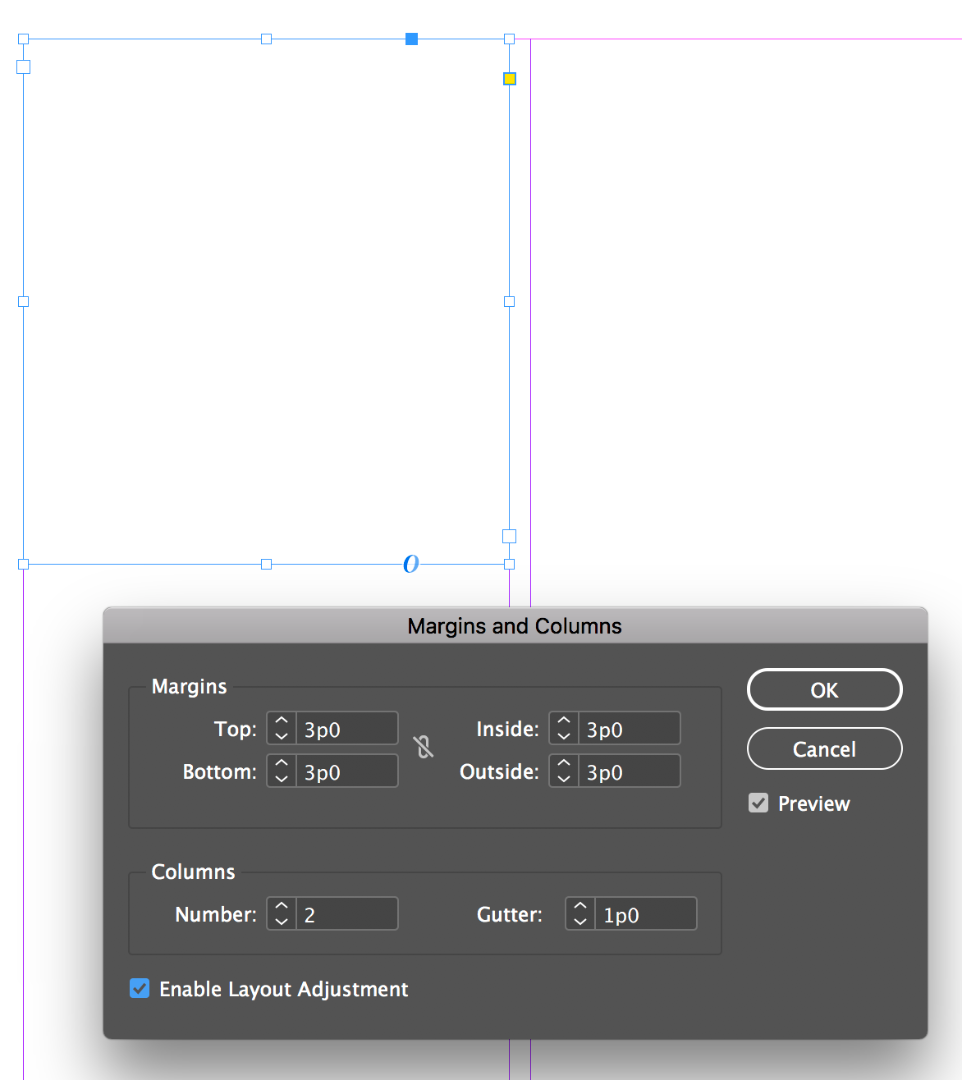
If I activate Enable Layout adjustment and then change the margins and/or columns, the frame resizes automatically. If you want to play with this (and it is a helpful feature) be sure that the frame is already snapped to the guides and then turn preview on in Layout > Margins and Columns.
~Barb
Copy link to clipboard
Copied
Hi arjun2:
When you place text (File > Place), InDesign sets the top position of a new text frame based on where you click, but it will also seek out the left, right and bottom margins. It's more accurate than we are.
Alternatively, what version of InDesign are you using? In CC 2018, you can set up an object style set the size and position.
Select the frame:

Create a new object style and set the new Size and Position options. I'm working only with Width and the X-offset, this would also work with Height and the Y-offset, or both. I'm using a new default document (w=51p0) with 3p0 left and right margins, so set the Width to 45p0 (51-6=45).
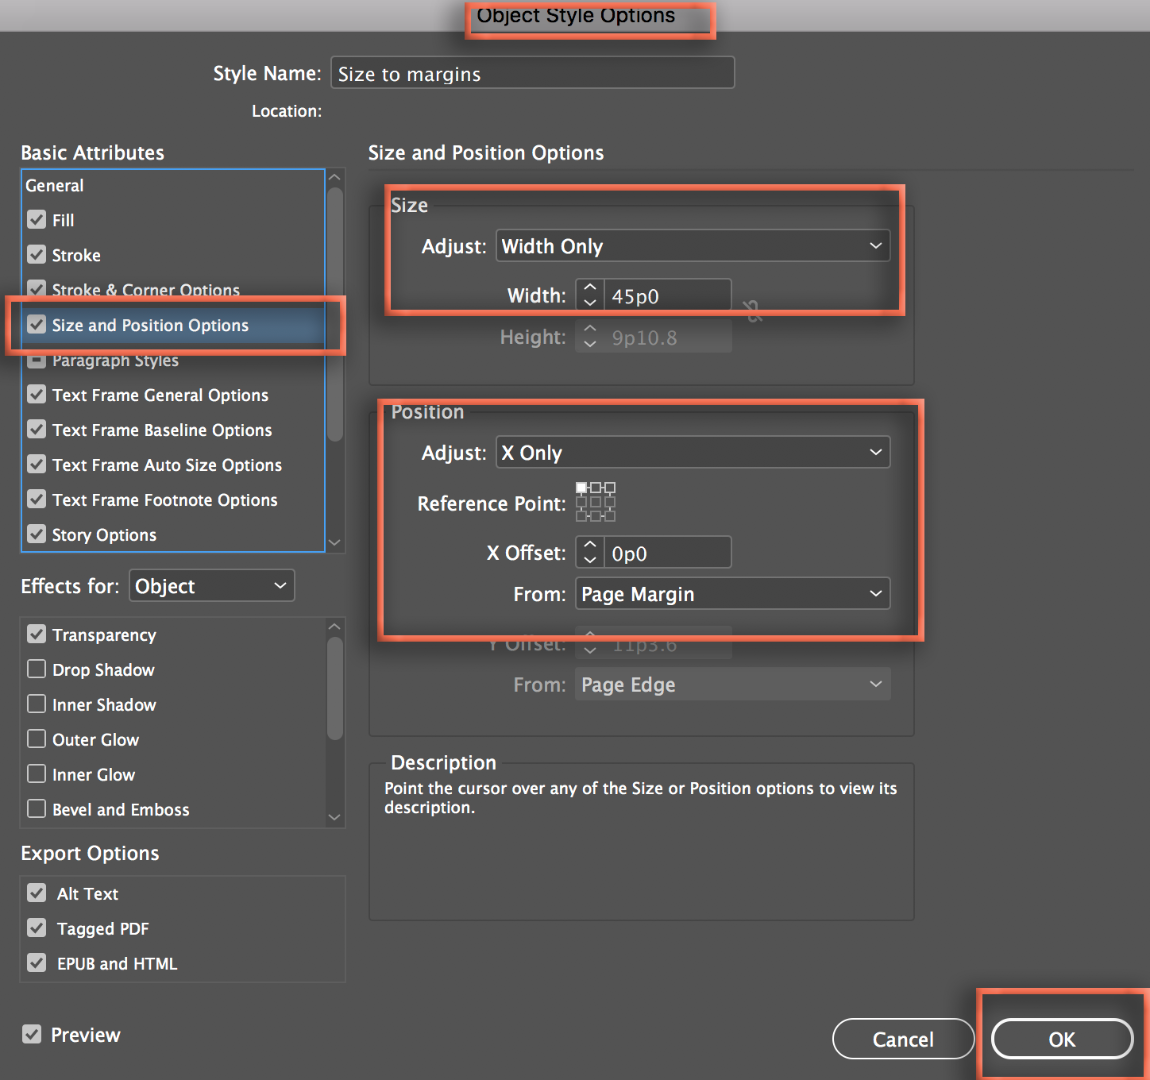
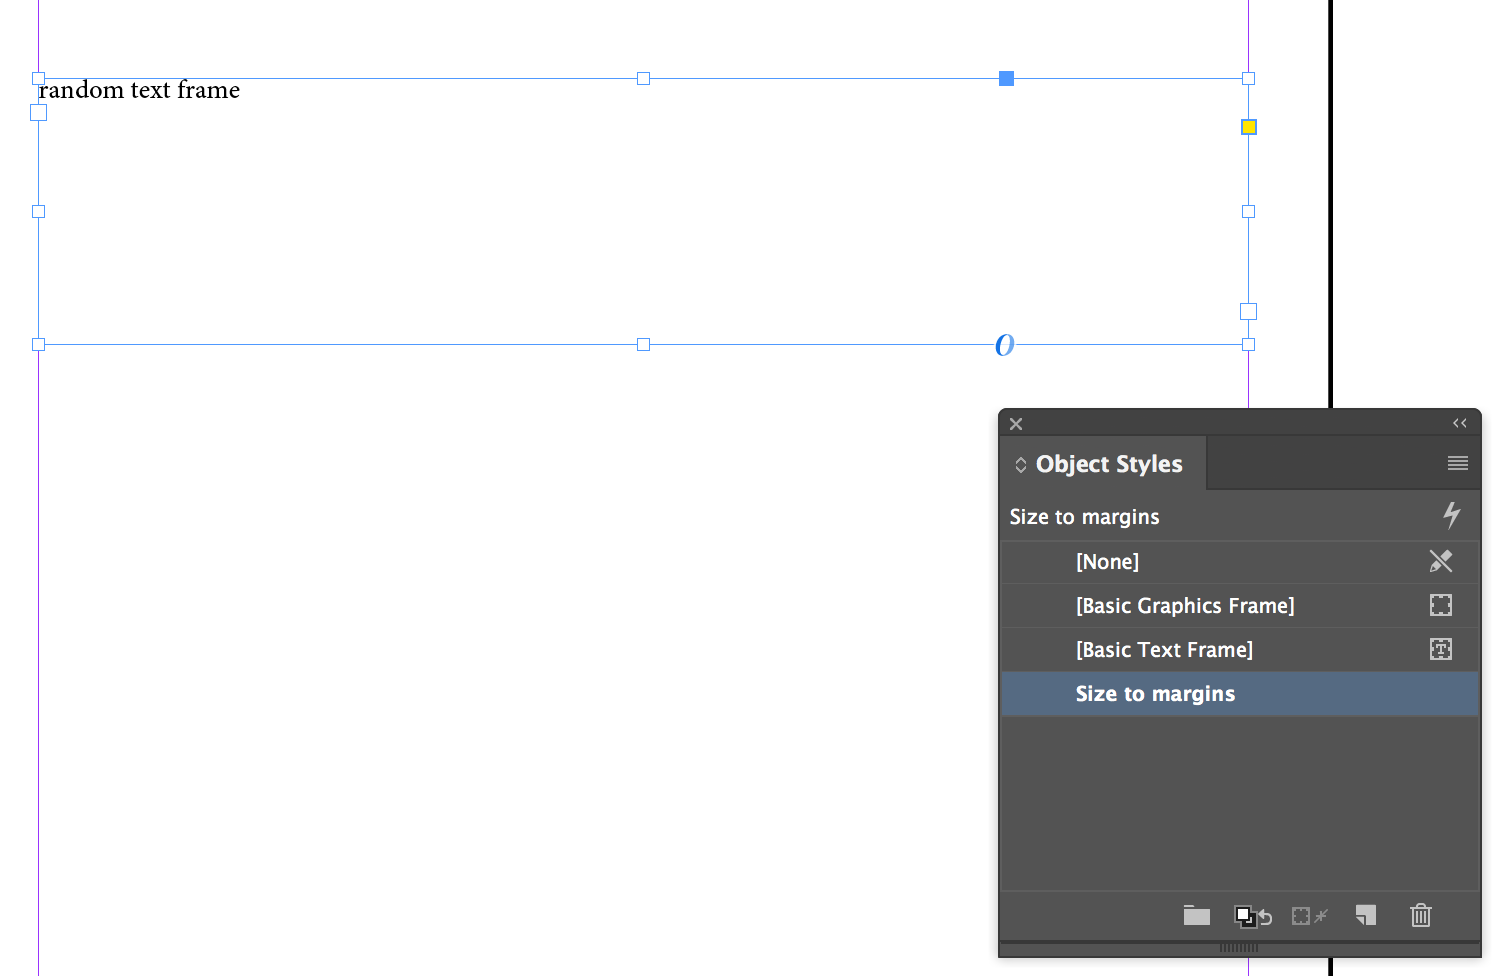
Click to assign the new object style to the selected frame: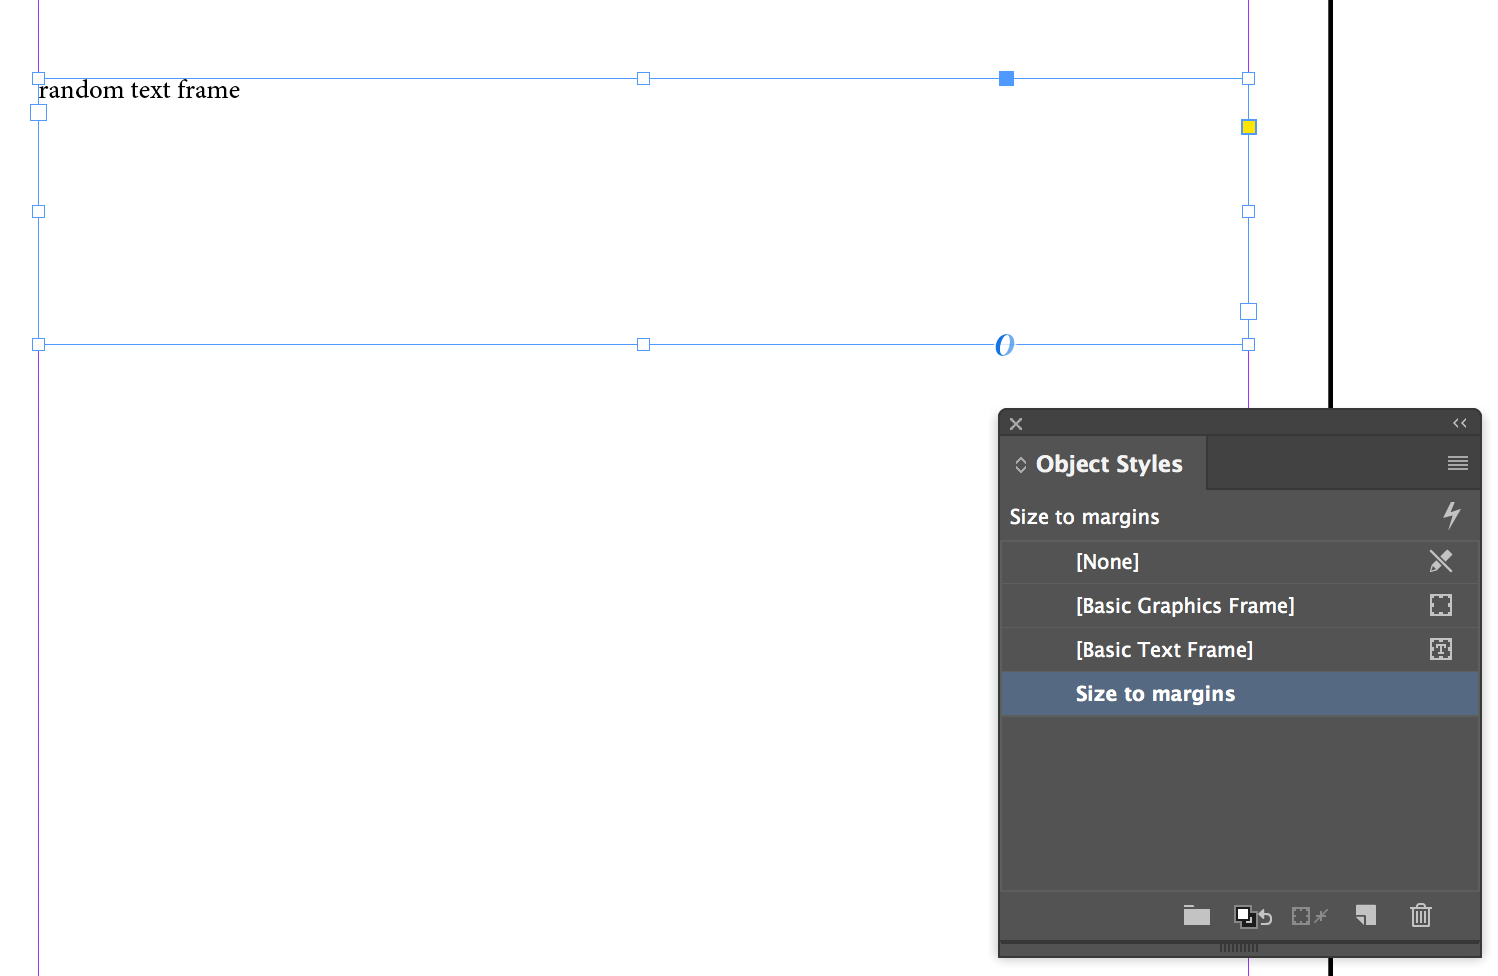
An advantage to this technique is if the paper size or margins change, you can edit the Object style and update the size and position of all the frames that are using the style.
~Barb
Copy link to clipboard
Copied
BarbBinder wrote
Hi arjun2 :
When you place text (File > Place), InDesign sets the top position of a new text frame based on where you click, but it will also seek out the left, right and bottom margins. It's more accurate than we are.
Alternatively, what version of InDesign are you using? In CC 2018, you can set up an object style set the size and position.
Select the frame:
Create a new object style and set the new Size and Position options. I'm working only with Width and the X-offset, this would also work with Height and the Y-offset, or both. I'm using a new default document (w=51p0) with 3p0 left and right margins, so set the Width to 45p0 (51-6=45).
Click to assign the new object style to the selected frame:
An advantage to this technique is if the paper size or margins change, you can edit the Object style and update the size and position of all the frames that are using the style.
~Barb
Thank you! This is a really efficient way.
Copy link to clipboard
Copied
This technique used to work for me. Back in earlier versions of InDesign, or perhaps even with PageMaker. However, I have not been able to use it for many years, and it is so frustrating!
I'm sure I must have something set so it doesn't work, but I can't figure out what.
If I start a new page, say 8 1/2" x 11", with .5 inch margins on all sides. I go near the top with the Text Tool, I'd like to just click where I'd like the top position to be, and InDesign will should automatically make the text frame as wide as the margins. Alas, this does not work. It ends up creating a box perhaps two or three inches wide. I'm forced to resize it manually.
What am I doing wrong? What setting do I have to change?!
Thank you.
Walt D in LV
Copy link to clipboard
Copied
Whoa! I think I found it!
When creating a New Document, the "Primary Text Frame" option must be clicked: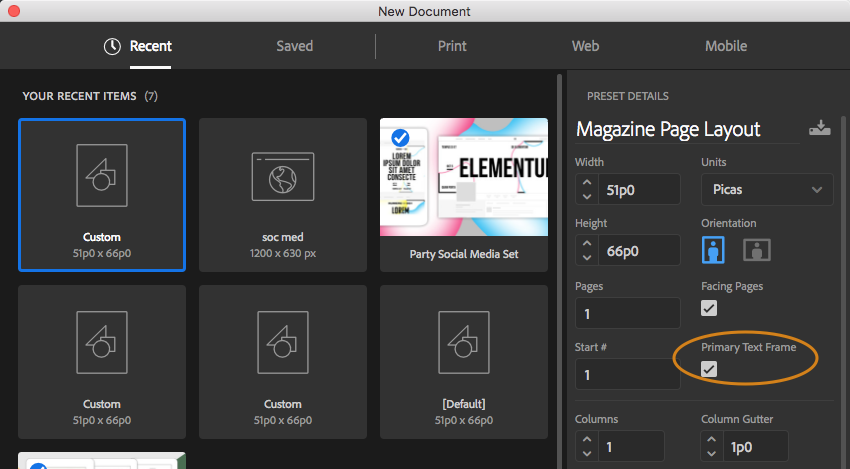
I'm not sure if one can change this later on, globally within the document. However, if you click on the the nodule near the upper left of a text frame, I believe you can turn it on for that sole text frame.
Regardless, "Primary Text Frame" will always be clicked in my documents from now on!
Thank YOU!
Copy link to clipboard
Copied
Very helpful, Barb, thank you.
Hello barb,
My text was imported to the Indesign file Autoflow by Shift-clicking. I've changed the margins after that. the text frames dosn't match the new margins. How can I fix it? I'm working with Indesing 19.
thanks
Hila
Copy link to clipboard
Copied
Insert the text in to the document, then click in the outport of text box, with shift click on the next page to auto flow the text within the margins.
![]() Autoflow by Shift-clicking: Adds pages and frames until all text is flowed into your document (the text box will be within the margins)
Autoflow by Shift-clicking: Adds pages and frames until all text is flowed into your document (the text box will be within the margins)
Copy link to clipboard
Copied
Thank you!!! Barb. I just had a client change the size of his finished book and I needed this badly!


