- Home
- InDesign
- Discussions
- Re: Best practice for RGB and grayscale images for...
- Re: Best practice for RGB and grayscale images for...
Copy link to clipboard
Copied
We have many books that are being developed for use both online (as PDF files) and in print. Some of these books have photos/illustrations in them. Up to this point we've just been using RGB .jpg files with an "overlay" (actually the rectangle is "filled" with our brand color, and then the photo blend mode is set to "Luminosity" to create the appearance of an overlay that matches the color scheme of the book). This works (and looks) great for the digital files. But we're now creating print files for economical printing (in black), and the photos obviously need some special treatment to print only in black. I know how to convert images to grayscale, but the problem is that now they look very washed out/muddy (especially with the "overlay" applied). I think they'll print just fine, but they don't look nearly so nice for our digital PDF files. 😞
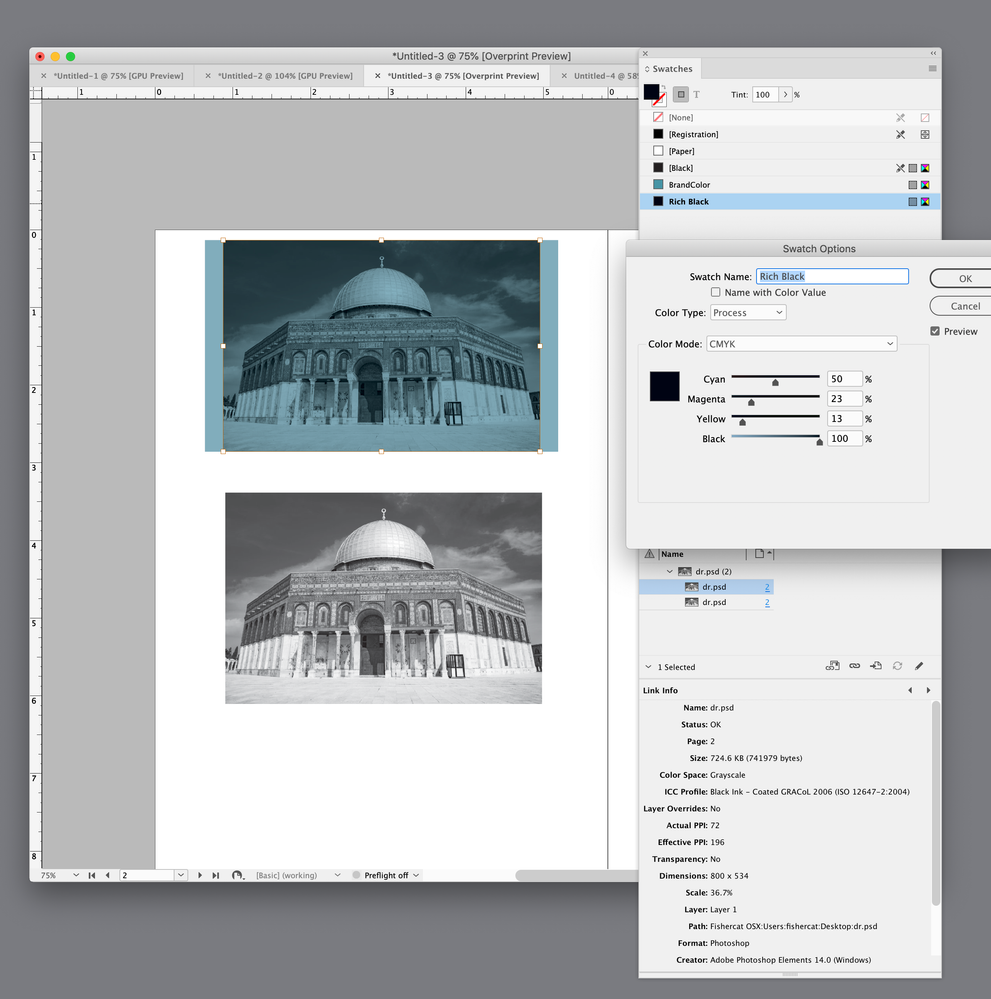
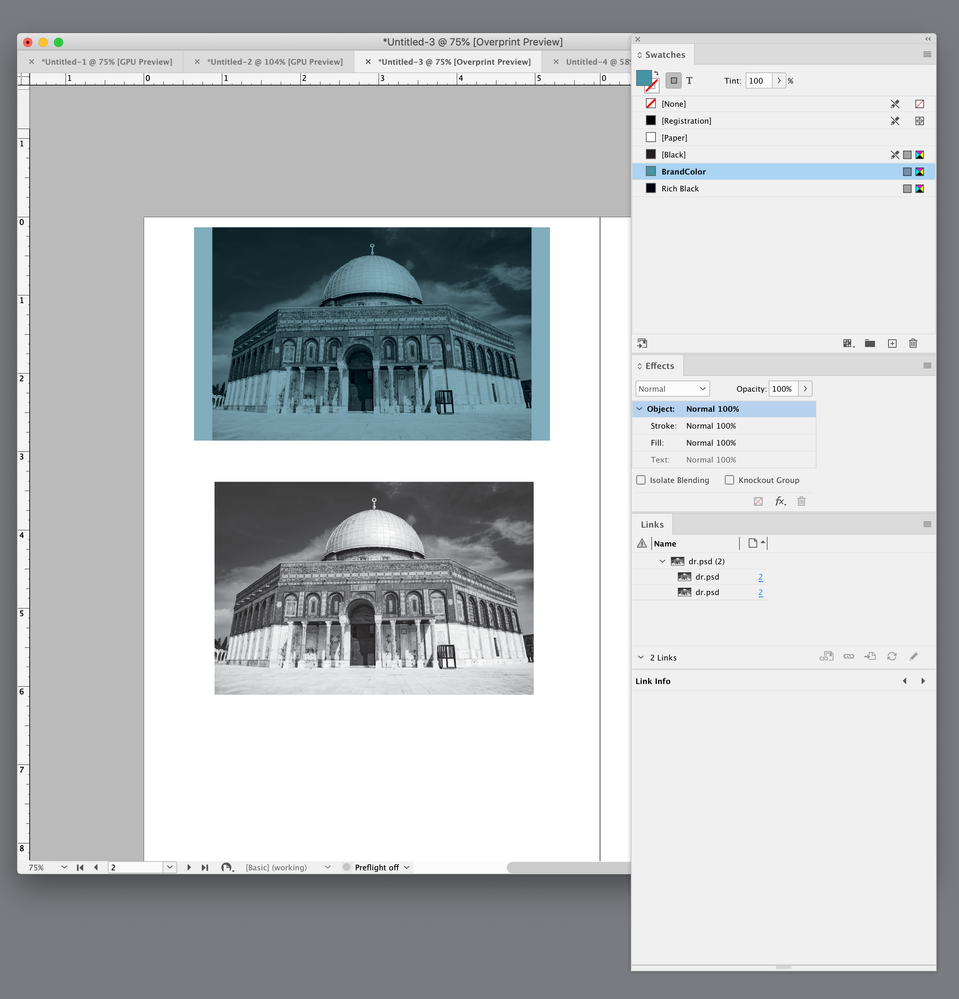
Part of the problem with last image is that when the rectangle "container" is filled with our brand color, the grayscale image inherits some of that coloring even before the "overlay" is applied. Is there a way to prevent this?
So I'm wondering how do the pros go about creating photos that look optimal for both print and digital? Ideally we want to use just one copy of the photos for everything. But maybe I need a script to swap out the RGB files for greyscale ones just for exporting a print PDF? What is the best solution? We don't have access to Photoshop, unfortunately. (I do the grayscale conversion in Affinity Photo).
 2 Correct answers
Hi @23121922udmu , there are possibly two issues affecting the preview of the grayscale and the Luminosity Effect when it is applied to the grayscale.
The conversion to grayscale by Affinity lacks contrast, maybe because of the destination gray profile used for the conversion, and the swatch applied to the grayscale with Luminosity applied is [Black] black only CMYK.
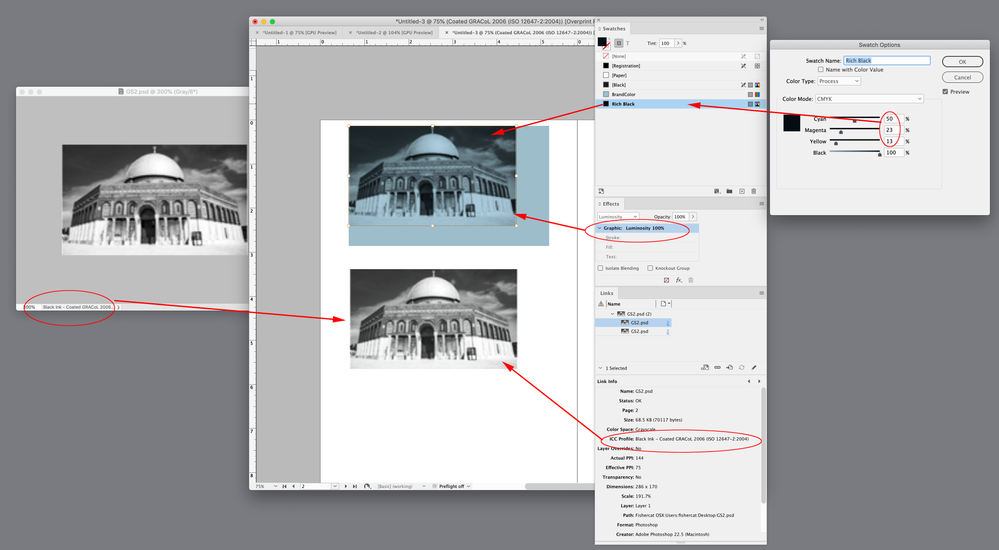
Here I made the conversion to grayscale in Photoshop to a Black ink profile that matches the InDesign document profile (Coated
...Here’s the Affinity grayscale placed as is with the image direct selected and set to the [Black] swatch. InDesign ignores gray profiles and previews the grayscale with the document’s black ink CMYK profile. The profile only affects the expected print preview, the Affinity gray values output unchanged.
Here I set the image color to a rich CMYK mix—CMY added to Black:
Increased the contrast of the Affinity image in Photoshop:
Copy link to clipboard
Copied
If you can't completely resolve the image/graphic issue for both purposes — and I think you can, but there's better advice on that than mine — you can use conditional text to swap two sets of images. I do that for dual-format print/EPUB editions.
—
Copy link to clipboard
Copied
Since none of the usual suspects has jumped in, I'll add that the first solution I would look at is optimizing the images for print, then carefully adjusting the PDF export options as to resolution and color conversion. That might let you get optimal results for both purposes without getting too tricky with the document structure.
—
Copy link to clipboard
Copied
Thank you. I agree that a print-first approach is probably best. Resolution is not an issue, just the color/contrast is what I'm concerned about. Someone can correct me if I'm wrong, but I'm not sure that export settings will help me any there. If it wasn't for the "bleedthrough" issue with grayscale images inheriting the fill color of the rectangle, I think I could probably get something to work. But as it is, I'm kinda stymied.
Copy link to clipboard
Copied
You can do quite a bit with the export settings, in concert with the graphics settings. I'd bet that various combinations of the blend mode and then two different PDF exports (one optimized for print, the other for screen) would get you there.
And if not, conditional text to swap the graphics will work perfectly, just not easily. 🙂
—
Copy link to clipboard
Copied
I'd be happy to proven wrong, but I don't even know where to start. I took a gander at the PDF export settings, but the only settings I can see that may have relevance to color are the destination color profiles, and none of the default options look like a good fit.
Copy link to clipboard
Copied
Hi @23121922udmu , there are possibly two issues affecting the preview of the grayscale and the Luminosity Effect when it is applied to the grayscale.
The conversion to grayscale by Affinity lacks contrast, maybe because of the destination gray profile used for the conversion, and the swatch applied to the grayscale with Luminosity applied is [Black] black only CMYK.
Here I made the conversion to grayscale in Photoshop to a Black ink profile that matches the InDesign document profile (Coated GRACol) and the appearance matches in both apps. I also made a Rich Black swatch with extra cyan and applied it to the grayscale instead of black only. The document Transparency Blend mode is CMYK:
I can export this page for print and screens and get the same appearance.
PDF/X-4 for print:
And flattened sRGB for screens:
Copy link to clipboard
Copied
Thanks for looking into this for me! I'm not quite sure I follow all that you did, but I gather that the link between Photoshop's color profiles and Indesign's is important? Without access to PS, what is my best option? Our brand color is CMYK 73|28|30|1 if that helps.
Copy link to clipboard
Copied
Here’s the Affinity grayscale placed as is with the image direct selected and set to the [Black] swatch. InDesign ignores gray profiles and previews the grayscale with the document’s black ink CMYK profile. The profile only affects the expected print preview, the Affinity gray values output unchanged.
Here I set the image color to a rich CMYK mix—CMY added to Black:
Increased the contrast of the Affinity image in Photoshop:
Copy link to clipboard
Copied
I think I'm beginning to see the light...
BTW, sorry, while our brand colors are indeed CMYK 73|28|30|1, the actual color that we use as the basis for the "overlay" is a lighter shade: 39/15/16/.5 if that helps any.
If I could achieve the same sort of look without having to have the frame filled, I think we'd be all set. It's when I add the 39/15/16/.5 fill that the image really starts to look bad. Your "rich black" image fill definitely improves the looks of the image, and would be easy enough to remove via scripting when we create a black file. (I'm already using a script to change the colors of some text elements, so it would be easy to modify to make the black K only for print.)
Copy link to clipboard
Copied
I think the effect you are mimicking and might prefer in a more technically formal version is a duotone, which replaces the shades in a grayscale image with two different colors. One use for it is to double the range of shades when printing in black, which produces a very lustrous, detailed, rich B&W image. Another is to use black for one color and a spot color for the other... to produce something very much like what you're ginning up with the color overlay.
That said, I think Photoshop is the only tool that can create (technically) proper duotones (an tritones, and quadtones...) so this may be academic to you.
Since you rely on ID as your publishing platform, why not expand to the full Creative Suite and have, if nothing else, the full power of Photoshop+InDesign+Acrobat Pro to manage all this with a little less jury-rigging?
—
Copy link to clipboard
Copied
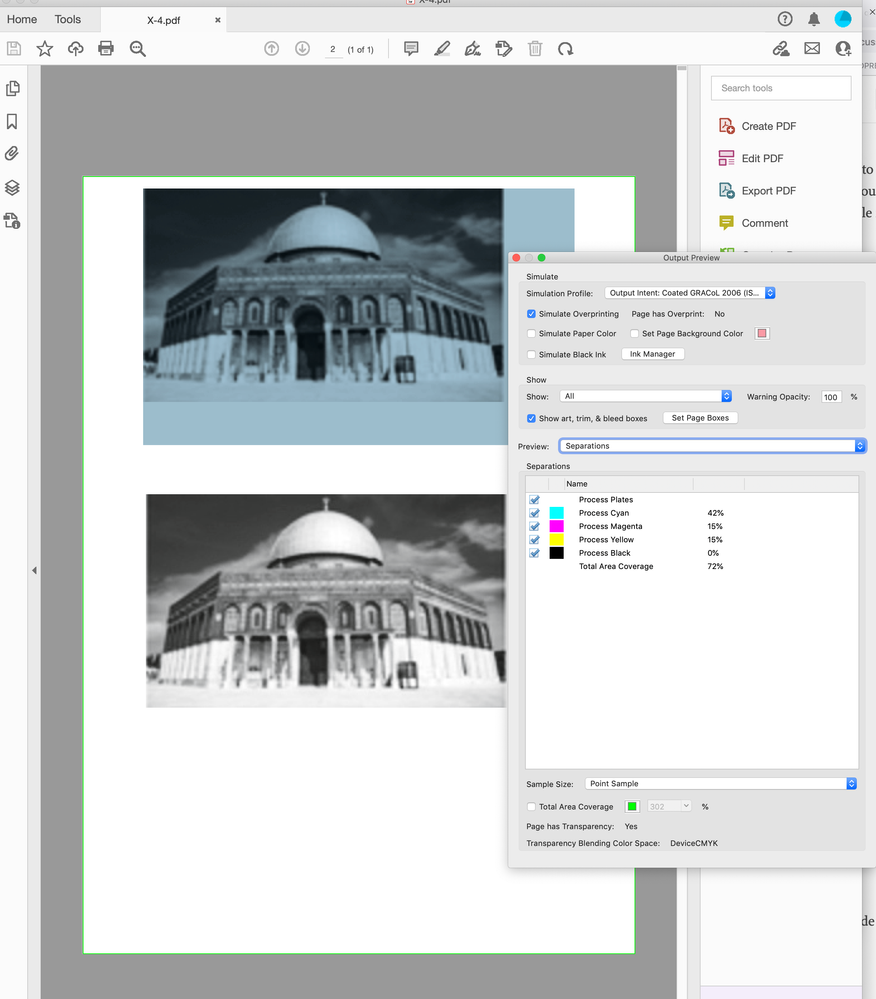
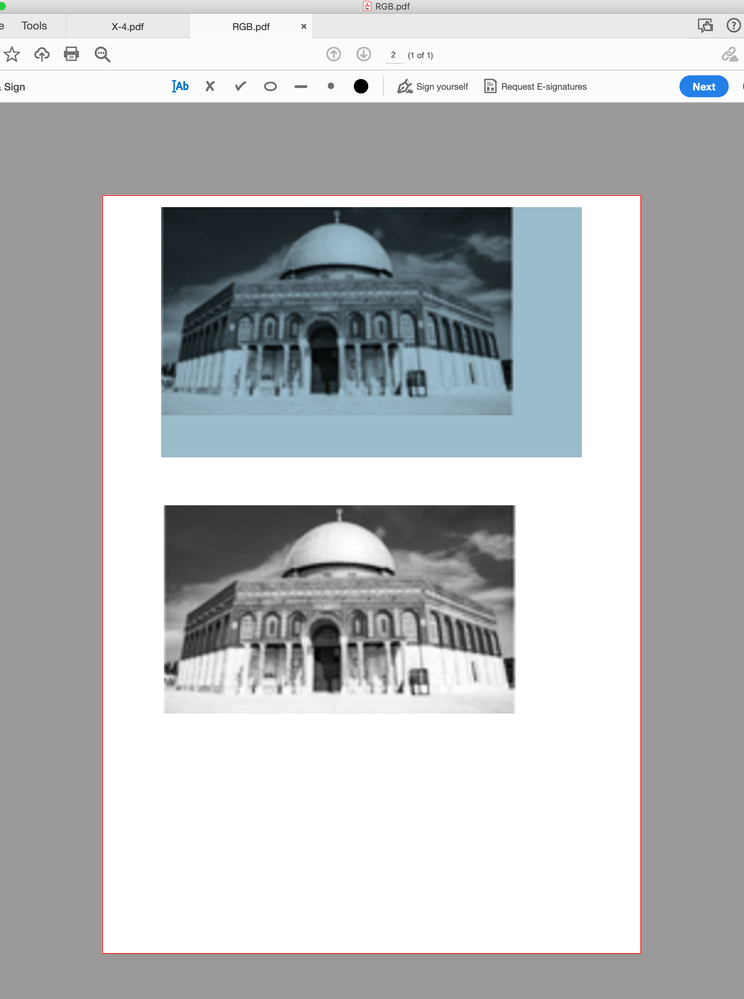
Thank you, @rob day! I think I'm getting close. The original RGB image with overlay is on the bottom, and the grayscale with overlay is on the top. I exported 2 PDF files, the left one is sRGB and the right is CMYK.
Since the whole point in the color overlay is for the digital exports, I guess I need to back off the blue a bit. 🙂 I don't really care what the CMYK output looks like, because it's going to be changed to K only before printing anyway.
These are the colors I used. Overly rich black for the image fill, and the light blue for the frame fill, and the image blend mode set to Luminosity.
Copy link to clipboard
Copied
I exported 2 PDF files, the left one is sRGB and the right is CMYK.
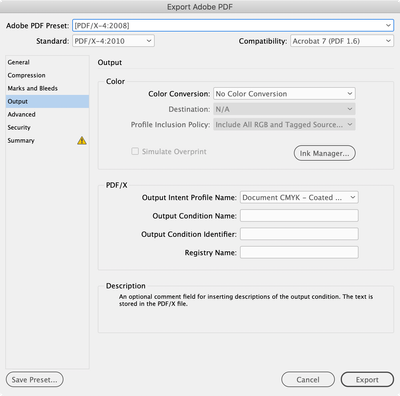
To get a CMYK match to the sRGB export, the export should be to PDF/X-4, which includes an output intent for the preview in AcrobatPro—you have to compare in AcrobatPro, not a browser.
Your PDF Export>Output tabs should match the export dialog screen captures I’m showing above.
Copy link to clipboard
Copied
I don't have access to either Acrobat Pro or Photoshop. We're just a small not-for-profit company, so not a whole lot of funds for renting software. 🙂
Copy link to clipboard
Copied
Acrobat Reader (free) will also correctly soft proof PDF/X files, you just want to stay away from browsers and other PDF readers when soft proofing for print output—they don’t always handle transparency and CMYK color correctly.
If Affinity doesn’t allow you to control the grayscale destination profile you should be able to increase the contrast of the grayscales after the conversion.
Copy link to clipboard
Copied
OK, that's good to know! Thank you, I'll see about installing the free version of Acrobat. I currently use PDF X-Change Viewer for all my regular PDF browsing, because it's much lighter than Acrobat.
Copy link to clipboard
Copied
I think it depends on how fussy you want to be about the accuracy of print soft proofing and output. You really need AcrobatPro for checking print PDF content.
If you always export to a PDF/X preset, Acrobat Reader will at least use the Output Intent profile for the soft proof—other PDF viewers might ignore the Output Intent profile and assume some generic CMYK profile for the preview, which looks like what is happening from your capture. The soft proofing is also affected by the accuracy of your System’s monitor profile
Copy link to clipboard
Copied
Yeah, we're not super fussy. These files won't always be printed with high quality presses. They're intended to be used internationally, and will likely be printed from all sorts of desktop printers as well. As long as the basic contrast is OK, and the photo will be legible, we're not going to get too picky. But what I was first seeing was much too muddy to be acceptable. I'm much happier with it now that I've tweaked it some. 🙂 Thank you for enlightening me! I'll be sure to create 2 export profiles, one for digital RGB files, and one for CMYK print files.
Copy link to clipboard
Copied
Also, you are running ID 2022, does your subscription include Photoshop? I think Photoshop could potentially do a better job with the RGB to Grayscale conversion.
Copy link to clipboard
Copied
What if the overlay color was a spot color and when you go to export to PDF and hit the Print dialog box, and then go to Output and then click on Ink Manager, you could simply turn off the spot color ink. It would then ignore that color. Possibly this would give your grayscale images no color overlay, and maybe they will look acceptable to you? (You might try it, anyway.)
Copy link to clipboard
Copied
Hi @23121922udmu , can you share an example of the Affinity grayscale? Which version of InDesign are you using?
When Overprint Preview is turned on, InDesign previews placed grayscale values as they are expected to print on the CMYK black plate, so the InDesign document’s assigned CMYK profile has some affect on the preview of the gray values, without changing the actual output values. Some of the contrast loss could be happening with the way Affinity handles the conversion.
Also, what is your document’s Transparency Blend Space set to? The blend space will have a significant affect on the appearance of an Overlay blend.
Copy link to clipboard
Copied
I'm using InDesign 2022 (17.2)
The doc's Transparency Blend Space is set to "Document CMYK".
Here's a sample of an Affinity converted photo. I convert it using "Document > Convert Format/ICC Profile > 'Gray/8' and Black point compensation. That automatically assigns a "Greyscale D50" profile, I believe.
Copy link to clipboard
Copied
All in all... as much as you might find the color-overlay effect easy to apply and pleasing for at least one use, it might be causing more actual output issues/problems than it's worth. Maybe backing up to a more conventional image placement and color management would solve a lot of issues for both destinations...
—
Copy link to clipboard
Copied
I suggest first applying a Black & White adjustment in Photoshop. This will work for both the tinted version of the photo and hte grayscale version.
One problem from converting colour images to grayscale is that colours with high contrasts, like red and green, sometimes convert to simlar shades of gray. You end up losing detail and contrast. The Black & White adjustment will let you adjust how different colours convert to grayscale, allowing you to enhance contrast that would otherwise be lost.
In the same adjustment panel you can apply a tint, which works like the colour overlay you aplied in InDesign.
You can create as action to add the adjustment and set the colours or load a saved preset. Run it as a batch and you can convert severl photos at once. You can even apply multiple versions of the effect (one for the grayscale only photo, one for the tinted version). When you place the images in InDesign you can change the object layer options, switching which version of the adjustment is applied. You also get the benefit of keeping the original colour image in the file.
When you are ready to make the print version you will need to convert the images to grayscale, otherwise they will be RGB images. You can use a batch action for this, too. I suggest saving the grayscale versions in a separate folder and with different names (perhaps appending _GS).
Copy link to clipboard
Copied
Hi Scott, @23121922udmu doesn’t have Photoshop.
Find more inspiration, events, and resources on the new Adobe Community
Explore Now


