Participating Frequently
February 2, 2023
Question

How do I make a partial border around a frame? (Screenshot)

  • February 2, 2023
  • 5 replies
  • 1220 views

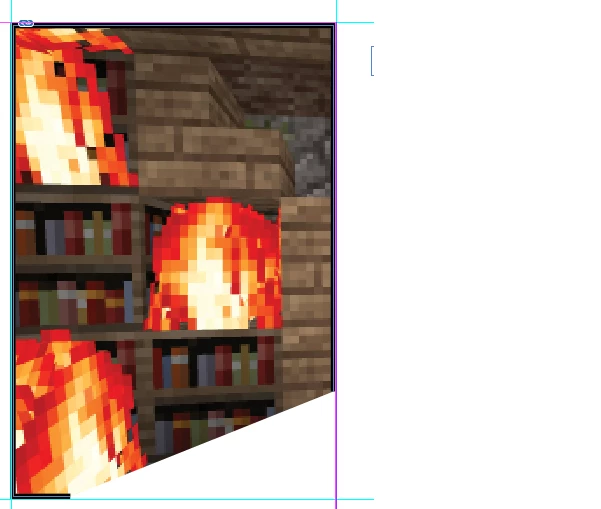
Hello everyone.  I'm trying to have a 2pt border around my frame that is not complete, but partial (where I can erase segments).  Below you see I took the eraser and successfully erased parts of the frame border, however, Indesign interpreted this to me erasing the frame itself and my picture is angled off.  My goal is to simply erase part of the border and yet still have the image unaffected, only the border segment erased.  In my screenshot below, the border is perfect, exactly how I want it, but the image should be filled in.

Does anyone know how to do this?  Thanks so much.

This topic has been closed for replies.

5 replies

Barb Binder
Community Expert
Community Expert
February 3, 2023

Hi @realm88:


Wouldn't the easiest solution be to add the stroke to the image in Photoshop, as per @James Gifford—NitroPress's very first suggestion, and then place that image into InDesign? Happy to provide more details on the workflow if this works for you.


~Barb


~Barb at Rocky Mountain Training
James Gifford—NitroPress
Legend
February 3, 2023

That's probably "the" solution, overall, and probably what I'd use and recommend in a fully planned project, but there are times you want to keep the workflow all in ID.


FRIdNGE
February 3, 2023

Am I the only one who increases/decreases an image size after importation?


(^/)  The Jedi

James Gifford—NitroPress
Legend
February 3, 2023

Just to illustrate what I meant about using a background frame and "bending" it to create the desired effect...


Here's a frame laid around the image and then manipulated to pull some segments in (opacity reduced to show position):


And then the graphics frame pushed behind the image (full opacity):


Very elaborate partial frames could be done with this technique, including using angles other than 90 degrees. The image and graphics frame should be grouped when done, of course.


Frans v.d. Geest
Community Expert
Community Expert
February 3, 2023

Have you tried the scissor tool?

Community Expert
February 3, 2023

Hi Frans,

the tool does not matter. If you create an open polygon it will be filled like that:


Regards,
Uwe Laubender
( Adobe Community Expert )

Frans v.d. Geest
Community Expert
Community Expert
February 3, 2023

Isn't that what the OP asked for? Maybe I misread.

Community Expert
February 3, 2023

Hi @realm88 ,

just to explain what happens in your screenshot:

In effect this is open polygon path.

With that InDesign is always cropping the contents, your image, along the shortest straight line between the first and the last path point.


Regards,
Uwe Laubender
( Adobe Community Expert )

James Gifford—NitroPress
Legend
February 2, 2023

InDesign does not have "deep" graphics tools that allow the fine control of, say, Illustrator.


One solution would be to create the border in Photoshop, as an integral part of the image.


Another would be to use lines to draw only the parts of the frame you want to be visible, then group it with the image frame.


Another would be to lay a frame UNDER the image, apply a centered or outside stroke, and then mask parts of it with white rectangles. (Or, "bend in" parts of the frame so they leave a corner where you want an end point to show.) When grouped, it would give the effect you're looking for.


But there's no truly simple way to do it with ID graphics tools.


ETA: And yeah, the pen and erase tools are to manage shapes of frames, not things like border lines.


realm88Author
Participating Frequently
February 3, 2023

"Another would be to use lines to draw only the parts of the frame you want to be visible, then group it with the image frame."


You, friend, are very clever.  This is a route I'm going to take.  Thank you.