Copy link to clipboard
Copied
I need to place text over an illustration. I know there is a way to 'ghost' the text so as to 'dim' the illustration and allow the text to be easily read-- but I can't find it.
I could probably find it if I knew what the procedure is called!
Thanks.
 1 Correct answer
The one screen shot you shared isn't enough to explain (to any of us, evidently) exactly what you want. Nor are we understanding your description. With this:
if I take a box, make it slightly opaque, then put it behind the text box
Now I'm thinking you want this?
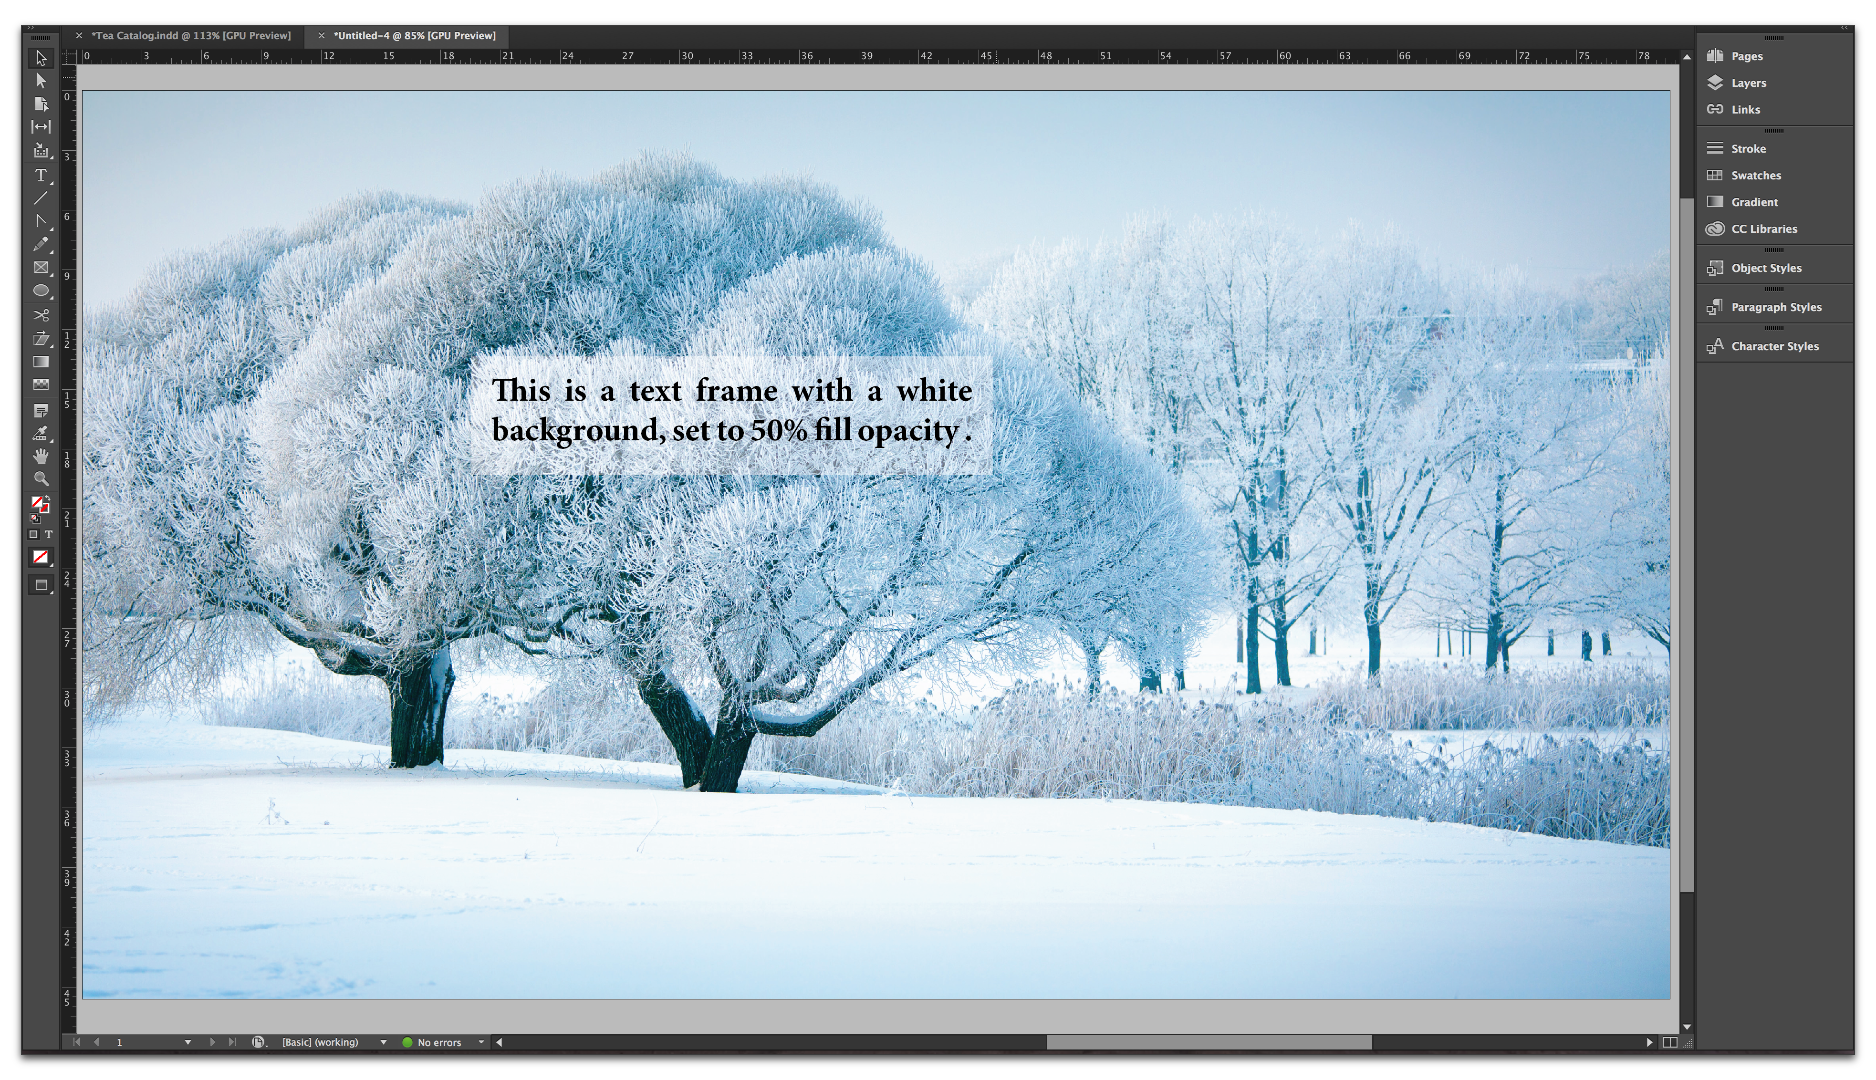
Copy link to clipboard
Copied

The top is just a white (paper-color) stroke on the text. The bottom is this:
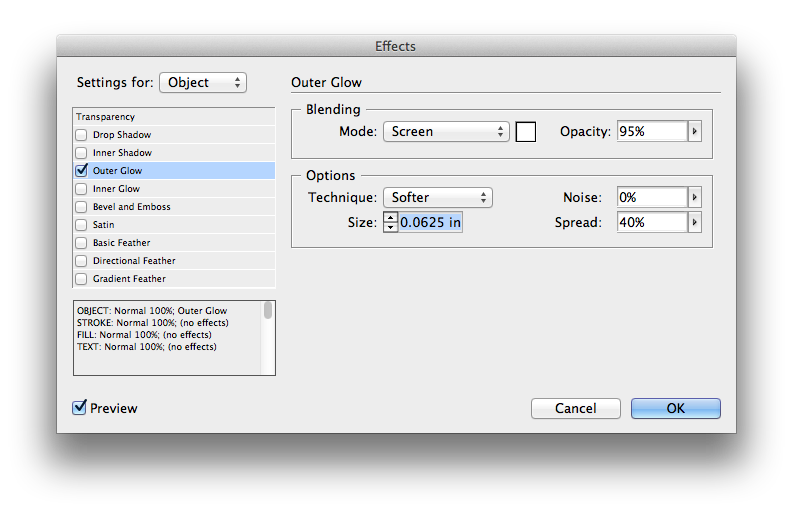
Do either of these look like what you're looking for?
Copy link to clipboard
Copied
Or is this what you are looking for?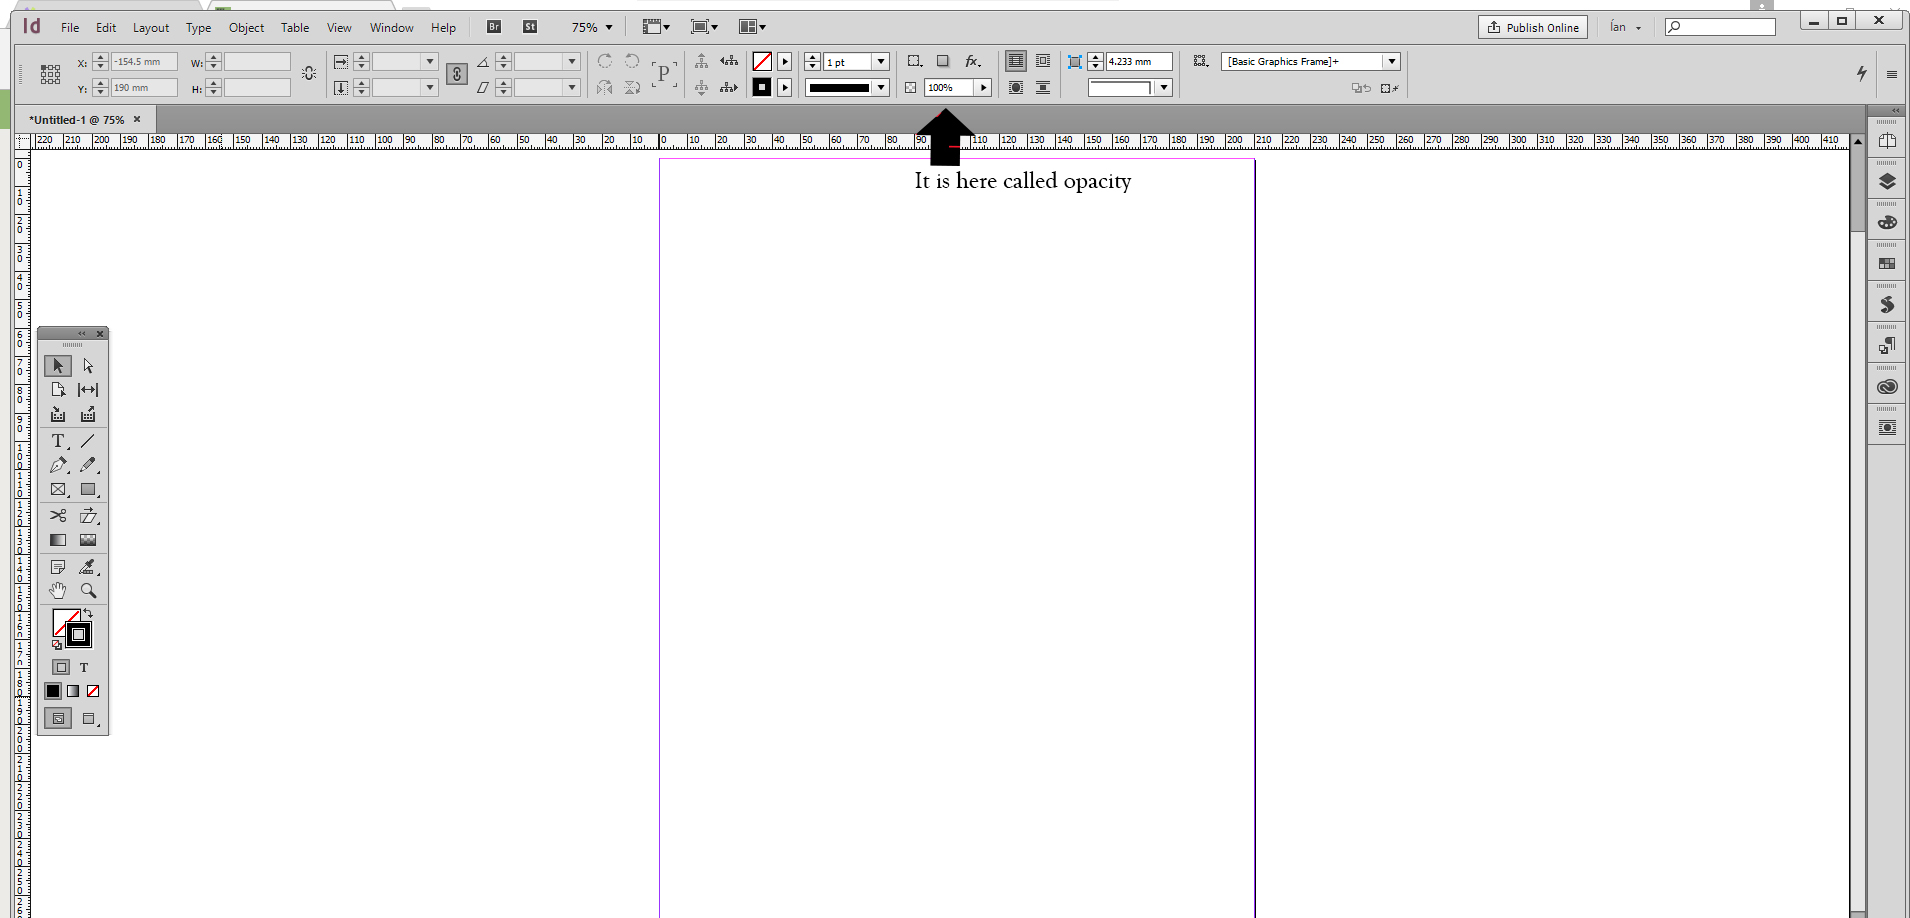
Copy link to clipboard
Copied
Can you share a example? We are just guessing what you mean.
Copy link to clipboard
Copied
.jpg)
What I want/ need is to put the background slightly 'dimmed' to better highlight the text so the text and illustration don't compete. It has to be area specific... for instance, in the example, the 3rd and 4th line, perhaps the 2nd would be affected, but not the rest of the illustration. The background cannot be removed or blanked out totally-- it must show, just slightly dimmed. I'm having the illustrator make some slight adjustments in other illustrations, but this one must be as is.
Copy link to clipboard
Copied
What I want/ need is to put the background slightly 'dimmed' to better highlight the text so the text and illustration don't compete. It has to be area specific...
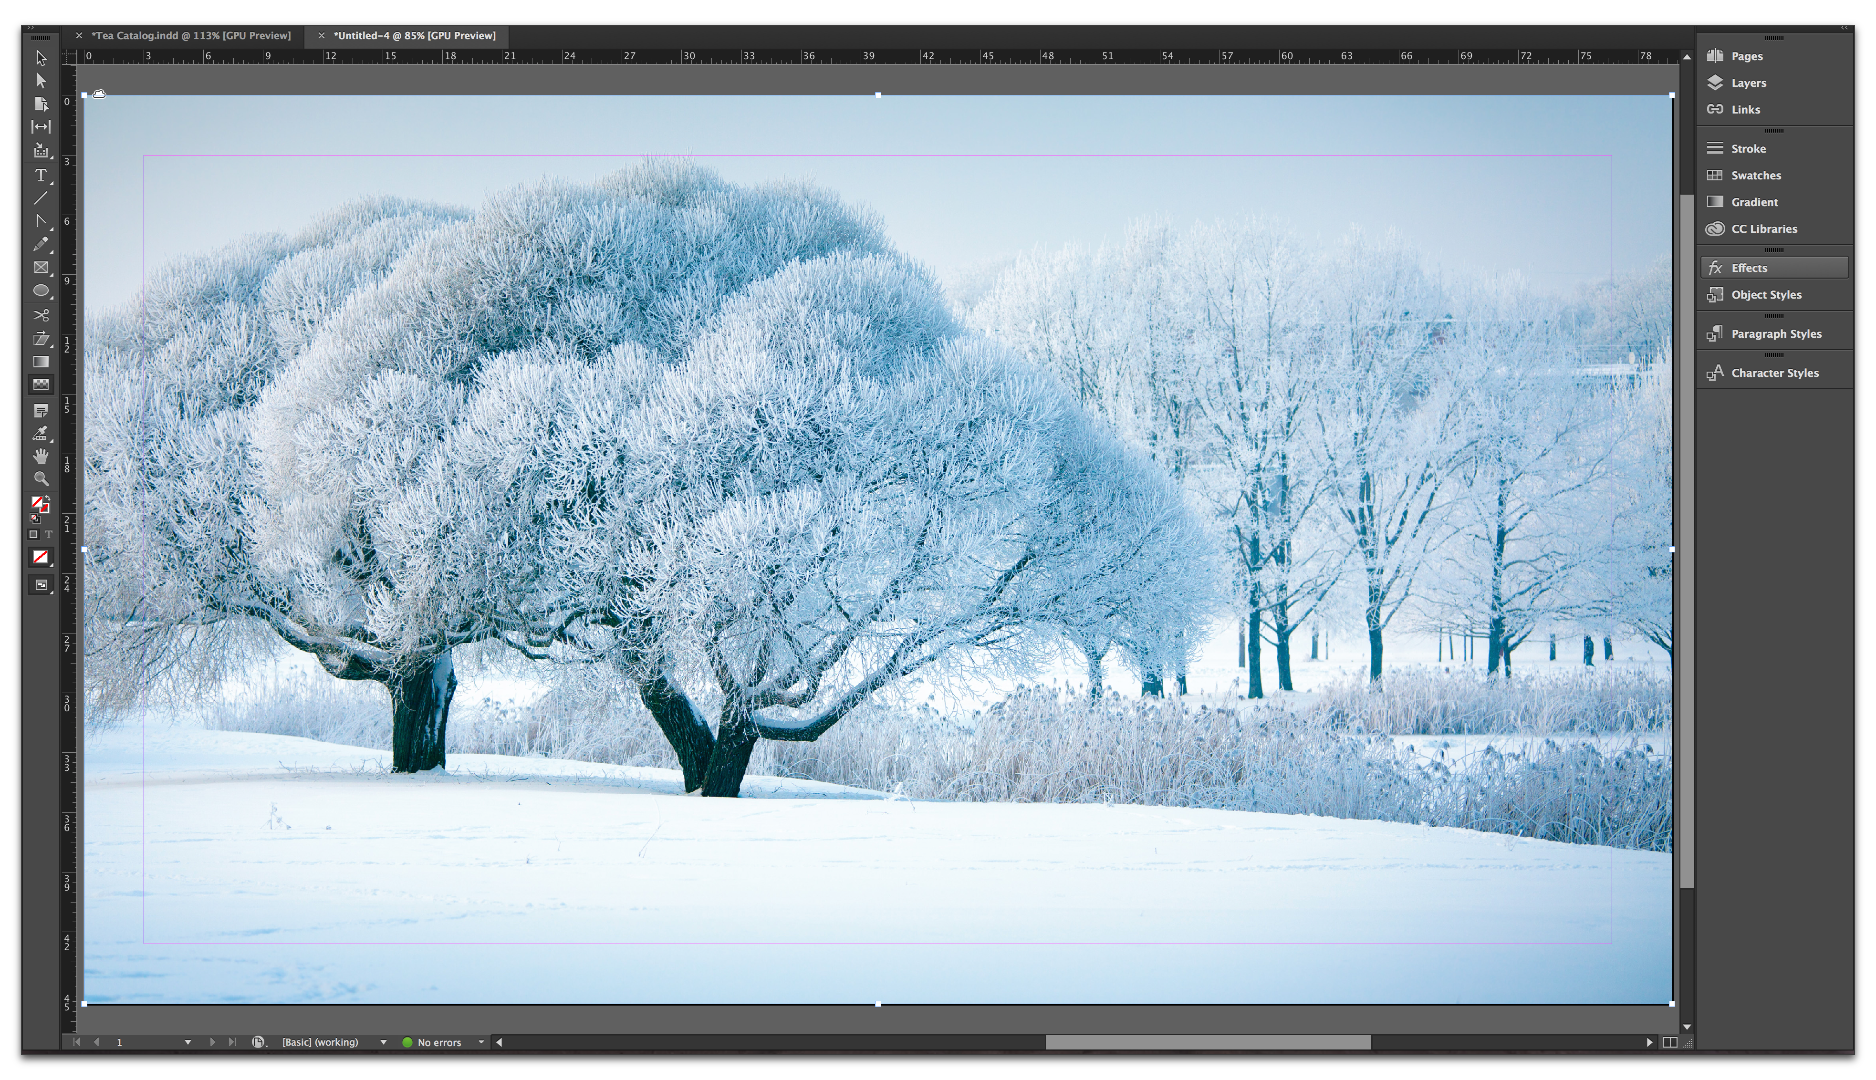
Here is a file at normal opacity (click the images to make them bigger):
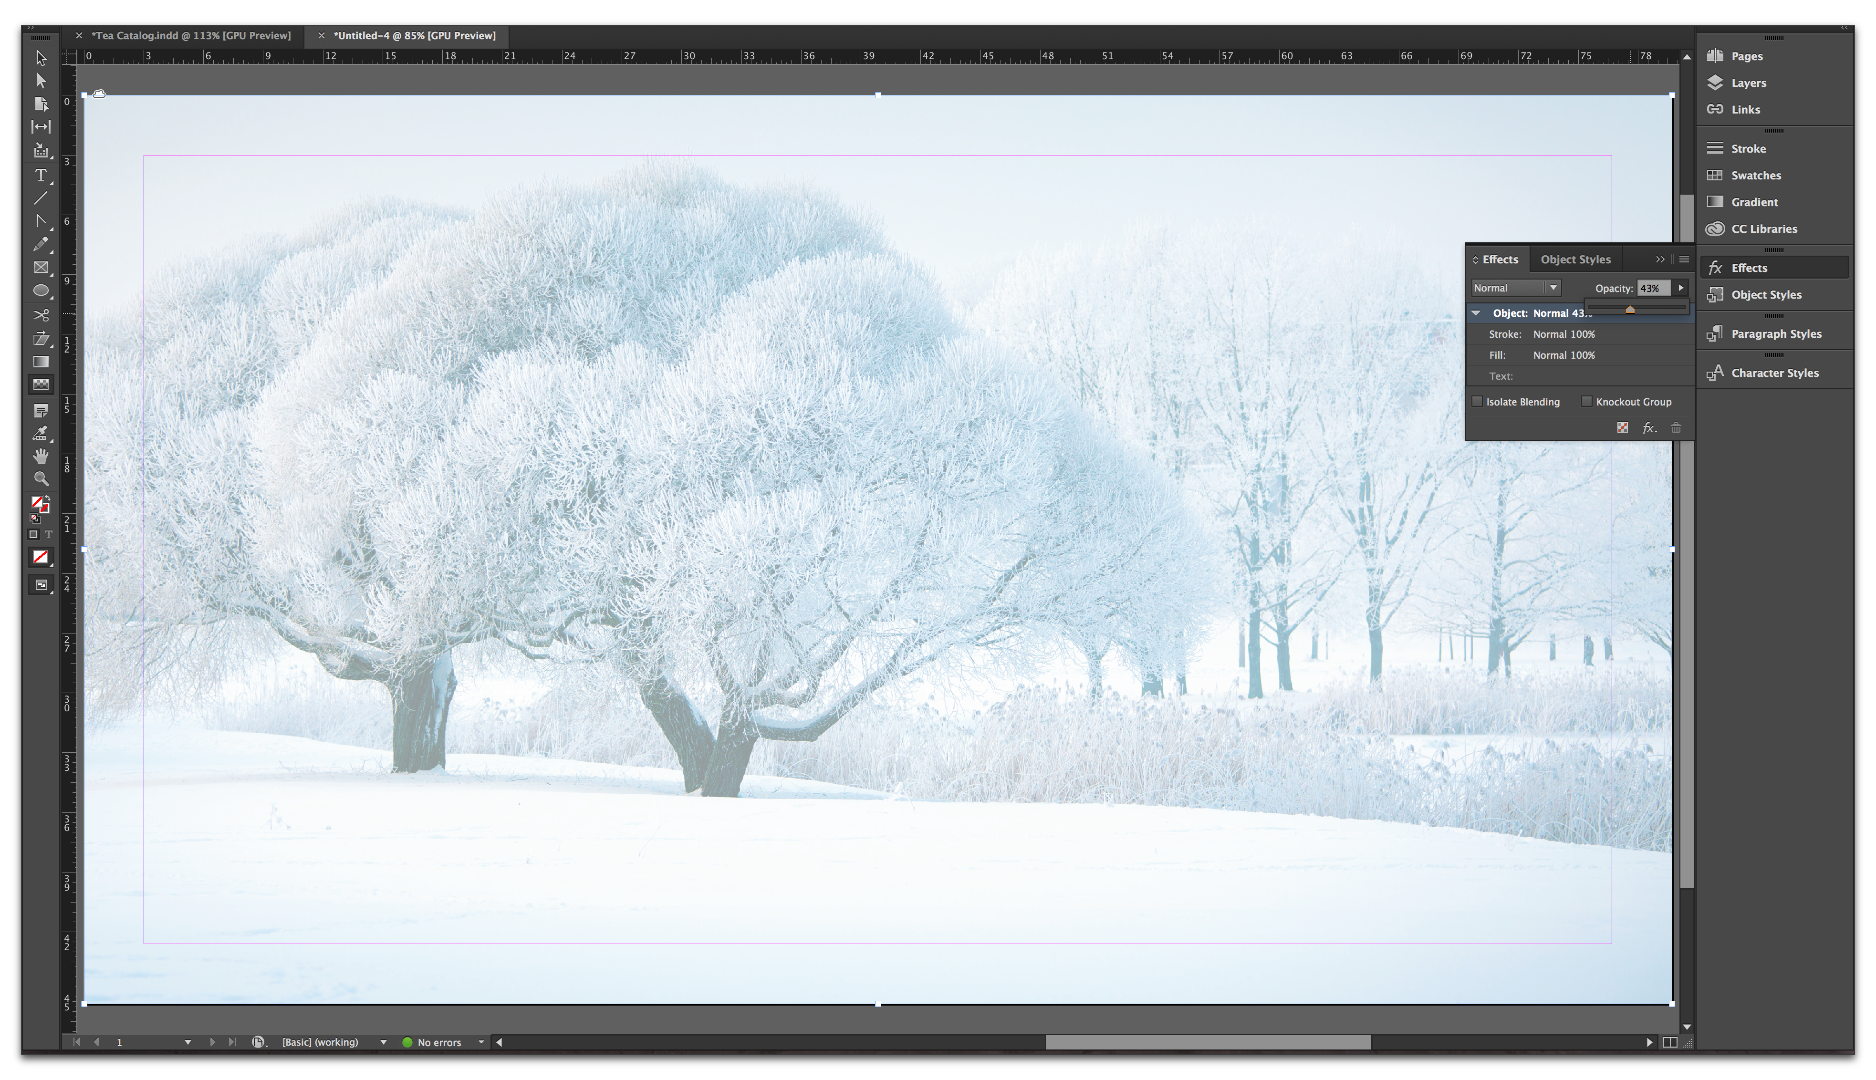
In this one, I opened the Effects panel and pulled back the opacity—which impacts the entire image.
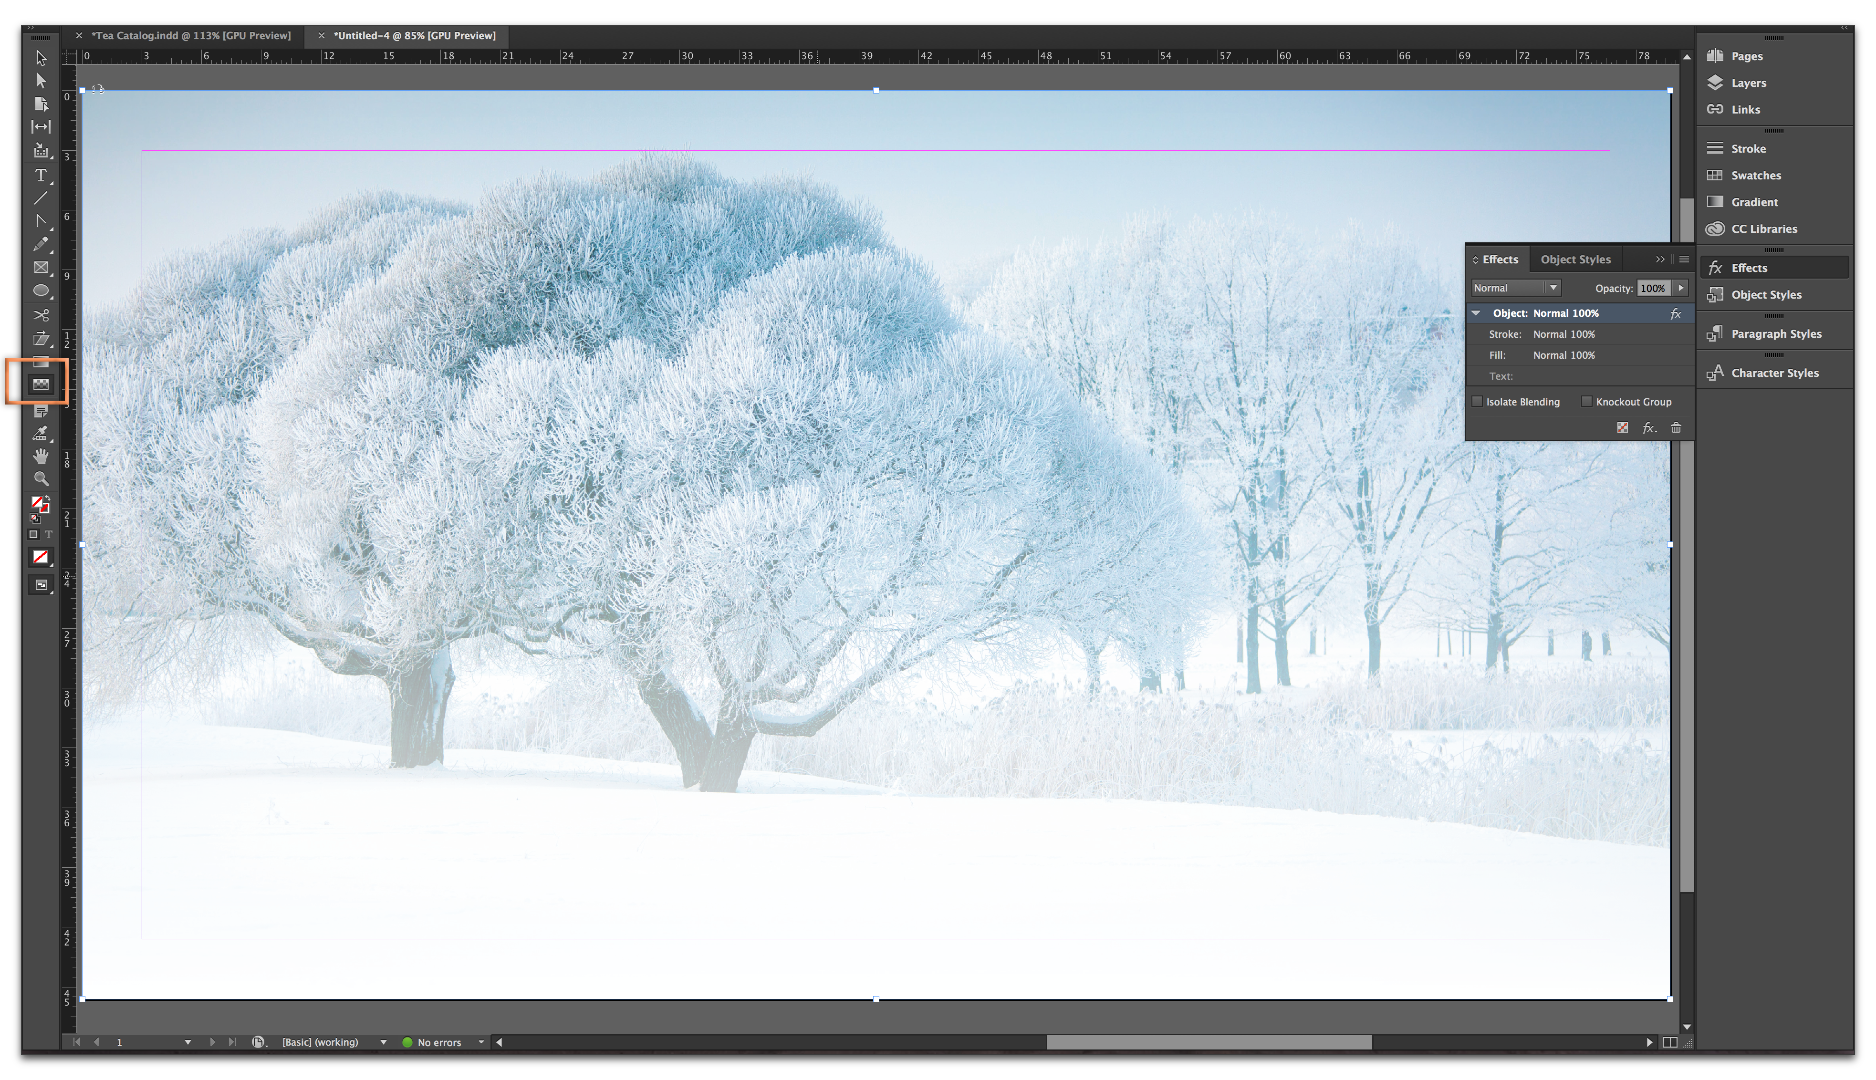
In this one, I restored the opacity to 100%, and then selected the Gradient Feather tool from the toolbox. I placed my cursor at the top of the image and pulled down towards the bottom. This has the effect of leaving the top of the image opaque, and then it gradually fades away so that the bottom is lighter.
The direction you drag and the length of the line impacts the gradient feather. In this one, I placed my mouse on the left side of the image and dragged out a line to the far right.
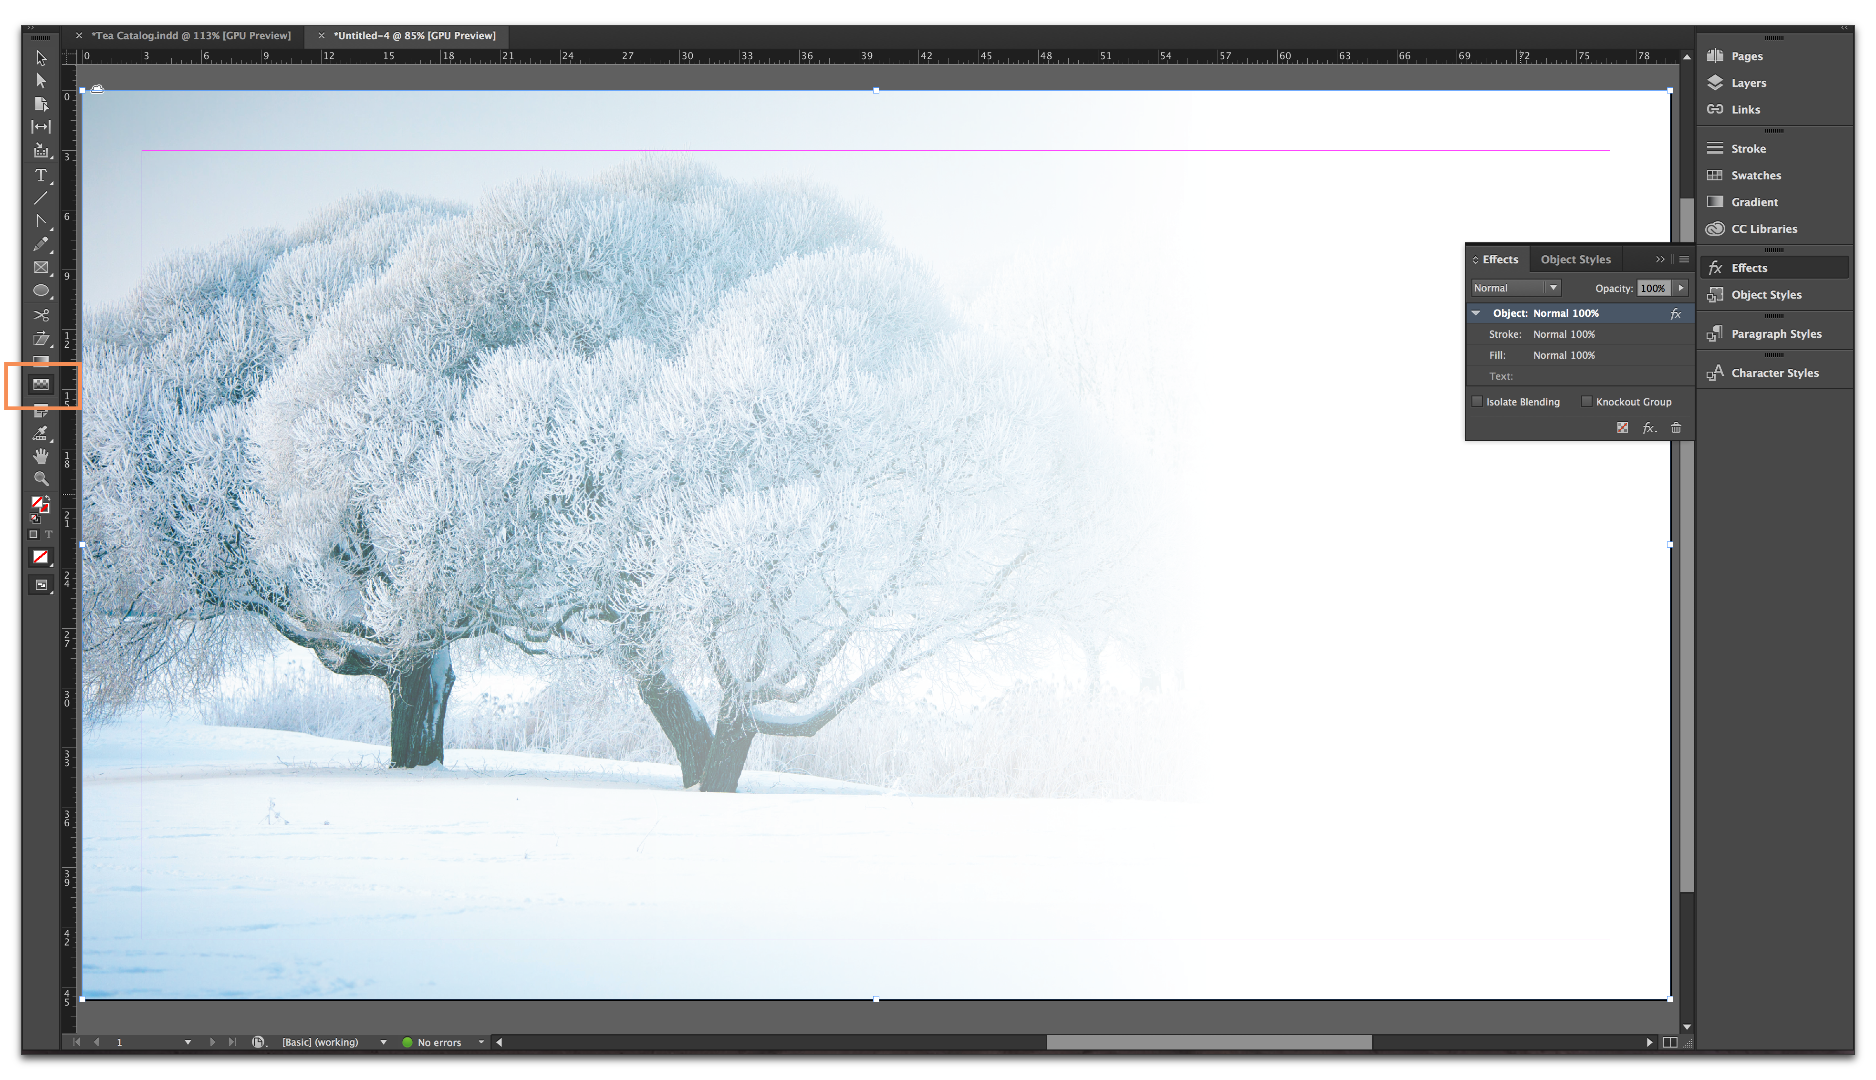
If I understand your question, you need the gradient feather tool. And by the way, you can combine the original opacity slider in the Effects panel with the Gradient Feather tool, if you like.
Copy link to clipboard
Copied
I appreciate your efforts here, but this won't work either. Picture your illustration with a 2x4 box of text in the middle of the tree. ONLY behind that box should be slightly affected. Maybe what I want is unreasonable, or at least un-doable.. but... if I take a box, make it slightly opaque, then put it behind the text box ... maybe. But it is getting late here so I'm done for the night.
Again... I appreciate all your help in trying to figure out what it is I'm wanting.
Copy link to clipboard
Copied
Divide your image into two layers in Photoshop or Illustrator then and reduce the opacity of the desired area?
Make a copy of the original before - if you do this exactly as above - as this is a destructive method.
It's possible to do this non-destructively but you will need an additional 2 layer masks for each layer. They should be inverse copies of each other.
Not to grouch but, perhaps it would have helped everyone who has already tried to help you - if you had provided a screenshot example of what you were working with and trying to achieve so we could provide the correct answer?
I know BarbBinder would have.
Copy link to clipboard
Copied
You could also achieve the same thing in InDesign but it's personally a lot more finicky to do and time consuming.
Best,
EW
![]()
Copy link to clipboard
Copied
Hi E Alien
Is this what you're looking for?
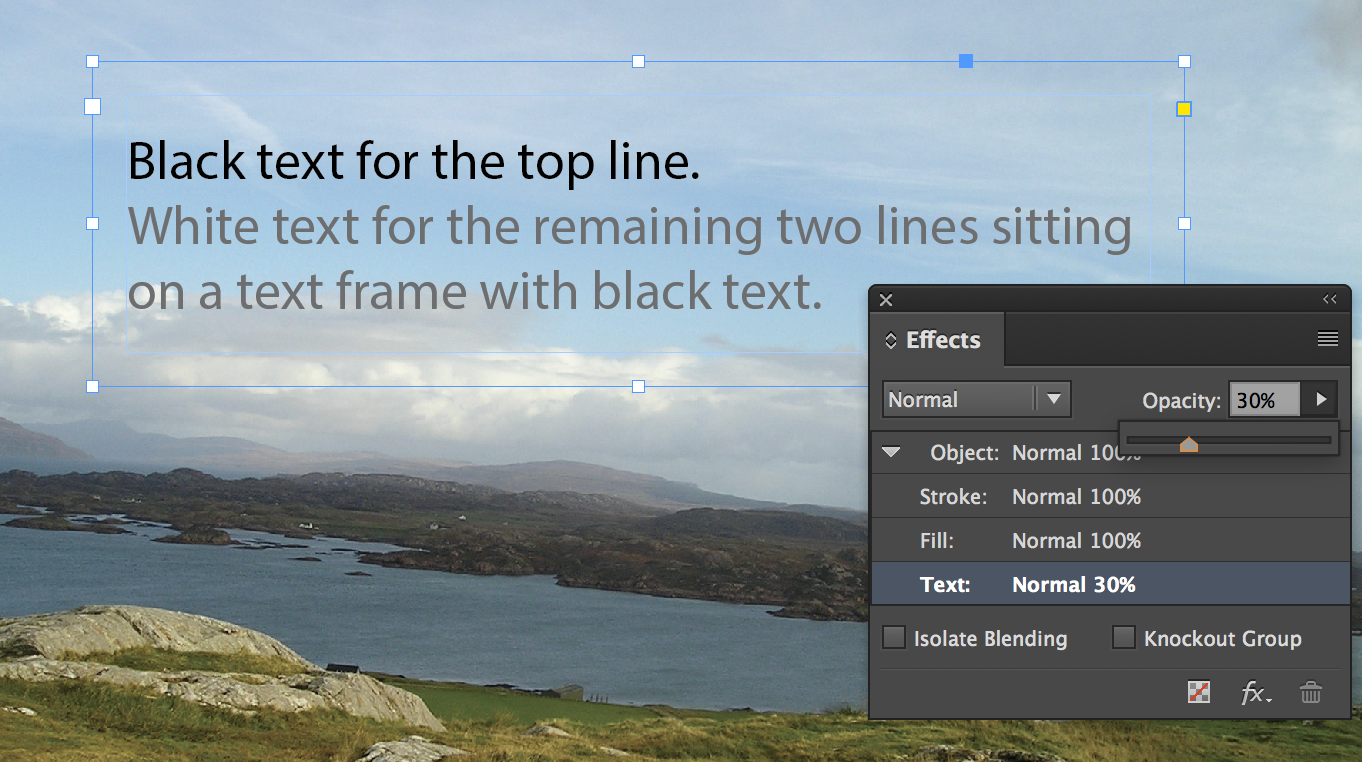
This is text in a frame. The text frame is duplicated - one on top of the other.
I have applied white to last two lines on the top frame.
I have selected the top frame and using the effects panel I have reduced the opacity of the text to 30% opacity. You will get different results using different colours in both frames and playing about with the opacity. You could also create a gradient swatch, apply that to the text, change the direction using the Gradient Swatch Tool and then changing the opacity value in the Effect panel.
Copy link to clipboard
Copied
The one screen shot you shared isn't enough to explain (to any of us, evidently) exactly what you want. Nor are we understanding your description. With this:
if I take a box, make it slightly opaque, then put it behind the text box
Now I'm thinking you want this?


Copy link to clipboard
Copied
If you want the "ghosted" portion to be a bit softer, you can add a feather effect to the fill.
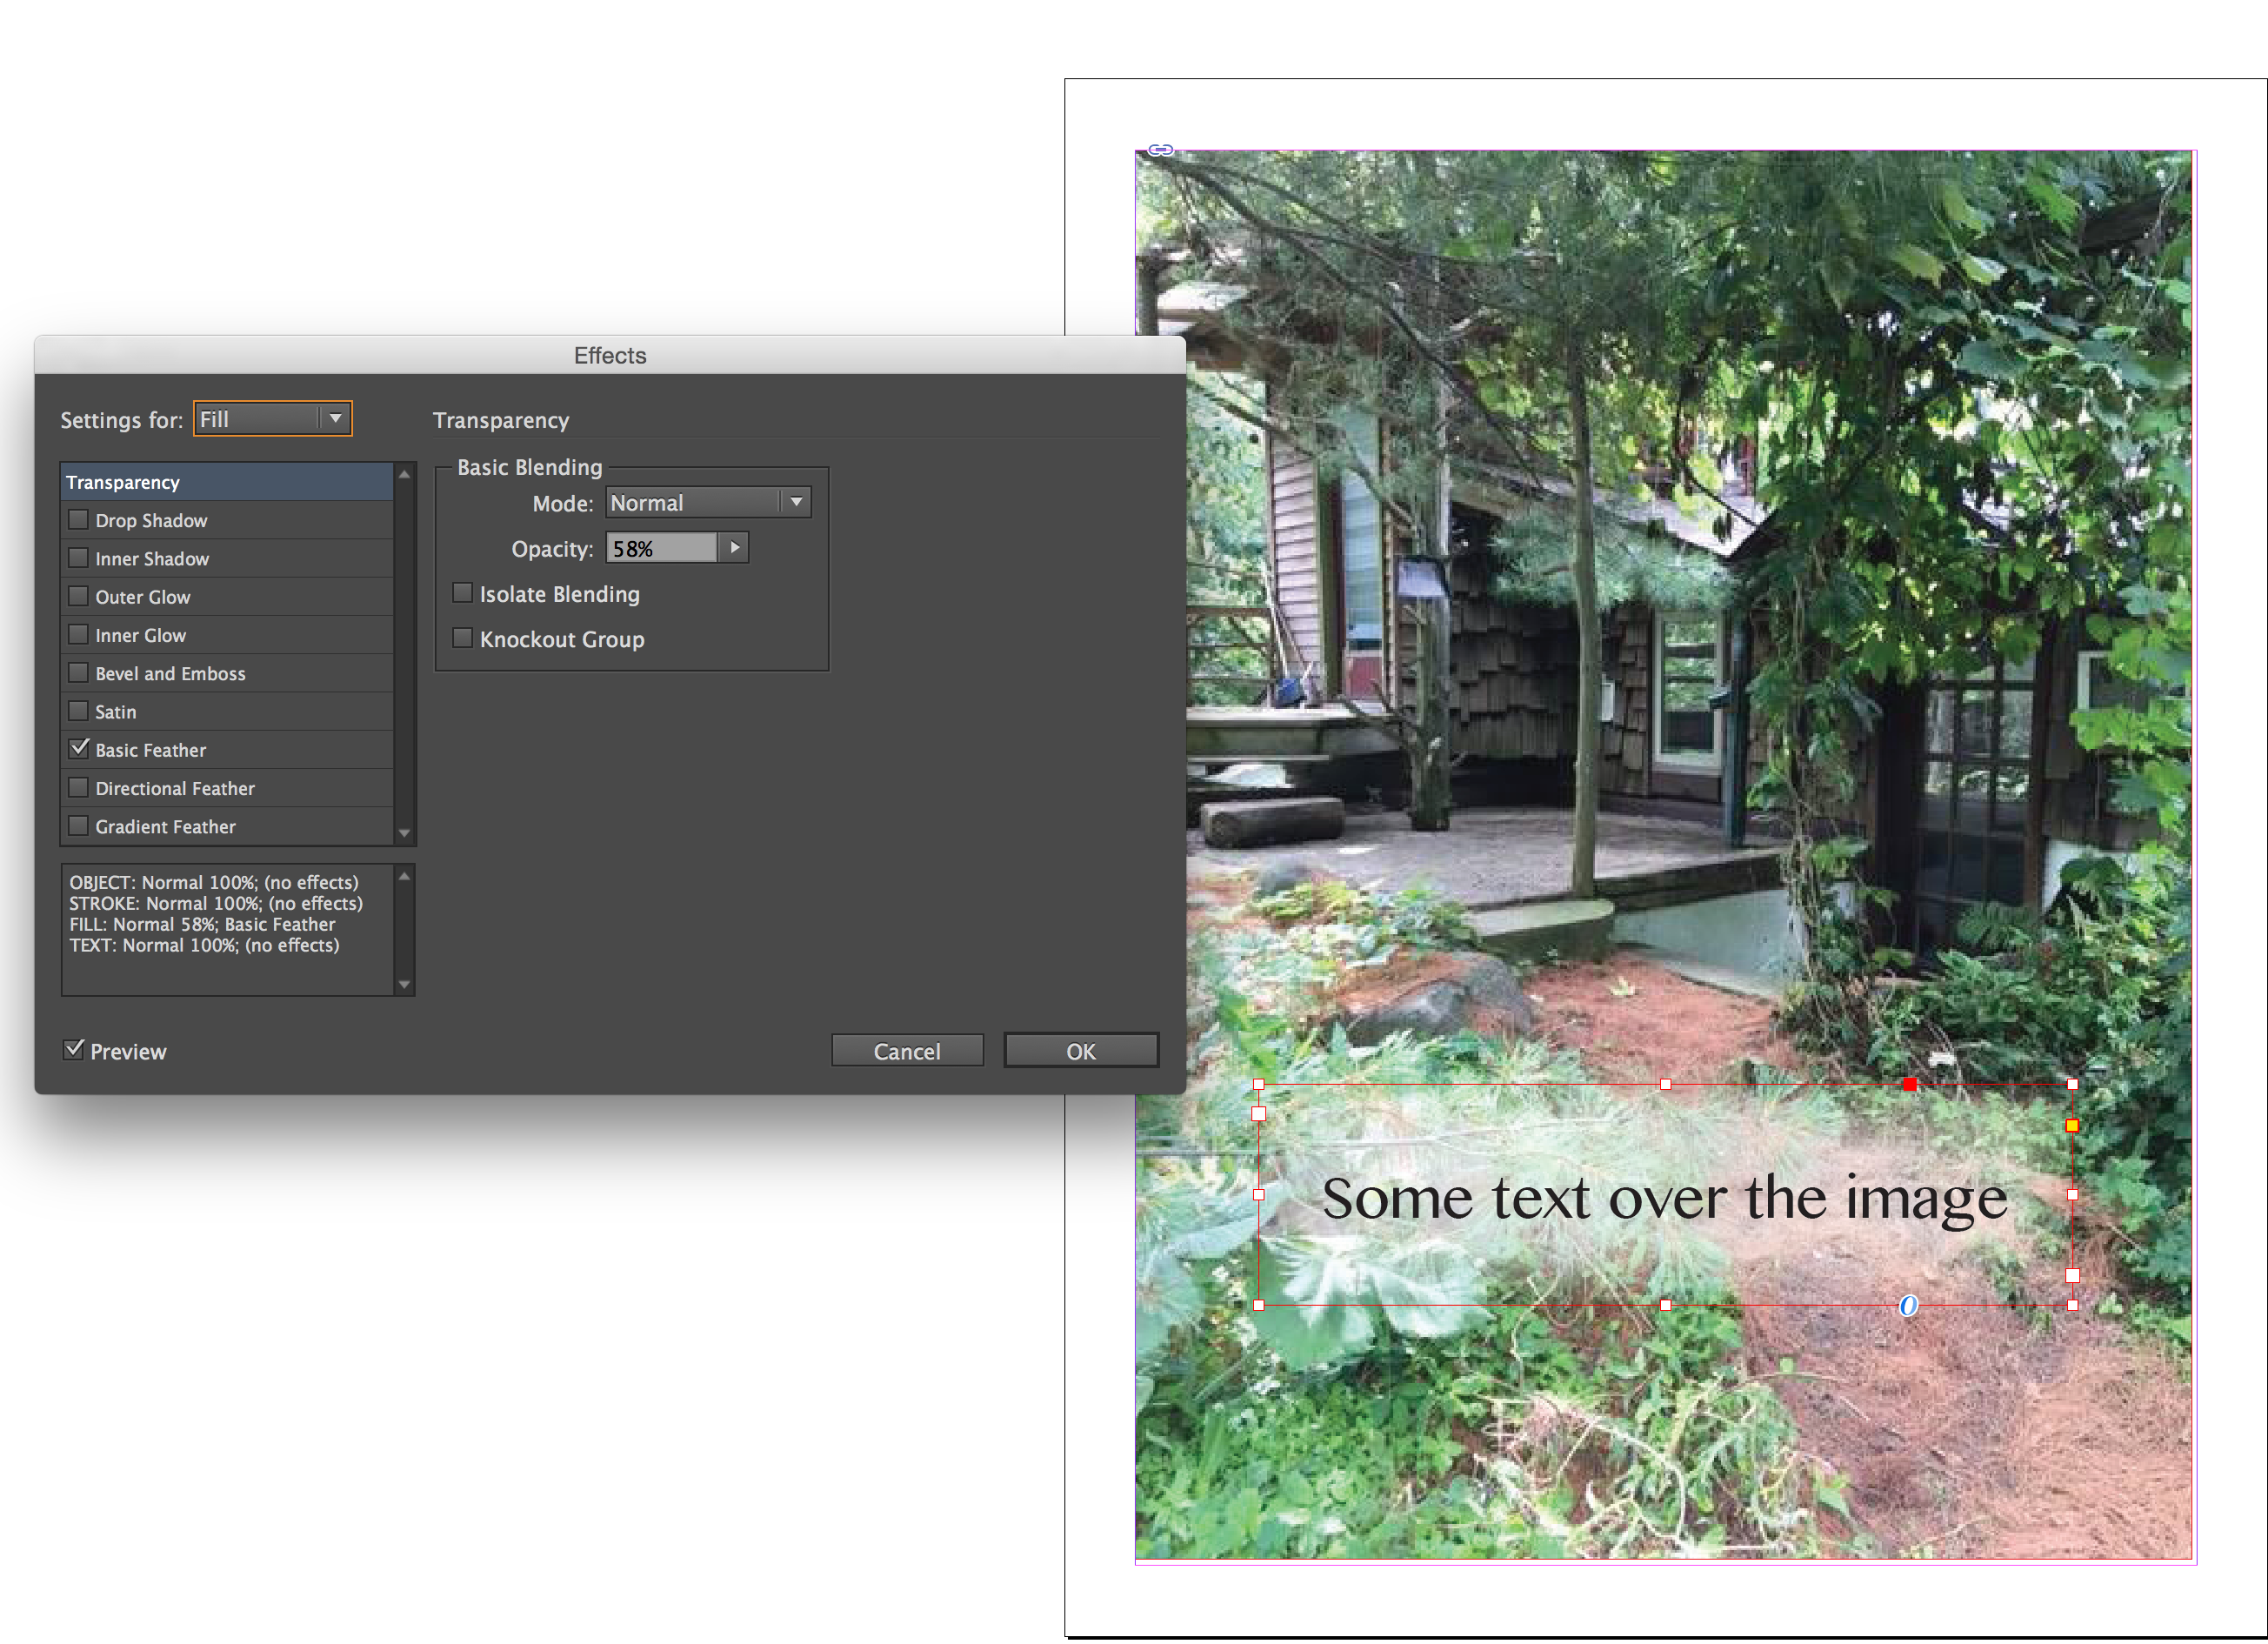
Copy link to clipboard
Copied
This is even better! Thank you SJRiegel!!
Copy link to clipboard
Copied
I tried effects... but couldn't come up with the right combination. I'll go back when I can and try again. At least I know it can be done.
Copy link to clipboard
Copied
Yay! So glad we figured it out.
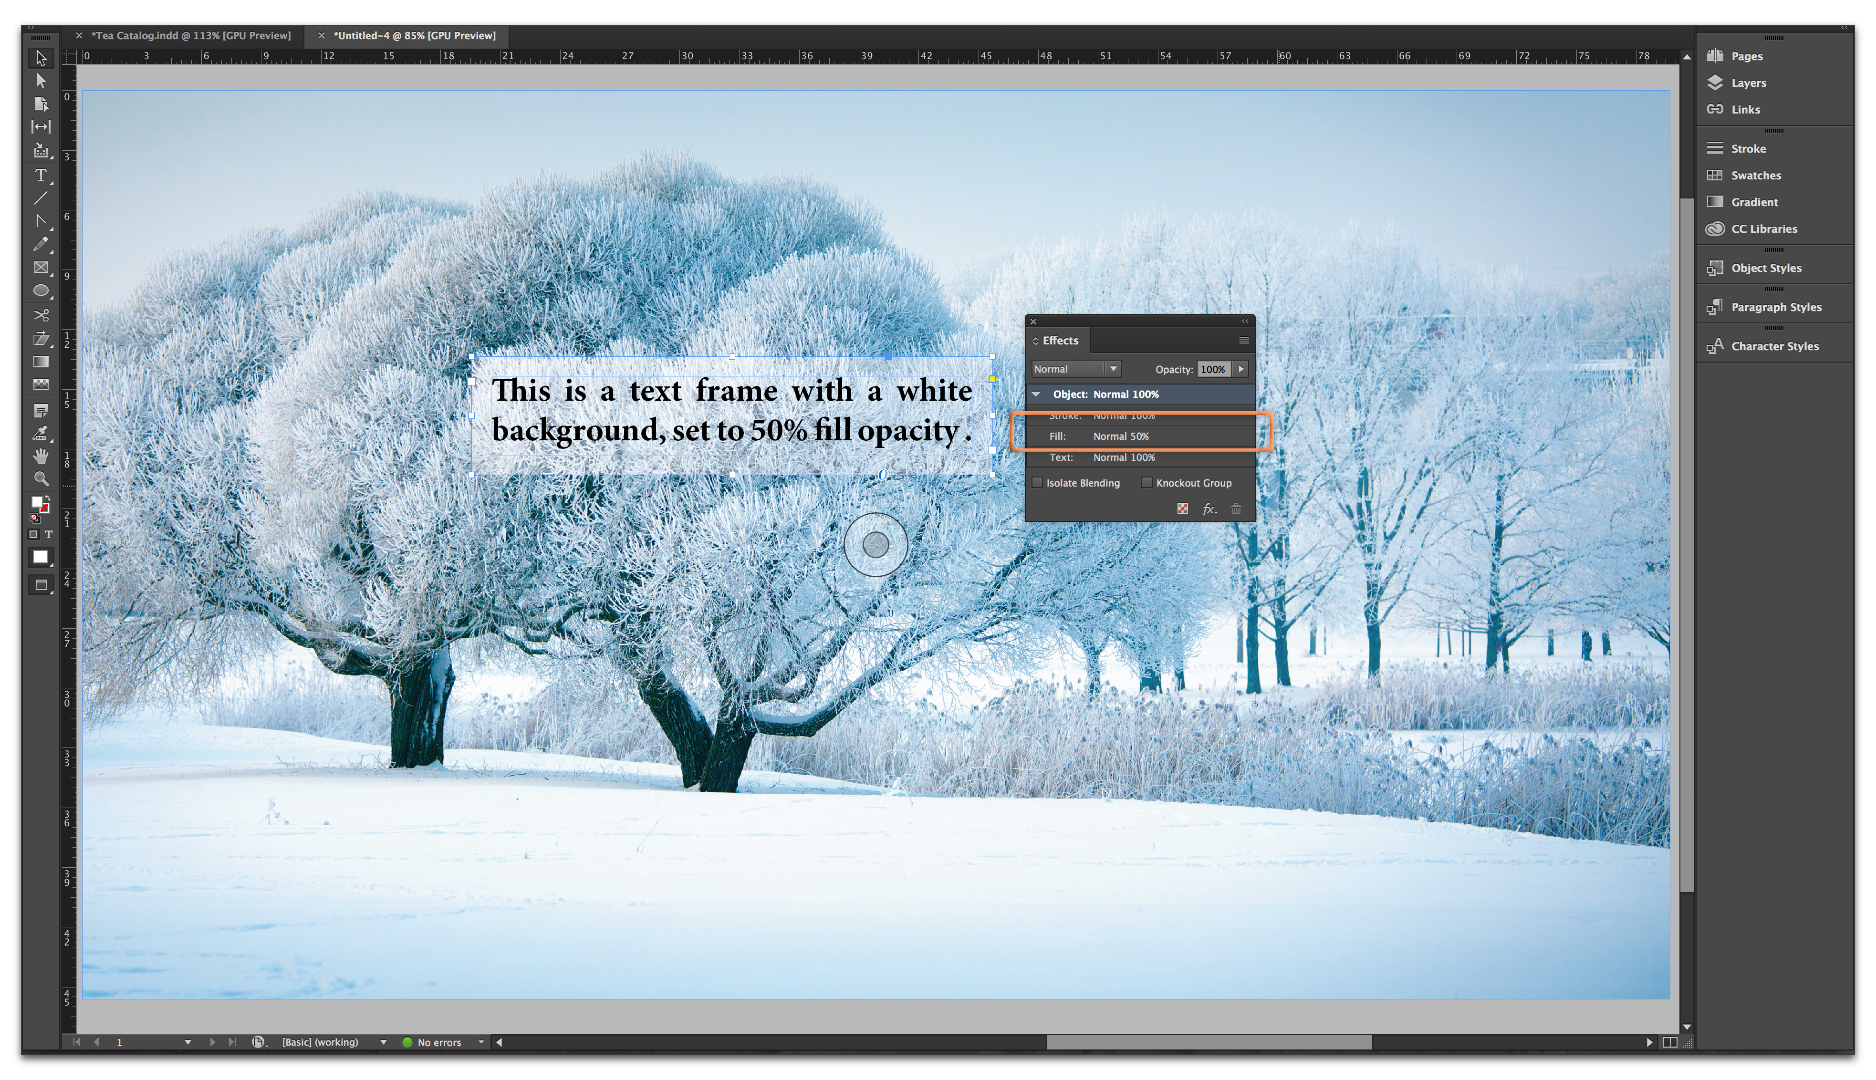
Here is the trick:
- Draw the text frame
- Add the text
- Set the insets (frame margins) in Type > Text Frame Properties
- Change the frame background to white, keep frame selected
- Window > Effects
- Select Fill, and just change the opacity on the Fill. If you change the Object, the text will fade as well:
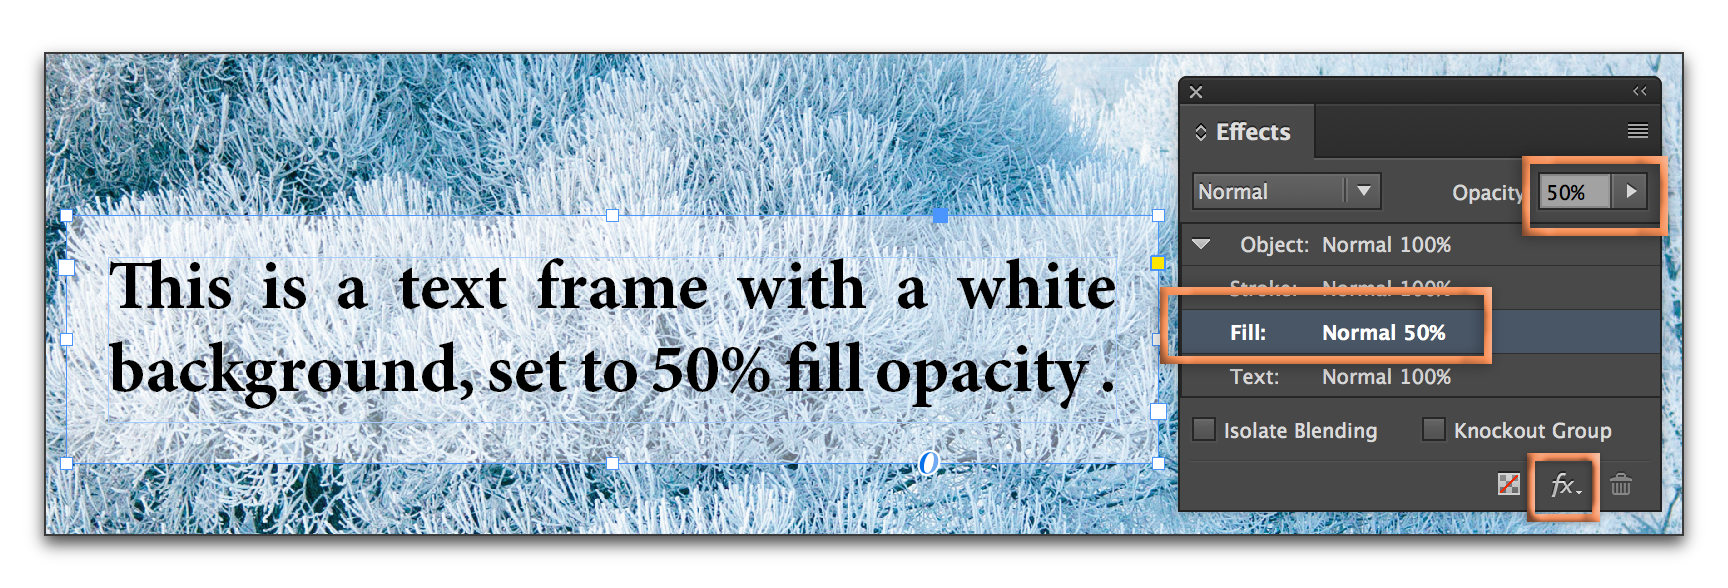
- For SJRiegel's feathered edge, click the fx button on the bottom row of the Effects panel > Basic Feather and play with the Feather width. The amount will vary depending on the size of the frame.
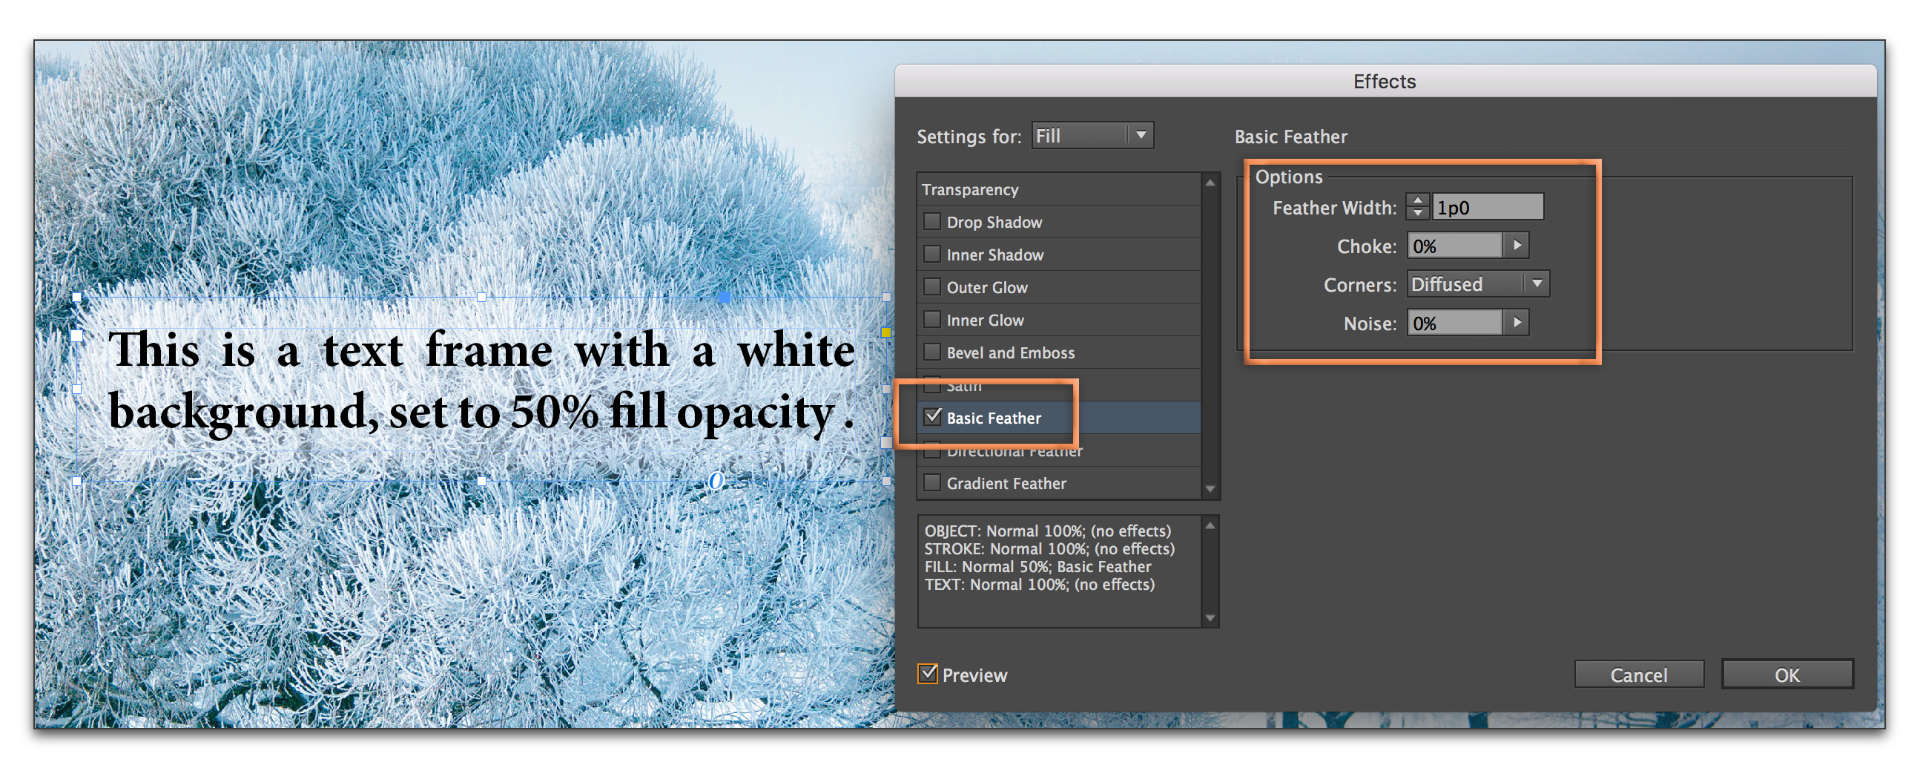
- Select Fill, and just change the opacity on the Fill. If you change the Object, the text will fade as well:
Copy link to clipboard
Copied
It took me a bit to be able to get back to this...
Unfortunately BarbBinder, my menus didn't seem to match yours.
However, you got me close enough to get there -- I finally drew a second text box, which I filled as 'paper', then with a basic feather and some adjustments, I moved the second text box behind my text, altered the opacity to fit my needs and found my solution. I couldn't seem to do the same with the text box (with the actual text) for some reason... I'm sure I was (am!) doing something wrong, but my illustrator like my results-- and that's all I need. I have some touch-ups to make now that I have a proof copy, but I'm finally able to move along.
THANK YOU ALL for your help and attempts at figuring out what I was trying to do. I've saved this discussion for the future in case some of the other suggestions prove helpful in other situations.
Copy link to clipboard
Copied
Yes... this is the look! Thank you BarbBinder!!
