

🔎 How to use the new Remove Tool in Lightroom Classic - Quick Tip

Generative Remove in Lightroom Classic
Did you know that the new Generative Remove, powered by Adobe Firefly, lets you quickly and easily remove unwanted objects from an image? Also, with the Lightroom Classic version (v13.3), the Heal tool has been renamed to Remove. Learn more here.
Here are some quick tips & steps to get started with Generative Remove and to get the desired results.
❶ In the Develop module, select the Remove (Q) tool, switch the mode to Remove from Clone or Heal, and enable Generative AI. Select (i) to learn more about Generative AI User Guidelines.

❷ Adjust the brush Size and the overlay Opacity to Brush over the object you want to remove. You can adjust the selection in Mask Refinement & then click Apply. Additional tips:
- Enlarge your selection - if your brush stroke is too tight, you will have unexpected results.
- Removing an object means painting over it, its shadow, reflection, and any non-contiguous pieces. If you leave behind a shadow, a reflection, or a disconnected piece (e.g., a hand on a shoulder), the AI will attempt to create something to cast the shadow, reflect, or complete the unbrushed discontinuous item.
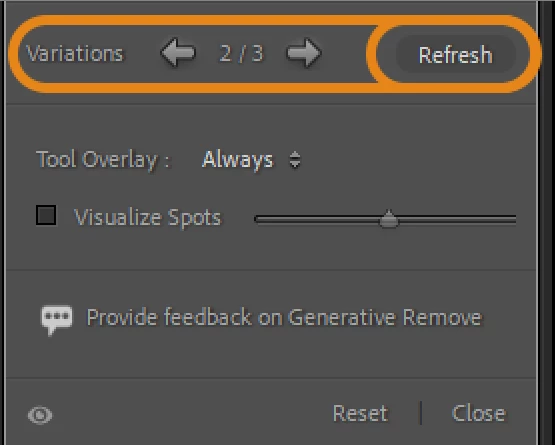
❸ Lightroom Classic would now, using FireFly, develop three variations to choose from. You can click Refresh to develop three new variations. You can provide feedback on Generative Remove.
Head here for Best Practices and FAQs for Generative Remove
Stay tuned for more tips to come.
Others
Related links:
Lightroom Classic 13.4 release is now available
Lightroom Classic system requirements
Quick Tips: Use People Masking for specific edits in Lightroom Classic
Quick Tips: How to use the new Lens Blur feature in Lightroom Classic
Quick Tips: How to give Full Disk Access to Lightroom Classic on macOS
