

- Home
- Lightroom Classic
- Discussions
- Re: P: Generative Remove Feedback (Lr Classic & Lr...
- Re: P: Generative Remove Feedback (Lr Classic & Lr...
P: Generative Remove Feedback (Lr Classic & Lr Eco)

Copy link to clipboard
Copied
-
App version
-
System details
-
Example image(s) if you wish to share
Our team continually monitors this thread to track issues for future improvement. Thanks!
Posted by:


 2 Pinned Replies
Update (Dec 2024): With the new release, it is no longer necessary to perform Generative Remove Operations prior to Cropping.
Update (August 2025) With the new release, the Generative Remove Engine has been updated.
See this video for details: https://www.youtube.com/watch?v=YwpUX4b6igY

Hello everyone,
The MAX release for Adobe Photography products includes improvements addressing the feedback here.
If the update isn’t visible in your Creative Cloud app, refresh it using [Ctrl/Cmd] + [Alt/Opt] + [R].
Please note: It may take up to 24 hours for the update to appear.
Thank you for your continued patience.
 1424
Replies
1424
1424
Replies
1424

Copy link to clipboard
Copied
The removal tool is now working. Is there an update coming to help make this feature work again?

Copy link to clipboard
Copied
@samantha_2390: "The removal tool is [not] working."
After clicking Remove, make sure the Opacity slider is 100. A likely bug in LR sometimes sets it to 0.
If this doesn't help, please provide a lot more detail about what you're seeing -- "not working" isn't very informative. Full-resolution screenshots (not phone pics) can often give useful clues.

Copy link to clipboard
Copied
--
Louisa Evers
elouisa603@gmail.com
Take care of the birds and you take care of the world
Copy link to clipboard
Copied
[This post contains formatting and embedded images that don't appear in email. View the post in your Web browser.]
@LuluBirder: "I don't see an opacity slider when I click on Remove."
After clicking on Remove:

the Opacity slider is right above the Generate button:

If you're seeing something different, please post a full-resolution screenshot (not a phone pic) of the entire LR window of what you see after clicking Remove.

Copy link to clipboard
Copied
In Lightroom Classic, I've been trying to remove a cheese plant from behind a person, but without success. It keeps giving variations on a cheese plant! It would be very helpful, if I could say in words, what to do... For example remove plant from behind person.
Copy link to clipboard
Copied

Copy link to clipboard
Copied
[This post contains formatting and embedded images that don't appear in email. View the post in your Web browser.]
@Neil2370517928lm: "I've been trying to remove a cheese plant from behind a person, but without success. It keeps giving variations on a cheese plant!"
You must select all of the plant, including the dark parts that aren't very noticeable. Otherwise Remove will try very hard to generate a replacement that matches the remaining bits of the plant.
You can temporarily increase Exposure to see all the parts of the plant, apply Remove to all parts of the plant, then decrease Exposure. For example:

I had to try about 15 variations before finding a good replacement background. You could make the generated background even less noticeable by using a Background mask and dropping its Exposure:

Or you could skip Remove altogether and just use the Background mask!
Copy link to clipboard
Copied
AI wordt nog steeds niet opgeslagen in je foto
Bij opnieuw openen heb je weer wat anders

Copy link to clipboard
Copied
can duplicate something like that. Furthermore, I use AI in Lightroom and
export to Photoshop sometimes - further edit and save back to Lightroom.
The AI-edited images stay edited.
--
Sent from Gmail on PC
Copy link to clipboard
Copied
[This post contains formatting and embedded images that don't appear in email. View the post in your Web browser.]
@Gerard38305403cjab: "AI still not saved to your photo. When reopening you have something different again"
This bug was fixed a couple releases ago for most people. Are you seeing red dots under the Remove or Masking tools?

If so, then as a first step, do the menu command Help > System Info to see the exact version of LR you're running. If it's not Lightroom Classic 14.1.1, do Help > Updates to install the latest version. If that doesn't help, then please start a new thread in the forum describing in detail what you're doing and what you're seeing.

Copy link to clipboard
Copied
Still not at professional level quality.
I find Generative Remove useful in some cases, but most of the time it's completely unusable due to the weird texture/grain quality of the AI-produced image. It shows up the worst on flat, even sections of an image (like the sky).
In these cases, Generative Remove is easy to spot - there's an obvious colour, texture, and sometimes exposure shift. Even if the AI-generated image blends in well in terms of shape or overall content, it can't seem to match the grain/pixel texture of photographs from professional cameras.
Copy link to clipboard
Copied
@Jeremy26803694vwct: "In these cases, Generative Remove is easy to spot - there's an obvious colour, texture, and sometimes exposure shift."
Lots of people have complained about the replacements not matching in grain, noise, or tone.
To get better matches, these techniques sometimes help (but often not):
1. Adobe recommends applying Denoise before Remove.
2. The replacement patch supplied by Adobe Firefly has a maximum size of 2048 x 2048 pixels. If the selected area in the photo is larger than that, then the replacement patch gets upscaled (and blurry).
3. Make a larger selection of the background.
4. Sometimes there's a distinctly visible boundary where the tone or noise don't match. You can often use the heal tool around the boundary to get better feathering and make it less noticeable -- apply Heal in small brush strokes.
2. For grain/noise in particular, see this post for how to ameliorate the problem by adding the grain back or reducing the grain:
https://community.adobe.com/t5/lightroom-classic-discussions/p-generative-remove-feedback-lr-classic...

Copy link to clipboard
Copied
Copy link to clipboard
Copied
[This post contains formatting and embedded images that don't appear in email. View the post in your Web browser.]
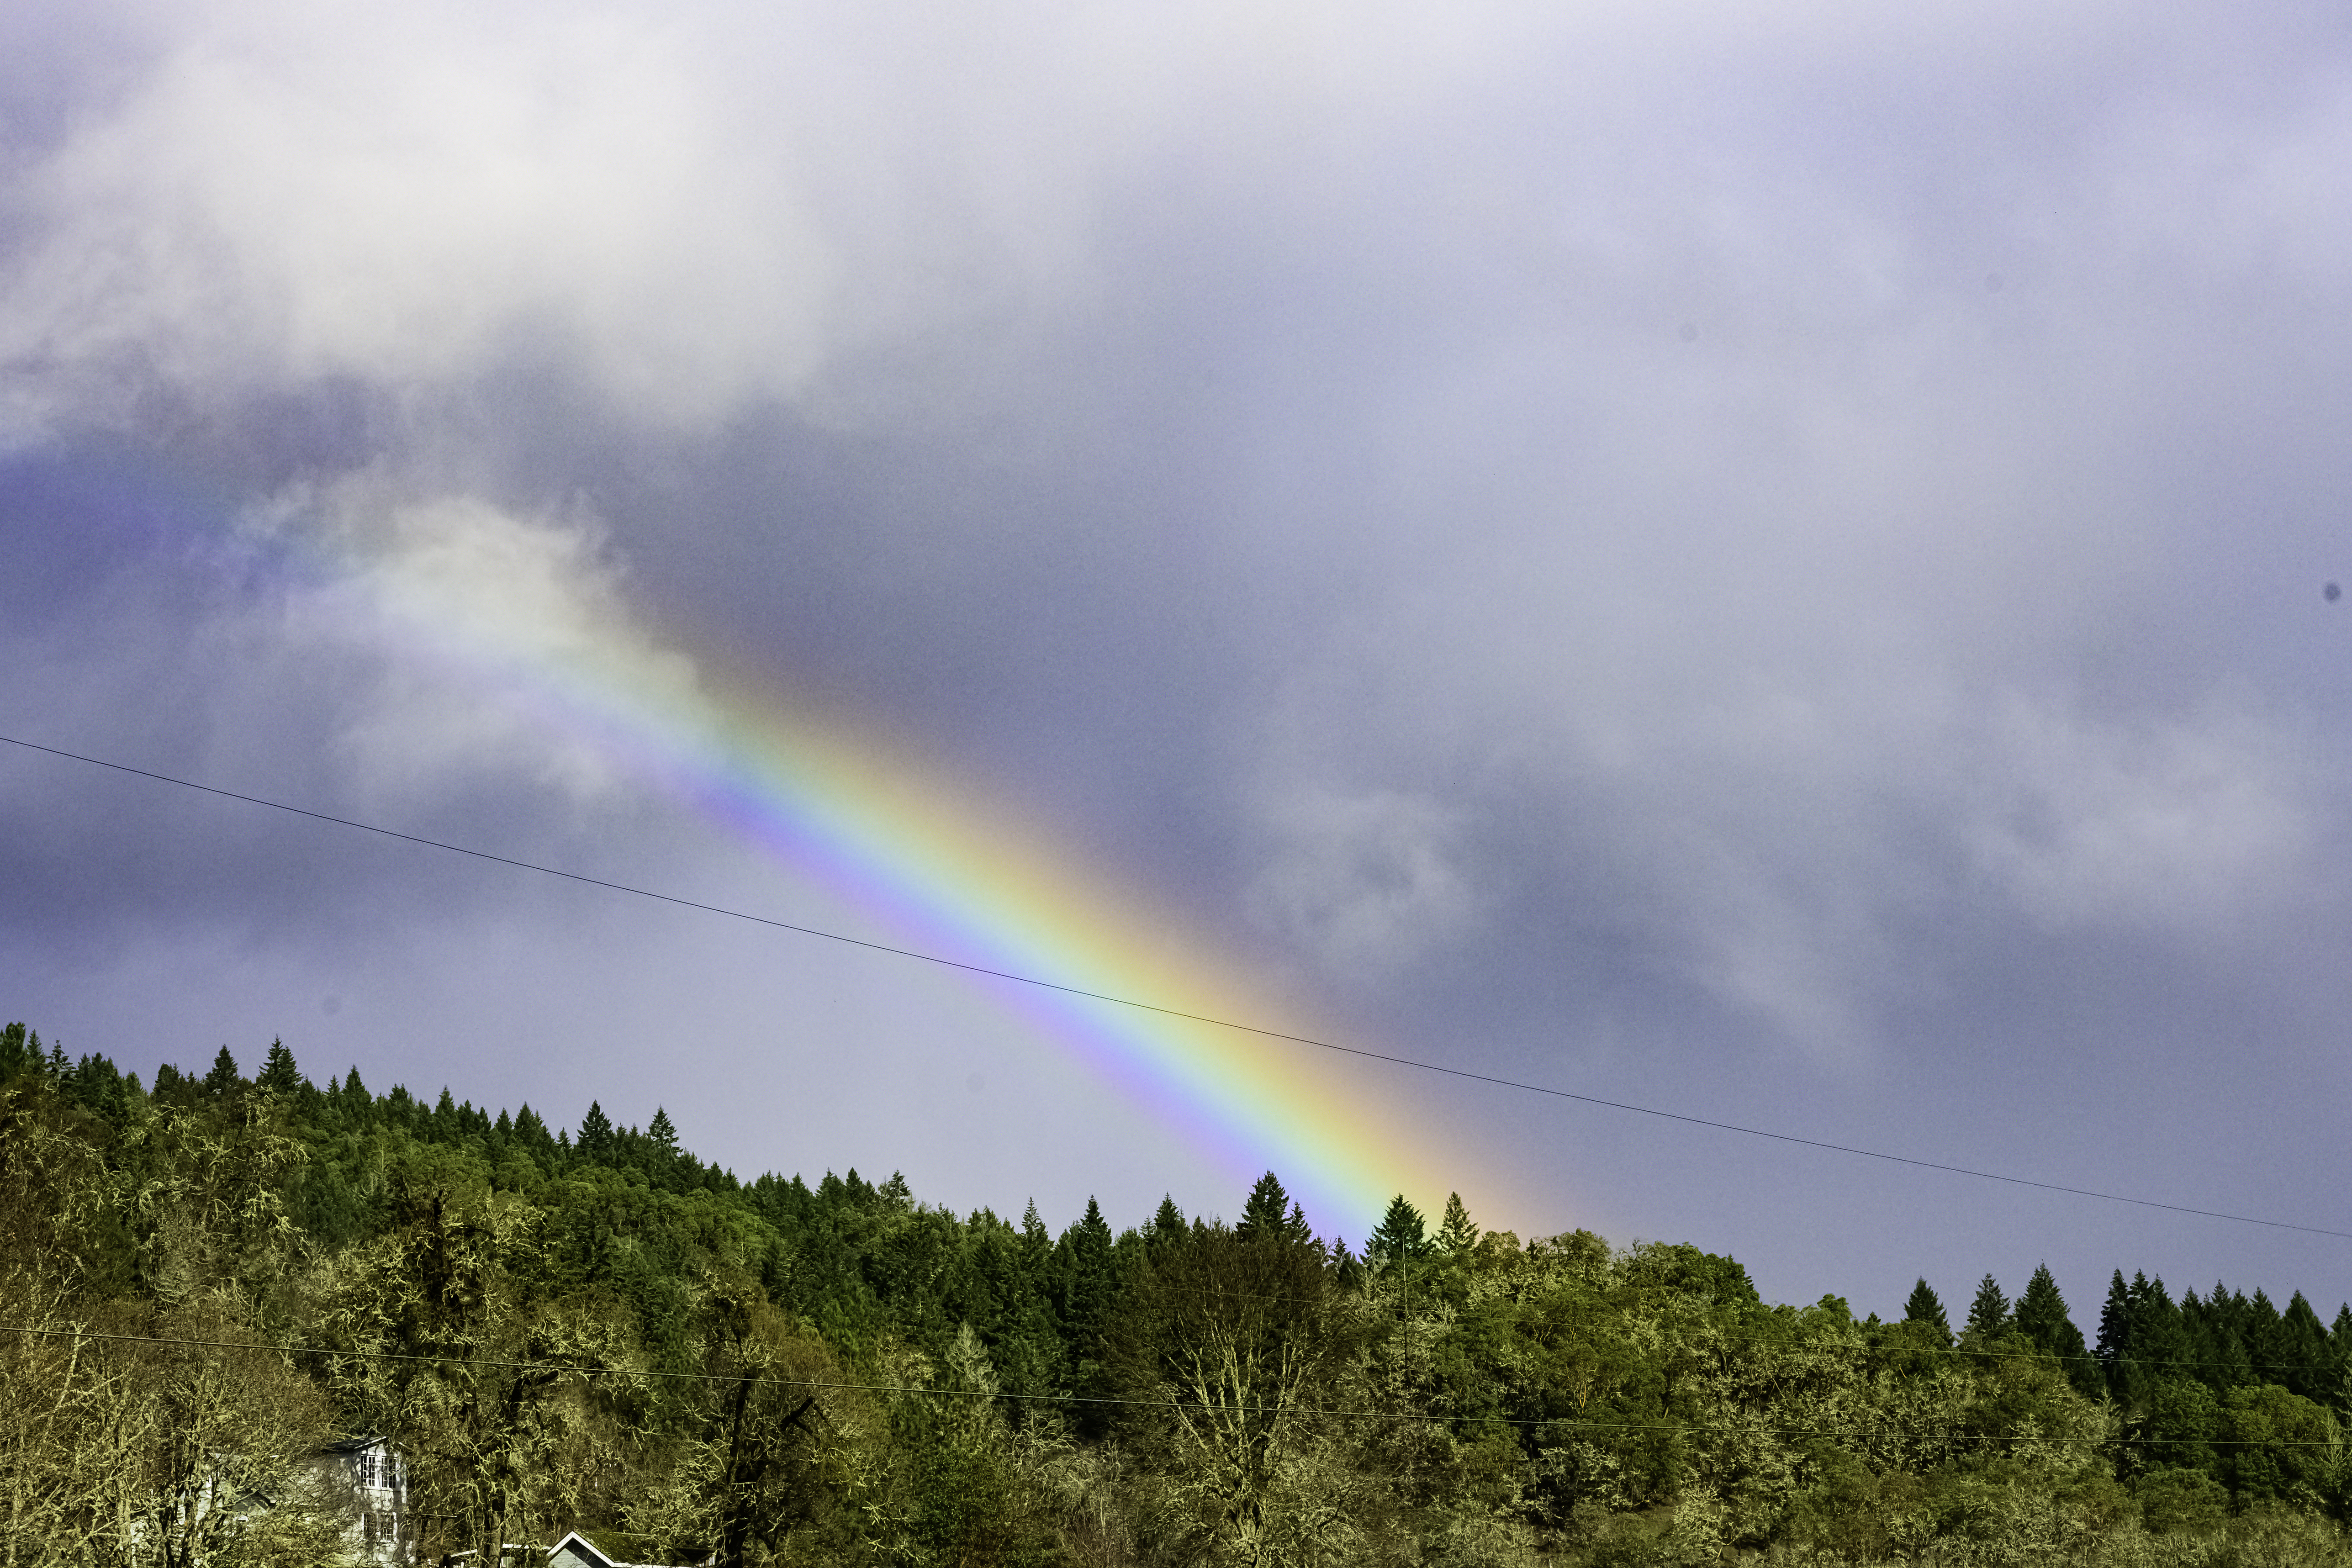
Uncheck the option Detect Objects -- it often doesn't work very well, especially with long skinny objects and objects on the edges of the photo. Then select the entire wire with a single selection, even if there are some trees intervening -- otherwise, Remove sometimes tries to generate a replacement matching the rest of the wire:

See this short article for how to remove objects more reliably:
https://www.lightroomqueen.com/generative-remove-replace/

Copy link to clipboard
Copied
spot removal just doesn't work any longer in my lightroom classic
Copy link to clipboard
Copied
@jtwind: "spot removal just doesn't work any longer in my lightroom classic"
Please describe in more detail what you're trying and observing. A full-resolution screenshot (not a phone pic) can be most effective.
Copy link to clipboard
Copied
clicking on specific dust spot, none of the spot removal modes get rid of it. Tried all three. Had to got to photoshop.
Copy link to clipboard
Copied
@jtwind Sounds like you have your opacity set to a lower value.

Copy link to clipboard
Copied
It works well, but I would _love_ to be able to feather the edges. It's often quite obvious where the fill starts.
For example, you can clearly see the brush edge here:

Copy link to clipboard
Copied
[This post contains formatting and embedded images that don't appear in email. View the post in your Web browser.]
Many have observed here that the replacements made by Generative Remove sometimes don't match the photo well. In your example, you can ameliorate the problem by using the Heal tool to feather the replacement with the surrounding background -- apply it in short, overlapping strokes:

Other techniques that sometimes help:
1. Adobe recommends applying Denoise before Remove.
2. The replacement patch supplied by Adobe Firefly has a maximum size of 2048 x 2048 pixels. If the selected area in the photo is larger than that, then the replacement patch gets upscaled (and blurry).
3. Make a larger selection, even including the entire background.
4. For grain/noise in particular, see this post for how to ameliorate the problem by adding the grain back or reducing the grain:
https://community.adobe.com/t5/lightroom-classic-discussions/p-generative-remove-feedback-lr-classic...

Copy link to clipboard
Copied
Very simple. Give us a prompt in LR to say REMOVE! not replace a subject with another person.
Copy link to clipboard
Copied
"Very simple. Give us a prompt in LR to say REMOVE! not replace a subject with another person."
See this short article for how to remove objects reliably:
https://www.lightroomqueen.com/generative-remove-replace/
Most complaints about Remove are addressed in the article. But if it doesn't help, please attach a full-resolution JPEG exported from the unmodified original photo (not a screenshot). With nearly every one of the many dozen problem photos posted here, we've been able to show how to quickly remove the desired objects.

Copy link to clipboard
Copied
Can give very decent results - but the natural texture and grain from the original area are lost. The result is fine for my general current needs (usually significantly downsampled) - but something to keep an eye on...

Copy link to clipboard
Copied
Many have observed here that the replacements made by Generative Remove sometimes don't match the photo well. To get better matches, these techniques sometimes help:
1. Adobe recommends applying Denoise before Remove. This can reduce the noise, making it more likely the replacement will match.
2. The replacement patch supplied by Adobe Firefly has a maximum size of 2048 x 2048 pixels. If the selected area in the photo is larger than that, then the replacement patch gets upscaled (and blurry). Try using smaller selections if possible.
3. Make a larger selection, even including the entire background. Upscaling of the replacement sometimes won't be noticeble then.
4. Sometimes there's a distinctly visible boundary where the tone or noise don't match. You can often use the heal tool around the boundary to get better feathering and make it less noticeable -- apply Heal in small brush strokes. Sometimes, making a very raggedy selection around the object makes the boundary less noticeable.
5. For grain/noise in particular, see this post for how to ameliorate the problem by adding the grain back or reducing the grain:
https://community.adobe.com/t5/lightroom-classic-discussions/p-generative-remove-feedback-lr-classic...
Copy link to clipboard
Copied
Hello,
I just switched from LR to LRC and I'm frequently having issues with the gen AI tool in LRC that I cannot replicate in LR when I try to remove the same thing on the same photo. It seems like gen AI has a hard time matching the right exposure (boat removal image) and I've also noticed it will add more texture or grain at times so when you remove something you'll just see a blob in the sky (Kite removal image).


Find more inspiration, events, and resources on the new Adobe Community
Explore Now
 AdChoices