


Portraiture Editing Guided Workflows in Lightroom Classic (Start here)
One Stop Shop for Portraiture edits
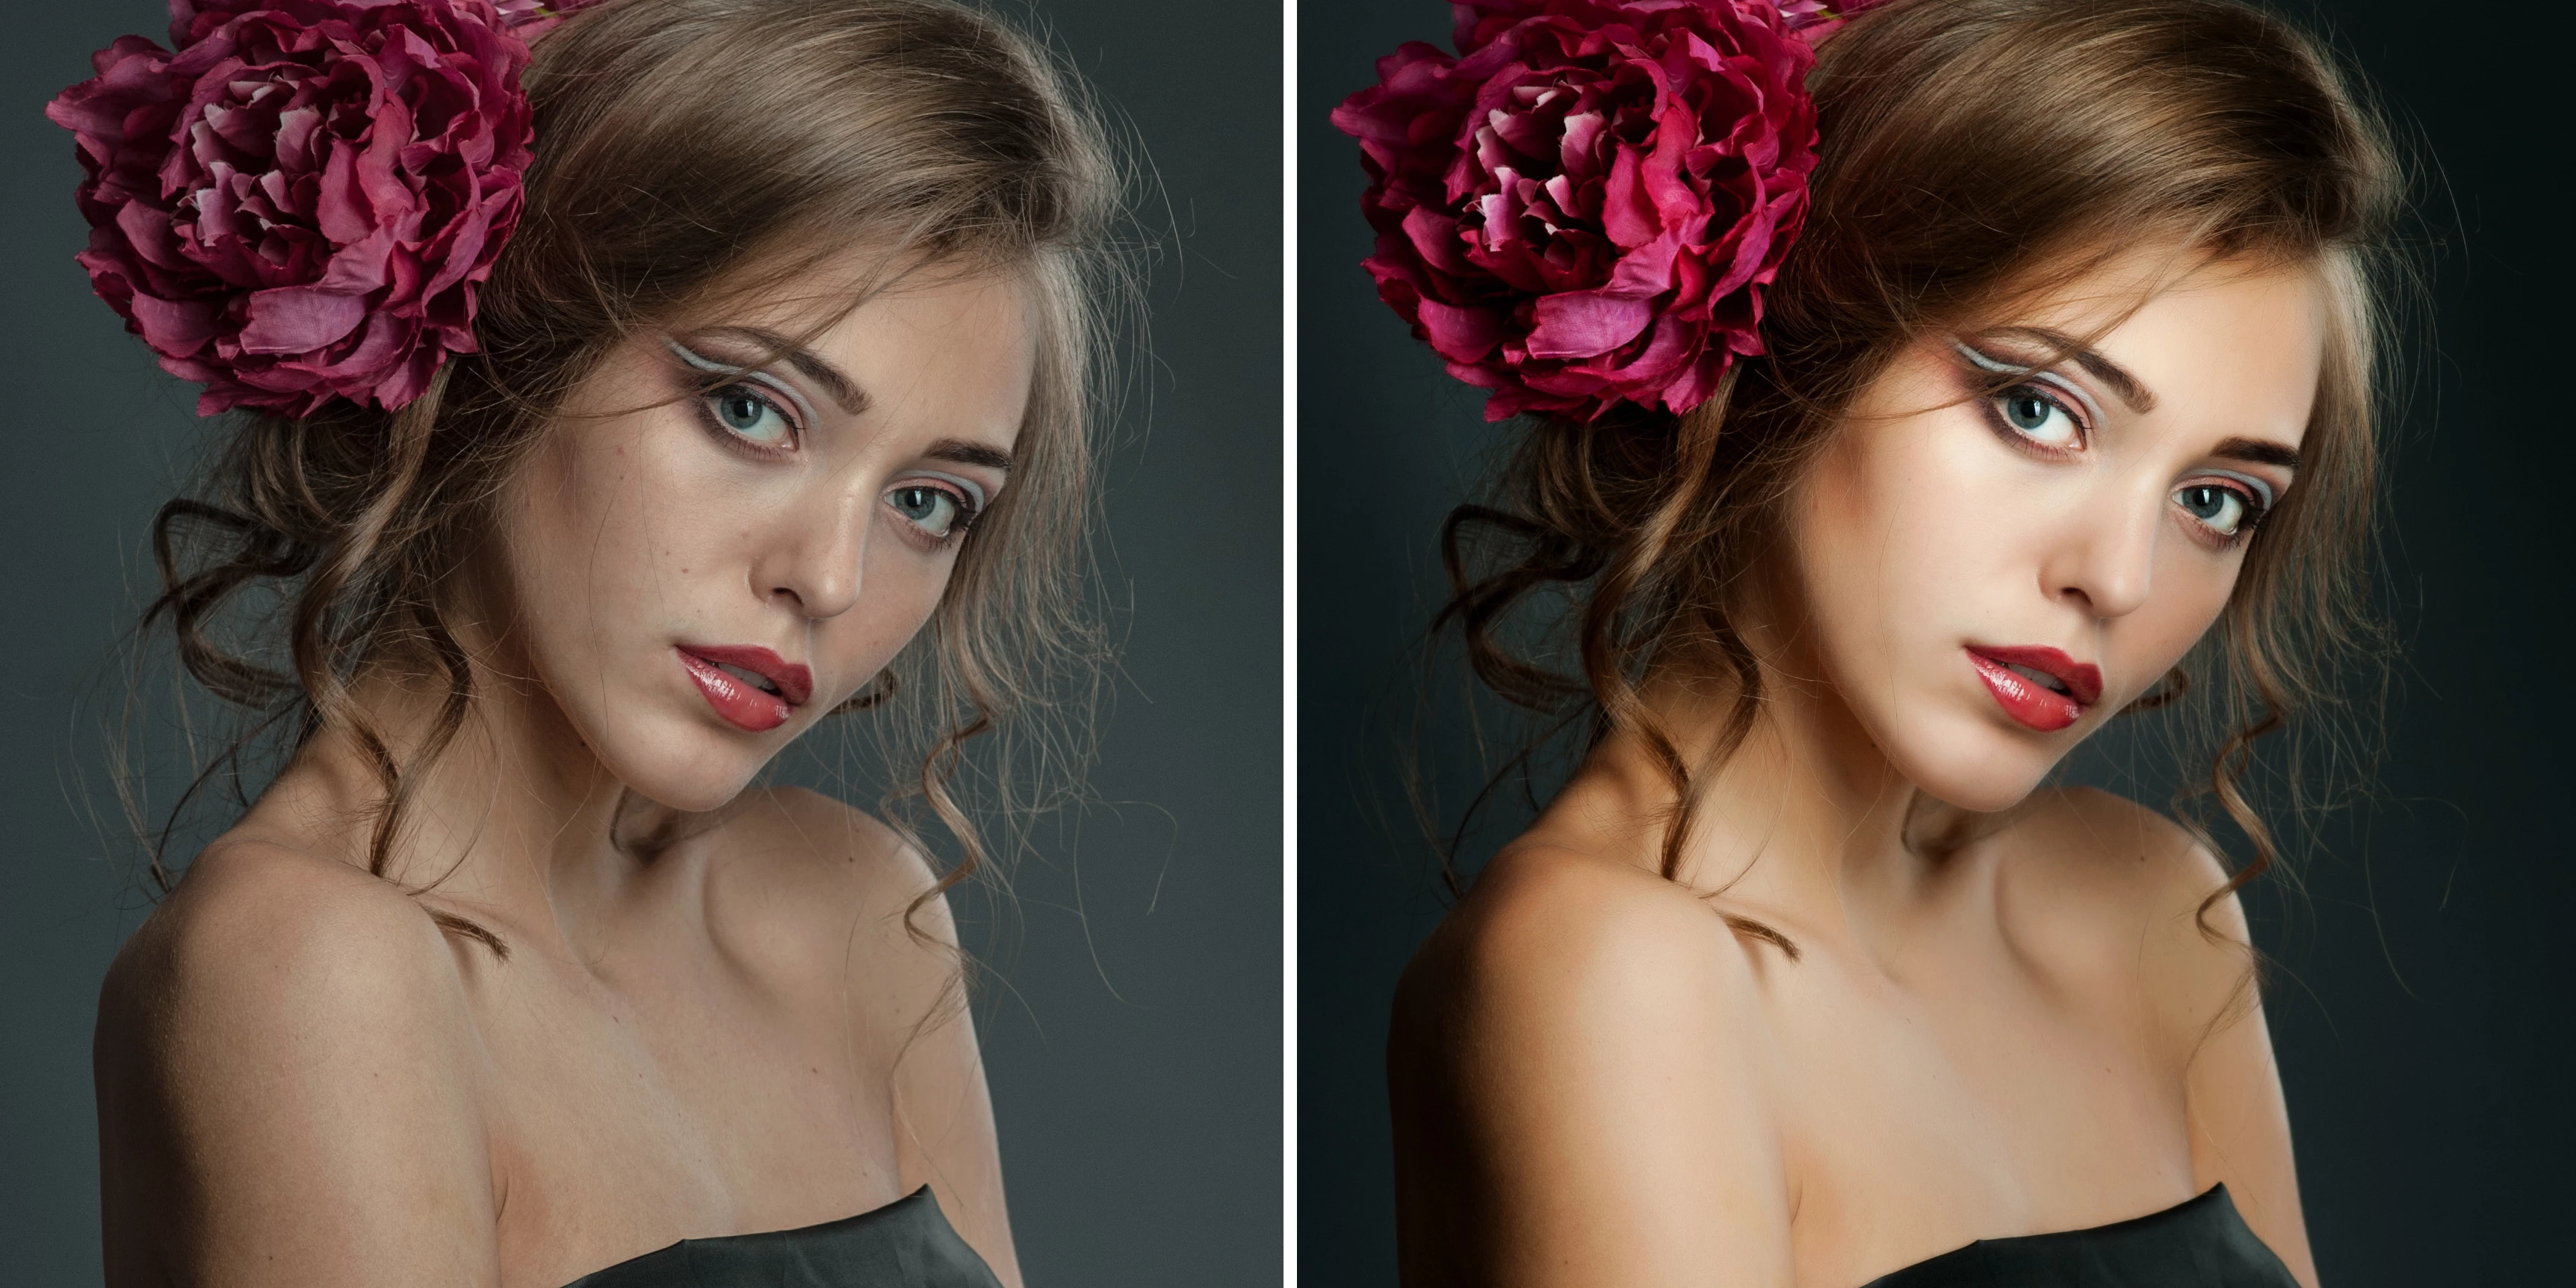
If you're looking to enhance a portrait of any kind, this post is for you. Whether you're a beginner, hobbyist, prosumer, or a professional photographer, you can find the right set of workflows that work for your portrait and uplevel your editing skills!
In this post, you will find the top tried and tested workflows that suit different types of portraits - including beginner-level portraits such as those you clicked in your backyard. You will also learn how to edit creative supermodel portraits and portraits captured in nonoptimal conditions such as night sky, harsh lighting, and more.
You also get guided workflows with sample files that you can download and work with as you go through the steps. Don't forget to have fun while you experiment with the steps to achieve your perfect portrait!
Don't have Lightroom Classic?
Download Lightroom Classic
Ready to get started?
Portraiture Editing Workflows for Beginners
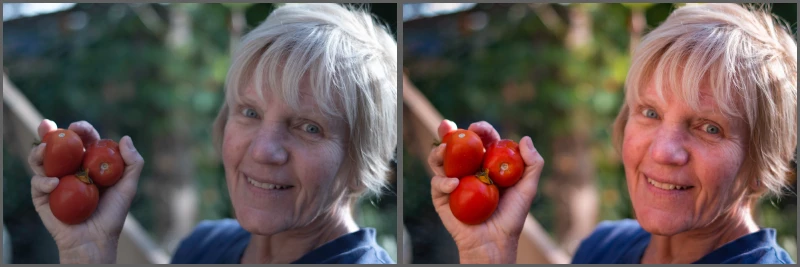
Who says editing a portrait is a monumental task? By learning a few basic workflows, you can enhance that portrait clicked at home to a professional looking one!
Let's take a look at the basic workflows involved in portrait edits. Don't let the terminology scare you, we'll help with words like White Balance and Tint. Simply follow the below sequence of tutorials to learn more.
- Begin by fixing the lighting:
- Then, do some color correction:
➏ Edit Dehaze, Saturation, Vibrance
- Finally, edit any remaining problem areas:
➐ Use Radial and Linear Gradient
We hope you found these editing workflows helpful! Feel free to share your enhanced portraits in this post's comment section - we love to see your work!
If you have any questions on basic portrait editing, let us know in the comments below.
Note: Coming up next...Portraiture editing workflows for Hobbyists!
If you clicked some portraits in less than ideal conditions such as harsh lighting or rainy weather, or you work with fashion portraits, these hobbyist workflows are just for you! Stay tuned to this section for updates!
If you're looking for a specific portraiture edit that is not outlined here, let us know in the comments and we'll get back to you!
Keep editing!
Want to see workflows for Lightroom desktop? See Portraiture Editing in Lightroom.