Export DNG files in 3 easy steps!
You can now export photos from Lightroom as DNG files in three simple steps
One of the new features in Lightroom 3.2 is the ability to export photos from Lightroom in the DNG format. If you have DNG files in Lightroom that you want to export and backup elsewhere, or another file type that you want to export as a DNG to use somewhere else, simply follow these three steps to see how easy it is to export them in the DNG format.
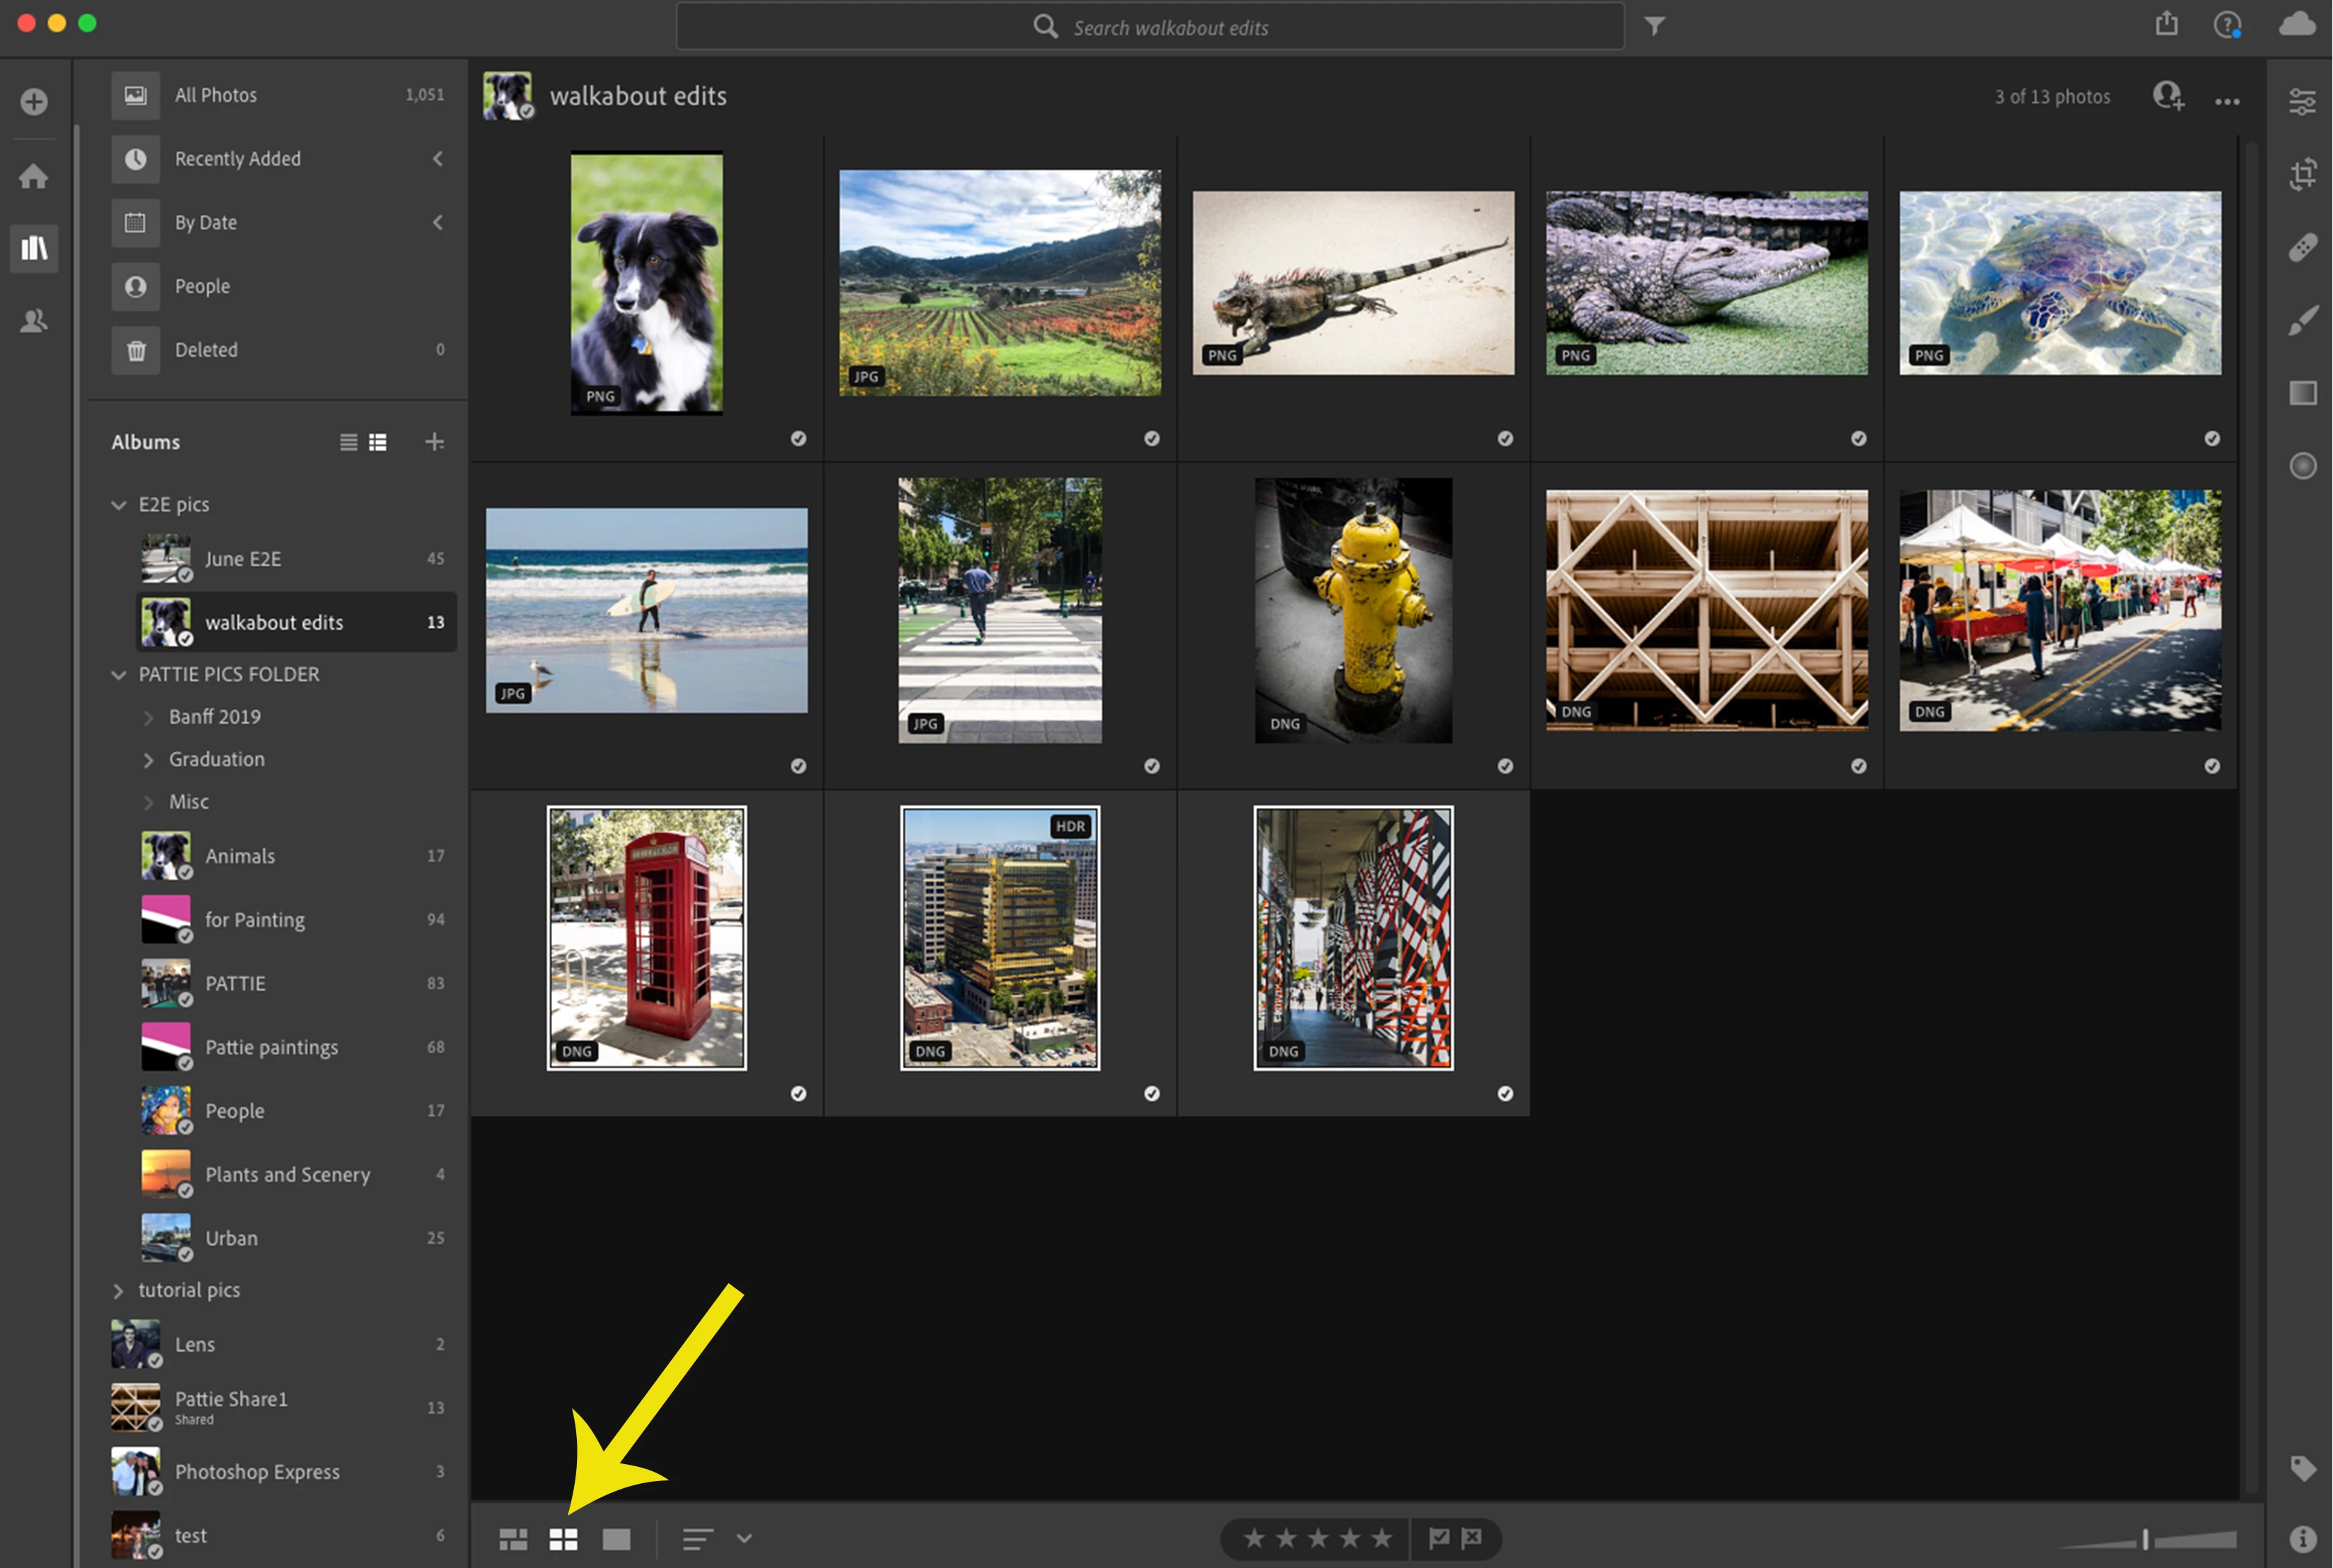
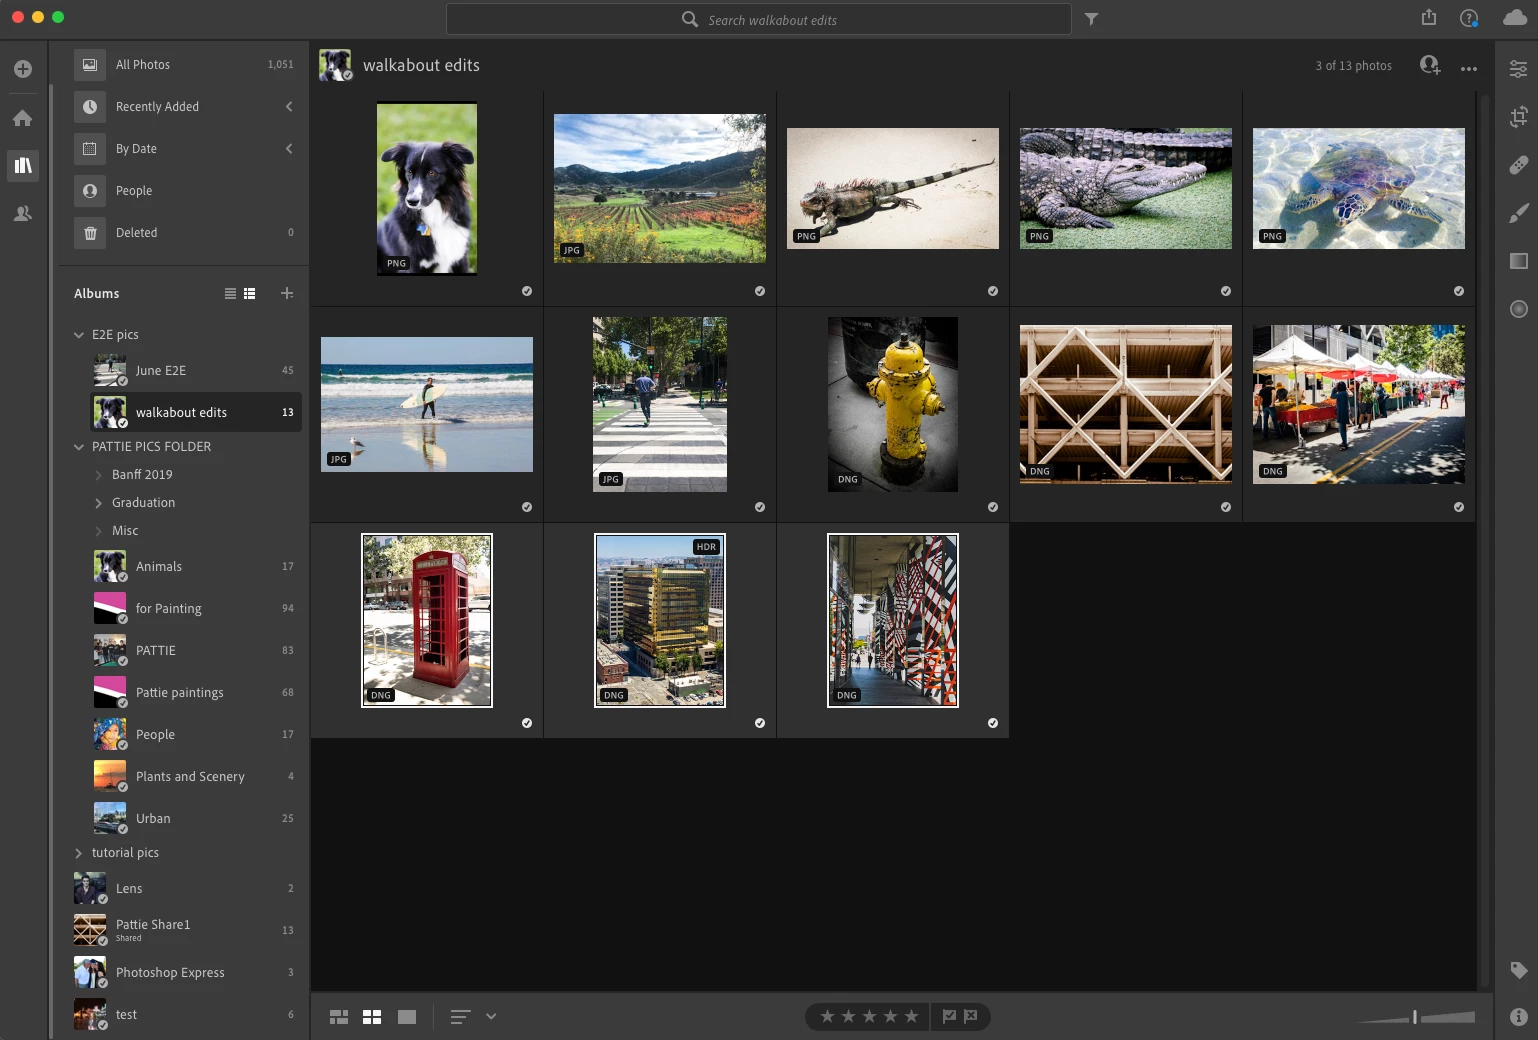
❶ Select the photos you wish to export
- Open lightroom and find the photos you want to export
- Choose the square grid presentation mode icon if you want to view the file type for each photo

- Select the photos you want to export

❷ Choose the DNG file type
-
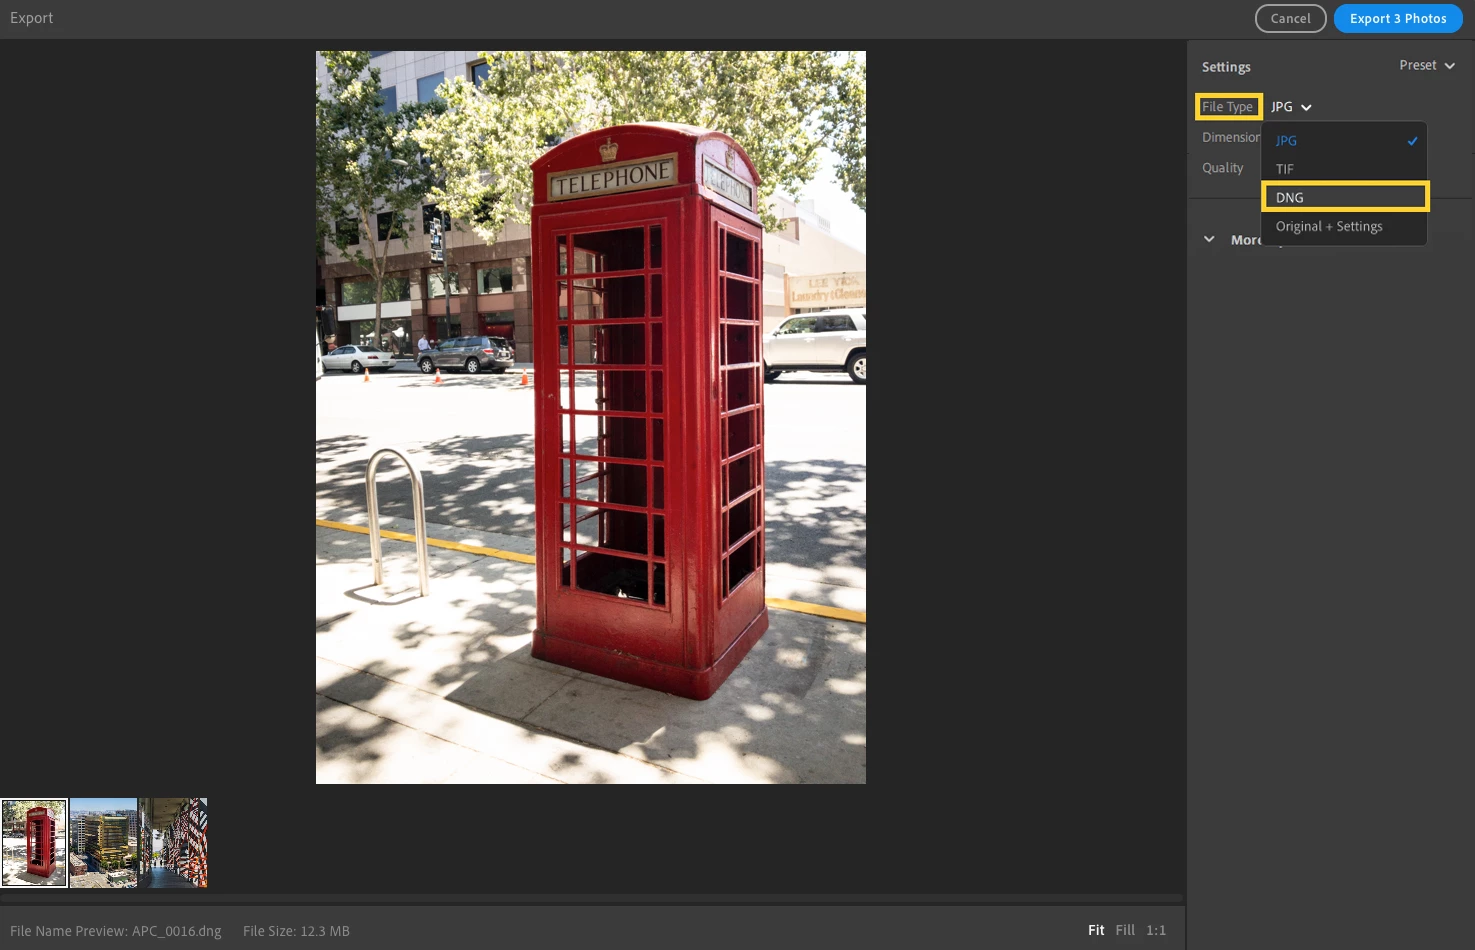
Select File>Export or press cmd+shift+E (macOS) or ctrl+shift+E (Windows) to access the export screen
-
Select DNG from the list of file types in the dropdown menu

Note:
The default settings for DNG export are:
Use Lossy Compression: Off
Preview Size: Medium (1024 px long edge)
Embed Fast Load Data: On
Embed Original Raw File: Off
These settings cannot be edited.
❸ Export to a folder
- Click on Export 'x' Photos at the top right of the screen (x is the number of photos selected for export)
- Select the destination folder for your photos and click Export
About DNG files:
Raw file formats offer more creative control than many other formats, but since the specifications for the different raw formats used by each camera manufacturer are not always publicly available, many software applications can’t read them. Digital Negative (DNG) is a publicly available archival format designed to provide compatibility for raw files generated by various digital cameras. The DNG specification also allows for the addition of private metadata. Adobe provides a free Adobe DNG Converter to translate raw files from many of today's popular cameras in to DNG files.
Related links:
Adobe Digital Negative Converter
DNG Converter download (Windows | Mac OS)
What’s new in Lightroom version 3.2 - Feb 2020


