- Home
- Photoshop ecosystem
- Discussions
- Re: Background removal question.
- Re: Background removal question.
Copy link to clipboard
Copied
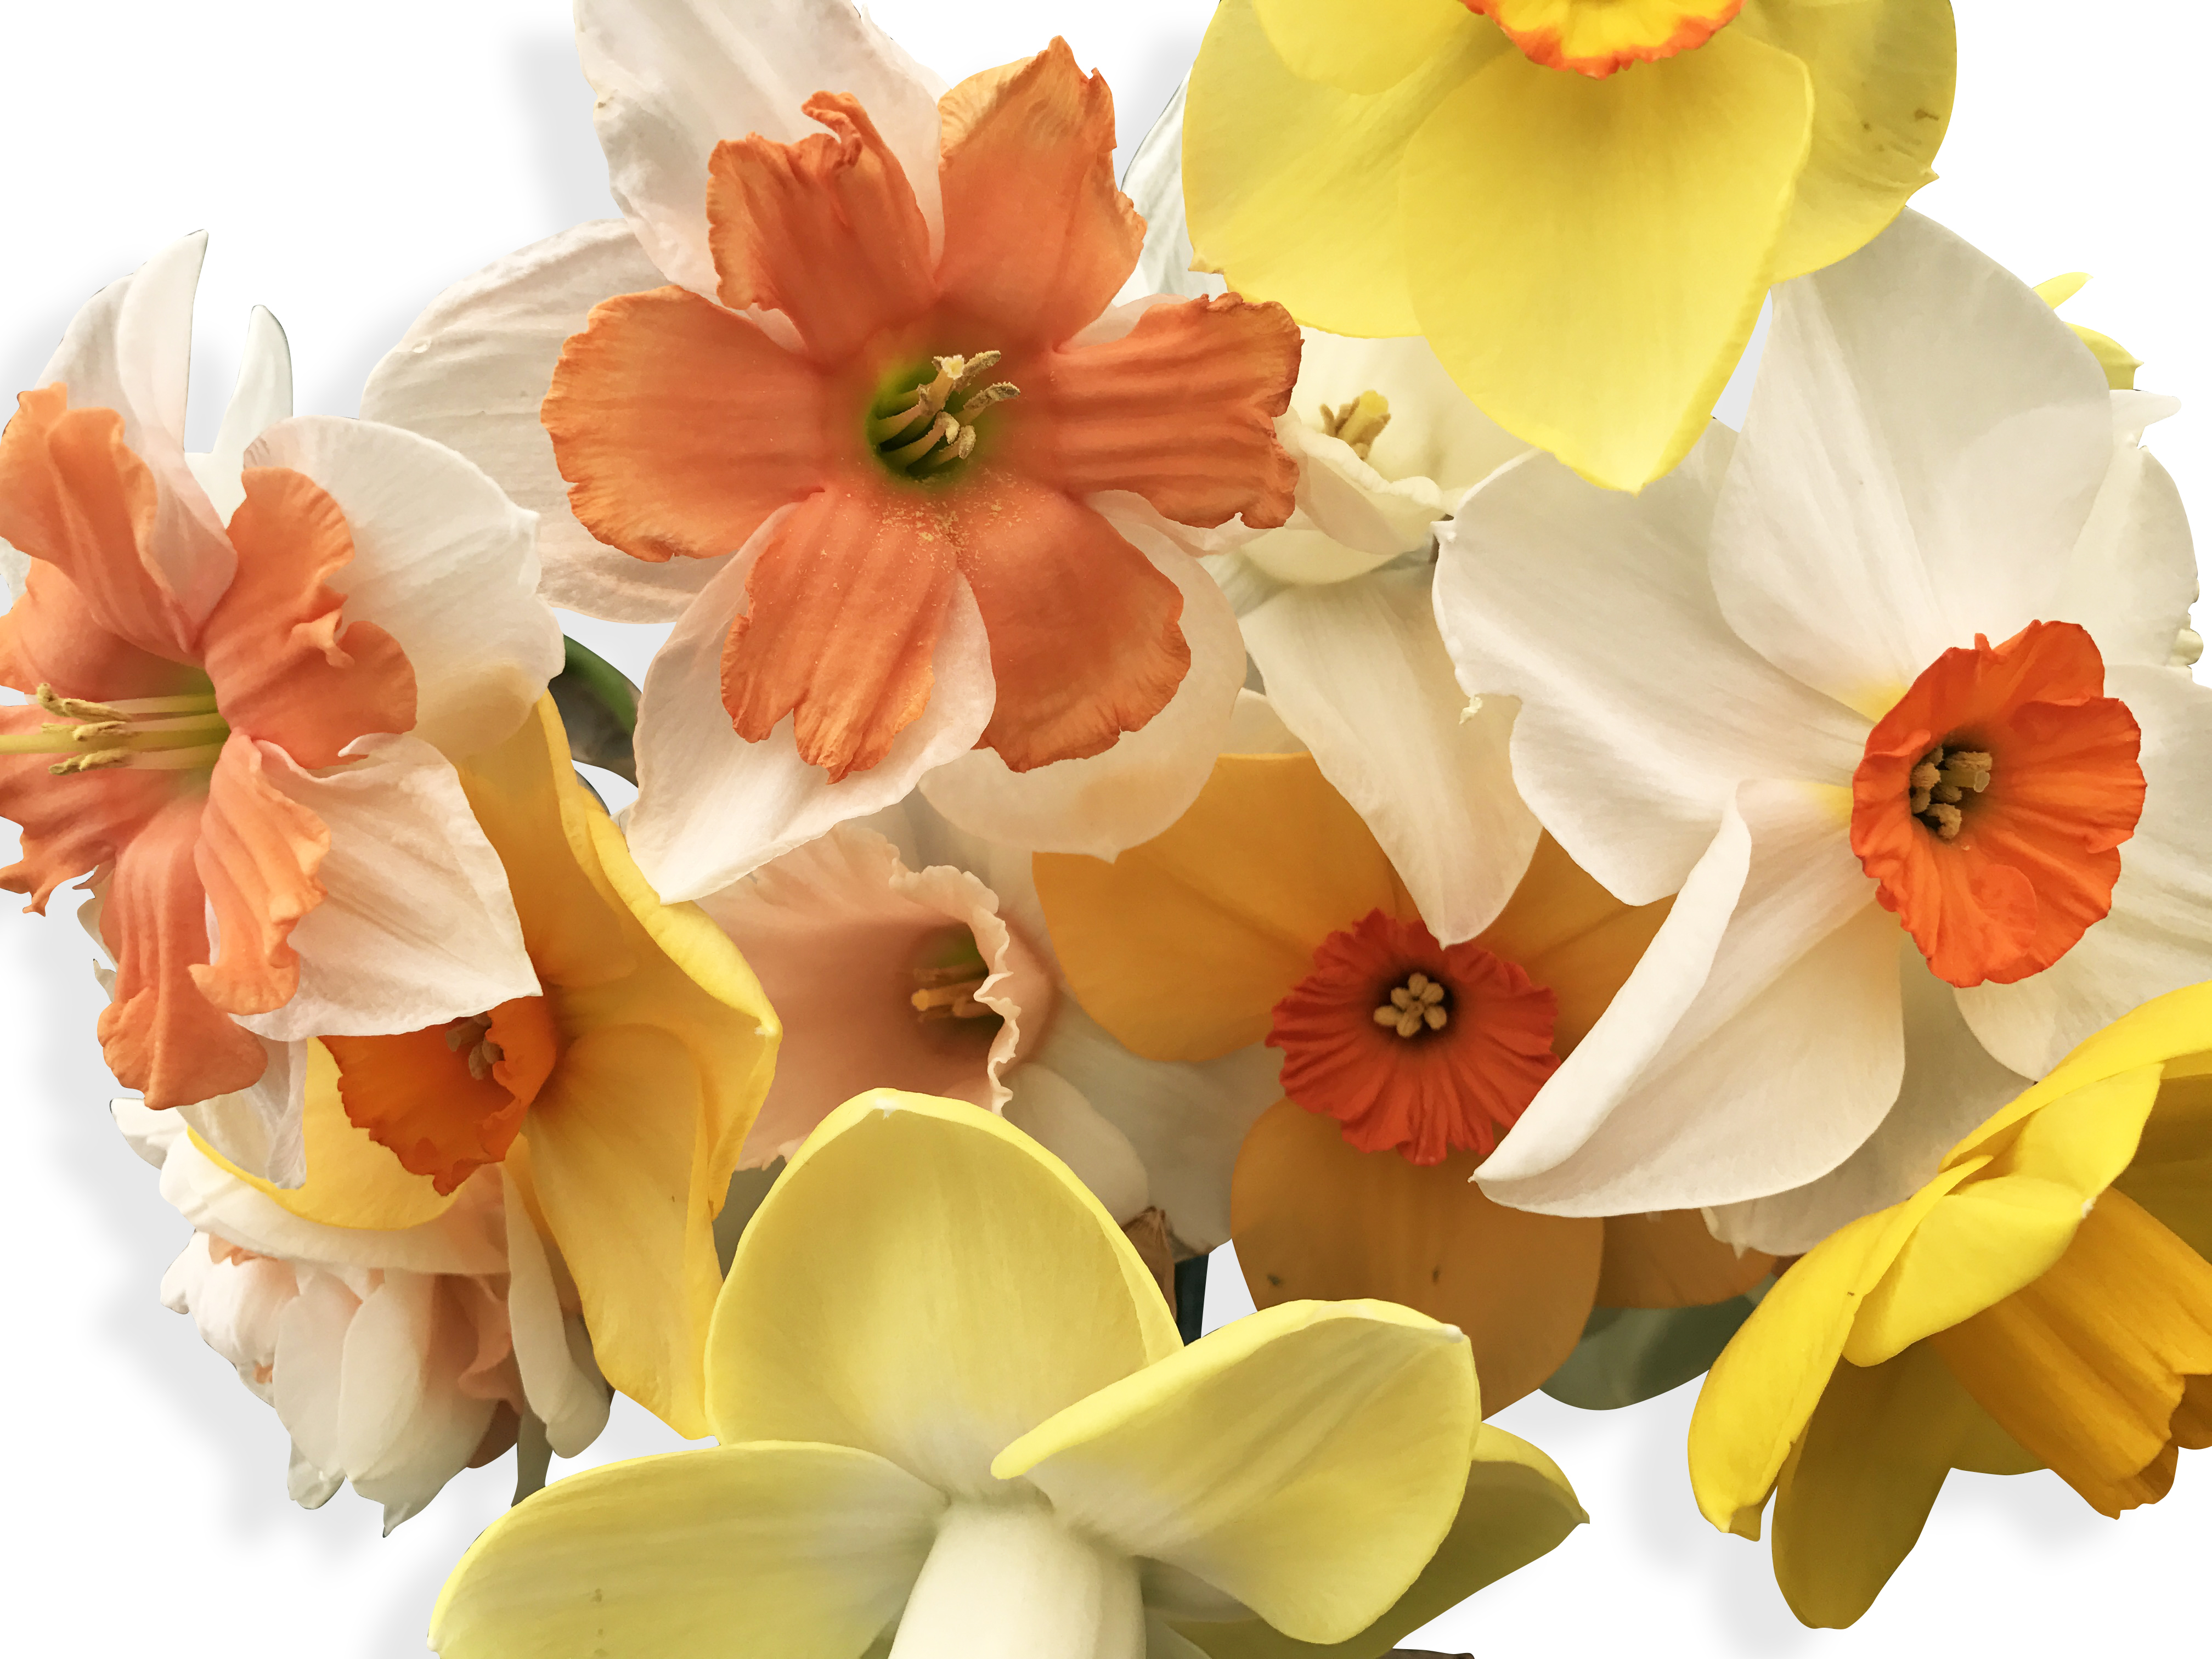
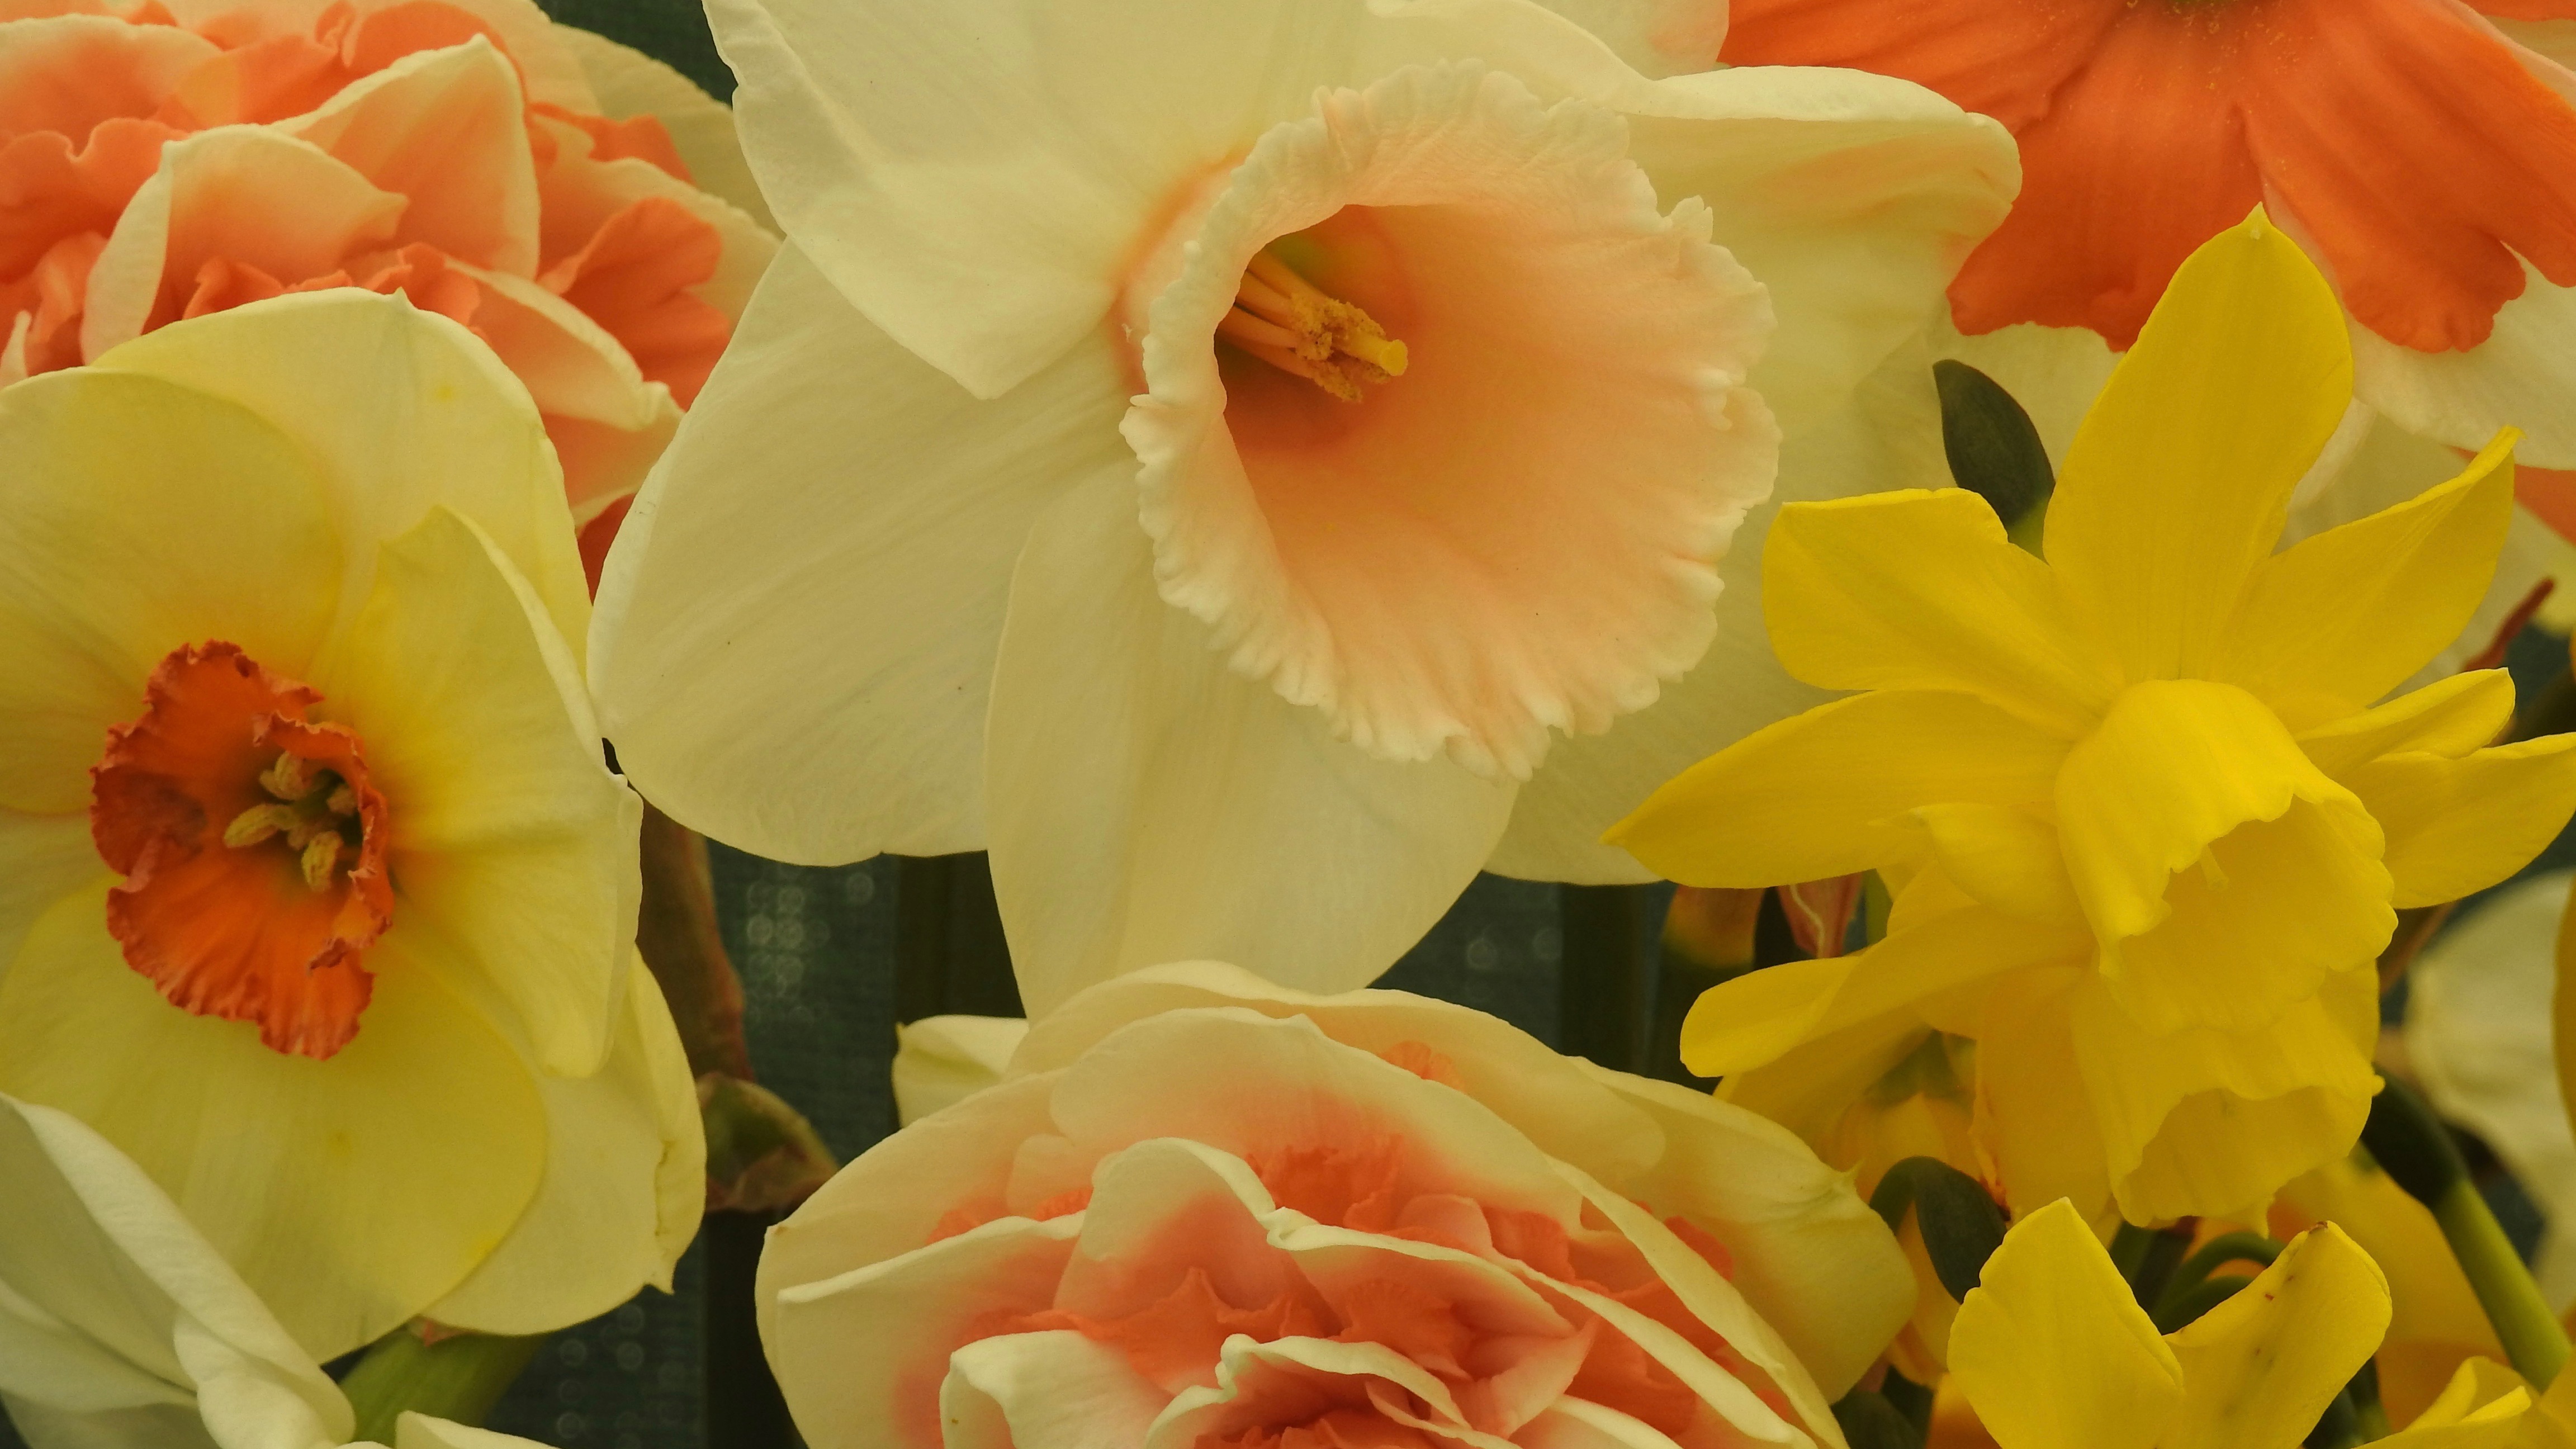
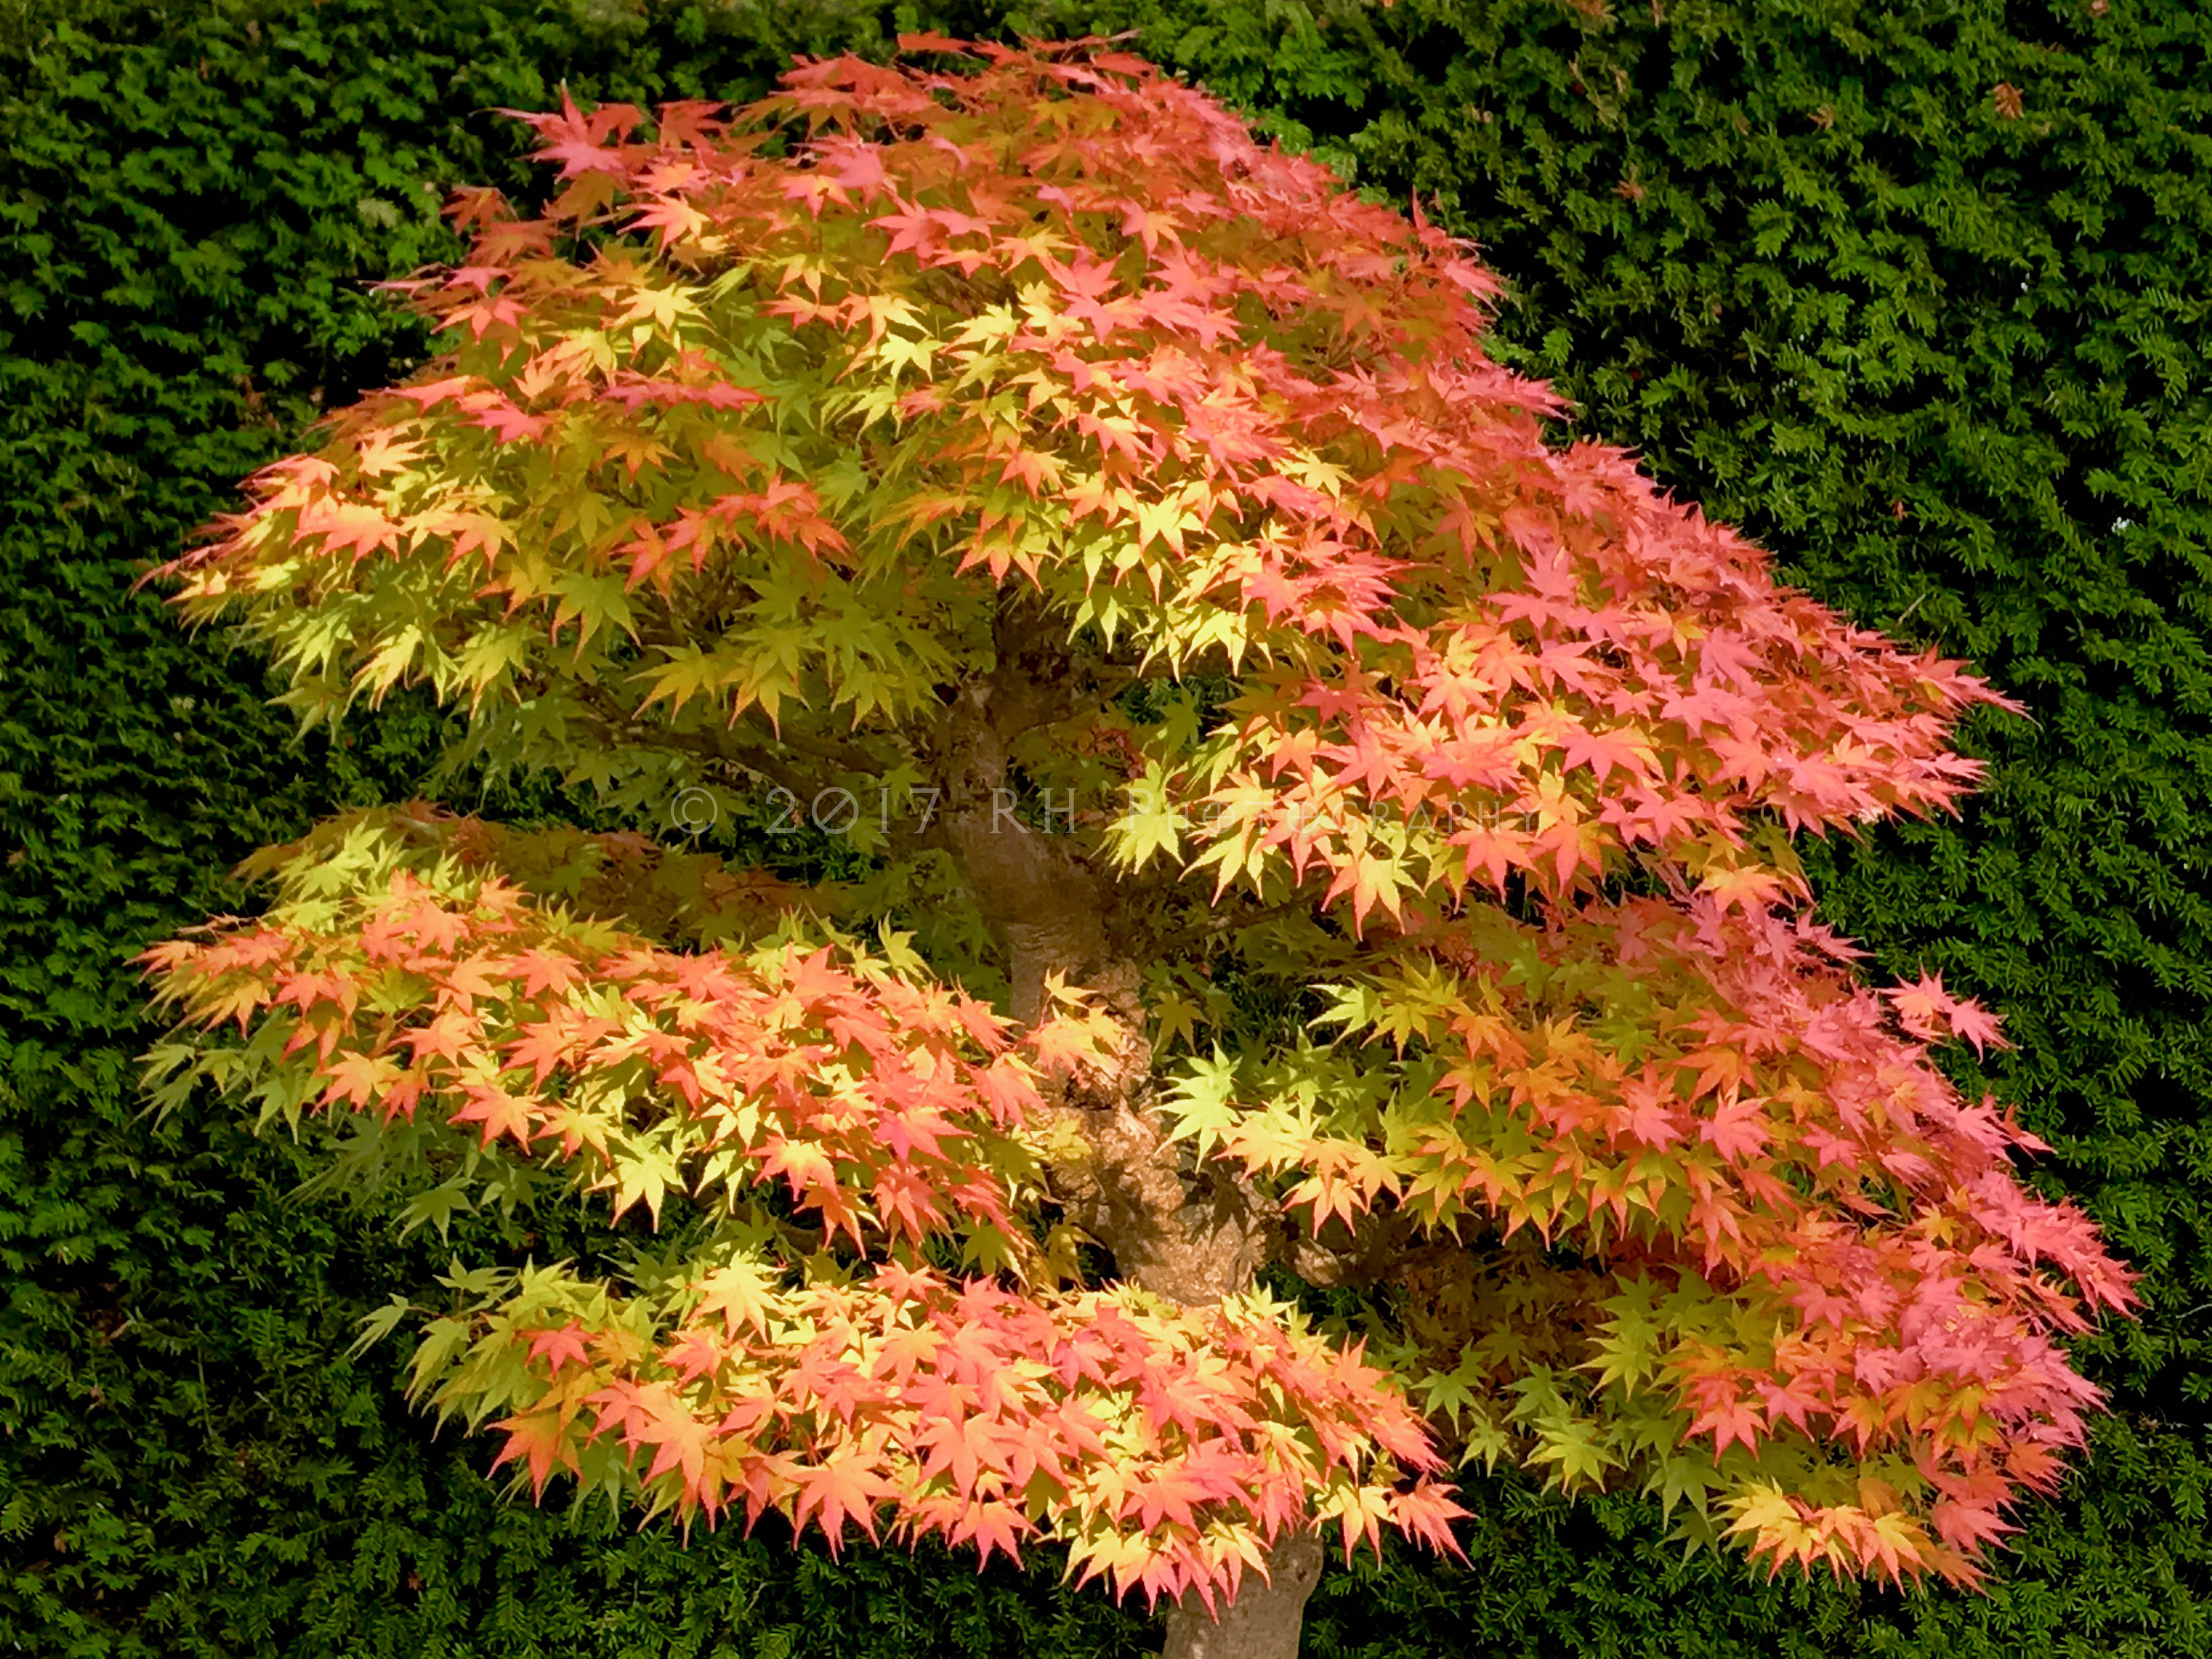
I would like help removing the background on the lower two images so that they resemble the background on the first image. The first image has had the green
net back ground removed, leaving just the flowers and their stems. A suitable drop shadow has been added. The edges of some of the flower petals do show the remnants of the old background and the edges are also a little harsh. What would be the correct way to adheive what I am seeking to do here.. Needless to say I did not edit the top photo. Any other tips or observations would be welcome especially around adding depth to the image if that is possible ?
Many thanks from a new contributor here ![]()
 1 Correct answer
Can you briefly explain, bullet points would be fine, as to how you got from importing the image of the maple to where you were able to select a channel mask ?
----------------------------------------------------------------------------------------------
1. Open the file
2. Choose the Channels panel
3. Choose the Red channel and drag it down to the "Create New Layer Channel. When you release the mouse the new channel will appear at the bottom of the list and be named Blue Copy
4. Choose Image > Adjus
...Explore related tutorials & articles
Copy link to clipboard
Copied
Heres what I'd do as an example, Obviously I don't have time to cut out the whole image but this should give you a rough idea of what you can do;
First I'll select the polygonal lasso tool to cut around the image, the longer you take during this step the better end result you'll get - I'm selecting around the area I'd like to remove, so for this image it's the background, I use the + and - keys on my keyboard to zoom in and out of the image;
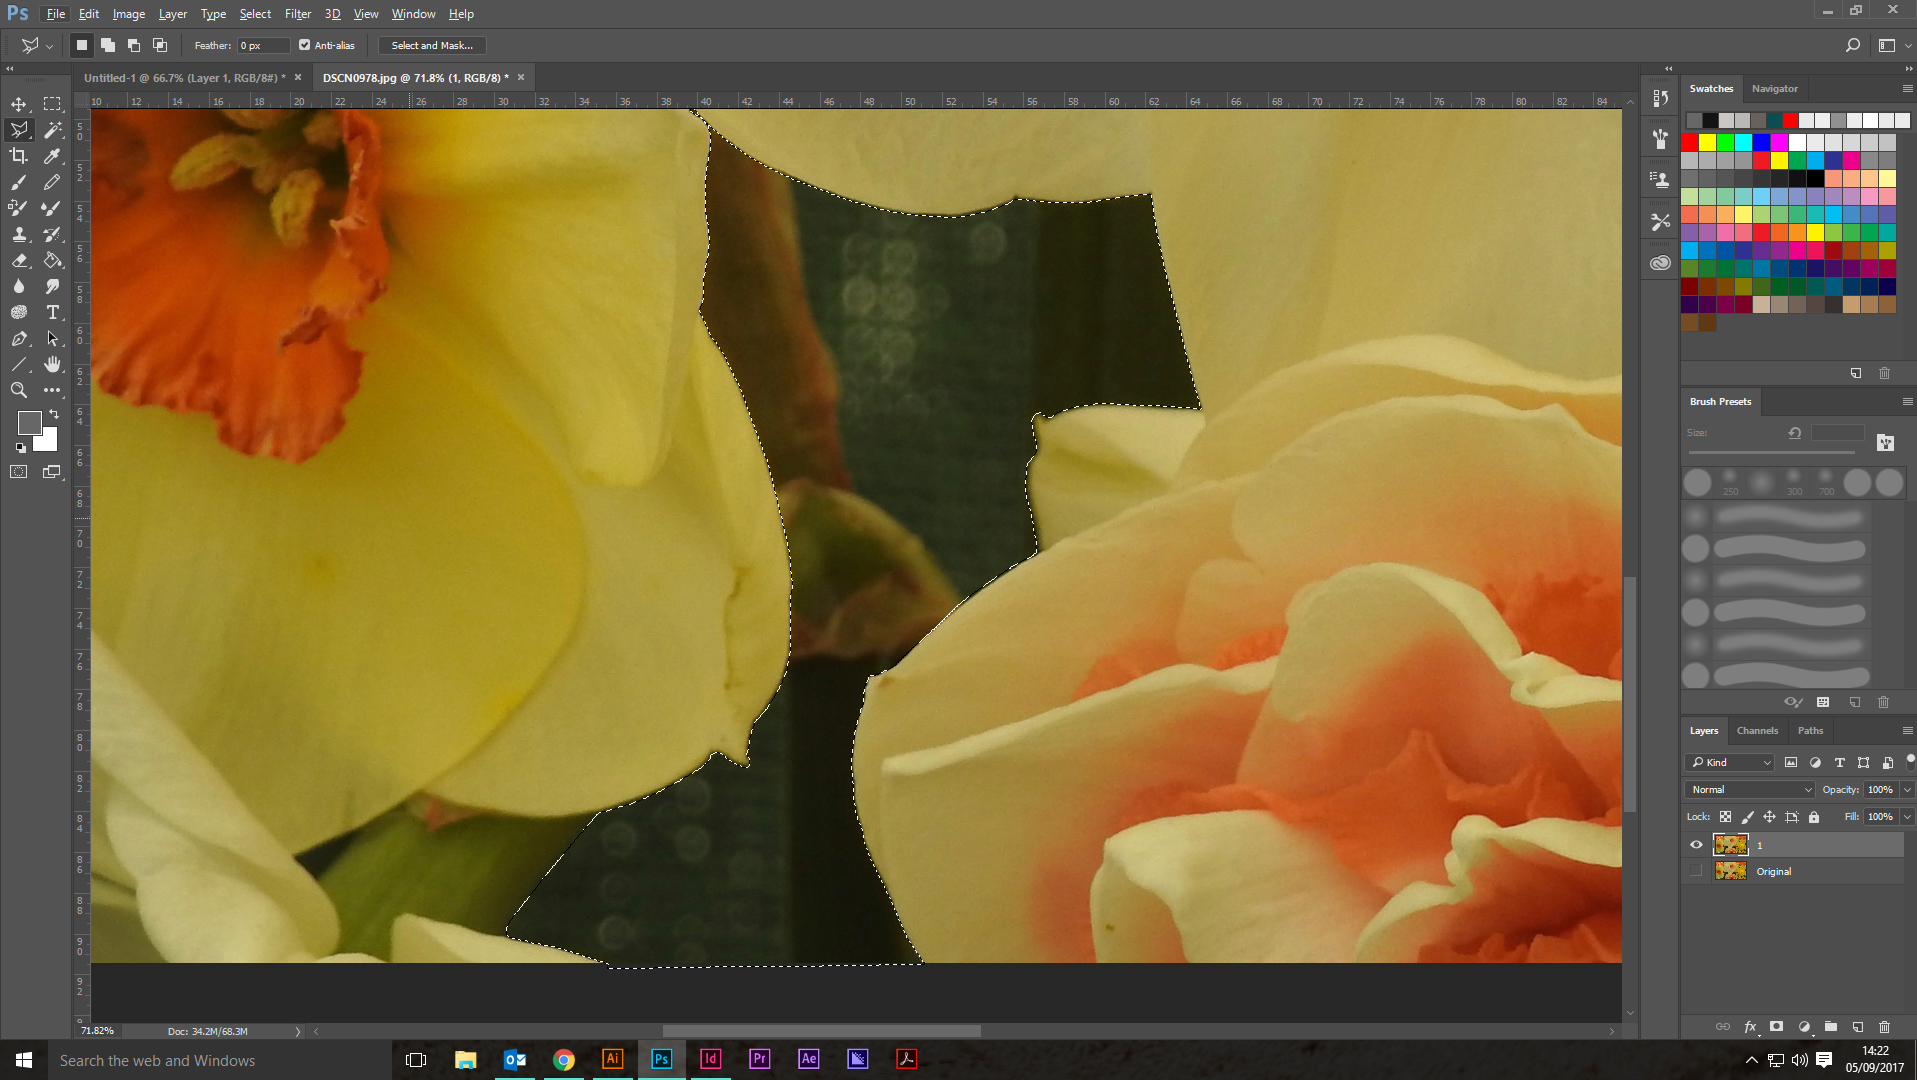
You'll also notice I've got two layers, I've kept the original so I've always got something to fall back to, this is just good photoshop practise. once selected I'll remove the background using the Delete key on my keyboard;
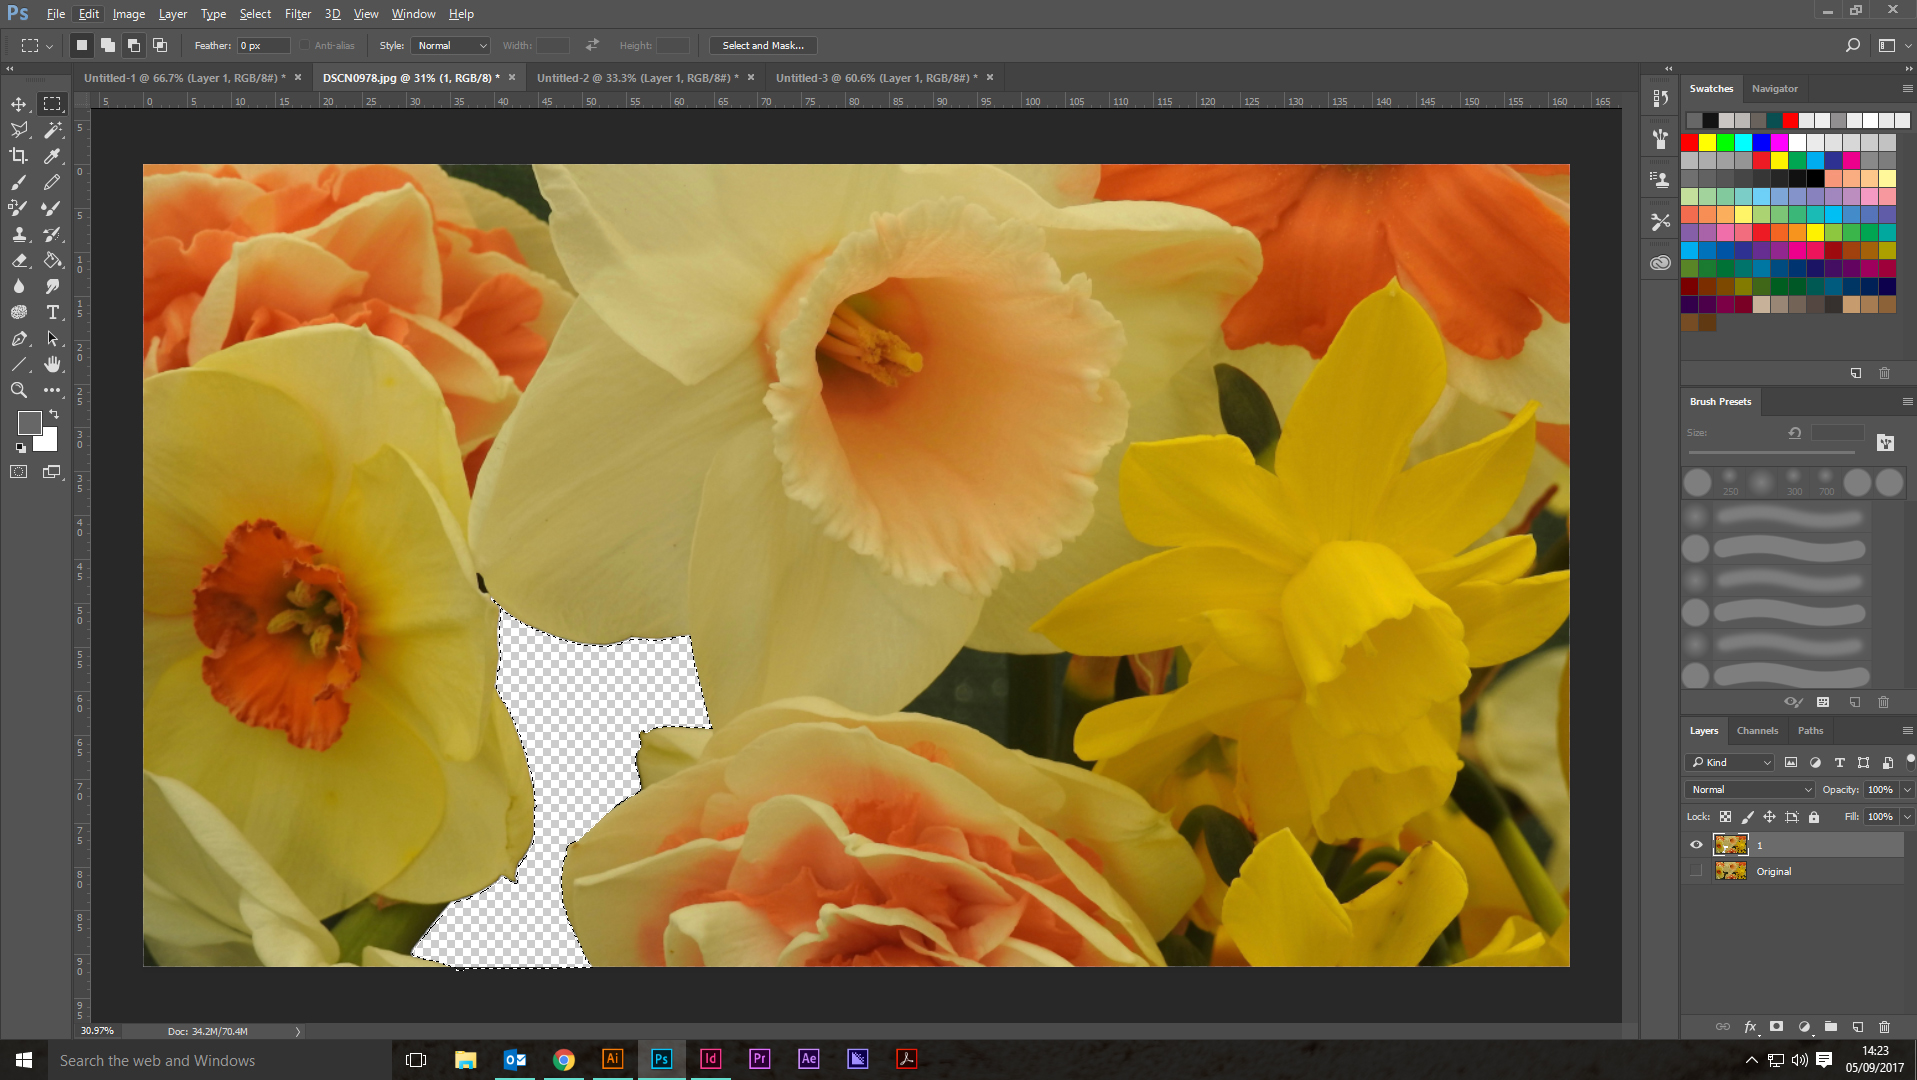
I'll then add a third layer underneath my image, this is our background which I've made red for the sake of viewing;
With that complete, I'll take out my eraser tool, using a soft brush at around 30-40% opacity I'll go around the flower to bring the background into the foreground;
After the whole image is cleaned up, this photo looks a little saturated to me so the bring the colour back I'll go Image > Adjustments > Brightness/contrast and increase the contrast of the photo, then I'll go Image > Adjustments > Vibrance and increase the vibrant until I'm happy.
There is a lot more you can do with image editing and colour balancing but for the sake of ease I'd stick to these for now and explore further when you're confident.
See my final image below;
Hope this helps.
Copy link to clipboard
Copied
Thank you too to Charles and Chuck for your tips and help ![]()
Copy link to clipboard
Copied
Frankly, these images are going to require a lot of manual work. The Pen tool might be the best bet. You can start by using channels to try and isolate contrasting colors such as the red and greens in the Japanese Maple. Converting to L*A*B* color also help when separating the channels, as it's not as sensitive to light and shadows, more just the color of the object. Here's a sample of a starting point. Once you get the edge, you can paint in the large areas. You can also use the brush tool in overlay mode to help clean up some of the edge detail.

Copy link to clipboard
Copied
Hi Rob
Try this :
1. Click on any selection tool then in the options bar click on Select and mask

2. In Select and mask go to the top right and set View to onion skin and transparency to approx 50%

3. At the toolbar on the left choose the top tool (quick select)

4. Set the brush size to about 90 and brush over the wanted areas (don't work at this stage if it spills into any unwanted areas)
5. Hold down the Alt key and brush over any unwanted areas that were included in 4 (you may need to reduce the brush size and repeat steps 4-5 )
6. If this was fur or hair you would now use the second tool (refine edge) but that is not needed here
7. Pick the third tool and with the brush size set to small - brush over any final details (hold Alt key down to remove from selection)

8. Set output to New Layer with Layer mask and do not check decontaminate colours - Click OK

9 Add a new layer underneath the masked layer using Layer - New Fill Layer - Solid Colour and set it to white
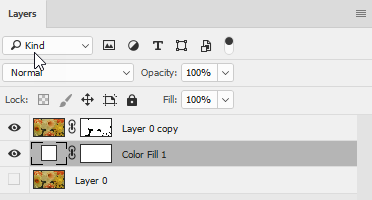
10. In the layers panel right click on the masked layer and choose Blending options
In the options set a drop shadow as shown below

11. Finally (optional) I have added a curve layer to brighten up the flowers

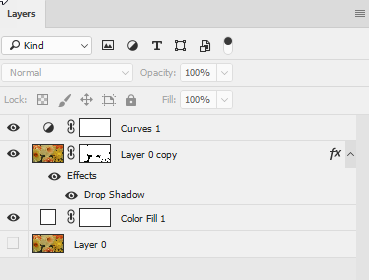

If you wish to refine the mask further you can either - double click on it in the layers panel to re-open select and mask or you you can single click then paint on it directly with a soft brush (white will reveal the layer and black will hide it it)
I hope that helps you
Dave
Copy link to clipboard
Copied
For the second image I did same as the first, but I added two steps
1. I added an additional empty layer and set blending mode to color. I Alt clicked on the border between the two layers in the layers panel so that a small down arrow appeared. This means that the layer is clipped to the layer below and any color I add only affects the pixels in the layer below (not the lower color fill layer)
Then I painted the edges with color taken from the tree (Alt click with the brush to pick up color)
2. I added a second new layer set to luminosity blending mode and painted very lightly on the edges of the outer leaves to lighten any dark edge.
These two steps decontaminated the edges and are far more effective than clicking decontaminate in Select and Mask


Dave
Copy link to clipboard
Copied
This is truly great. On my level of learning.. I will surely owe you a large Jar or more for your help. Both of you. Dave, I proceed with your instructions as they are more probably at an introductory level.
Dave, I got as far as the attached image following your instructions but you'll see there is now a small hole in one of the daffs towards the lower right. When I attempt to try and fix this I need to select 'Select and Mask' once more. When I hit that it removes all the selection I have already made ? Is there any way to 'continue' masking ?
Copy link to clipboard
Copied
Hi Rob
There was no image attached to your last post.
However to reopen select and mask with your existing mask, go the layers panel and double click on the mask. That should re-open select and mask with your existing mask so you can change it.
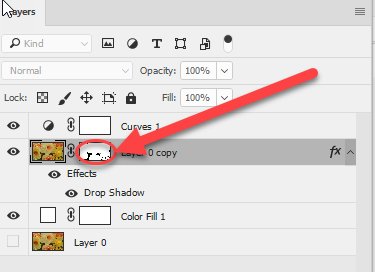
If it doesn't, go to Preferences - Tools and check "Double click Layer Mask Launches Select and Mask Workspace"
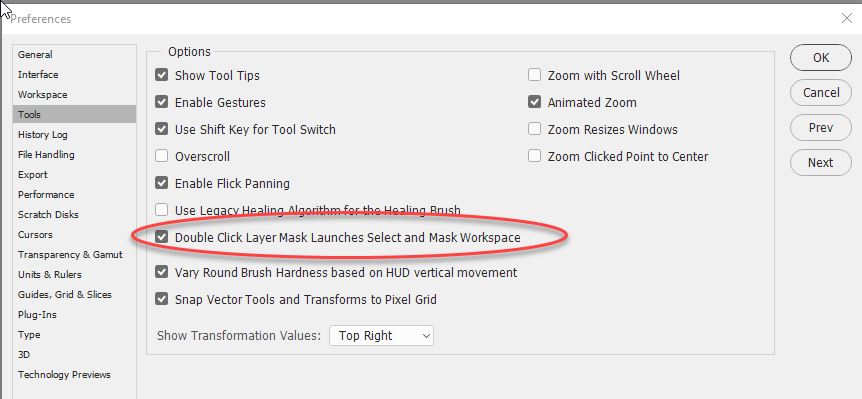
Dave
Copy link to clipboard
Copied
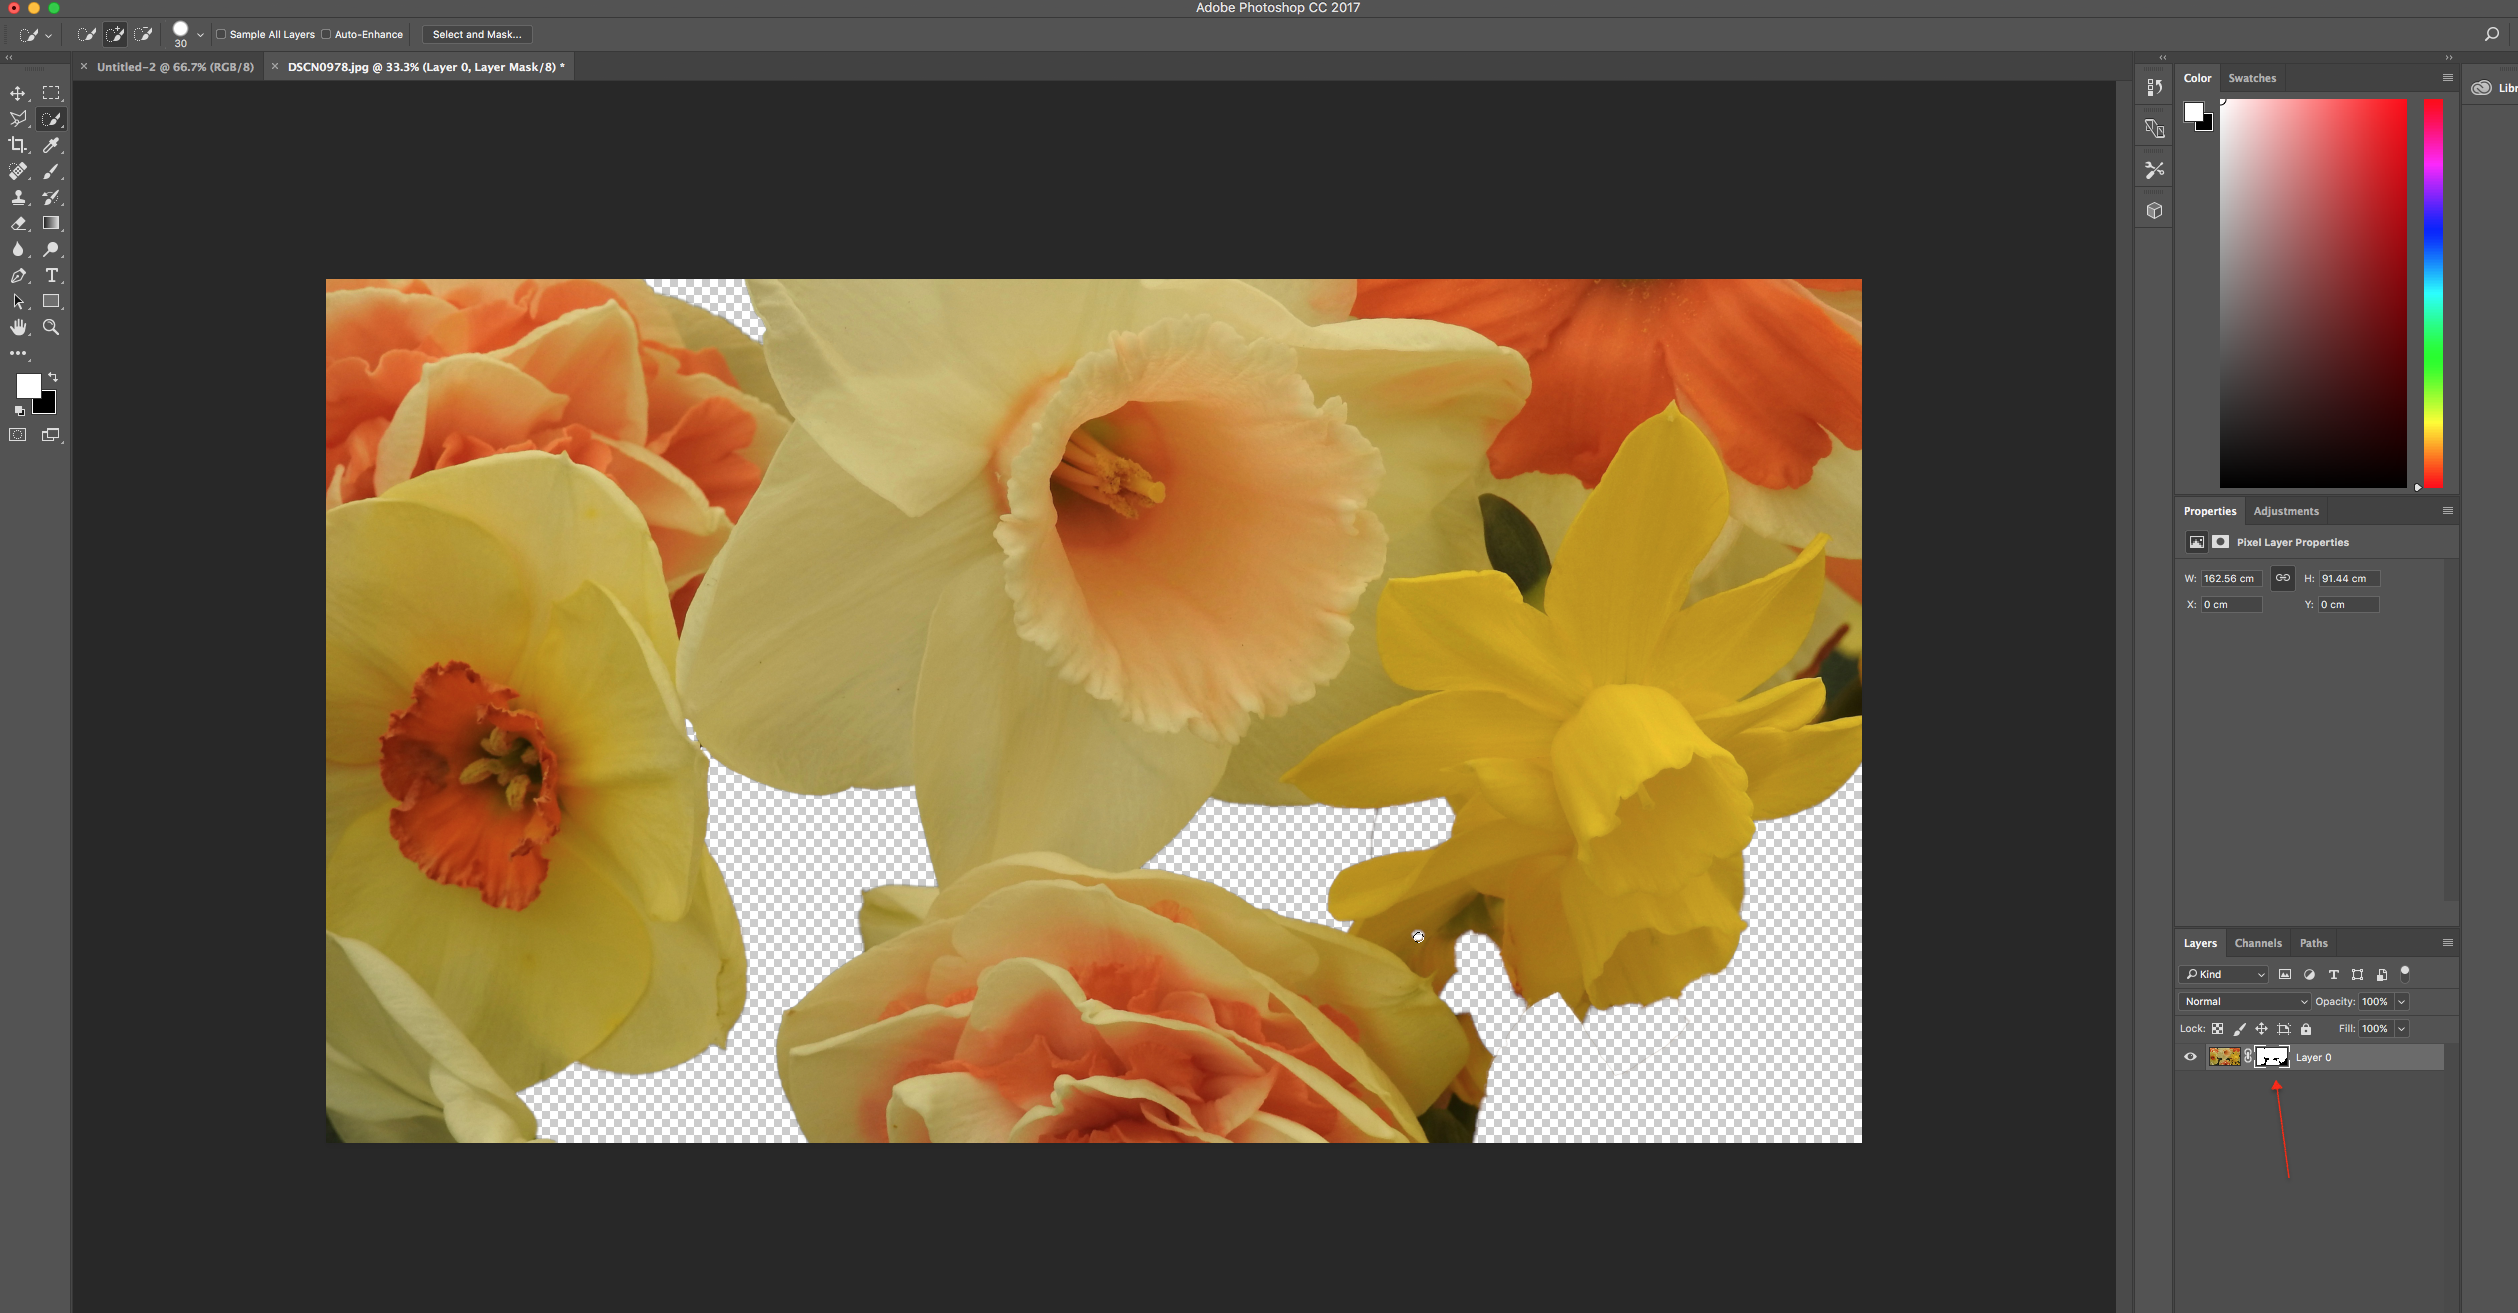
Hi again Dave, I did as you said, clicked on the selected layer however I cannot see the small floating tool bar to choose the quick selection tool. Could it be hidden ?Also when I do locate it, is it easy to remove the masked dot I mentioned before ?
Copy link to clipboard
Copied
Hi
Two parts to the answer.
If you double clicked the mask and it has not reopened select and mask (which in your screenshot it has not) then you need to set the preferences to re-open the mask as I showed in the previous post.
However there is a quick way for that spot.
Single click the mask then select a brush with white color and paint on the image. You are actually painting on the mask and it will fill the hole
Dave
Copy link to clipboard
Copied
Thanks again Dave. I have the preferences set the way you described already ? Any clues ? Should I restart Photoshop to resolve ?
Copy link to clipboard
Copied
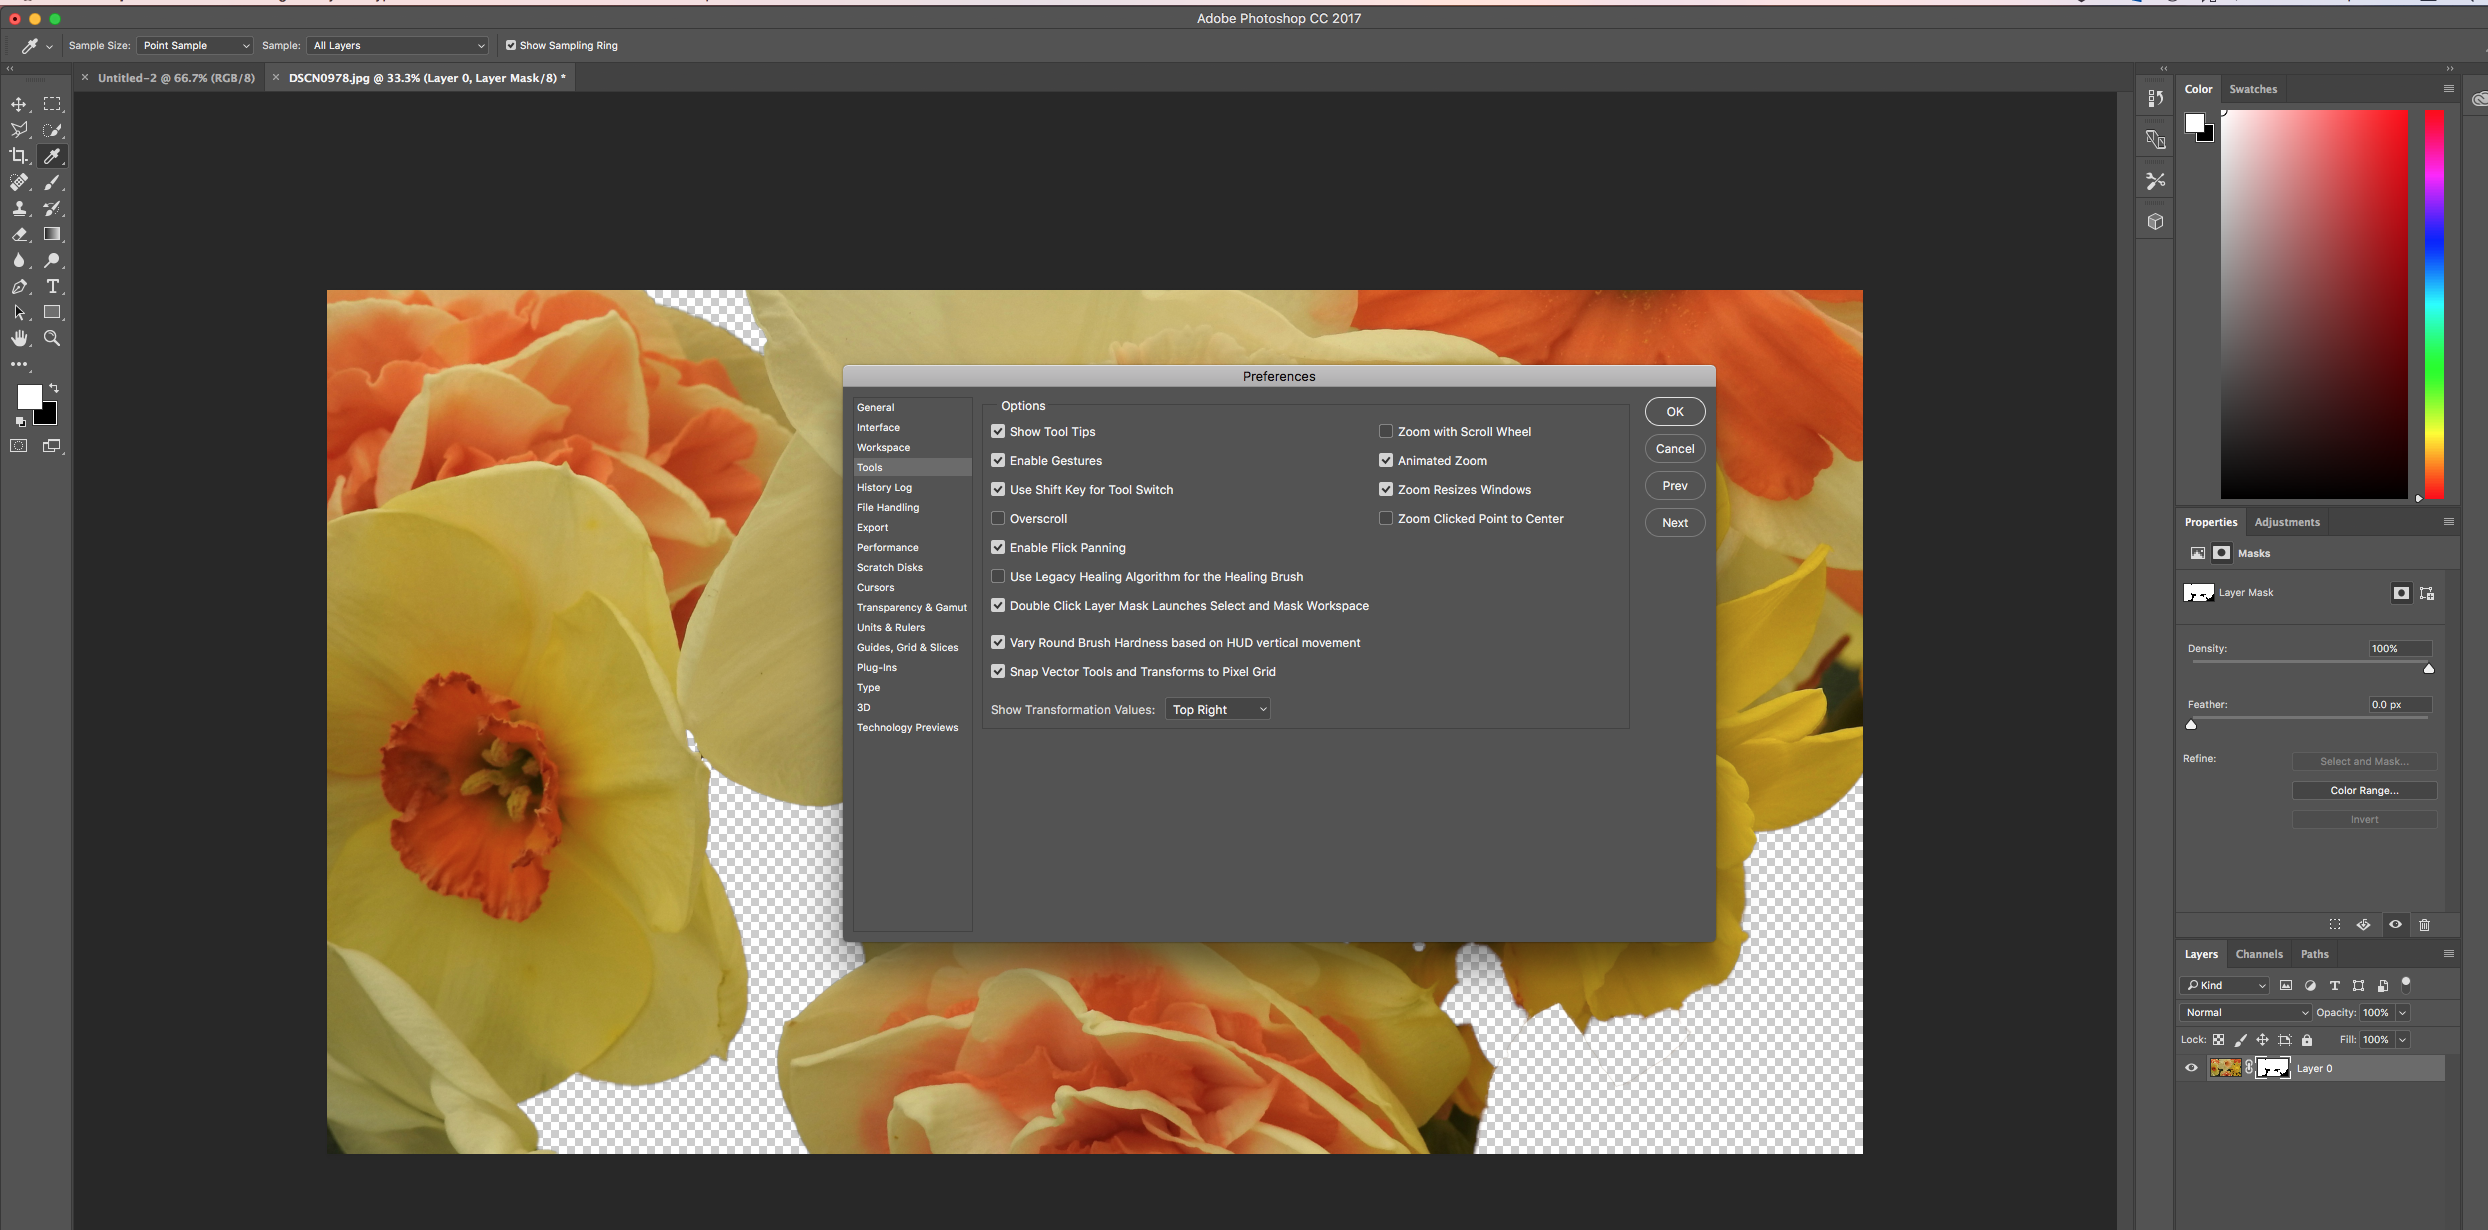
I've screen dumped my photoshop so you can see these settings.. Its at times like this previously that I have given up on Photoshop for one reason or another when I can move no further forward.
This is why your kind support and coaching is so much appreciated ![]()
Copy link to clipboard
Copied
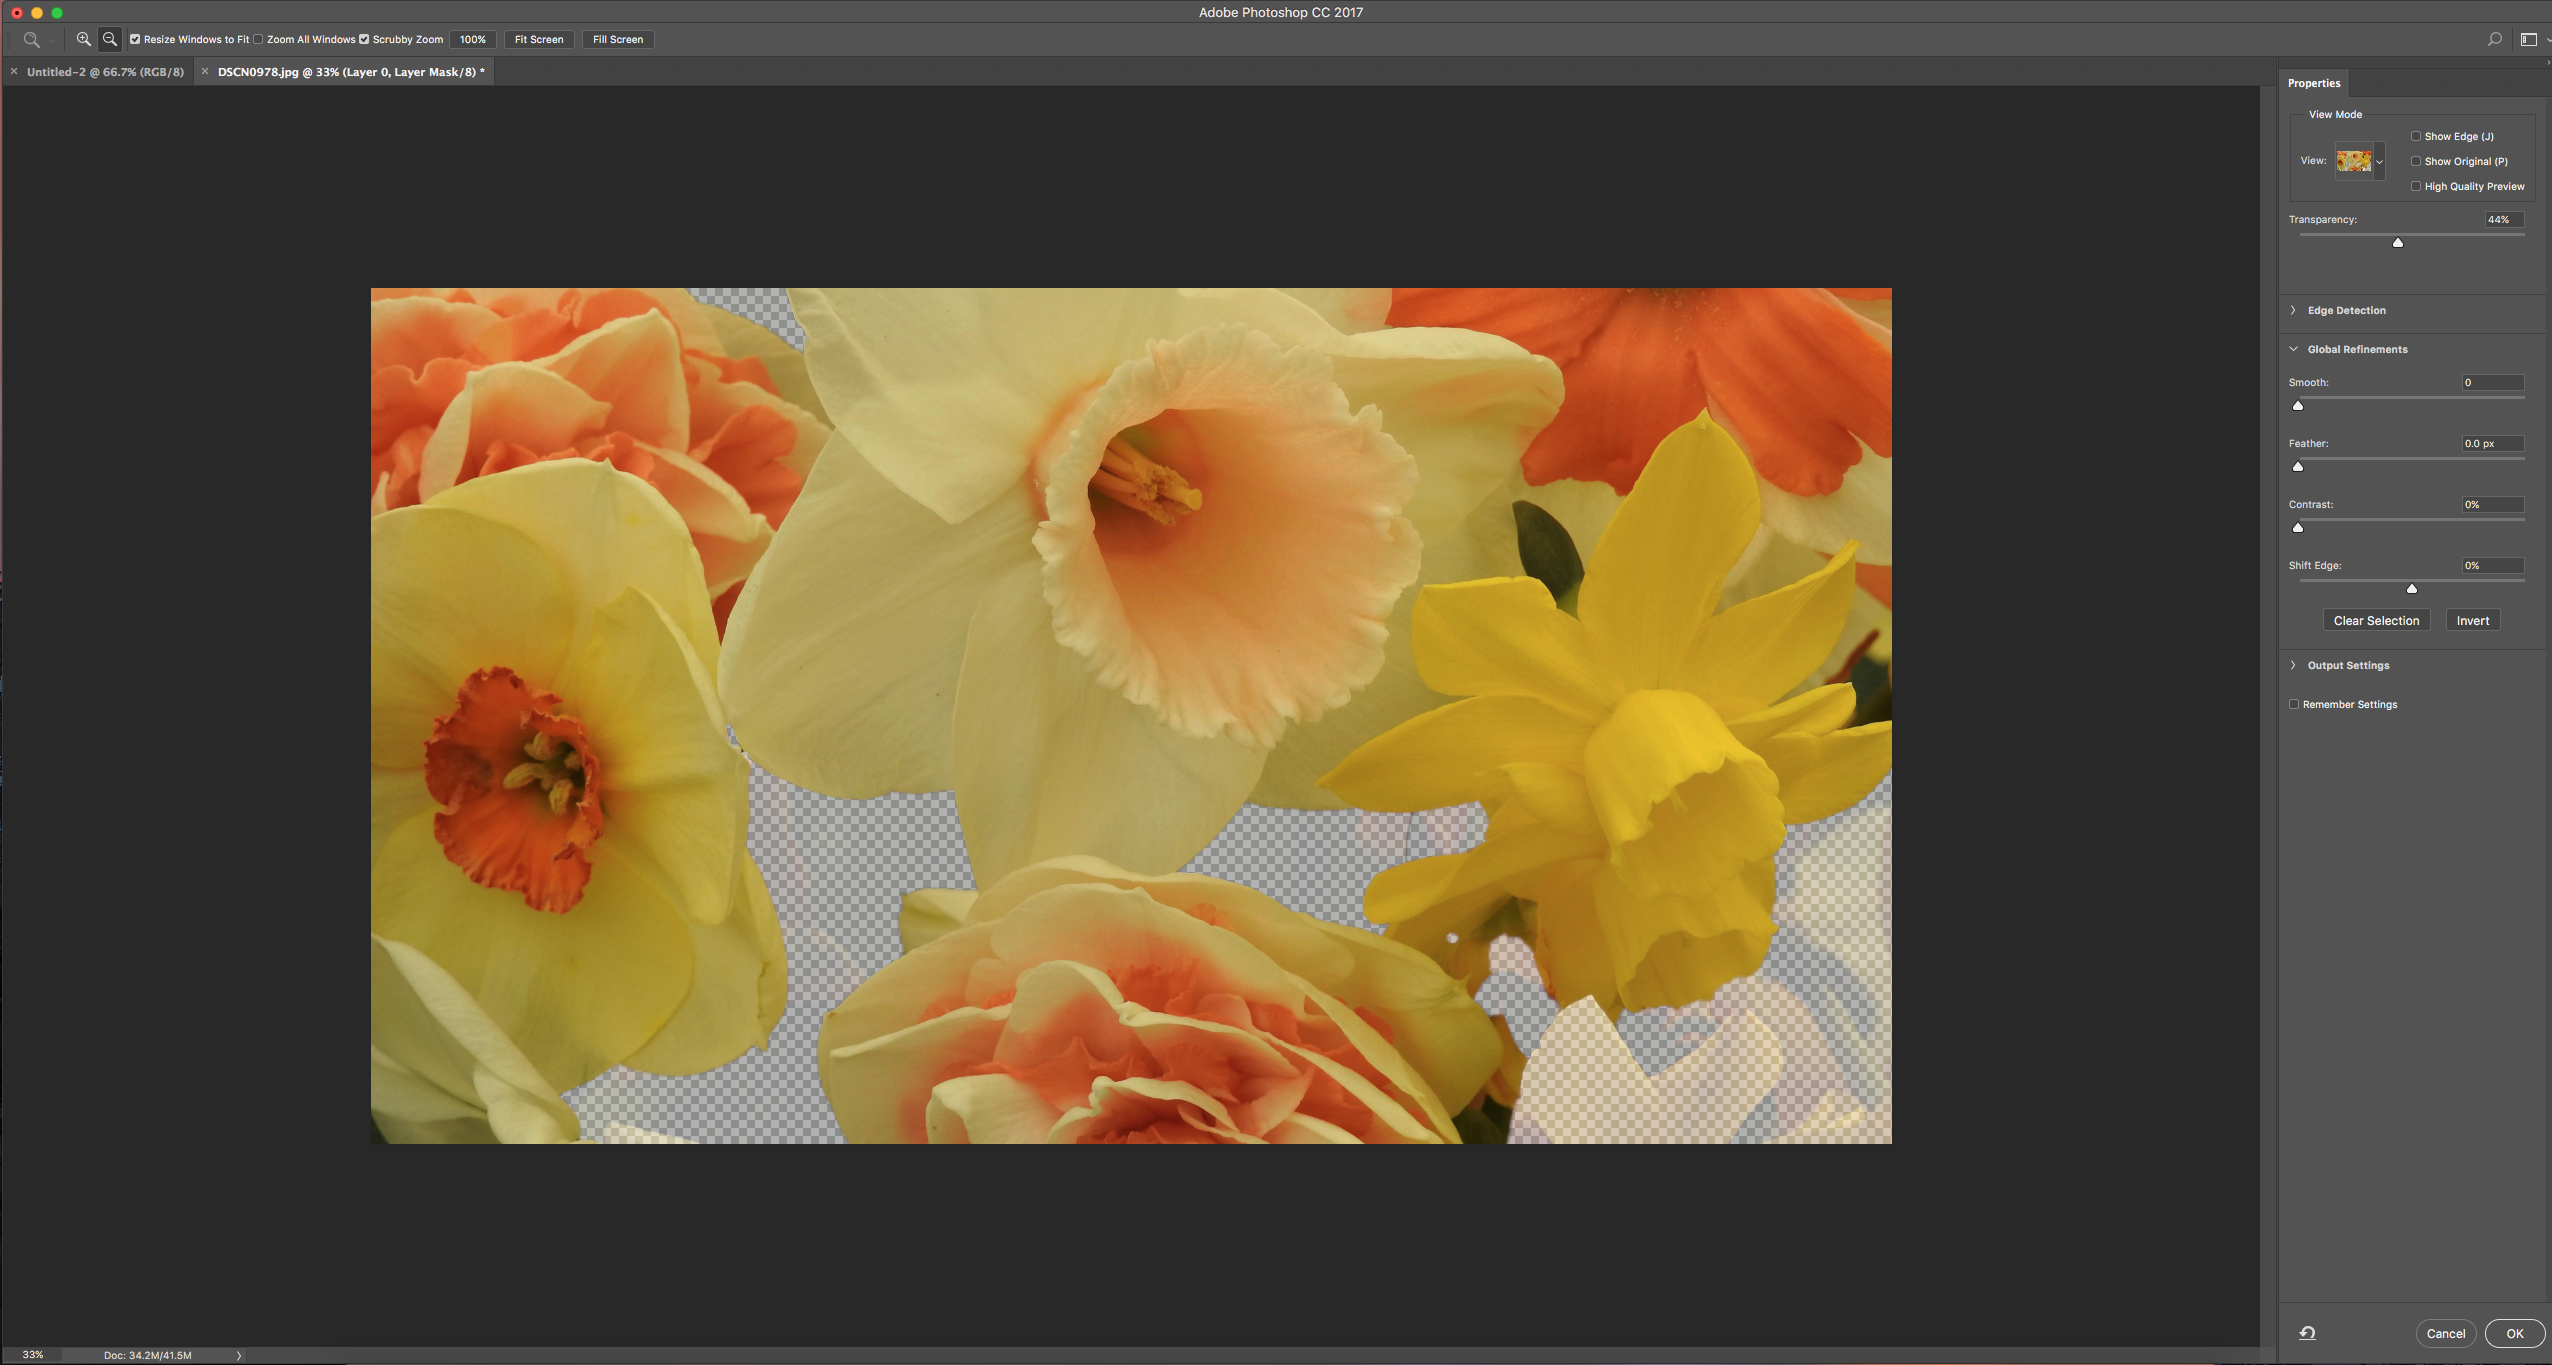
And this is what I see when I double click the mask layer
Copy link to clipboard
Copied
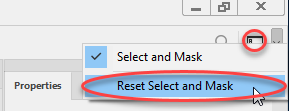
That doesn't look right - as you say you are missing the toolbar. With that screen open go to the top right - click the down arrow and choose "Reset Select and Mask"
Dave
Copy link to clipboard
Copied
Bingo !! That worked.. the reset Select and Mask. Let me try the painting it white bit you just mentioned a short while ago..
![]()
Copy link to clipboard
Copied
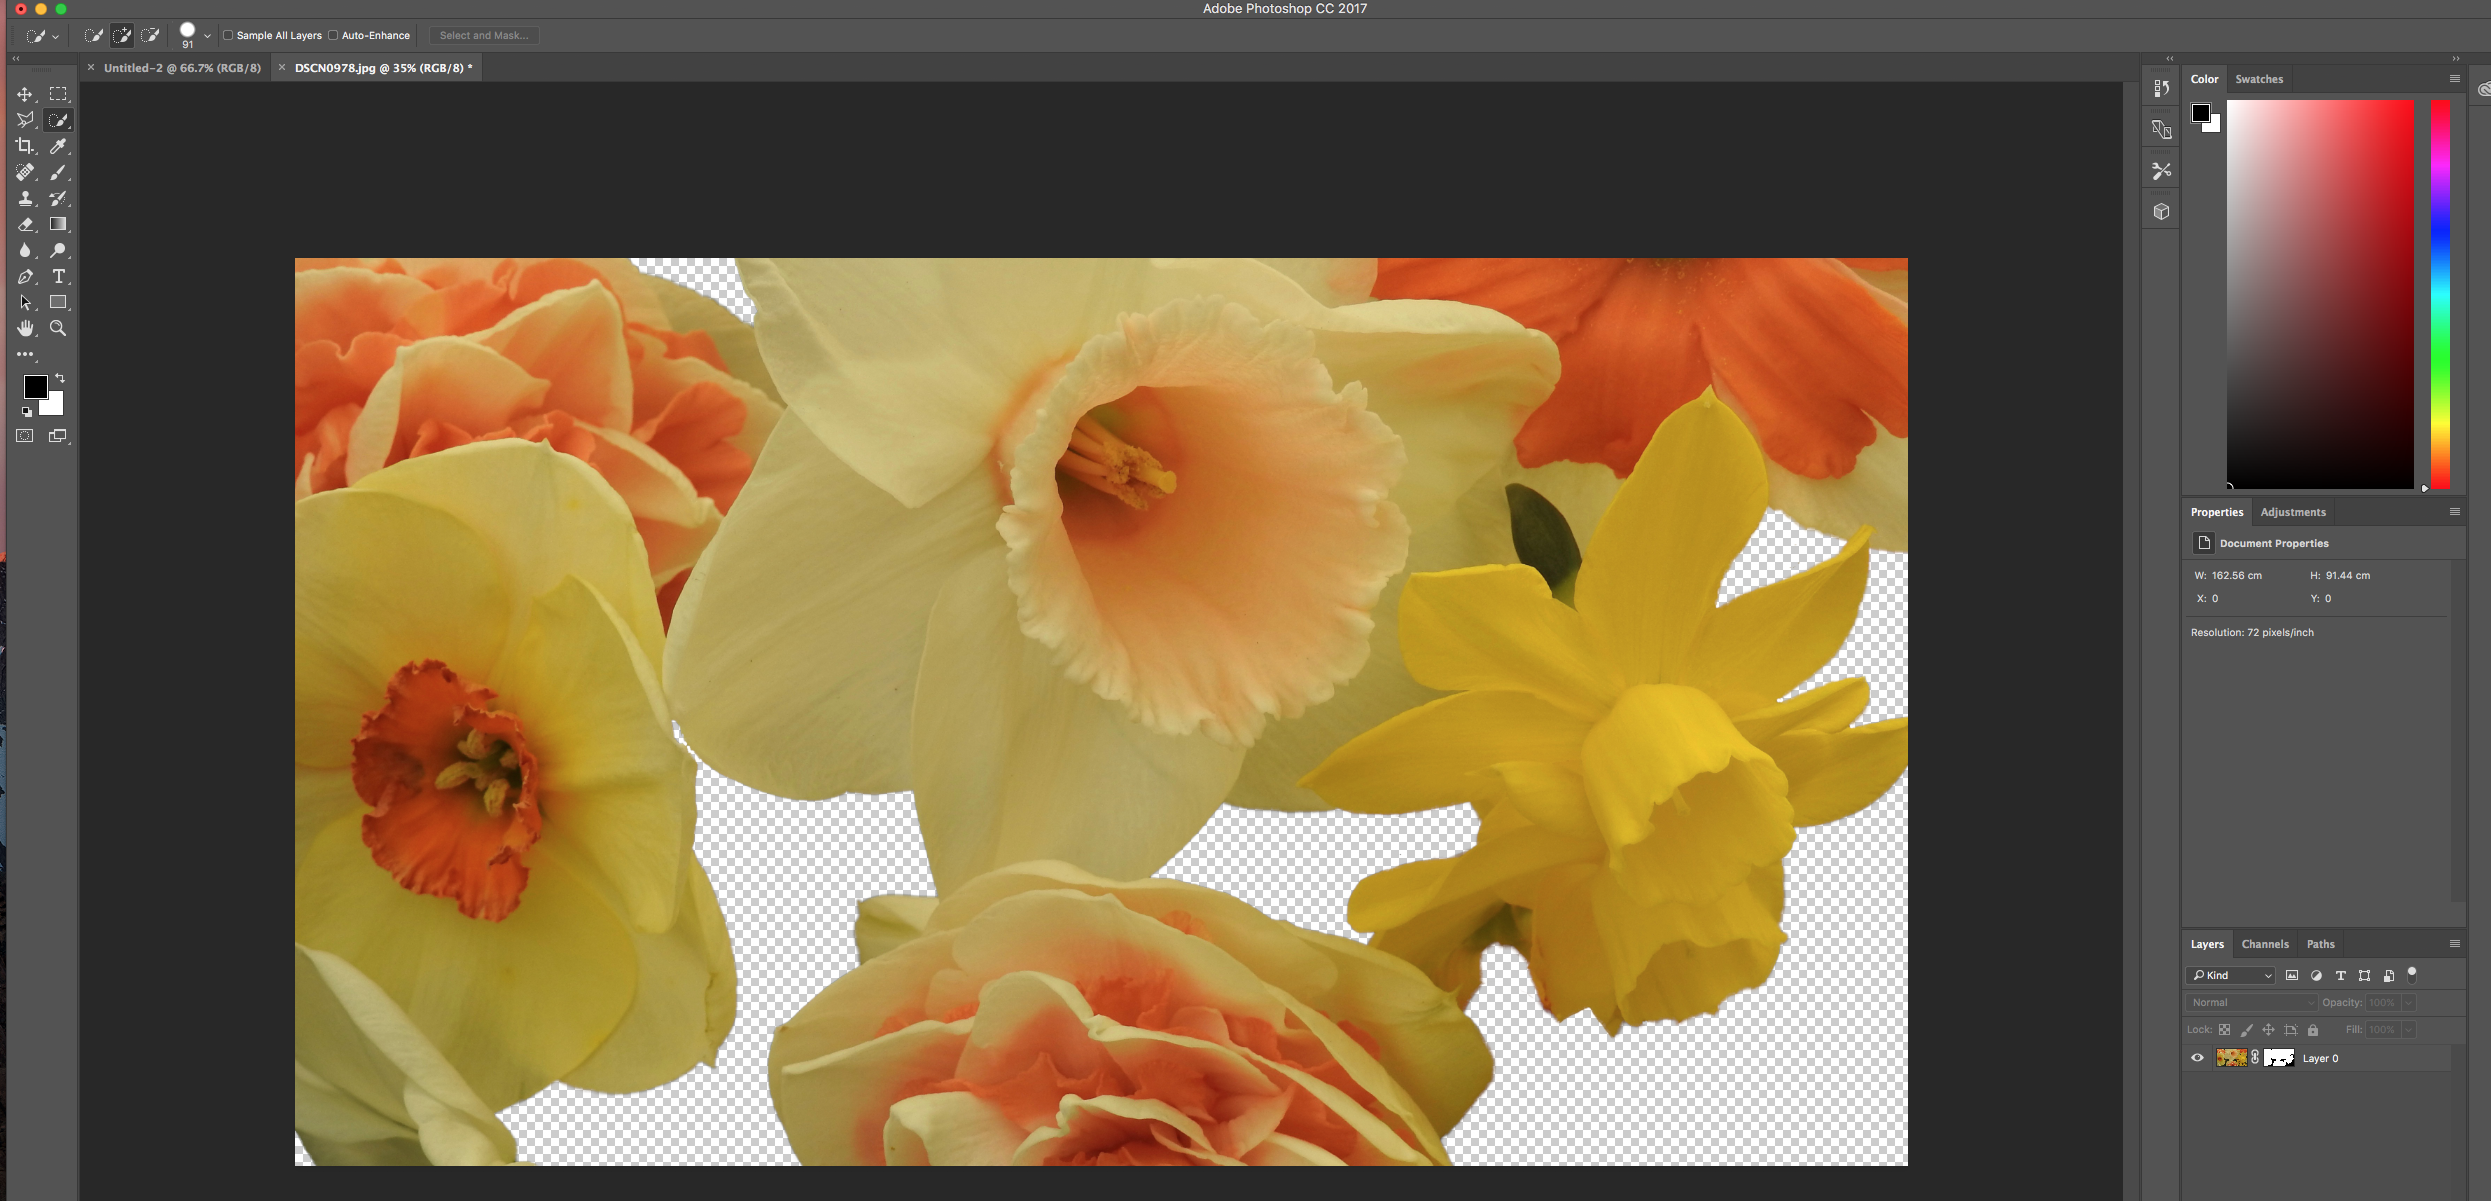
OK so now you can mark my work ![]() . So to get a white back ground for this to be set against so I can introduce a drop shadow.. In your original instructions, point no. 8 Set output to.. Where do I find this option to set output ?
. So to get a white back ground for this to be set against so I can introduce a drop shadow.. In your original instructions, point no. 8 Set output to.. Where do I find this option to set output ?
Copy link to clipboard
Copied
Point 8 referred to the dialogue at the bottom right of the Select and Mask workspace - just before you click OK
To get the new fill layer just go to menu Layer - New Fill Layer - Solid Color then choose white. In the layers panel drag that new layer below your masked flower layer
Dave
Copy link to clipboard
Copied
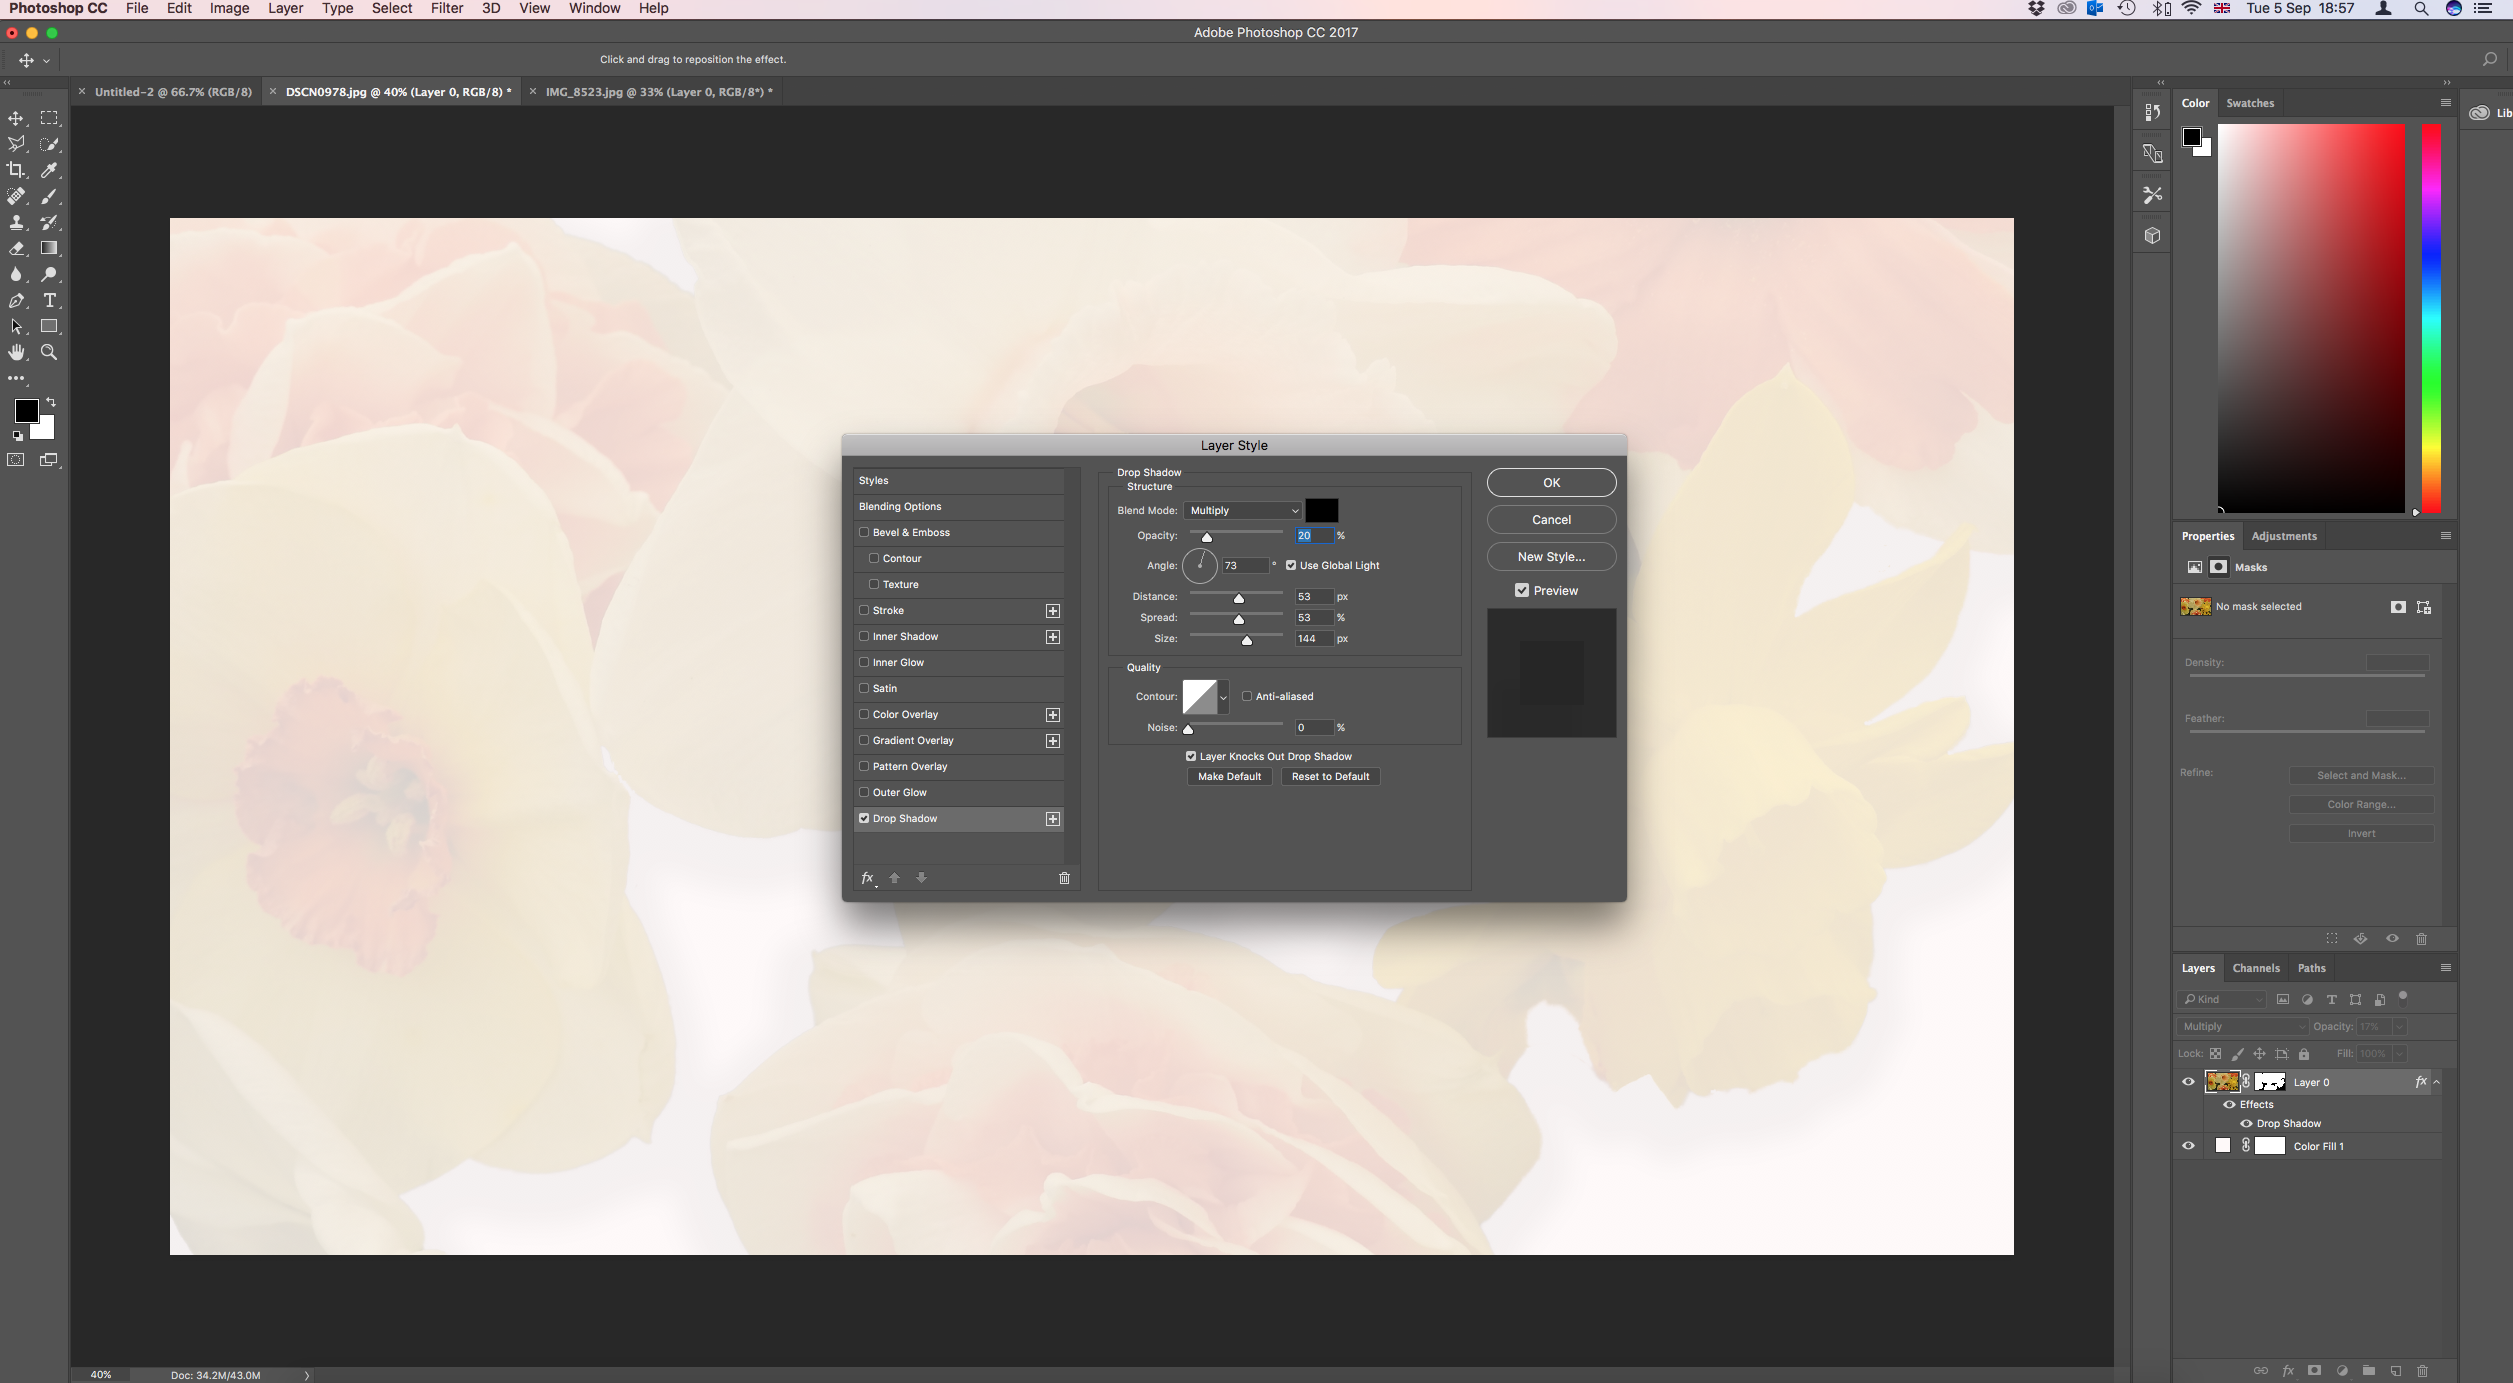
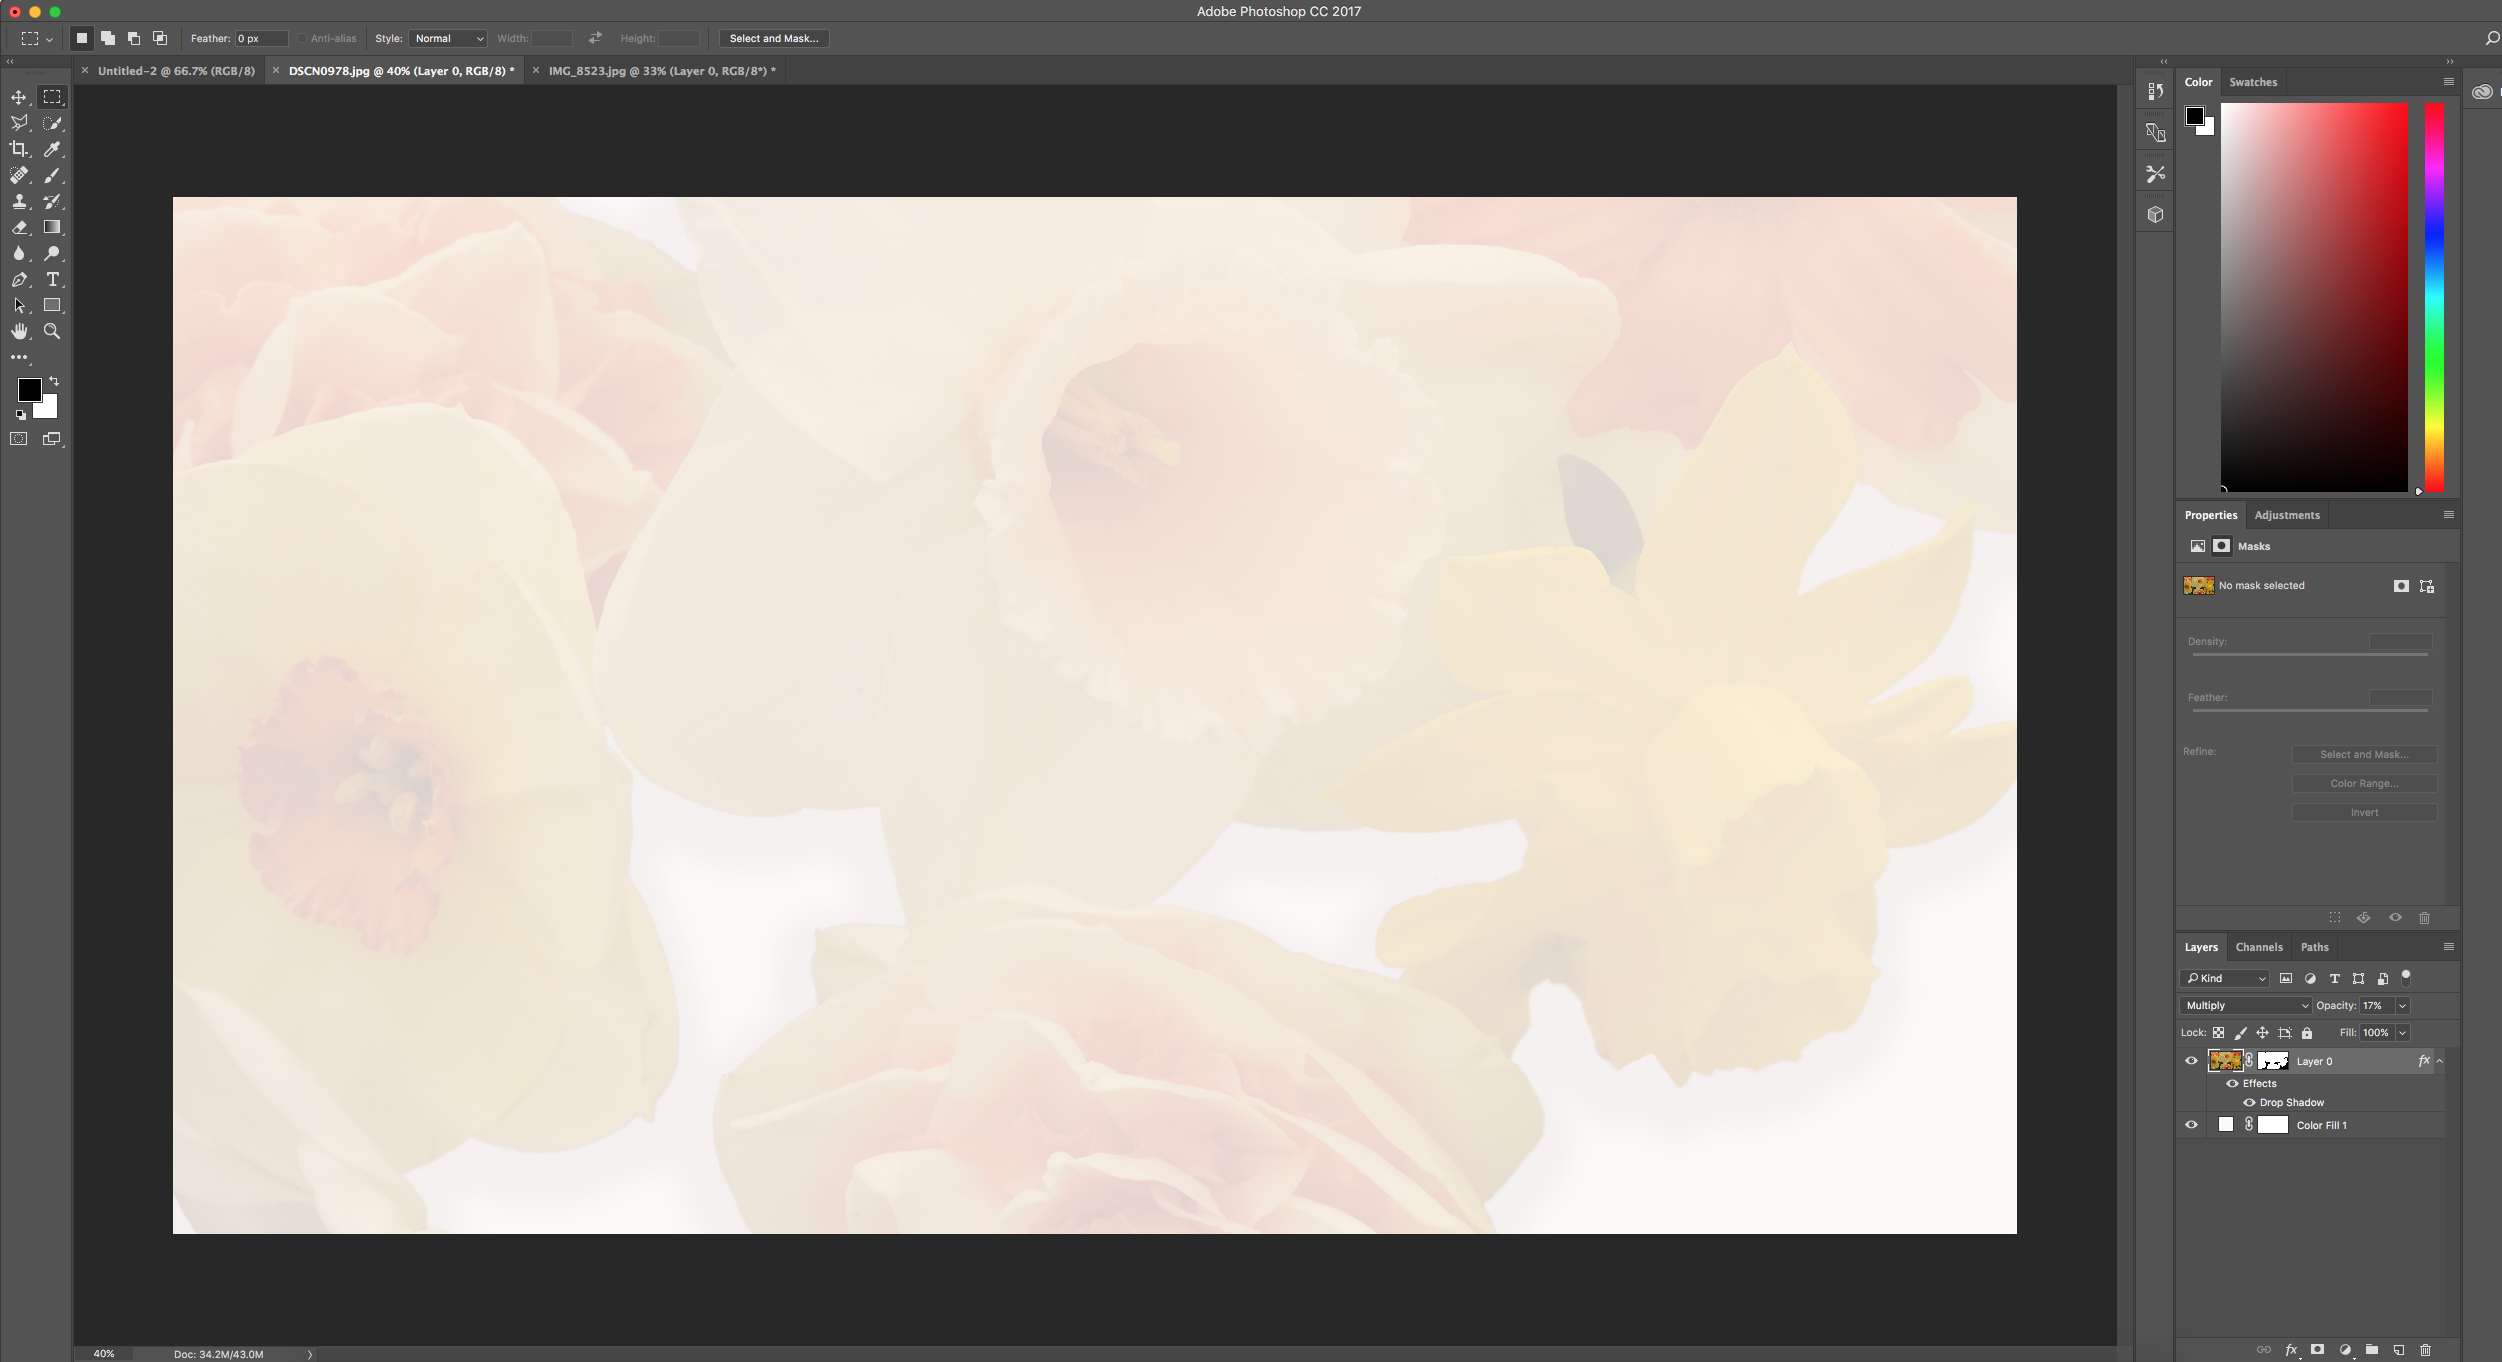
So i experimented with drop shadows following your instructions. And I can see the shadows just. However the photo appears to be faint or partly masked.
Copy link to clipboard
Copied
Look for a channel that may be the basis for a useful mask, and in this case it was Lab Color's b channel.
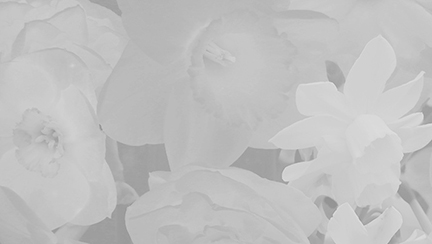
A steep single Curves adjustment made by sliding the end points horizontally produced this:
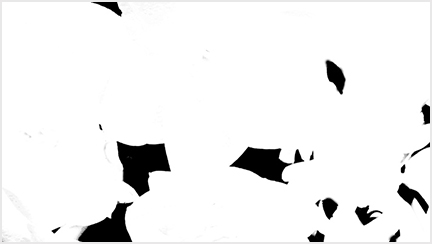
and with minor touchup, when applied, produced this:
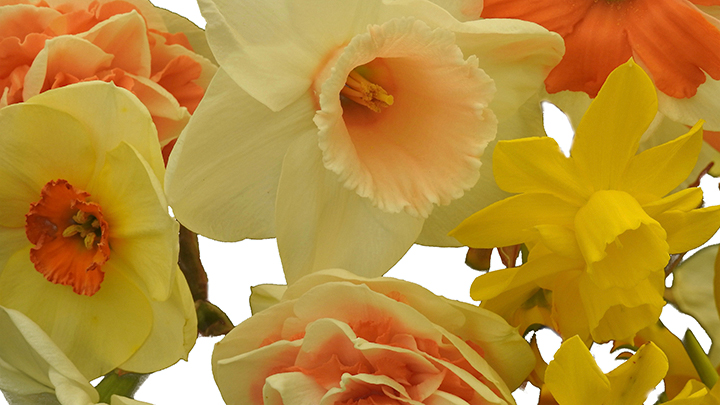
At this point you may consider adjusting the image contrast.
Copy link to clipboard
Copied
In this case, the Red channel presented the best option for a Mask.
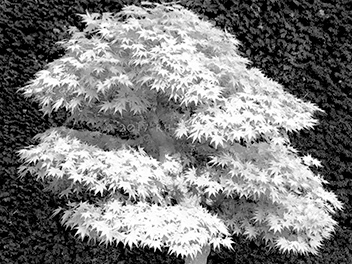
and rough painting in white with the brush set to Overlay produced
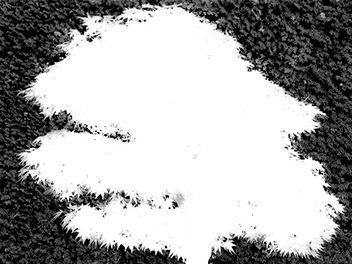
Curves produced the needed solid black for the background, then applied as shown here
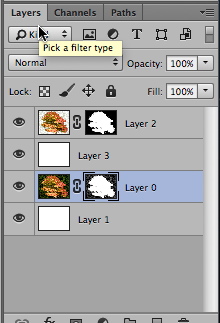
To produce this

Copy link to clipboard
Copied
Thank you Norman for your help and time to reply. I will attempt this process too. I'm grateful for all the replies you have made. Its good to receive knowledge from seasoned users of the products. Whilst I hope I am not a complete beginner, Norman, I am learning about where the tools sit with in the tool bars and menus. Can you briefly explain, bullet points would be fine, as to how you got from importing the image of the maple to where you were able to select a channel mask ?
Thank you
Rob
Copy link to clipboard
Copied
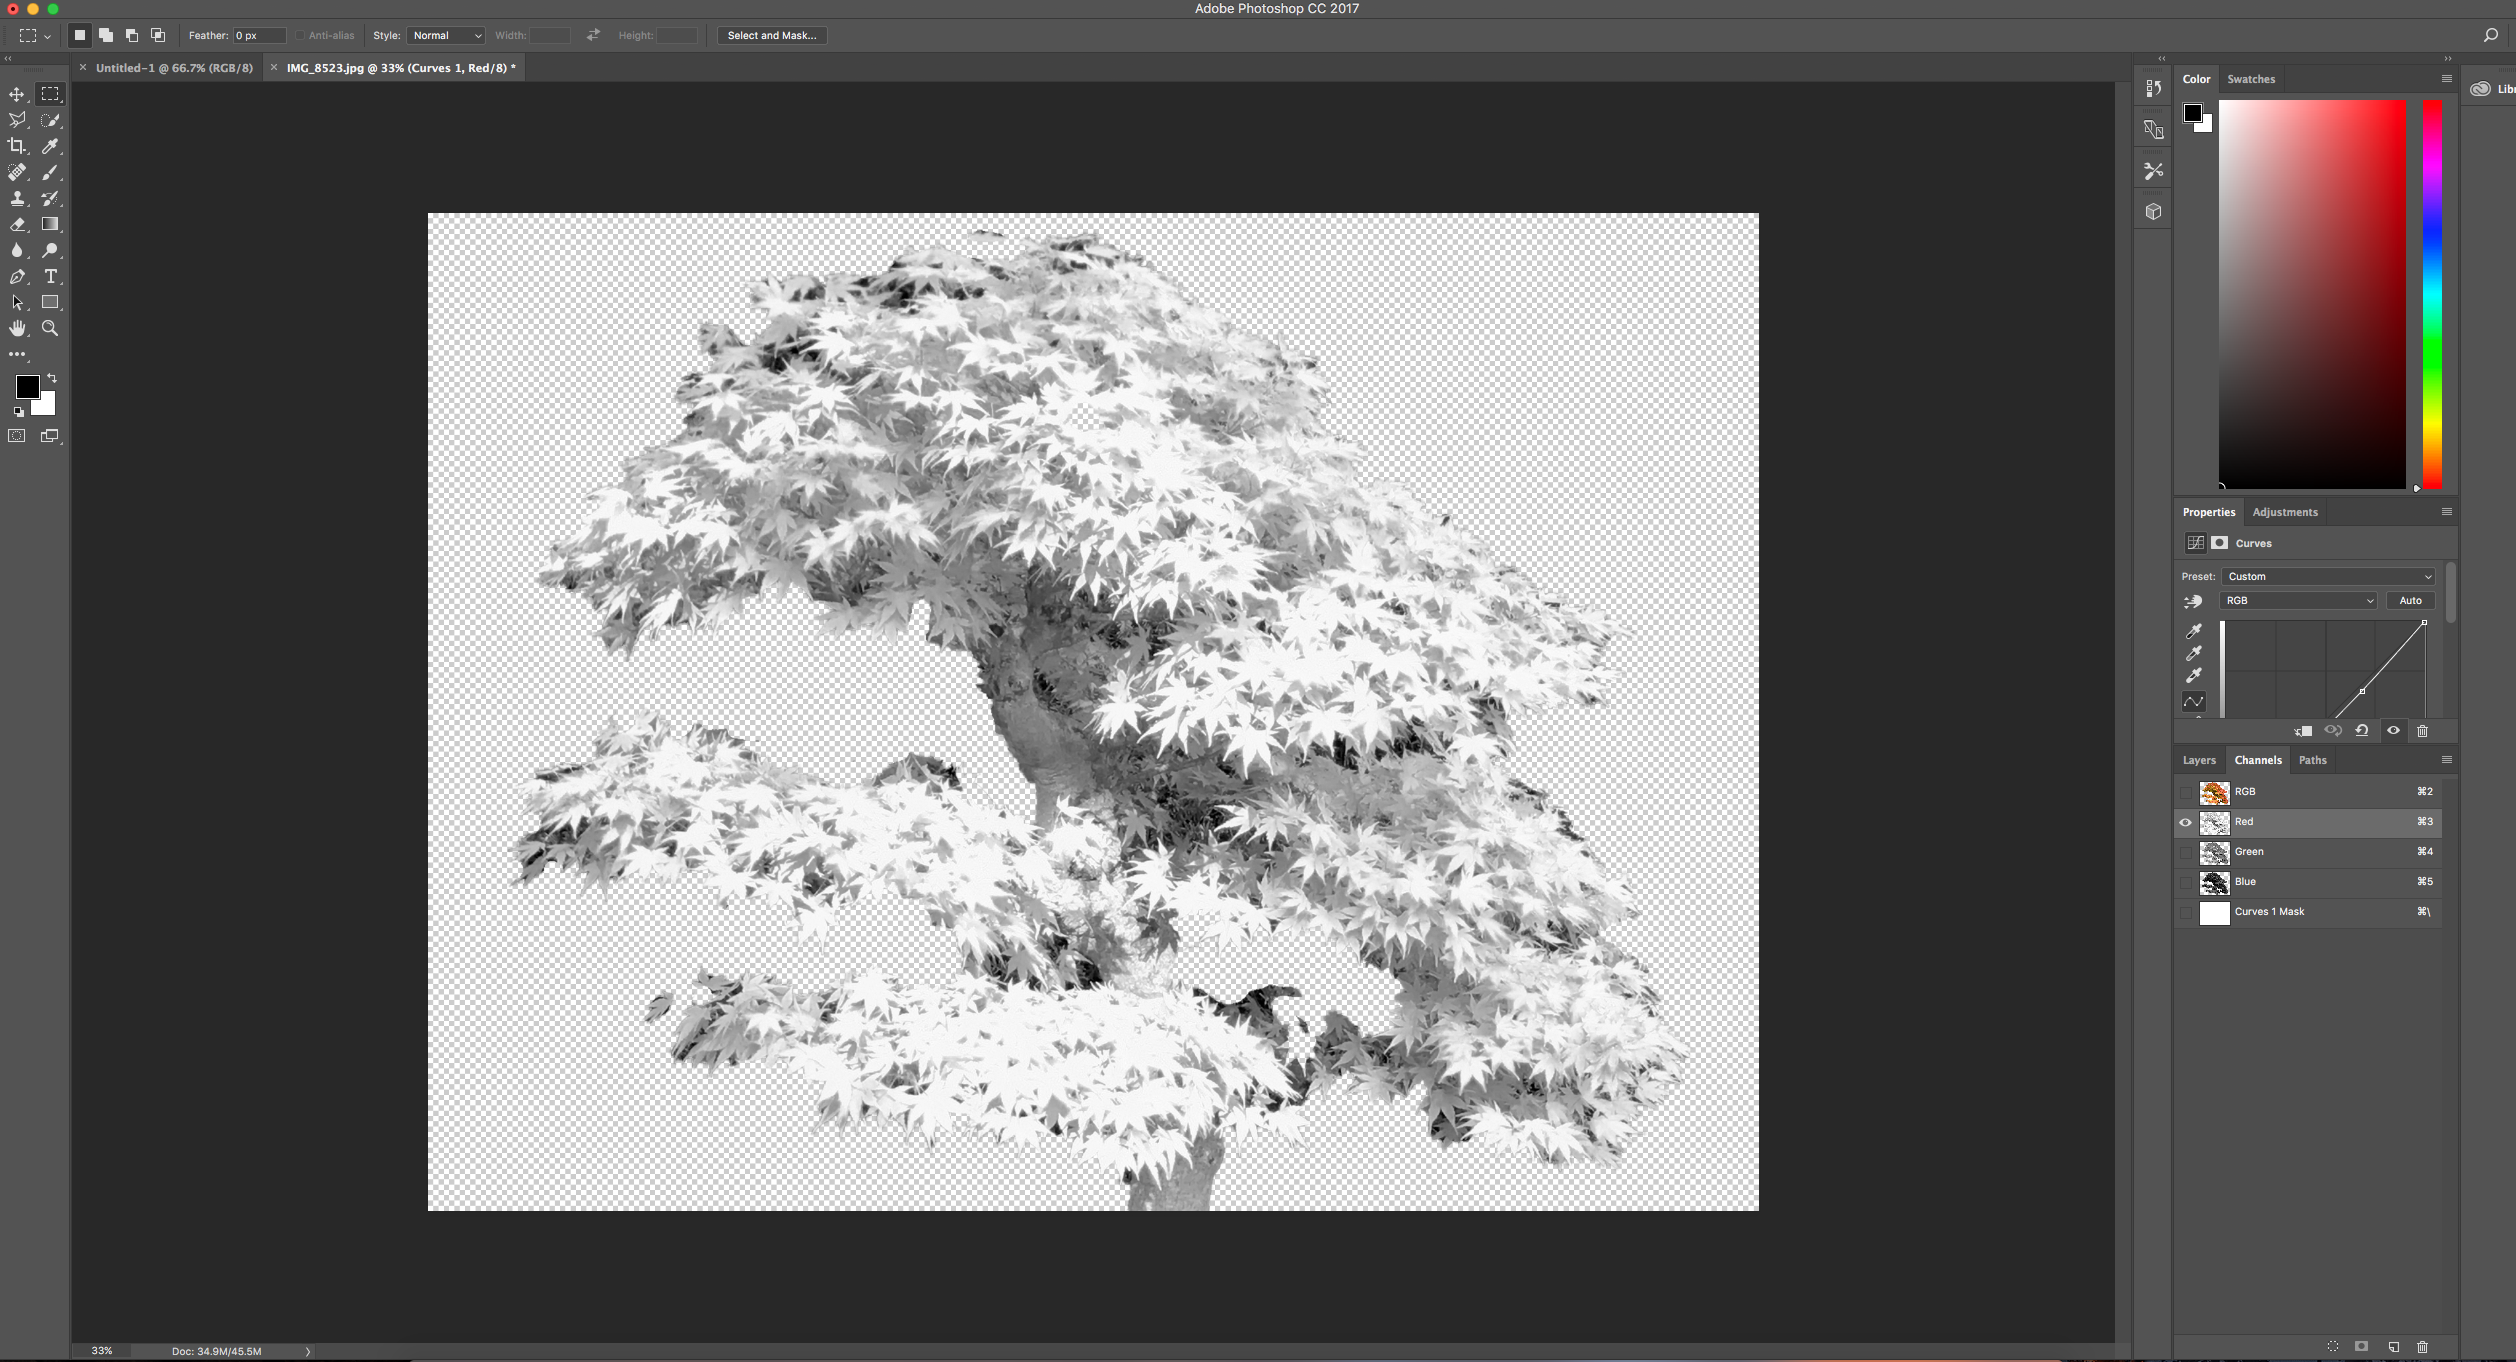
HI Norman, I tried to go with your suggestion. I found how to select the red channel but the masking doesn't seem to look as sharp as
when i masked it as a colour photo.?
Copy link to clipboard
Copied
Can you briefly explain, bullet points would be fine, as to how you got from importing the image of the maple to where you were able to select a channel mask ?
----------------------------------------------------------------------------------------------
1. Open the file
2. Choose the Channels panel
3. Choose the Red channel and drag it down to the "Create New Layer Channel. When you release the mouse the new channel will appear at the bottom of the list and be named Blue Copy
4. Choose Image > Adjustments > Curves and increase the contrast of the image by moving the end points of the curve horizontally. Be careful to not let the internal part of the tree leaves get too dark as you darken that end of the scale.
5. Choose the Brush Tool, soft edged, and in its Options bar. change the Mode from Normal to Overlay, 100%.
6. Set the Foreground Color in the Tools panel to White
7. Repeatedly dab the white area, and adjust the brush size as needed.. It will take several dabs. Note that in Overlay, set to white, painting does not lighten the dark blacks as you touch the edges. Be careful not to overdo the edges. (If a few specks refuse to go white, change the Overlay setting to Normal, touch them up, and return to Overlay Mode.) Be sure to lighten the darker leaves.
8. Now, set the Foreground color to Black and repeatedly dab black edge part of the image. Note that as you stray into the pure white of tree area, your black brush does not affect it. That is the feature of Overlay. Be careful not to overdo the black at the edges.
9. When you are satisfied with the resulting mask, change the Mode in the Options bar back to Normal to that it is ready for the next image you may work on.
Using the mask:
10. Choose the mask and drag it down to the Load Channel as a Selection symbol at the bottom of the Channels panel. It will create marching ants
11. Choose the Layers panel and then choose the image layer
12. Click on the Add Layer Mask symbol at the bottom of the Layers panel. The mask will appear alongside the image in the Layers panel and be applied to the image.
Good luck.
