

- Home
- Photoshop ecosystem
- Discussions
- Re: Business card mock-up tutorial
- Re: Business card mock-up tutorial

Copy link to clipboard
Copied
Hi
I need help on creating a stack of business card.. I've searched everywhere but no one has been able to show how to do it from scratch..
im looking forward to learn the effects as shown on the images 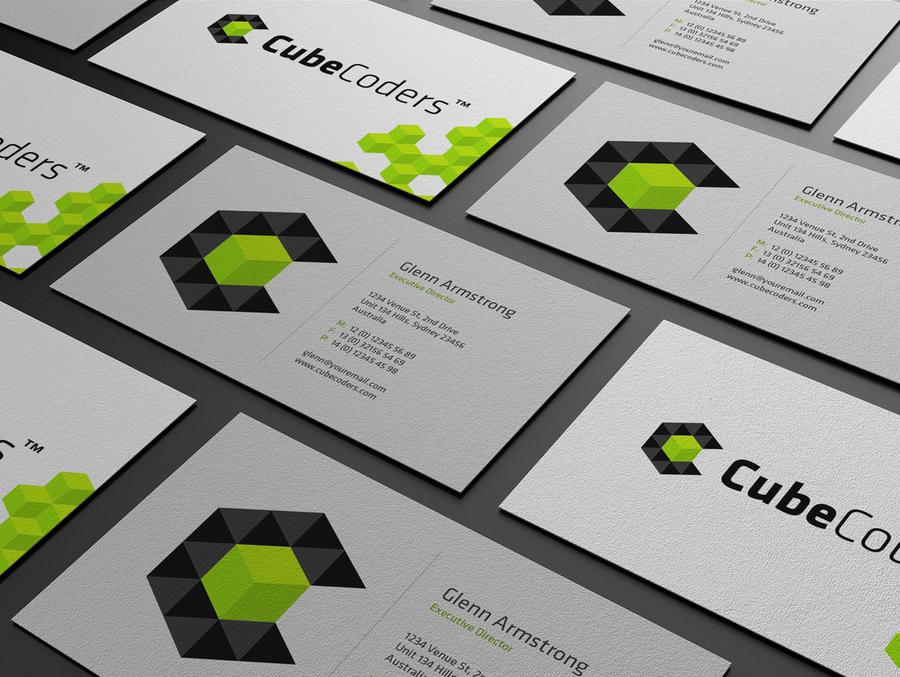


 2 Correct answers

Am I correct in understanding that you want to create a layout that looks like a stack of business cards--and not necessarily create a business card for print?
If you are looking to create something like the first image, then here are some steps you can follow:
1. Create your business card design: 2" tall x 3.5" wide. If you create your Document file that size and develop the card, then copying and pasting the card into another layout is very easy. (In this example, the document size is 3.5 x 2 a
...
No problem!
Create your document and draw your card shape.

Right click shape layer > convert to smart object

Ctrl+T to transform > right click on object on your canvas > Distort
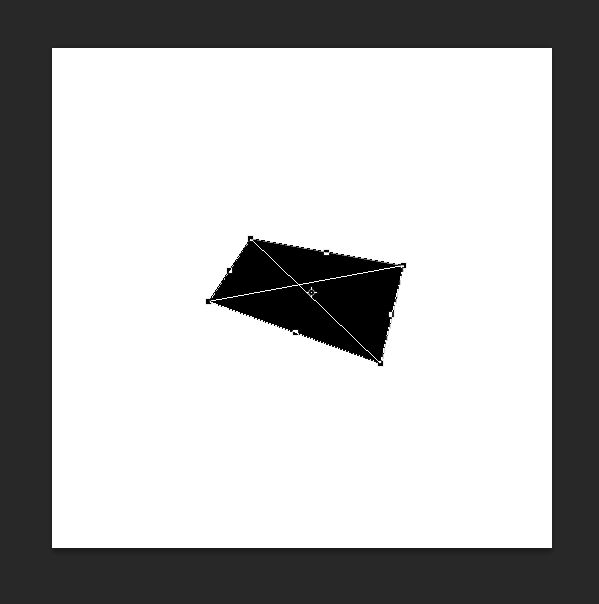
Adjust points to get the perspective you want
Double click on the thumbnail preview of the smart object and add your card design

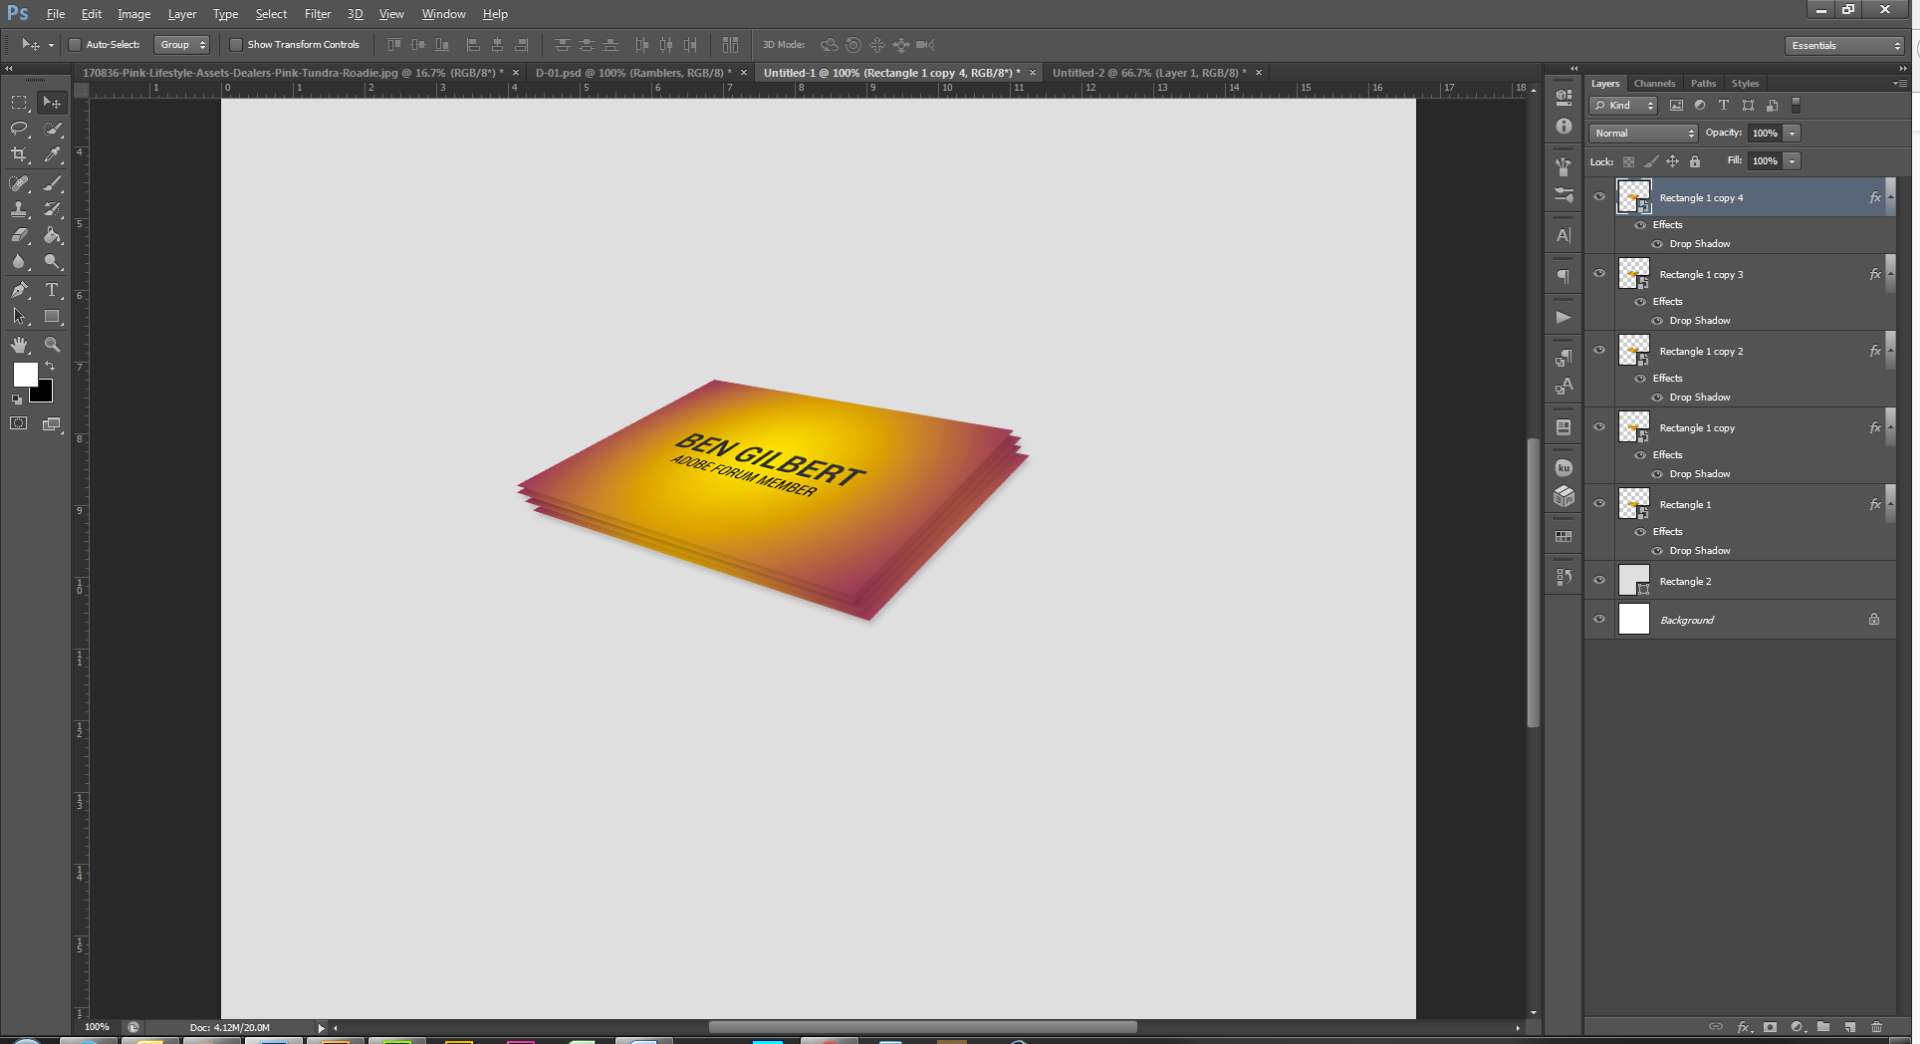
Exit that document and save changes to smart object. You should have something similar to the image below

Now you will want to add an appropriate shadow. These are my settings

Now width your card lay
...Explore related tutorials & articles
 9
Replies
9
9
Replies
9

Copy link to clipboard
Copied
Contact your print professional and ask them for exact print specifications. It's also likely that they have Templates for Illustrator already prepared for you to use.
I use Illustrator for print projects like logos and business cards because it's a vector graphics app. Vector graphics can be re-scaled to fit small business cards or billboards without losing quality.
Modern Business Card Design in Illustrator CC (Part 1) - YouTube
Photoshop is a better choice when working with raster (bitmap) images like photos and web graphics for your portfolio website.
Nancy

Copy link to clipboard
Copied
Lynda.com have a comprehensive online video tutorial devoted to designing and producing a business card (you can get a 30-day free trial): Designing a Business Card
Copy link to clipboard
Copied
If you are looking for just a mock up to place your existing business card design on, try this - 8 Free Clean Business Card Mockups - CreativeBooster
Let me know if you need help editing the file
Copy link to clipboard
Copied
Thanks WILDCAT54
I would be more happy knowing the techniques used to create that from scratch.. Much appreciate..
Copy link to clipboard
Copied
No problem!
Create your document and draw your card shape.

Right click shape layer > convert to smart object

Ctrl+T to transform > right click on object on your canvas > Distort

Adjust points to get the perspective you want
Double click on the thumbnail preview of the smart object and add your card design

Exit that document and save changes to smart object. You should have something similar to the image below

Now you will want to add an appropriate shadow. These are my settings

Now width your card layer selected, alt and move your cards. Offset some of the cards to give it the following effect
and that should be it!

Copy link to clipboard
Copied
This may help, hopefully. It requires shooting a version of a blank card yourself or you could simply find one on a stock site. I wanted more control.
Copy link to clipboard
Copied
Thanks a lot D.A.R
Ive learned a whole lot of techniques on this tutorial.. I'm open to any tutorial suggestions..
Copy link to clipboard
Copied
Am I correct in understanding that you want to create a layout that looks like a stack of business cards--and not necessarily create a business card for print?
If you are looking to create something like the first image, then here are some steps you can follow:
1. Create your business card design: 2" tall x 3.5" wide. If you create your Document file that size and develop the card, then copying and pasting the card into another layout is very easy. (In this example, the document size is 3.5 x 2 and the background is white. The dark gray that you see is the standard screen background).

2. Once you have your card designed, then hold Cmd+Option+Shift/Ctrl+Alt+Shift and press the E key to create a merged composite to a new layer in your file. Choose Select All (Cmd-A/Ctrl-A), and Copy (Cmd-C/Ctrl-C).
3. Create a new file (I created a new file at 14" wide x 10" tall and filled the background with a dark gray.
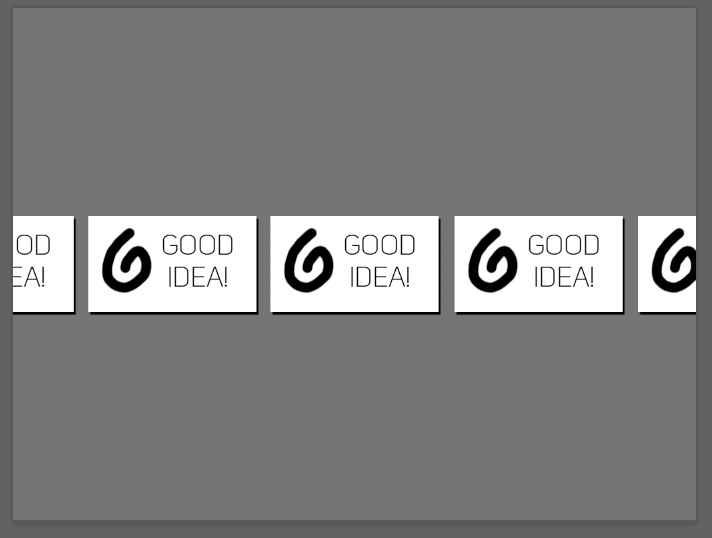
4. Hold down the Shift key and choose Paste (Cmd-V/Ctrl-V). This will paste your image into the center of the screen on a new layer.
5. Next, you will duplicate the image. With the Move tool selected, hold down the Shift and Option/Alt keys (Shift constrains the image to moving either horizontally or vertically and Option duplicates. You may need to start by holding down the Shift, start moving the image, and then hold down the Option to duplicate. Do this until you have one row of images across.
6. Once you have a row of images, then in the Layers panel, select all five of the image layers. Hold down the Option/Alt key, and drag a copy of this row up and offset it by half so that you are creating a brick like pattern. Do it again to create the top row. Then do it again two more times to move the row down for the bottom two rows of images. See below:

7. With one of the Business card layers selected in the Layers Panel, double-click on that layer to bring up the Layer Styles Dialog Box and create a drop shadow on the card. Here are the settings I used:
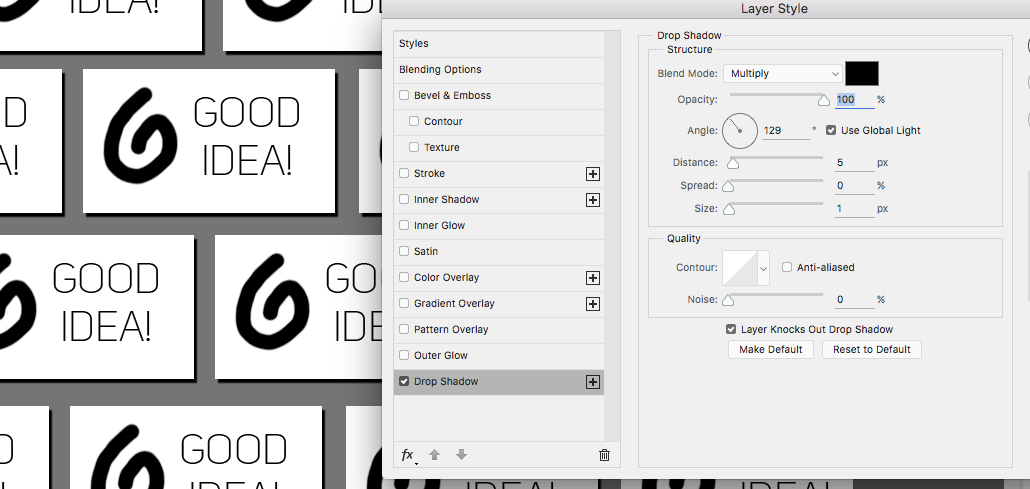
Once you are satisfied with the Drop Shadow you created, press Ok. Then with that same Layer selected, right-click or control-click the selected layer and choose Copy Layer Style:

8. Next, select all of the Business Card layers in the Layers Panel, and then right-click/control-click to bring up the drop down menu and choose Paste Layer Style. This will create the same Drop Shadow on all of the layers.
9. Next, click on the topmost layer in the stack. Again, hold Shift+Option+Cmd/Ctrl+Alt+Shift and press the E key to create a composite of all the business card images onto one new layer. This will place the composite at the top of the Layer's panel.
9. Choose Edit>Transform>Rotate and rotate the image clockwise: See below

9. To give it that last added illusion of dimension, choose Edit>Transform>Distort and grab the top left handle and move it down. See the image below for the settings I used and the effect it created. You can adjust the angle to more closely resemble the image you showed above by playing with the angle of rotation and the amount of distort you use.
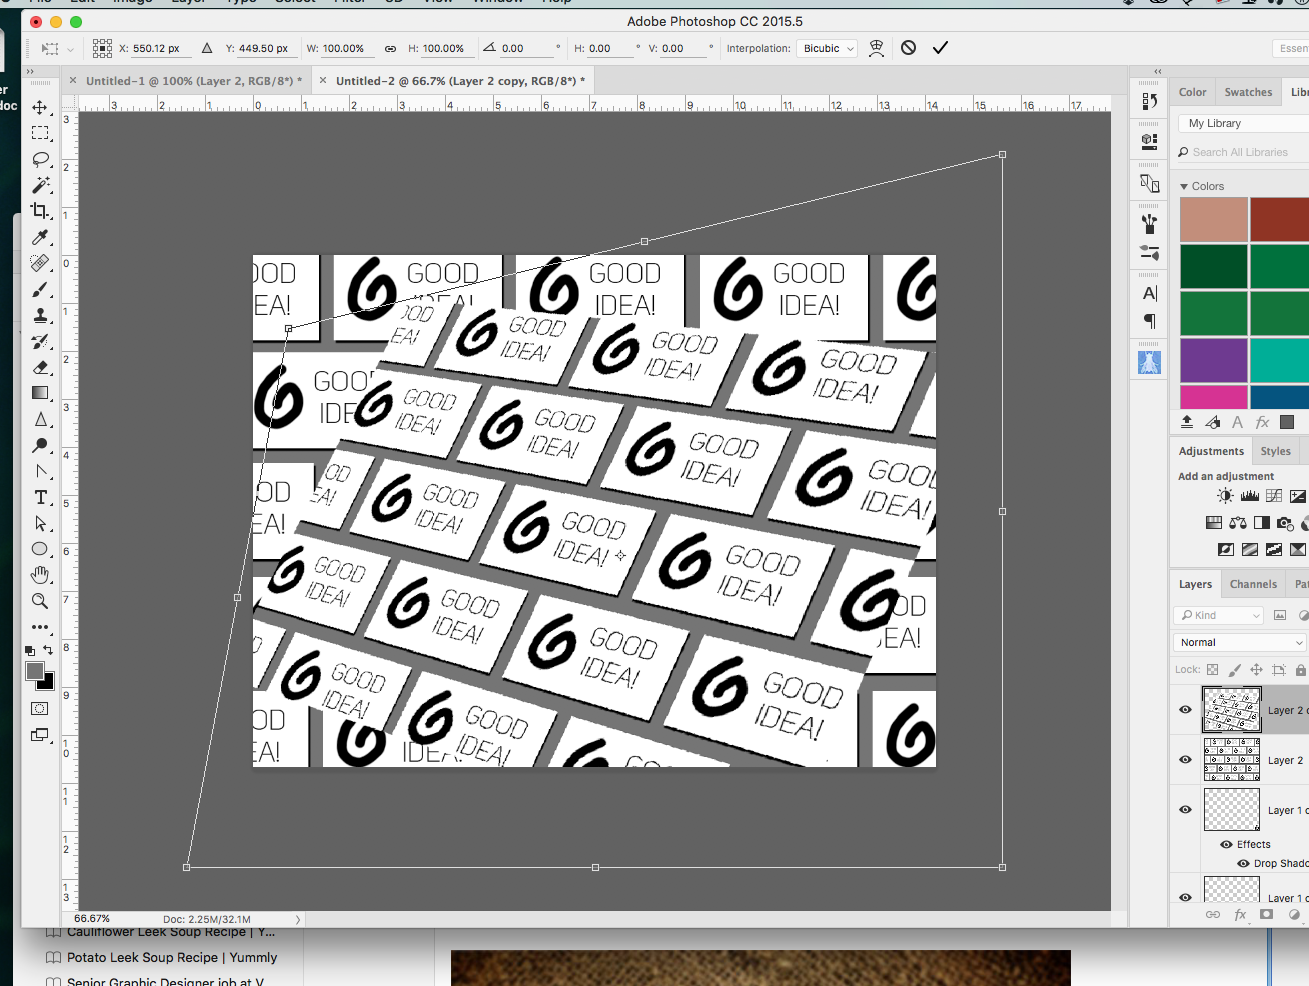
When you are happy, hit Return/Enter to lock in the changes.
10. Now you are ready to create a new file (I created a file 7" x 7"); copy and paste this layer into your new document for presentation.
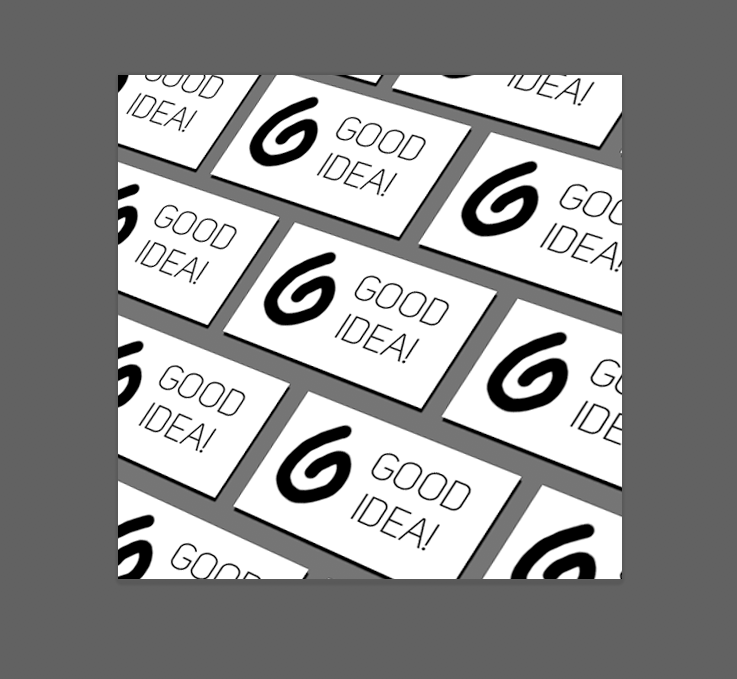
I hope this helps get your creative juices flowing! Let us know if you have any questions!
Michelle
Copy link to clipboard
Copied
Thanks a lot.. Hope you find me a tutorial on how to make them look like picture 02 (JohnB)

Find more inspiration, events, and resources on the new Adobe Community
Explore Now
 AdChoices