Connecting Smart Objects
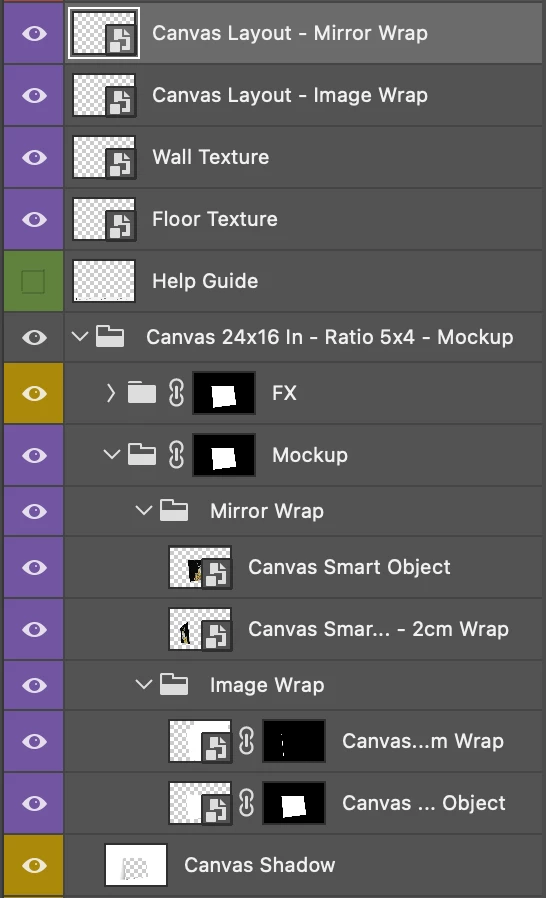
This is very specific, but I bought a canvas mockup (side view) and I'm trying to figure out how to do it myself by reverse engeneering, because I need a different size. For context, I upload a picture in the smart object and then it automatically updates the canvas with the image and mirrored boarders (sides of the canvas as a reflection - horizontal flip) so it looks 3D.
I'm trying to figure out how to connect both smart objects (the front & the sides) together so that when I upload on one smart object, it will add it the the next. It seems almost like a premade function.
I tried to do this for 3 days straight and I'm losing my mind. With the masks it's so confusing to me. Any information would be helpful. Here is a photo to help. I add my photo to the Canvas lyout - mirror wrap and you can see it updated under mirror wrap folder at the bottom. and the second "2cm wrap" looks inverted.
Anyway thank you for your help!!!!