- Home
- Photoshop ecosystem
- Discussions
- Re: How can I make half circles? See pic.
- Re: How can I make half circles? See pic.
How can I make half circles? See pic.
Copy link to clipboard
Copied
See picture below.
Can somebody please advise me on how can I make the figure inside the blue circles?
I can make he straight lines, but how, or what is the best way to do the opposite circles next to the line?
Explore related tutorials & articles
Copy link to clipboard
Copied
How about just using the parenthesis text keys?

Copy link to clipboard
Copied
Chuck's suggestion to use text is an easy solution. If you don't want to deal with type, after typing the parenthesis, under the Type menu you can convert it to a shape.
If you want to draw the shape from scratch, here's how you could do it:
Select the Ellipse tool.

In the Options bar, it should say Shape.

Select a stroke weight and color. (Fill none, stroke black)

Hold down Shift and drag to draw a circle.
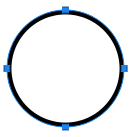
With the Direst Selection tool, select a side point.

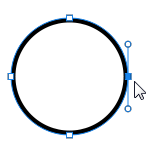
And delete it.

Choose Edit > Transform > Scale. Drag the side handle in to make it a little narrower to match the drawing in your screen capture.


Copy link to clipboard
Copied
I used the font Hiragino Maru Gothic ProN to draw a single parenthesis.
Then I converted it to a shape.
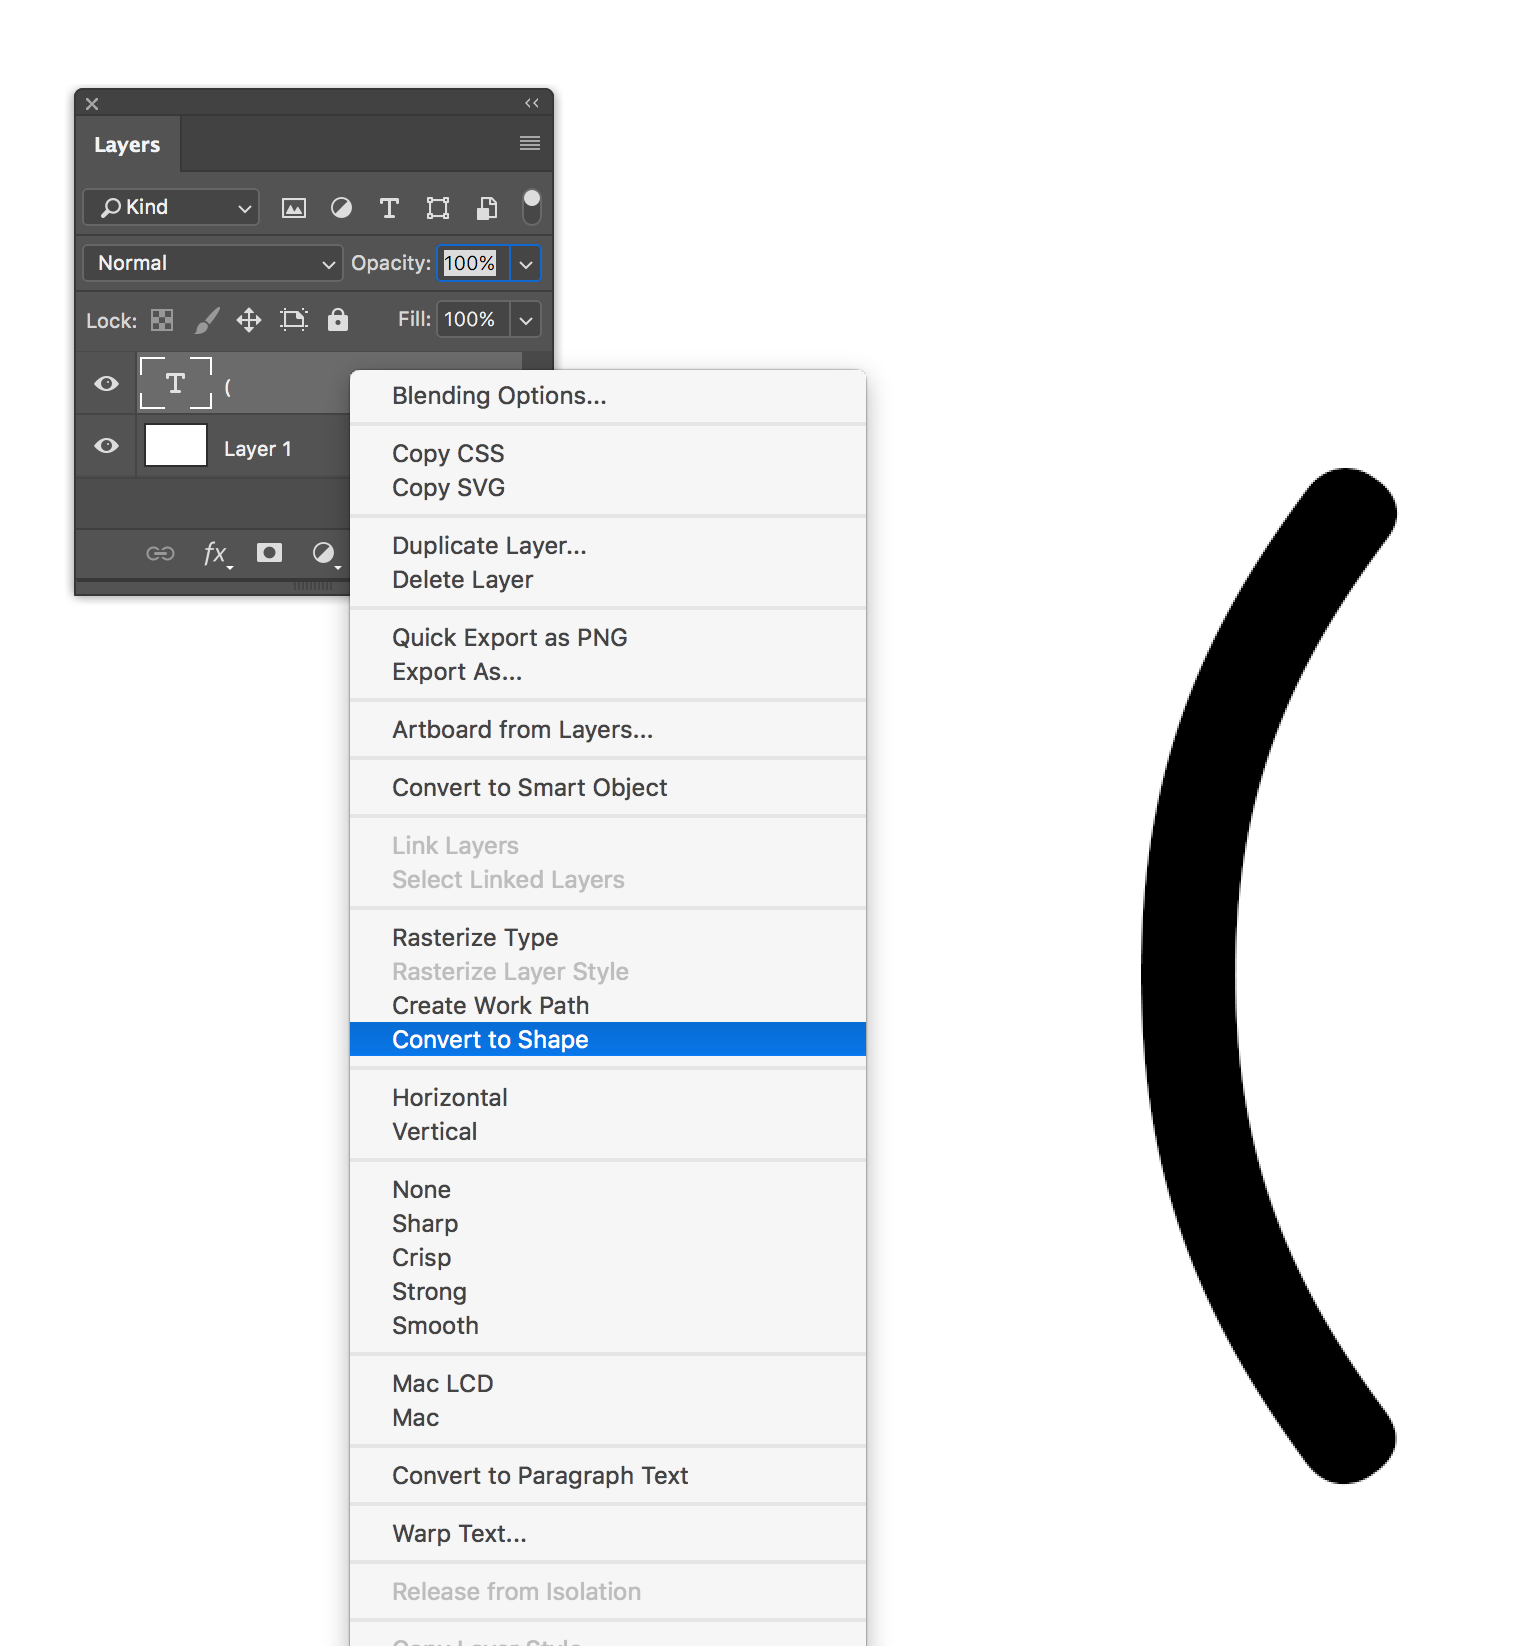
Then I used the Direct selection tool (white arrow) to draw a marquee around the shape.
Using Option/Command +T (Ctrl / Alt +T) I duplicated the shape and flipped it horizontal. To get the contextual menu press control and click on the transform box.
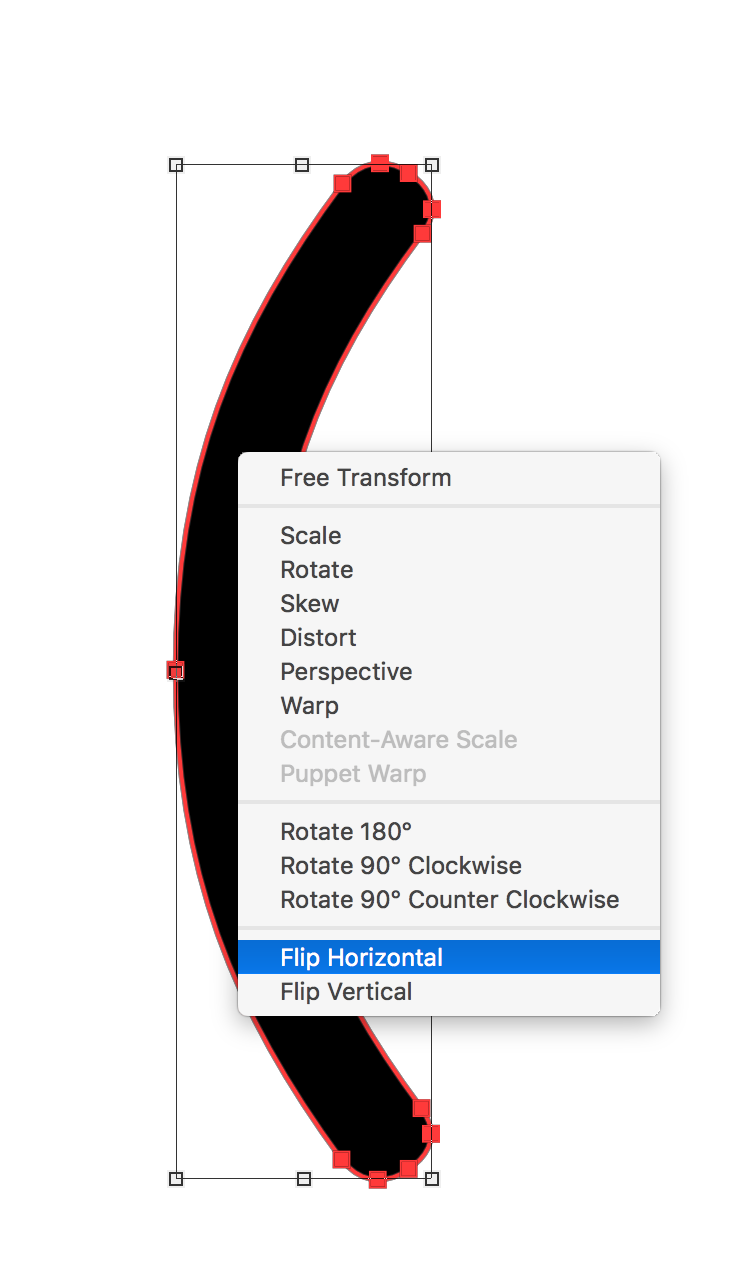
Then I moved the copy of the parenthesis an appropriate distance according to your diagram.
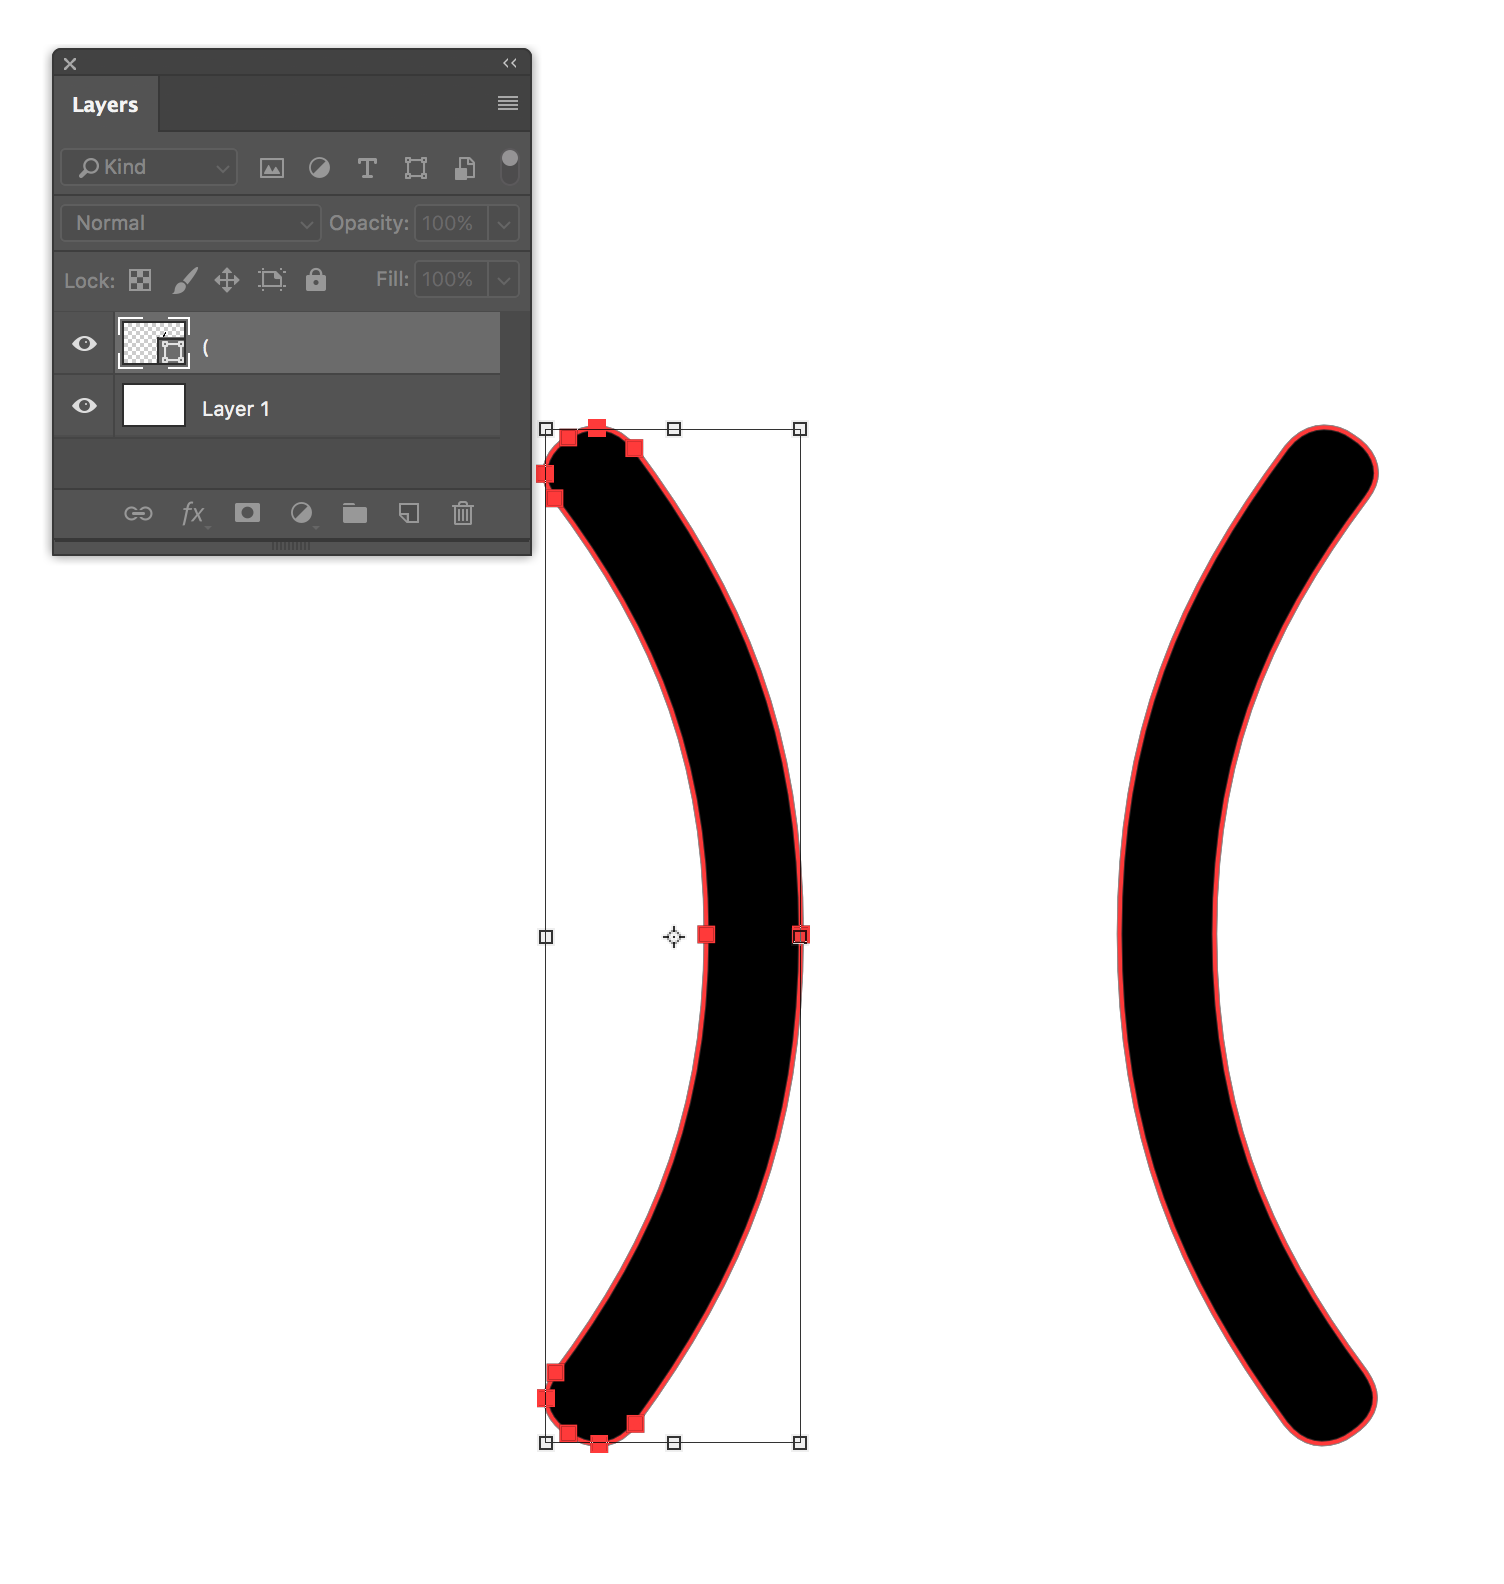
Then again using the direct selection tool I drew a marquee around both parentheses and from the Edit menu selected Define Custom Shape.
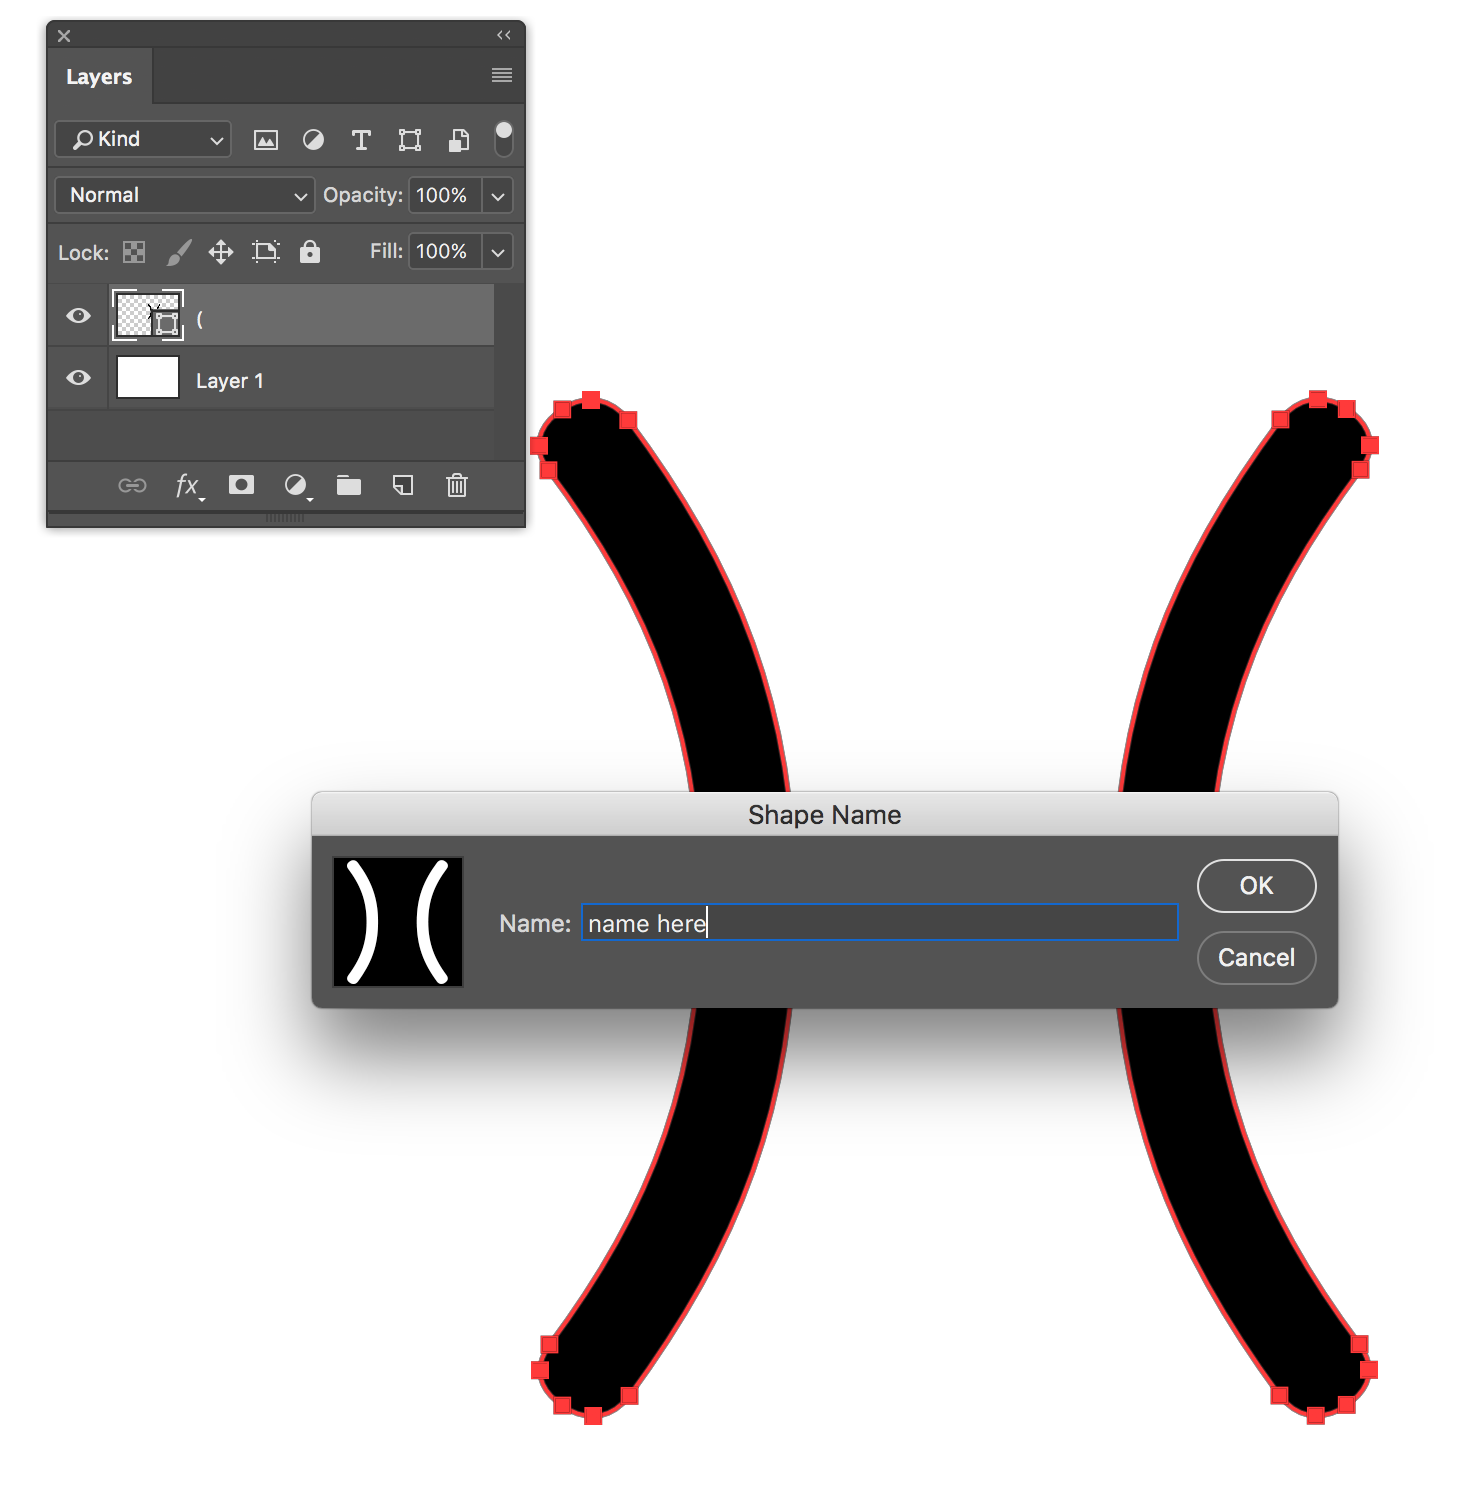
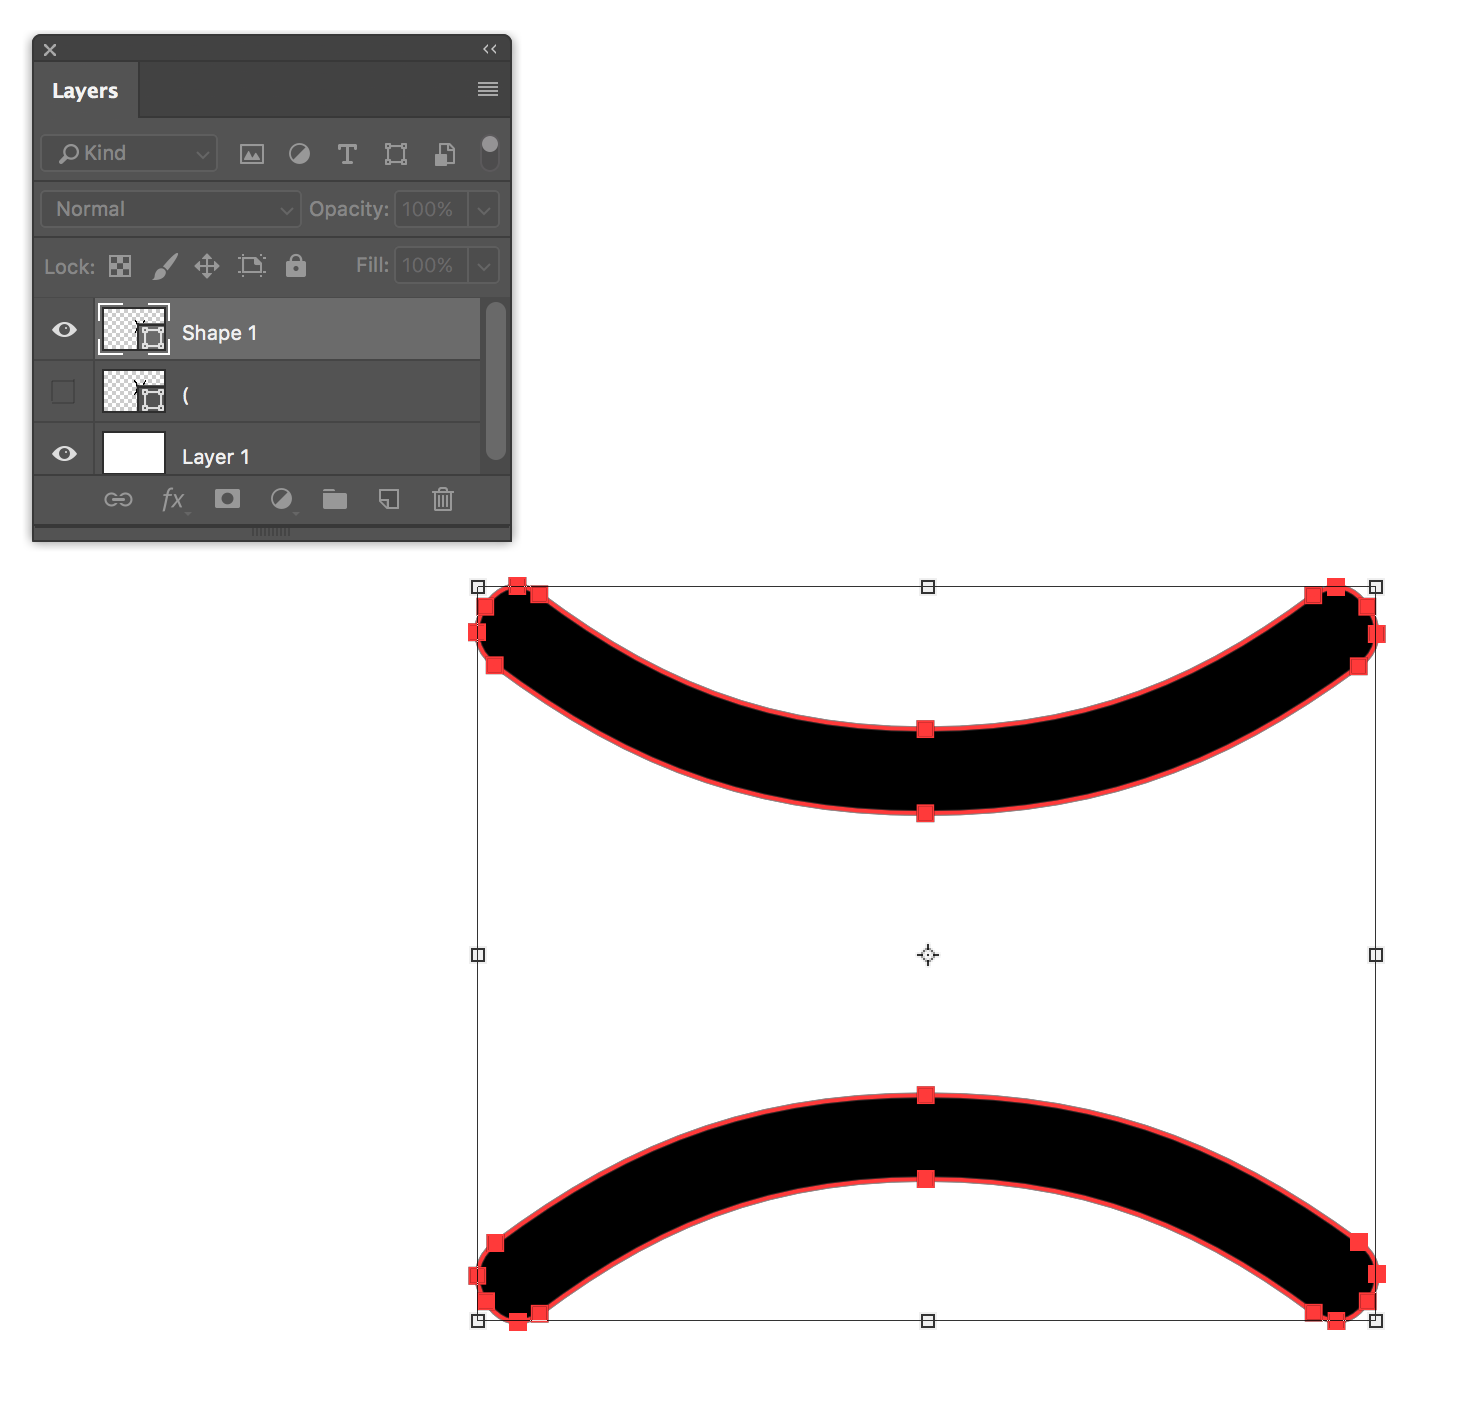
Now you can draw your shape any size and rotate is to any angle where necessary using the Custom Shape Tool.
Copy link to clipboard
Copied
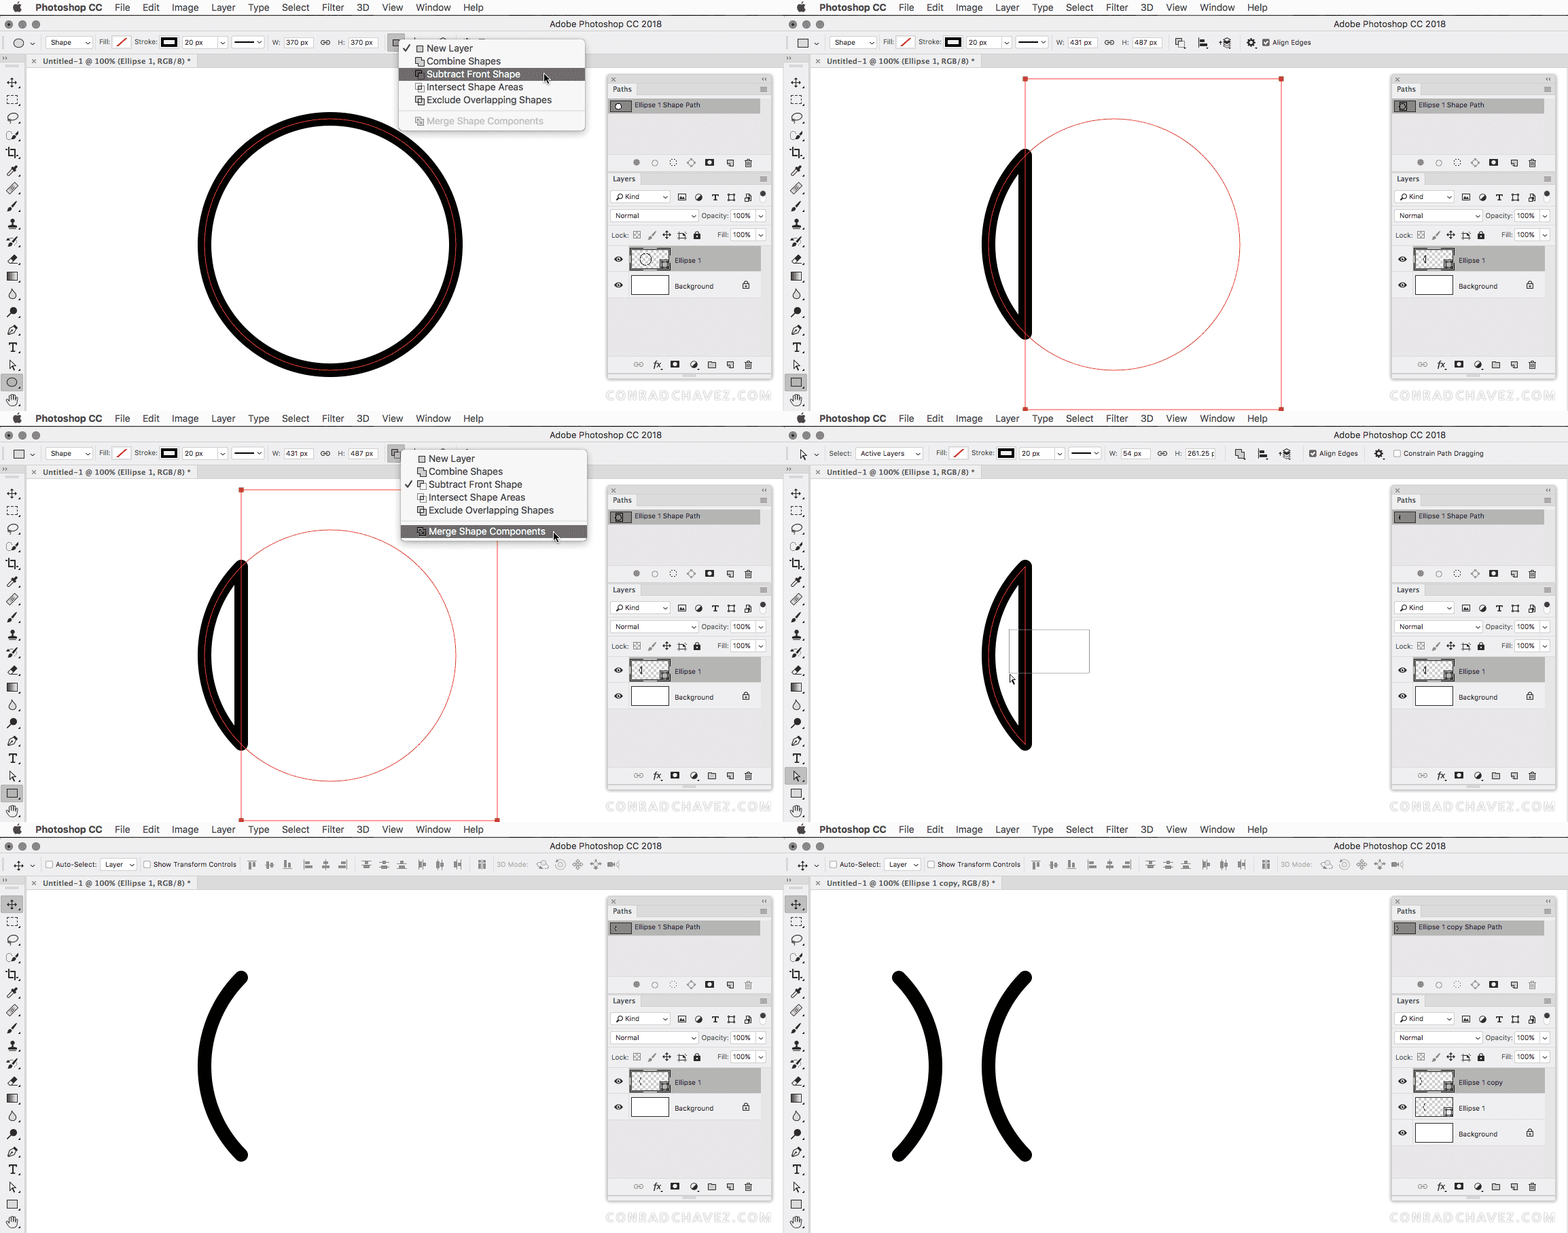
You can also draw a circle, draw a rectangle to carve out the parts of the circle you don't want, delete the resulting straight segment so that it's an open arc, and flip a copy of the arc:
Copy link to clipboard
Copied
Nice video.
I have Photoshop CC 2017 and I couldn't follow a thing.. my head hurts.
Copy link to clipboard
Copied
I haven't seen anyone suggest the Curvature Pen Tool which was new with CC 2018. It is reasonably straight forward to use, and if used along with the Grid to keep it tidy, it produces a perfect result. The secret is to Alt (Opt) click any points that you do _not_ want to curve, and do this as you make the path.

So I have the Grid turned on, and scaled appropriately.
Tip: A neat and fast way to change Grid spacing without delving into Preferences, is to change Image size with Resample unchecked
So I have laid down the first two points, and you can see the line is curving. Note that I am snapping to the grid.
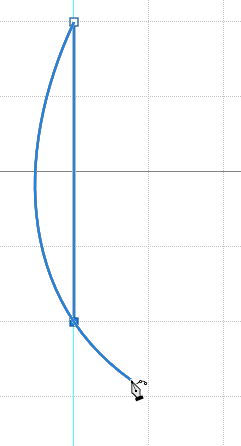
Now Alt click the last point which will make it a sharp corner.
Click to lay a new point using the grid again, and then another new point at the end of the half circle.
Here again the line is curved...
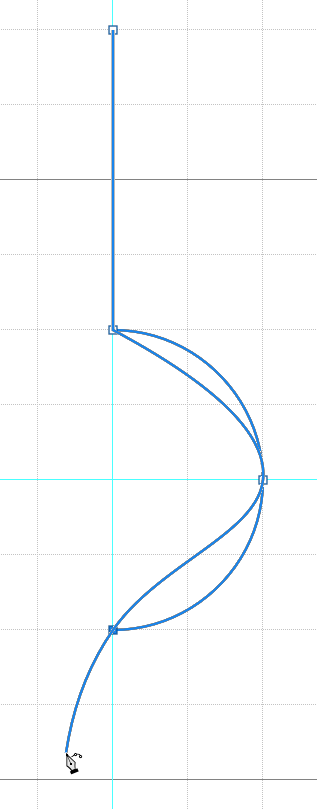
So Alt (Cmd) click the last point and you have a perfect result. Continue with your path using the same technique, and escape out of it when done.
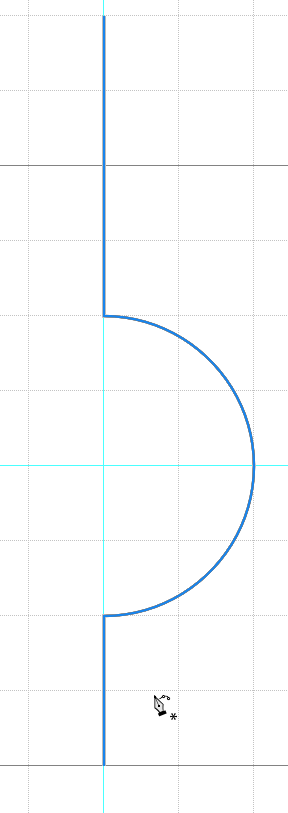
To finish you'll need to stroke the path with the brush, but set the brush weight and hardness, along with the right foreground colour first
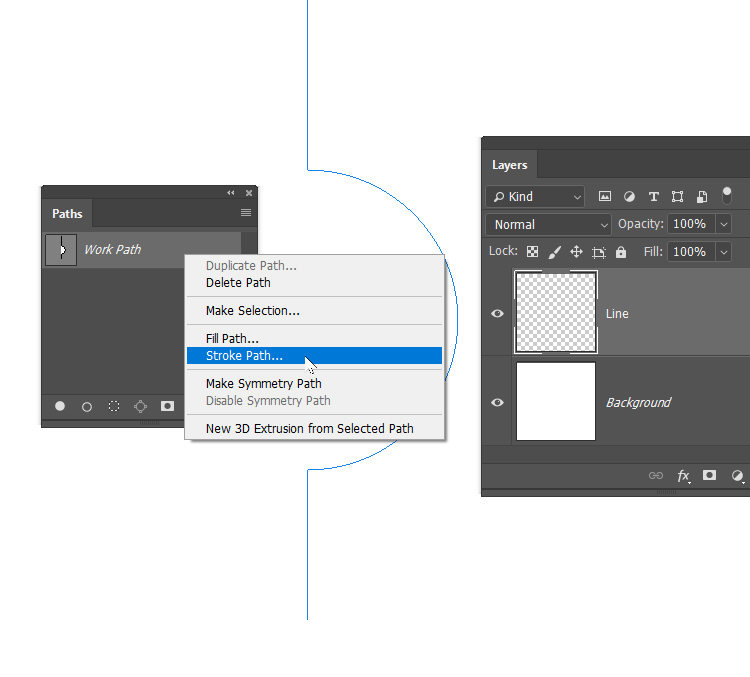
And job done.

Note, if you are using a 'Pressure Size' brush, and check Simulate Pressure when stroking the path.
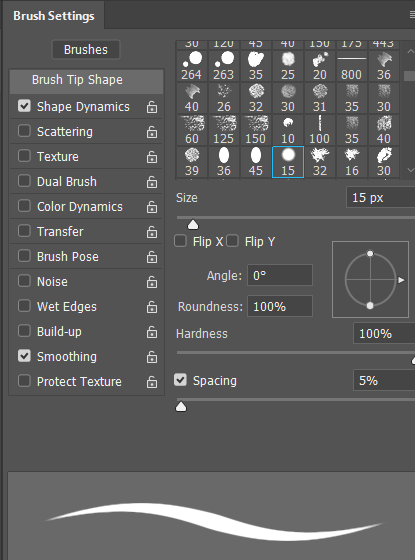
You'll know what's coming, but I am going to show you anyway ![]() But this is knid of cool as well, and you'll have a use for it one day
But this is knid of cool as well, and you'll have a use for it one day
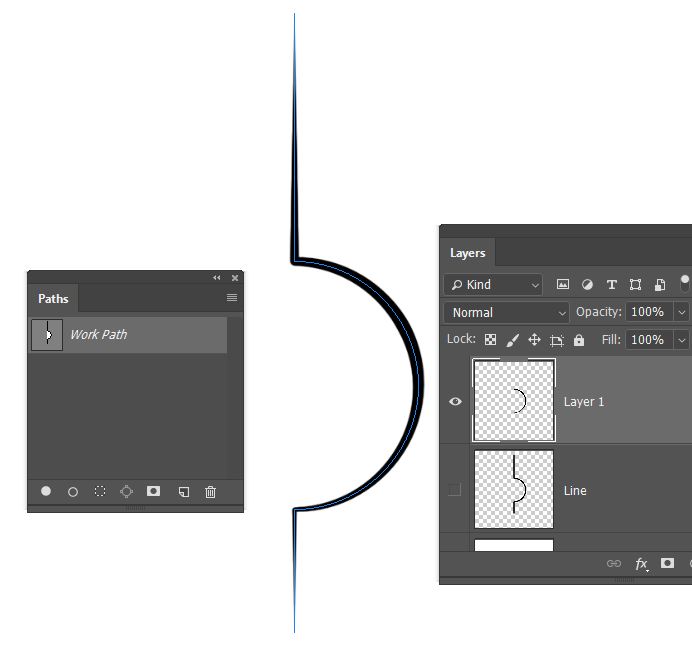
The Curvature Pen Tool is one of the best new features in several new versions, and totally worth mastering.
