• Global community
    • Language:
      • Deutsch
      • English
      • Español
      • Français
      • Português
  • 日本語コミュニティ
    Dedicated community for Japanese speakers
  • 한국 커뮤니티
    Dedicated community for Korean speakers
Exit
0

How to create a smart object that fills in more than one object?

Community Beginner ,
Nov 14, 2021 Nov 14, 2021

Copy link to clipboard

Copied

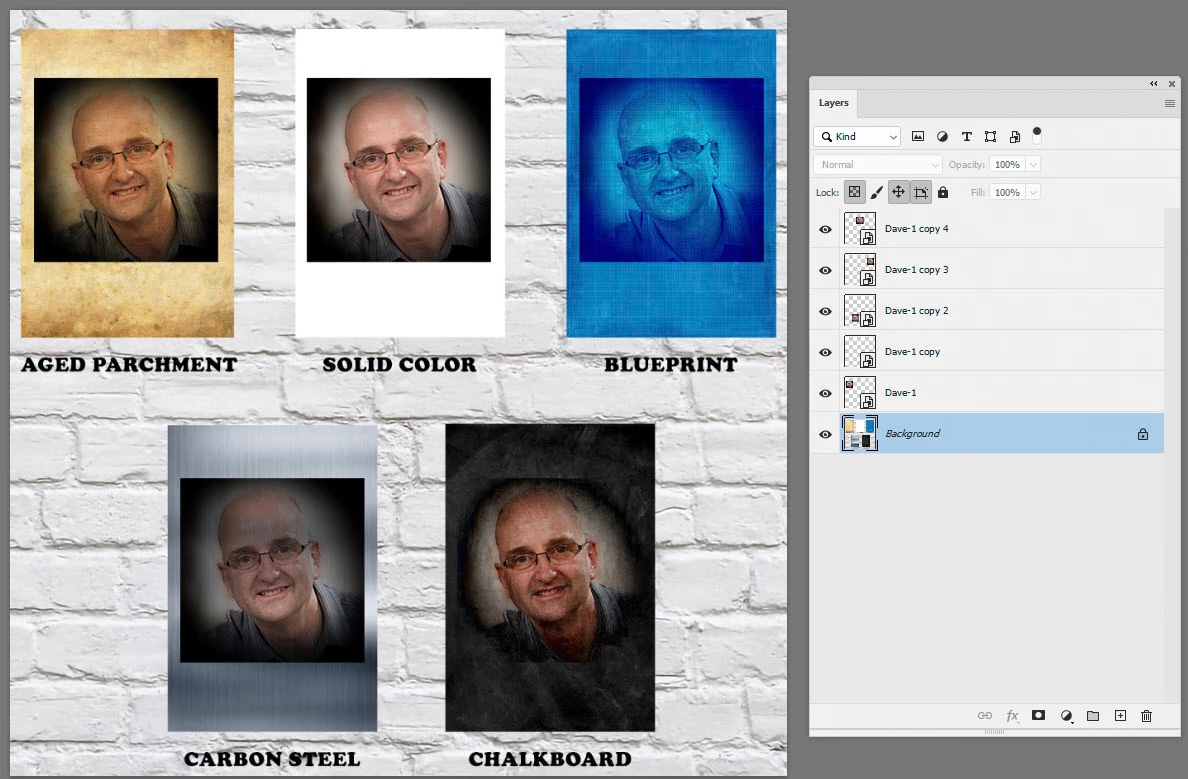
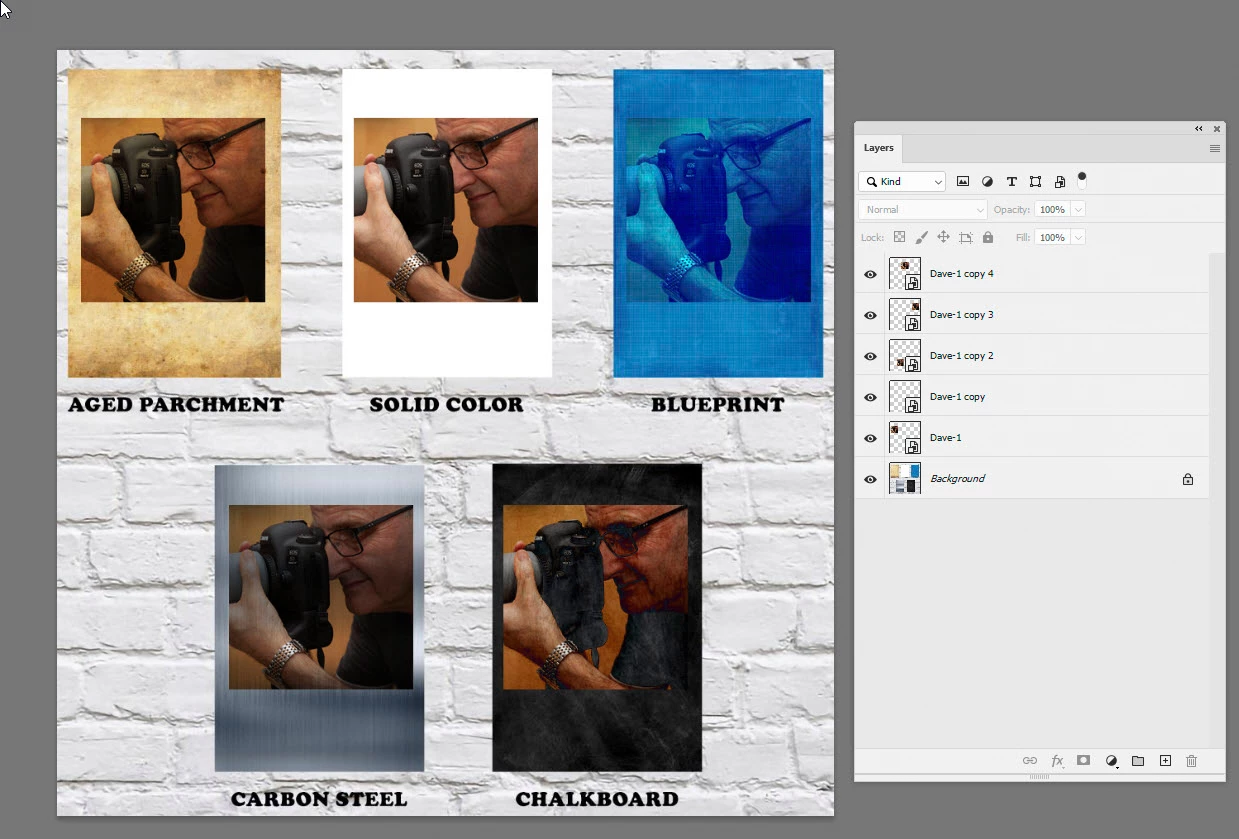
I am trying to create a mockup that shows multipe background options for a picture and I have create a PSD file that has five different photo frames and right now I have to click on each frame to insert the same image. Is it possible to create a smart object that populates all five photo frames with the same image?


Thx

TOPICS
Actions and scripting

Views

337

Translate

Translate

Report

Report
Community guidelines
Be kind and respectful, give credit to the original source of content, and search for duplicates before posting. Learn more
community guidelines

correct answers 1 Correct answer

Community Expert , Nov 14, 2021 Nov 14, 2021

To demo, I created one smart object with an image and then copied it four times, positioning each over a different place on your background image. I also changed the blend modes so that they blended with each background.

2021-11-14_22-33-44.jpg


Opening and editing the content of any of those smart object changes all of them, but the blend modes and position remain the same:

2021-11-14_22-46-37.jpg

Dave

Votes

Translate

Translate
Adobe
Community Expert ,
Nov 14, 2021 Nov 14, 2021

Copy link to clipboard

Copied

If you duplicate a smart object (Ctrl+J) it will do exactly that. Change the content of one and the others will change.


Dave

Votes

Translate

Translate

Report

Report
Community guidelines
Be kind and respectful, give credit to the original source of content, and search for duplicates before posting. Learn more
community guidelines
Community Beginner ,
Nov 14, 2021 Nov 14, 2021

Copy link to clipboard

Copied

Here is my setup with the different background which I want to add the same image to each one and perhaps I asked the wrong question re: smart objects?


BGs.JPG


Votes

Translate

Translate

Report

Report
Community guidelines
Be kind and respectful, give credit to the original source of content, and search for duplicates before posting. Learn more
community guidelines
Community Expert ,
Nov 14, 2021 Nov 14, 2021

Copy link to clipboard

Copied

To demo, I created one smart object with an image and then copied it four times, positioning each over a different place on your background image. I also changed the blend modes so that they blended with each background.

2021-11-14_22-33-44.jpg


Opening and editing the content of any of those smart object changes all of them, but the blend modes and position remain the same:

2021-11-14_22-46-37.jpg

Dave

Votes

Translate

Translate

Report

Report
Community guidelines
Be kind and respectful, give credit to the original source of content, and search for duplicates before posting. Learn more
community guidelines
Community Expert ,
Nov 14, 2021 Nov 14, 2021

Copy link to clipboard

Copied

A mockup template could also have independent Smart object layers  so  you can have a different image is each frame.   Ctrl+J will duplicate a smart object layer   you  will have multiple smart object  Layers that share a single object. Each layer object transform scale positions and waraps the shared object for its use in the mockup's composite image. Ether way the images in the frames are  different layer that can be scaled warped and position independently

JJMack

Votes

Translate

Translate

Report

Report
Community guidelines
Be kind and respectful, give credit to the original source of content, and search for duplicates before posting. Learn more
community guidelines
Community Beginner ,
Nov 15, 2021 Nov 15, 2021

Copy link to clipboard

Copied

LATEST

TYVM!

Votes

Translate

Translate

Report

Report
Community guidelines
Be kind and respectful, give credit to the original source of content, and search for duplicates before posting. Learn more
community guidelines