- Home
- Photoshop ecosystem
- Discussions
- How to fit image in particular frame?
- How to fit image in particular frame?
Copy link to clipboard
Copied
Hi all, me again with a new trouble.
I'm trying to insert a photo inside a file, so I can standardize the rest of my collection.
I tested all the scripts I found and tips on FIT IMAGE TO FRAME but no success.
Where am I going wrong?
Below is the image I want and where I need to put it

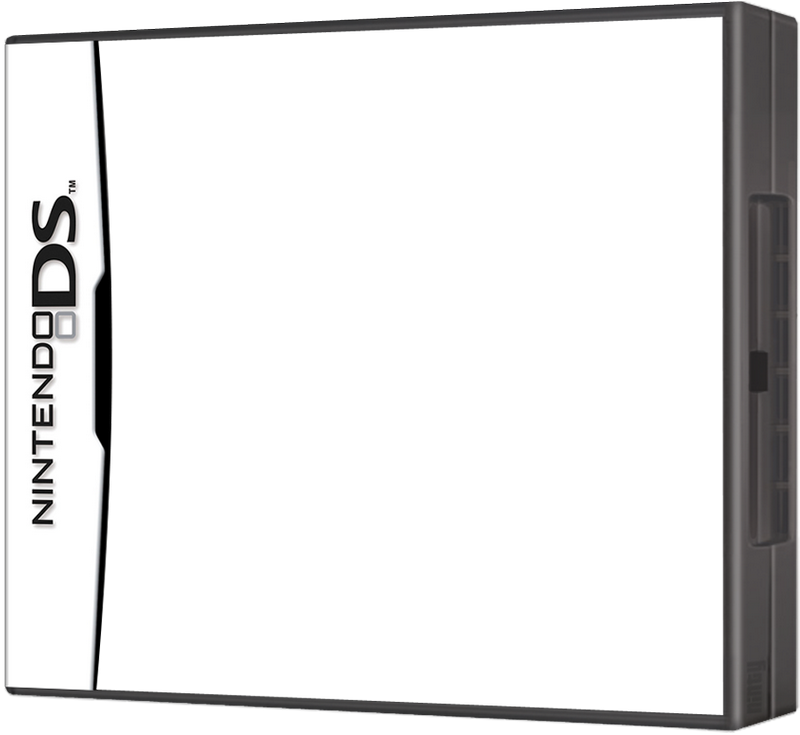
My goal

How to make this?? I have 320 images to make this, any Actions tip?
Thanks in advance.
Claudio
 1 Correct answer
I have created template and recorded action. Download it from here Claudio files.zip - Google Drive You will need Image Processor Pro installed ps-scripts - Browse /Image Processor Pro at SourceForge.net . I am running 2.3.0 version while testing. Note: I will assume that all your images which you want to use for replacement are 940x842px with single layer present.
- Open PSD template which I have prepared in Photoshop.
- Load action Batch replace SO content (it is included with template)
- With templat
Explore related tutorials & articles
Copy link to clipboard
Copied
As perspectival foreshortening seems to be involved I would recommend creating a master file with a transformed Smart Object and switch in the images in turn.
There have een several threads on the Photoshop Scripting Forum on automating such processes.
But if the images do not all have the same relative dimensions you should set up a rule: clip or add white/black/… space?
Copy link to clipboard
Copied
Thanks c.pfaffenbichler .
All imagers are same resolution and extension.
I need transformation Ds model in Smart Object, correct? After this, how to insert a image?
Claudio
Copy link to clipboard
Copied
I need transformation Ds model in Smart Object, correct?
The translation may be off, but the transformation should be applied to the Smart Object in the containing document.
Then replacing the Smart Object’s content with the other images would apply the same transformation to those.
Check out these threads for example:
Copy link to clipboard
Copied
Hi c.pfaffenbichler,
I tried to use your script and that's just it.
Where am I going wrong? Images have the same resolution.
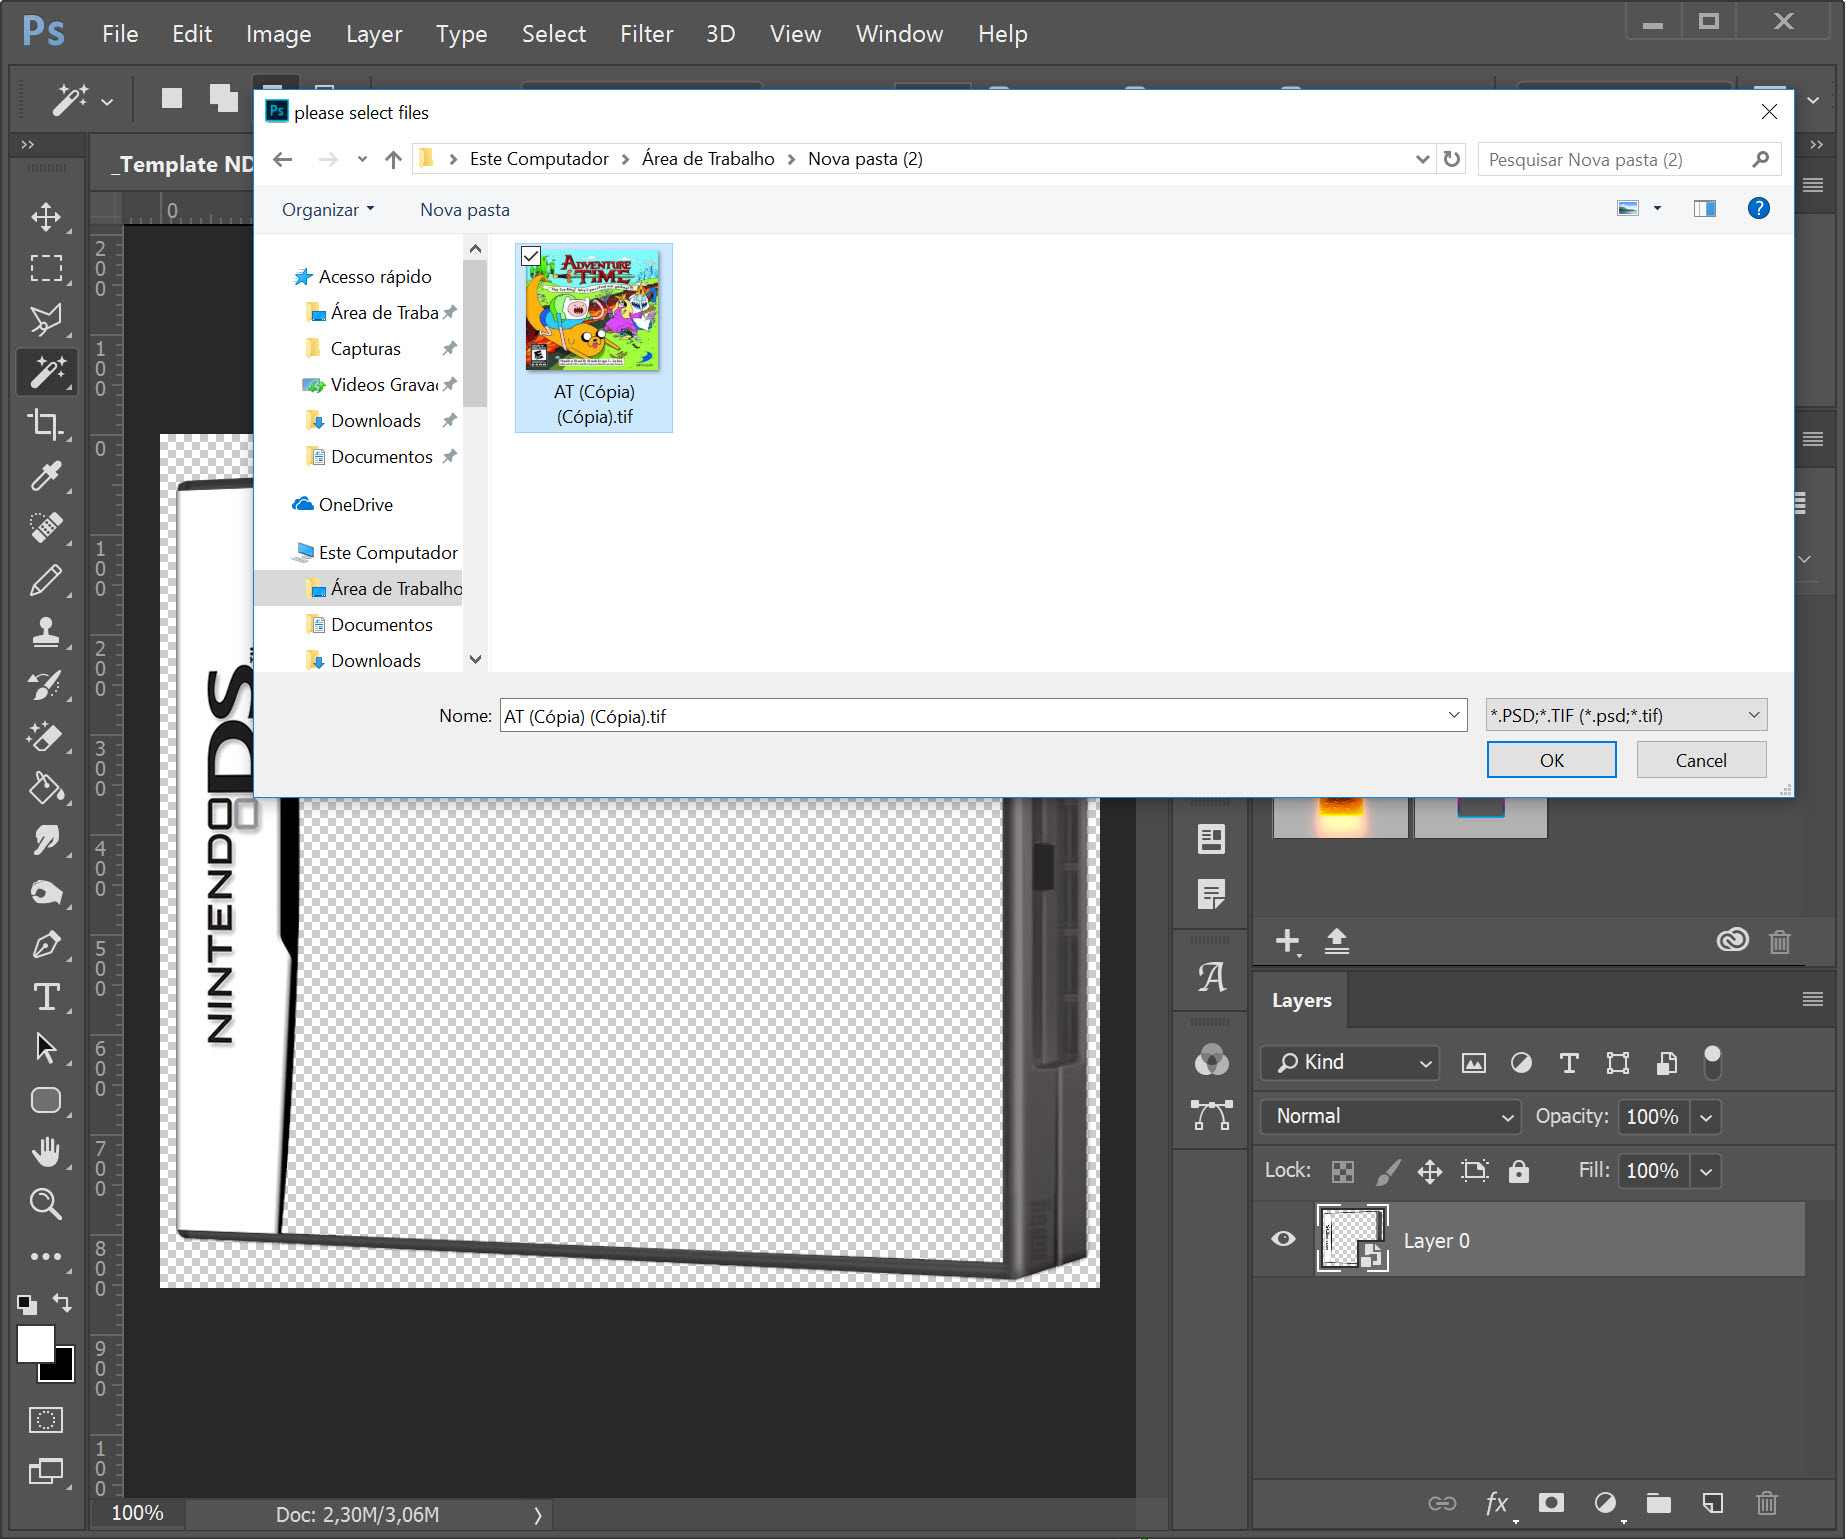
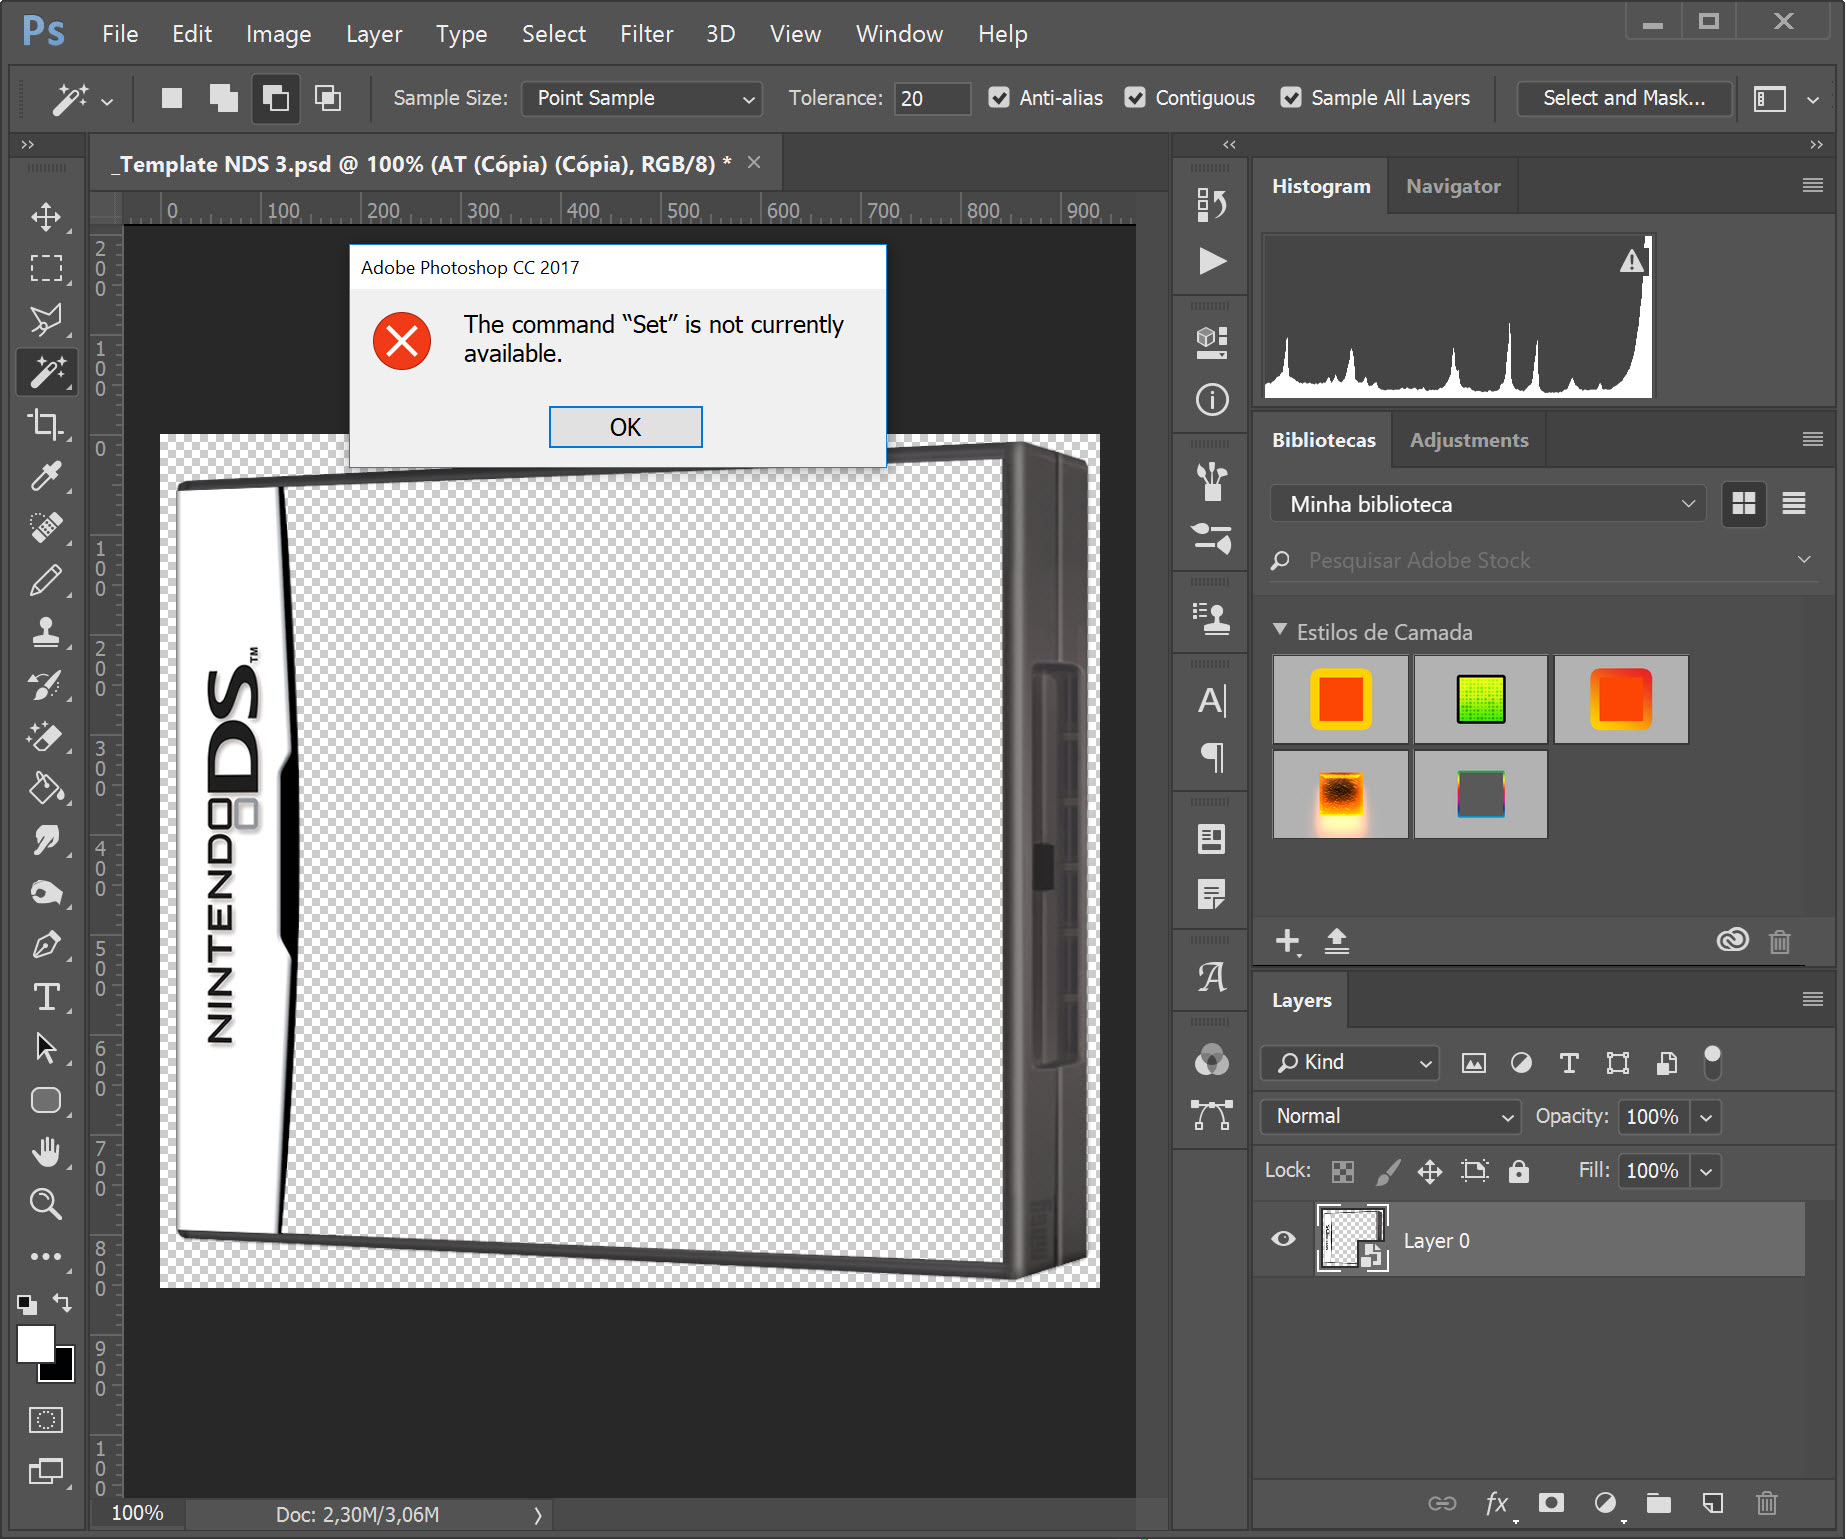
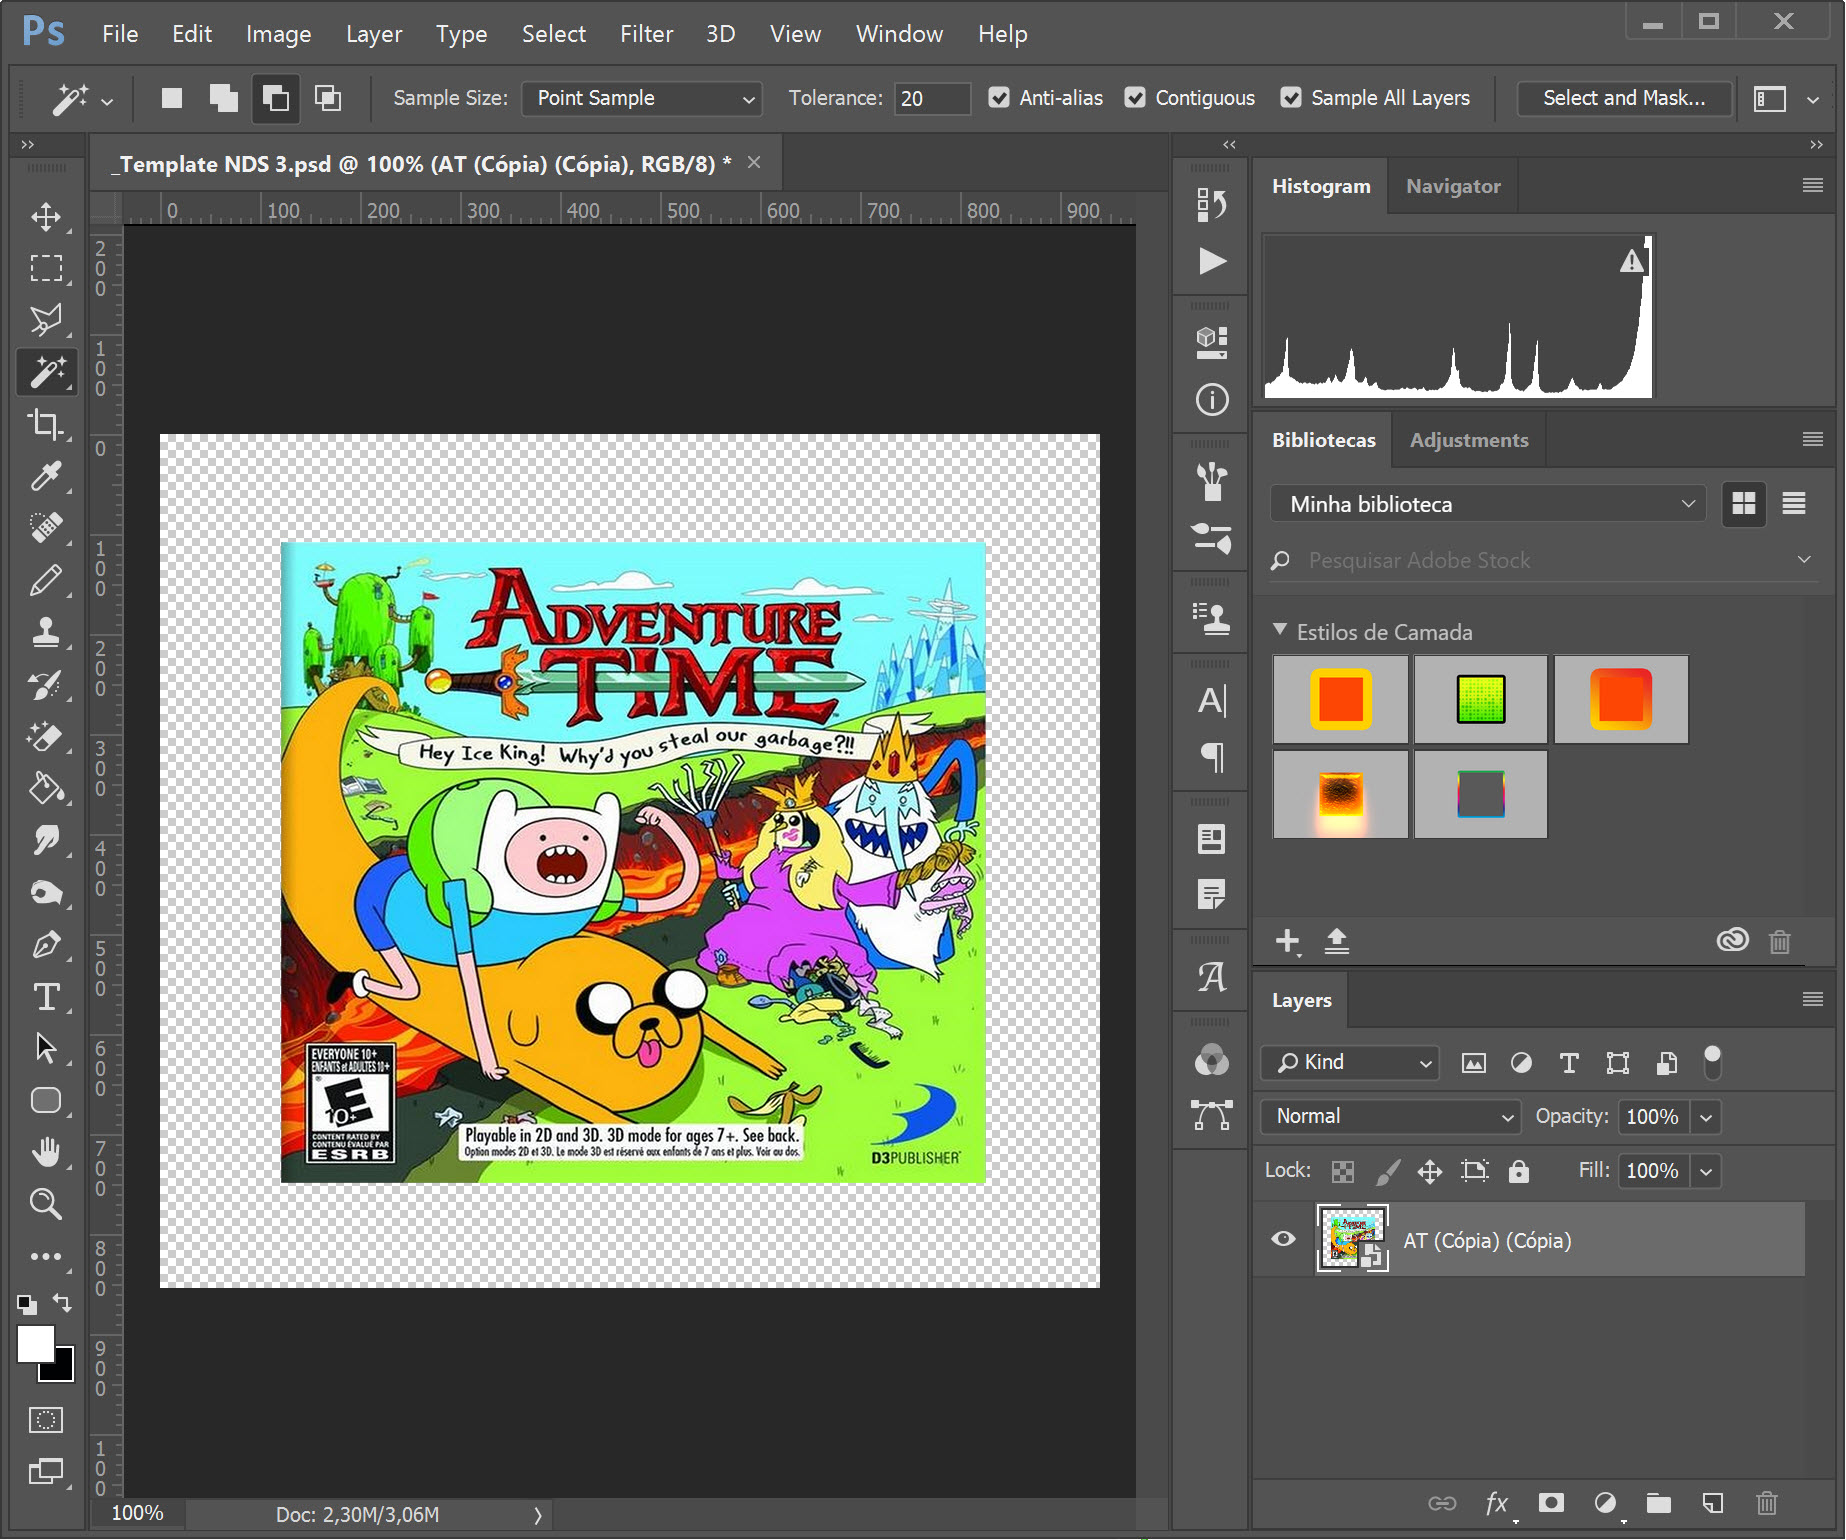
Claudio
Copy link to clipboard
Copied
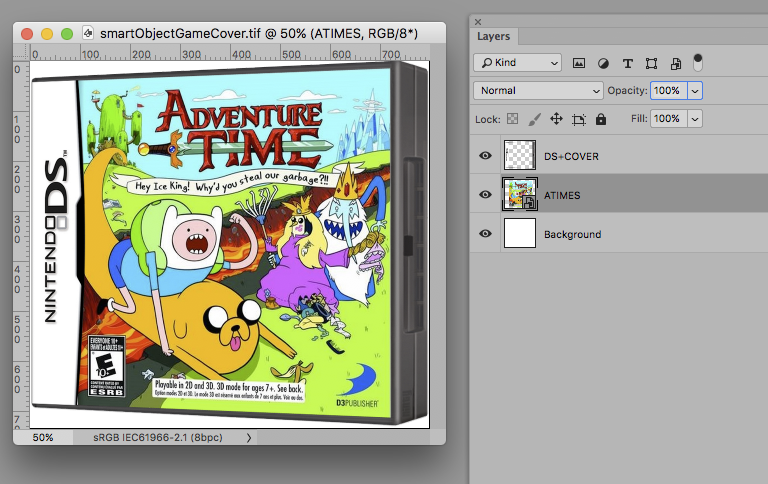
If I understand your layout correctly you need at least two Layers:
• the frame
• the cover (as a transformed SO)
Copy link to clipboard
Copied
Hummm, Yes iThis is what I need.
How to? Using the script ?
Copy link to clipboard
Copied
Sorry, there seems to be a misunderstanding.
First you need to set up the dummy file like this and then you can use a Script to automate switching in different content for the SO.
Copy link to clipboard
Copied
Make this.
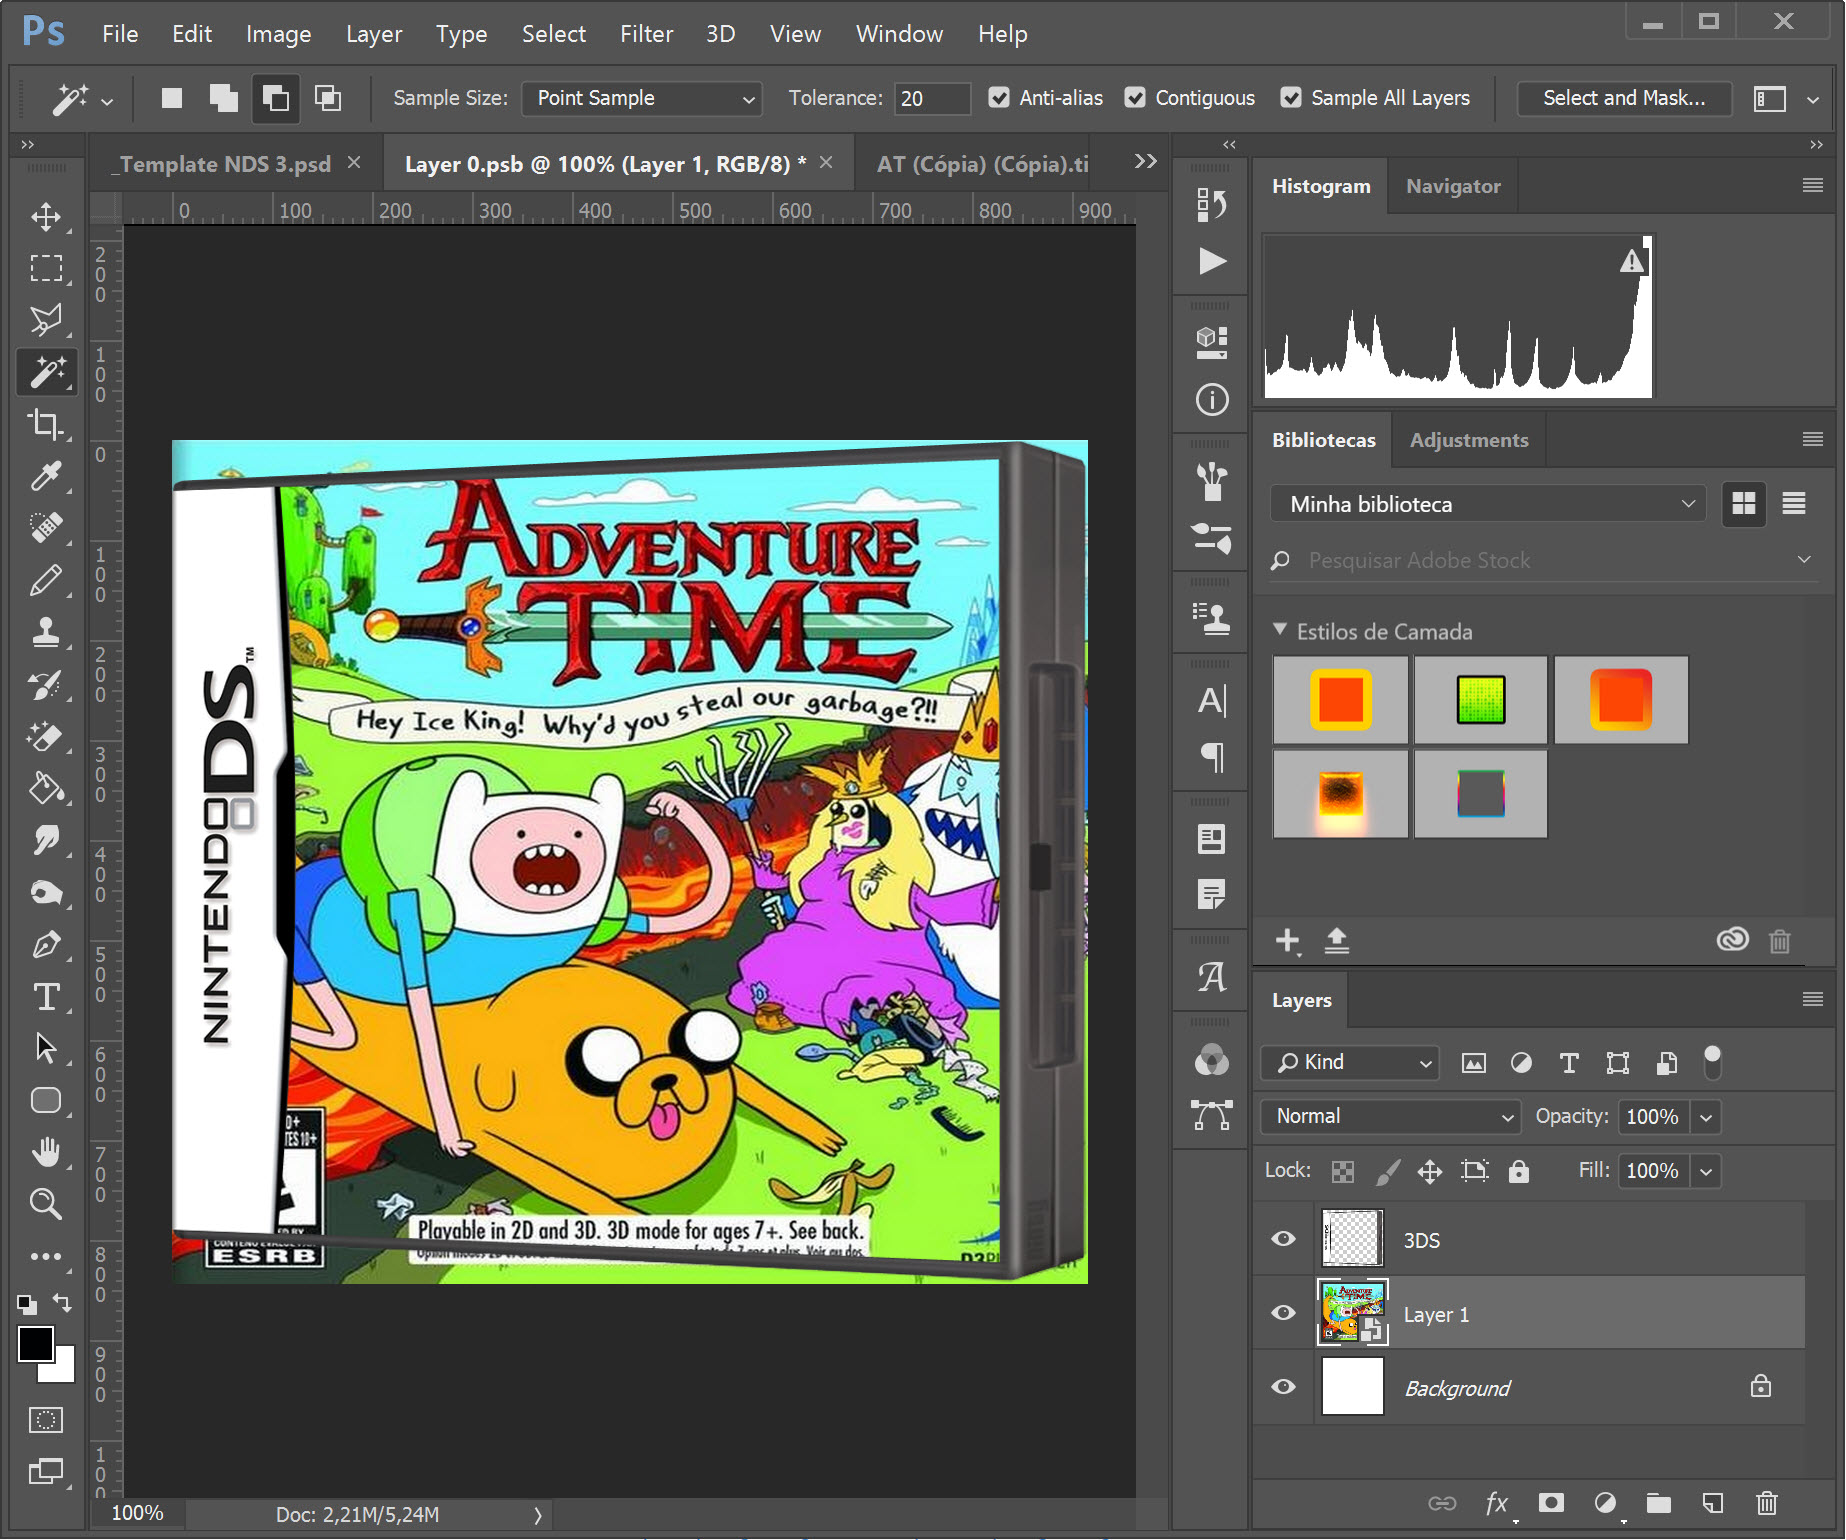
But when use the script, give me the "Command SET is no avaliable"
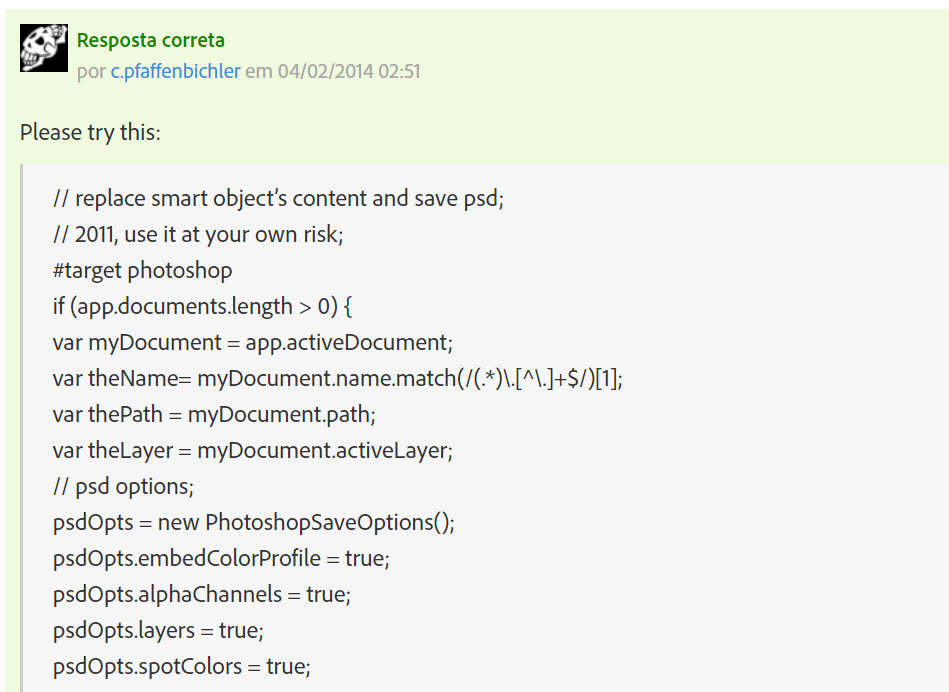
Used this script:
Claudio
Copy link to clipboard
Copied
Which exact Script?
Copy link to clipboard
Copied
This:
// replace smart object’s content and save psd;
// 2011, use it at your own risk;
#target photoshop
if (app.documents.length > 0) {
var myDocument = app.activeDocument;
var theName= myDocument.name.match(/(.*)\.[^\.]+$/)[1];
var thePath = myDocument.path;
var theLayer = myDocument.activeLayer;
// psd options;
psdOpts = new PhotoshopSaveOptions();
psdOpts.embedColorProfile = true;
psdOpts.alphaChannels = true;
psdOpts.layers = true;
psdOpts.spotColors = true;
// check if layer is smart object;
if (theLayer.kind != "LayerKind.SMARTOBJECT") {alert ("selected layer is not a smart object")}
else {
// select files;
if ($.os.search(/windows/i) != -1) {var theFiles = File.openDialog ("please select files", "*.psd;*.tif", true)}
else {var theFiles = File.openDialog ("please select files", getFiles, true)};
if (theFiles) {
// work through the array;
for (var m = 0; m < theFiles.length; m++) {
// replace smart object;
theLayer = replaceContents (theFiles
var theNewName = theFiles
//Raise color picker for Back cover;
try {
app.activeDocument.activeLayer = app.activeDocument.layers[app.activeDocument.layers.length - 1];
// =======================================================
var idsetd = charIDToTypeID( "setd" );
var desc7 = new ActionDescriptor();
var idnull = charIDToTypeID( "null" );
var ref2 = new ActionReference();
var idcontentLayer = stringIDToTypeID( "contentLayer" );
var idOrdn = charIDToTypeID( "Ordn" );
var idTrgt = charIDToTypeID( "Trgt" );
ref2.putEnumerated( idcontentLayer, idOrdn, idTrgt );
desc7.putReference( idnull, ref2 );
var idT = charIDToTypeID( "T " );
var desc8 = new ActionDescriptor();
var idClr = charIDToTypeID( "Clr " );
var idsolidColorLayer = stringIDToTypeID( "solidColorLayer" );
desc7.putObject( idT, idsolidColorLayer, desc8 );
executeAction( idsetd, desc7, DialogModes.ALL );
} catch (e) {};
//save jpg;
myDocument.saveAs((new File(thePath+"/"+theName+"_"+theNewName+".psd")),psdOpts,true);
}
}
}
};
////// get psds, tifs and jpgs from files //////
function getFiles (theFile) {
if (theFile.name.match(/\.(psd|tif)$/i) != null || theFile.constructor.name == "Folder") {
return true
};
};
////// replace contents //////
function replaceContents (newFile, theSO) {
app.activeDocument.activeLayer = theSO;
// =======================================================
var idplacedLayerReplaceContents = stringIDToTypeID( "placedLayerReplaceContents" );
var desc3 = new ActionDescriptor();
var idnull = charIDToTypeID( "null" );
desc3.putPath( idnull, new File( newFile ) );
var idPgNm = charIDToTypeID( "PgNm" );
desc3.putInteger( idPgNm, 1 );
executeAction( idplacedLayerReplaceContents, desc3, DialogModes.NO );
return app.activeDocument.activeLayer
};
Copy link to clipboard
Copied
Can you please explain your goal further. You want to automate the process of replacing image on single Smart Object layer and then to save in some format like JPEG. As already mentioned you will need layer with the frame and Smart Object layer with image to replace. From what I see above you want to replace image on Smart Object layer which is below the frame and you have and Background layer at the bottom.
Action can be recorded for that purpose. There are several options in my head. Simples action will be to use Replace Contents command which will open dialog to select image for replacement but in that case you must manually select each and every of 320 images for replacement.
If I know exactly your end goal and steps perhaps there is more automated solution.
Copy link to clipboard
Copied
Thank you for help Bojan Živković.
My first goal is to fit any image 1 to frame. fill the transparent inner space. That would do me good.
Image 1

Frame
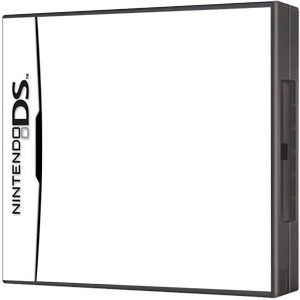
Final Image Result

My second goal is to replace the 1 image with other images and save via PNG / JPG automatized.
Claudio
Copy link to clipboard
Copied
I found some quick solution which seems to work. Requirement for action to work is template which must have image to be replaced as it is as starting point. The next step is to convert image to Smart Object layer and to transform it. If you do not understand then solution can be to upload frame and one of the images somewhere so I can access them to try things on my own and test process.
Copy link to clipboard
Copied
I have created template and recorded action. Download it from here Claudio files.zip - Google Drive You will need Image Processor Pro installed ps-scripts - Browse /Image Processor Pro at SourceForge.net . I am running 2.3.0 version while testing. Note: I will assume that all your images which you want to use for replacement are 940x842px with single layer present.
- Open PSD template which I have prepared in Photoshop.
- Load action Batch replace SO content (it is included with template)
- With template with frame claudio.psd open in Photoshop (I am repeating just to ensure) evoke Image Processor Pro from File > Automate.
- Choose folder with images at the top (section 1)
- Choose where to save images (section 2)
- In section 3 (File types) you should have 2 tabs: one to save JPEG and another to save PNG files. That's what I have understood, you want JPEG and PNG files saved. Important thing is to check Run Action. From the first drop down list choose Batch replace SO content and from the second choose: Replace SO content. That is action set name and action name which I sent you. Check Run Action on both tabs to run action for both: JPEG and PNG files.
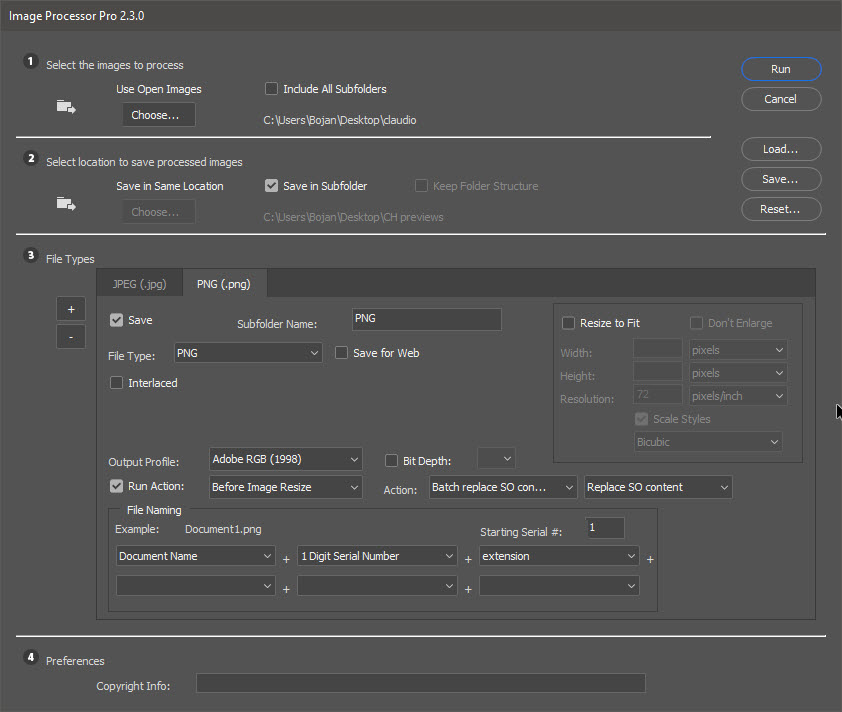
Test with a couple of images like 5 or 6 to see if everything works as you expect.
Ensure that you have the second (latest version downloaded). In the first version, I forgot to merge layers in edited SO layer what will create a huge file when batch processing lots of images.
Copy link to clipboard
Copied
Sir Bojan Živković you are my hero.
Thank you very much for your help. English is not my native language, so I suffer from a few sentences.
Thanks for the patience with me.
I will now finalize my project and I will try to read and learn more about Photoshop.
You have won a fan.

Claudio
Copy link to clipboard
Copied
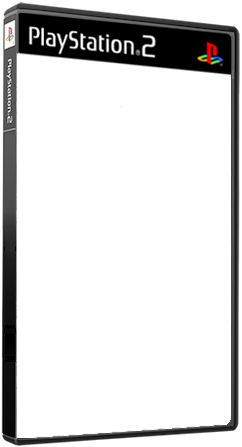
I found this article very helpful and I am trying to do the same thing with a playstation 2 template. I followed these instruction and the automation seems to work other than the fact that the image does not get resized to fit the template. Some of it gets cut off and does not get skewed and it would if I did it manually. I followed these instructions and cannot figure out where I am going wrong. And is there a way to not have a white background show up? Thanks.
Copy link to clipboard
Copied
Are you using the same template? It won't work. The action is created to work with some dependencies specific to Claudio's files.
You can upload frame and image somewhere so I can create a template for you.
Note: for action above to work, your images (not frame) must have exact same dimensions (width and height).
Copy link to clipboard
Copied
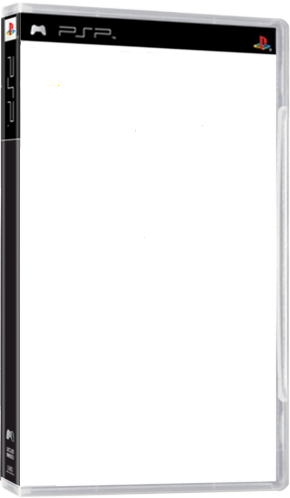
Gotcha. I was not using the same file but followed the same steps. I did't realize the template was had specific dependencies. I just assumed that it would work. All of the images will be the same dimensions so that won't be an issue. I have a few other templates I plan to work on after the playstation 2 one. Is it difficult to create a template for these? Just asking for future reference.
I really appreciate your help.






Copy link to clipboard
Copied
Here are some guidelines on how to create template to use with action provided above
Just to mention that you have step: Trim at the bottom of the action which is turned off from playing. You can turn it on in case that you want to trim transparent areas. Just above step Trim you will see step: Reveal all which is also excluded from playing. Those steps are recorded initially just in case... Whole action is recorded to serve with modified template like added layer for clipping mask below replace Smart Object layer.
Copy link to clipboard
Copied
Thank you very much for that video. It worked like a charm. Is there any way to have the script not automatically create a white background? I want it to be transparent. Since my wii covers are white, they blend in with the white background and there's no way for me remove the background with removing parts of the template. Thanks.
Copy link to clipboard
Copied
Hi, bobsaidwzob , are you referring to script postet by c.pfaffenbichler or to my action?
Action is not creating any background. Action is expecting single layer in replacement image files.
Copy link to clipboard
Copied
I'm referring to this file. "Batch replace SO content.atn". It was included in the google drive attachments at the beginning of the thread. So if it doesn't create a background it there a way to have a transparent background instead of white? By default a new image has a white background so I'm guessing that's where it occurs. I can choose a transparent background manually but I'm not sure how to do that via this script.
Here is an example of the white background from the automation process. 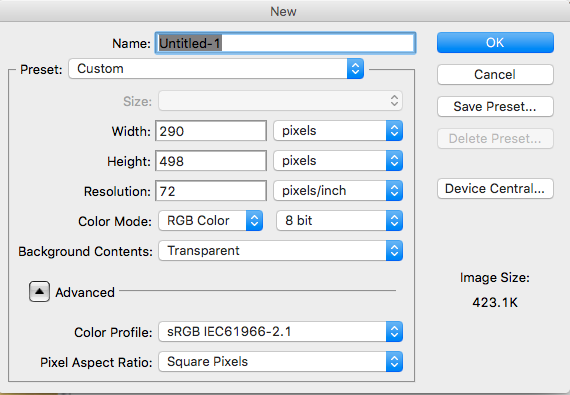

Copy link to clipboard
Copied
The issue is the jpg format. The White background doesn't show up if I choose psd as the file format. Not sure if it's the replace file causing that or what but I guess I'll just be using the psd format from now on. If there is a fix for the jpg format that would be better but psd will do for now.
Copy link to clipboard
Copied
The second image should be a template which is open before evoking Image Processor Pro and batch process, right? Remove white background on the layer with the frame. You can use any selection technique that you know. Just mask white background or delete it.
I just saw your explanation about JPEG file. You can save as PNG to keep transparent areas. Above lines are still valid, template must have transparent areas, not white background if you want transparency in saved PNG, PSD files.
-
- 1
- 2
Find more inspiration, events, and resources on the new Adobe Community
Explore Now