
Answered
How to make a shape outline a letter
Hi there!
I have been looking to see how to make a shape outline a letter.
Heres what I'm trying to do:

Please, could someone tell me how I would do this?
also, I'm new to Photoshop

Hi there!
I have been looking to see how to make a shape outline a letter.
Heres what I'm trying to do:
Please, could someone tell me how I would do this?
also, I'm new to Photoshop
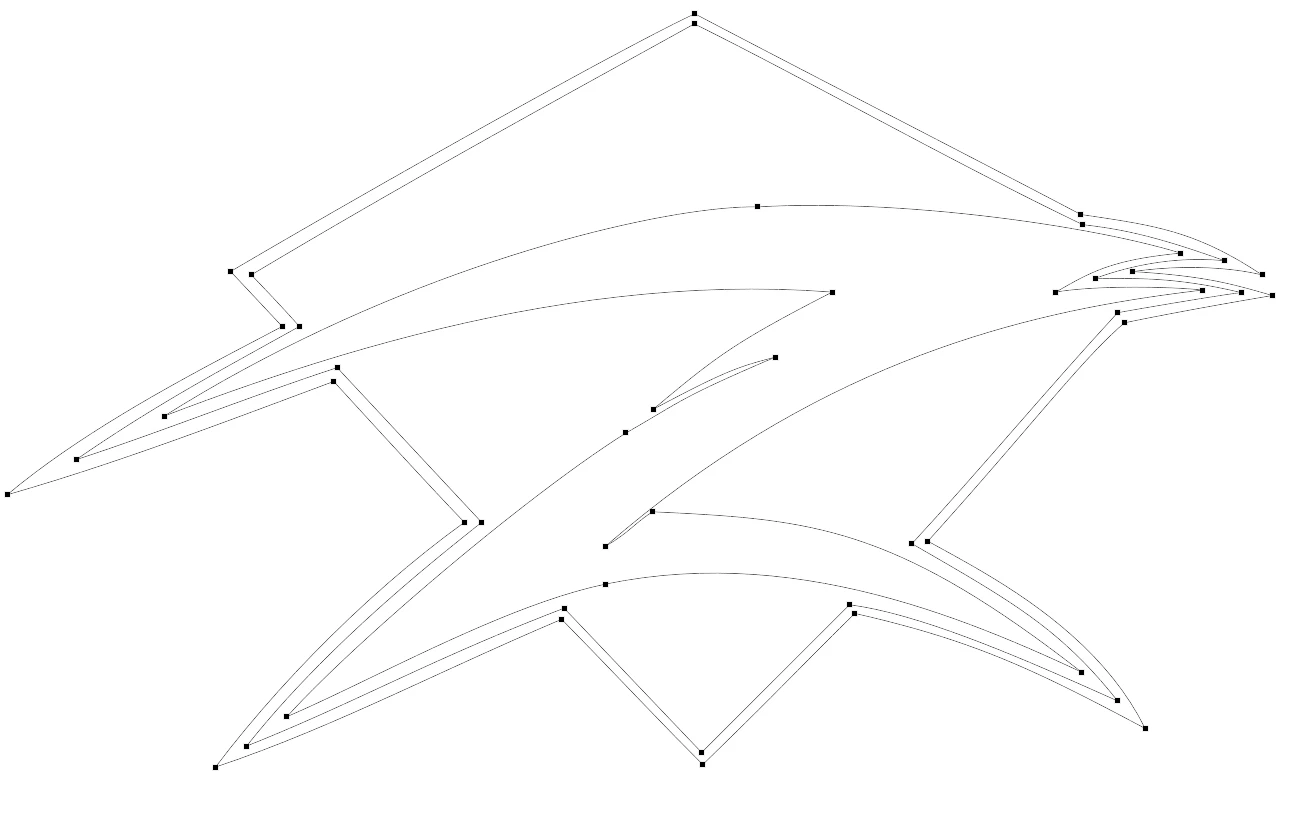
Shape have vector Paths that can be stroked and closed paths can be filed with a fill color gradient or patter. That is a singe color, gradient or patten. shape layers can also have layer styles added. To make your blue and cyan Z logo you would most likely need to make two shapes layers the Cyan shape and the Blue shape layer stacked. When you create the custom shape paths with the pen tool use the least number of control points possible. Something like this:
Already have an account? Login
Enter your E-mail address. We'll send you an e-mail with instructions to reset your password.