Exit
  • Global community
    • Language:
      • Deutsch
      • English
      • Español
      • Français
      • Português
  • 日本語コミュニティ
  • 한국 커뮤니티
0

How to Make My Design Look Realistic on a Mockup in Photoshop?

Community Beginner ,
Sep 12, 2025 Sep 12, 2025

Hi everyone,

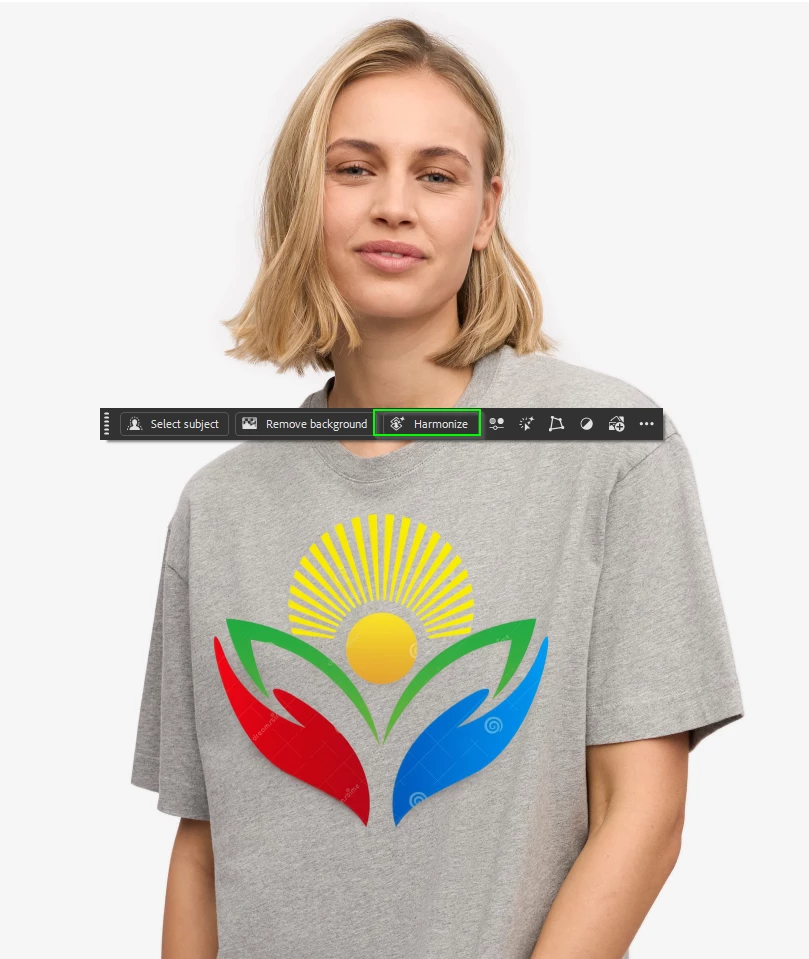
I’m working on creating a Cover Image and Feature Image for my Faire shop. I have a mockup of a person wearing a t-shirt, and I can place my design on it. The problem is that my design doesn’t “bend” or follow the contours and wrinkles of the shirt, so it looks flat and unrealistic.

Is there a way to do this in Photoshop? Can Harmonize or another tool help me achieve that effect?

It’s probably obvious that I’m not a graphic designer — I’m just trying to figure this out myself since I haven’t had luck hiring someone on Fiverr or Upwork. Any tips or guidance would be so appreciated!

Thanks so much,

Judy

TOPICS
Actions and scripting , iPadOS , macOS , SDK , Web
281
Translate
Report
Community guidelines
Be kind and respectful, give credit to the original source of content, and search for duplicates before posting. Learn more
community guidelines

correct answers 2 Correct answers

Community Expert , Sep 12, 2025 Sep 12, 2025

Two ways come to mind. The first is the Liquify filter. The second is a Displacement Map (Filter > Distort > Displace). Do a Web search for Photoshop Displacement Map; there's lots of tutorials out there covering just this thing.

Translate
Community Expert , Sep 13, 2025 Sep 13, 2025

If you are using the beta version (least ways I think it is still only with the beta) try Harmonize from the Contextual Toolbar.  In this case it simply added some shading to the logo, but it is a very useful new tool.

image.png


Do you need any help with Displacement Maps?  They will shape the new content to the surface it overlays.

You can see it has distorted the design to follow the cfolds of the shirt.  Some manually added shading completes the effect.

image.png

Translate
Adobe
Community Expert ,
Sep 12, 2025 Sep 12, 2025

Two ways come to mind. The first is the Liquify filter. The second is a Displacement Map (Filter > Distort > Displace). Do a Web search for Photoshop Displacement Map; there's lots of tutorials out there covering just this thing.

Translate
Report
Community guidelines
Be kind and respectful, give credit to the original source of content, and search for duplicates before posting. Learn more
community guidelines
Community Beginner ,
Sep 12, 2025 Sep 12, 2025

Thank you so much! I appreciate your feedback. I'll give that a try.

Translate
Report
Community guidelines
Be kind and respectful, give credit to the original source of content, and search for duplicates before posting. Learn more
community guidelines
Community Expert ,
Sep 13, 2025 Sep 13, 2025

If you are using the beta version (least ways I think it is still only with the beta) try Harmonize from the Contextual Toolbar.  In this case it simply added some shading to the logo, but it is a very useful new tool.

image.png


Do you need any help with Displacement Maps?  They will shape the new content to the surface it overlays.

You can see it has distorted the design to follow the cfolds of the shirt.  Some manually added shading completes the effect.

image.png

Translate
Report
Community guidelines
Be kind and respectful, give credit to the original source of content, and search for duplicates before posting. Learn more
community guidelines
Community Beginner ,
Sep 14, 2025 Sep 14, 2025
LATEST

Thank you for your response, @Trevor.Dennis . I think you and @Semaphoric  are both correct in using Displacement Map. I am working on it right now. I am absolutely a newbie at this so, hopefully, I can figure it out. Thank you, again! I appreciate your help.

Translate
Report
Community guidelines
Be kind and respectful, give credit to the original source of content, and search for duplicates before posting. Learn more
community guidelines