- Home
- Photoshop ecosystem
- Discussions
- Re: How to make this effect in Illustrator or Phot...
- Re: How to make this effect in Illustrator or Phot...
Copy link to clipboard
Copied
 1 Correct answer
1. Open 72 ppi file
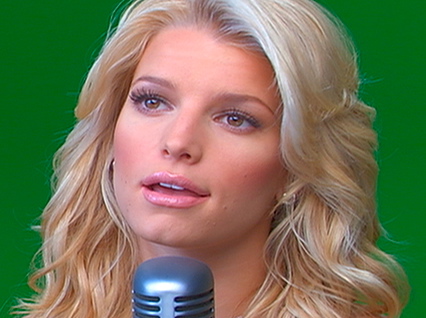
2. Image > Mode > Grayscale
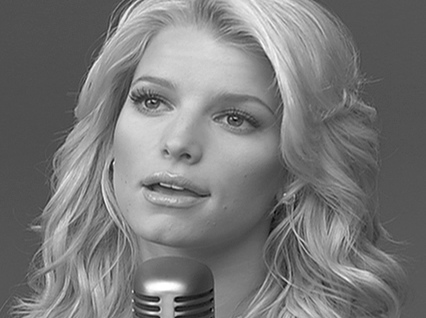
3. Image > Adjustments > Curves. Increase Contrast
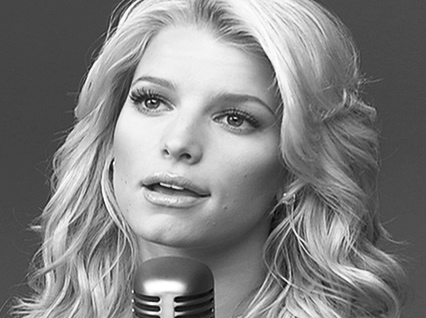
4. Image > Mode> Bitmap 1000 ppi Halftone Screen
5. In drop-down screen menu that follows: Frequency 53, Angle 45 degrees, Shape: line, OK
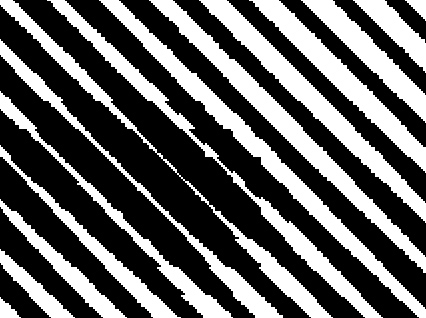
6. Image > Mode > Grayscale Size ratio: 1
7. Cmd + to enlarge the view several times to 200%
8. Filter > Blur > Gaussian Blur 2.8 pixels
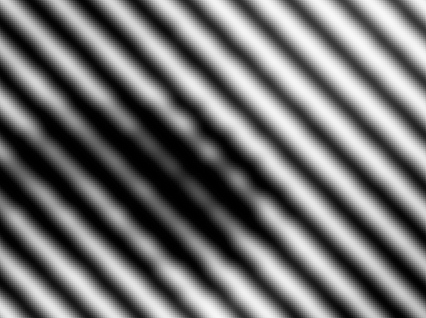
9. Filter > Sharpen > Unsharp Mask. Amount 167, Radius 131.6, Threshold 0
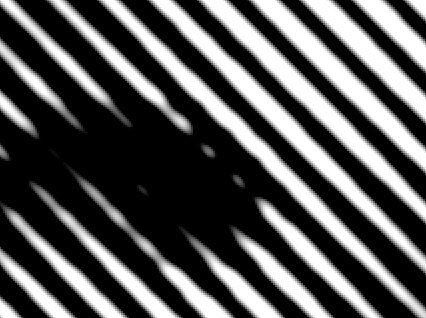
10. Cmd - to reduce view and screen grab
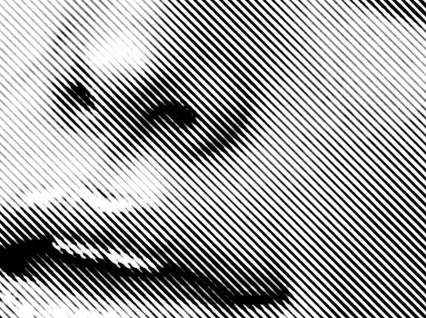
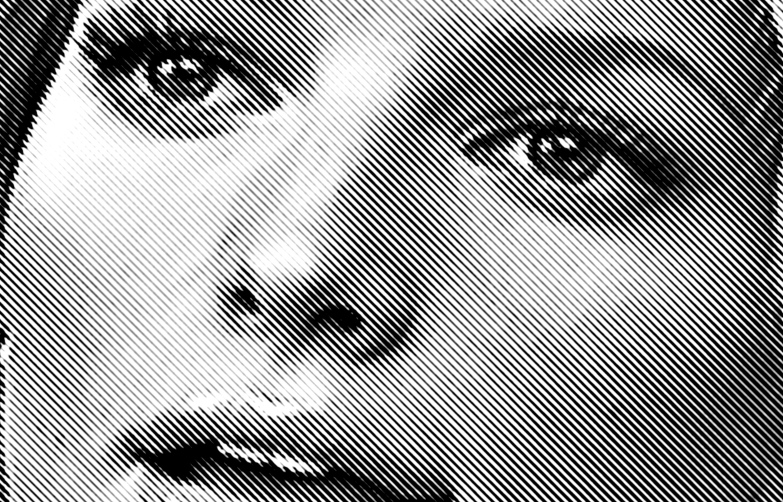
I believe if y
...Explore related tutorials & articles
Copy link to clipboard
Copied
Add a BW adjustment layer with an active selection so a layer mask will be added no matter how the adjustment panel flyout menu items are set. That will get around Adobe's CS4 bug.
Copy link to clipboard
Copied
Could you link a video about please ?
Copy link to clipboard
Copied
I'm not about to make a video for you or search for one for you. If you want a video tutorial you should search the web for one yourself. Join Lynda.com they may have the tutorials you want.
Copy link to clipboard
Copied
I just wanted to say you to explain your words because aren't clear. I've already joined Lynda. Thank you.
Copy link to clipboard
Copied
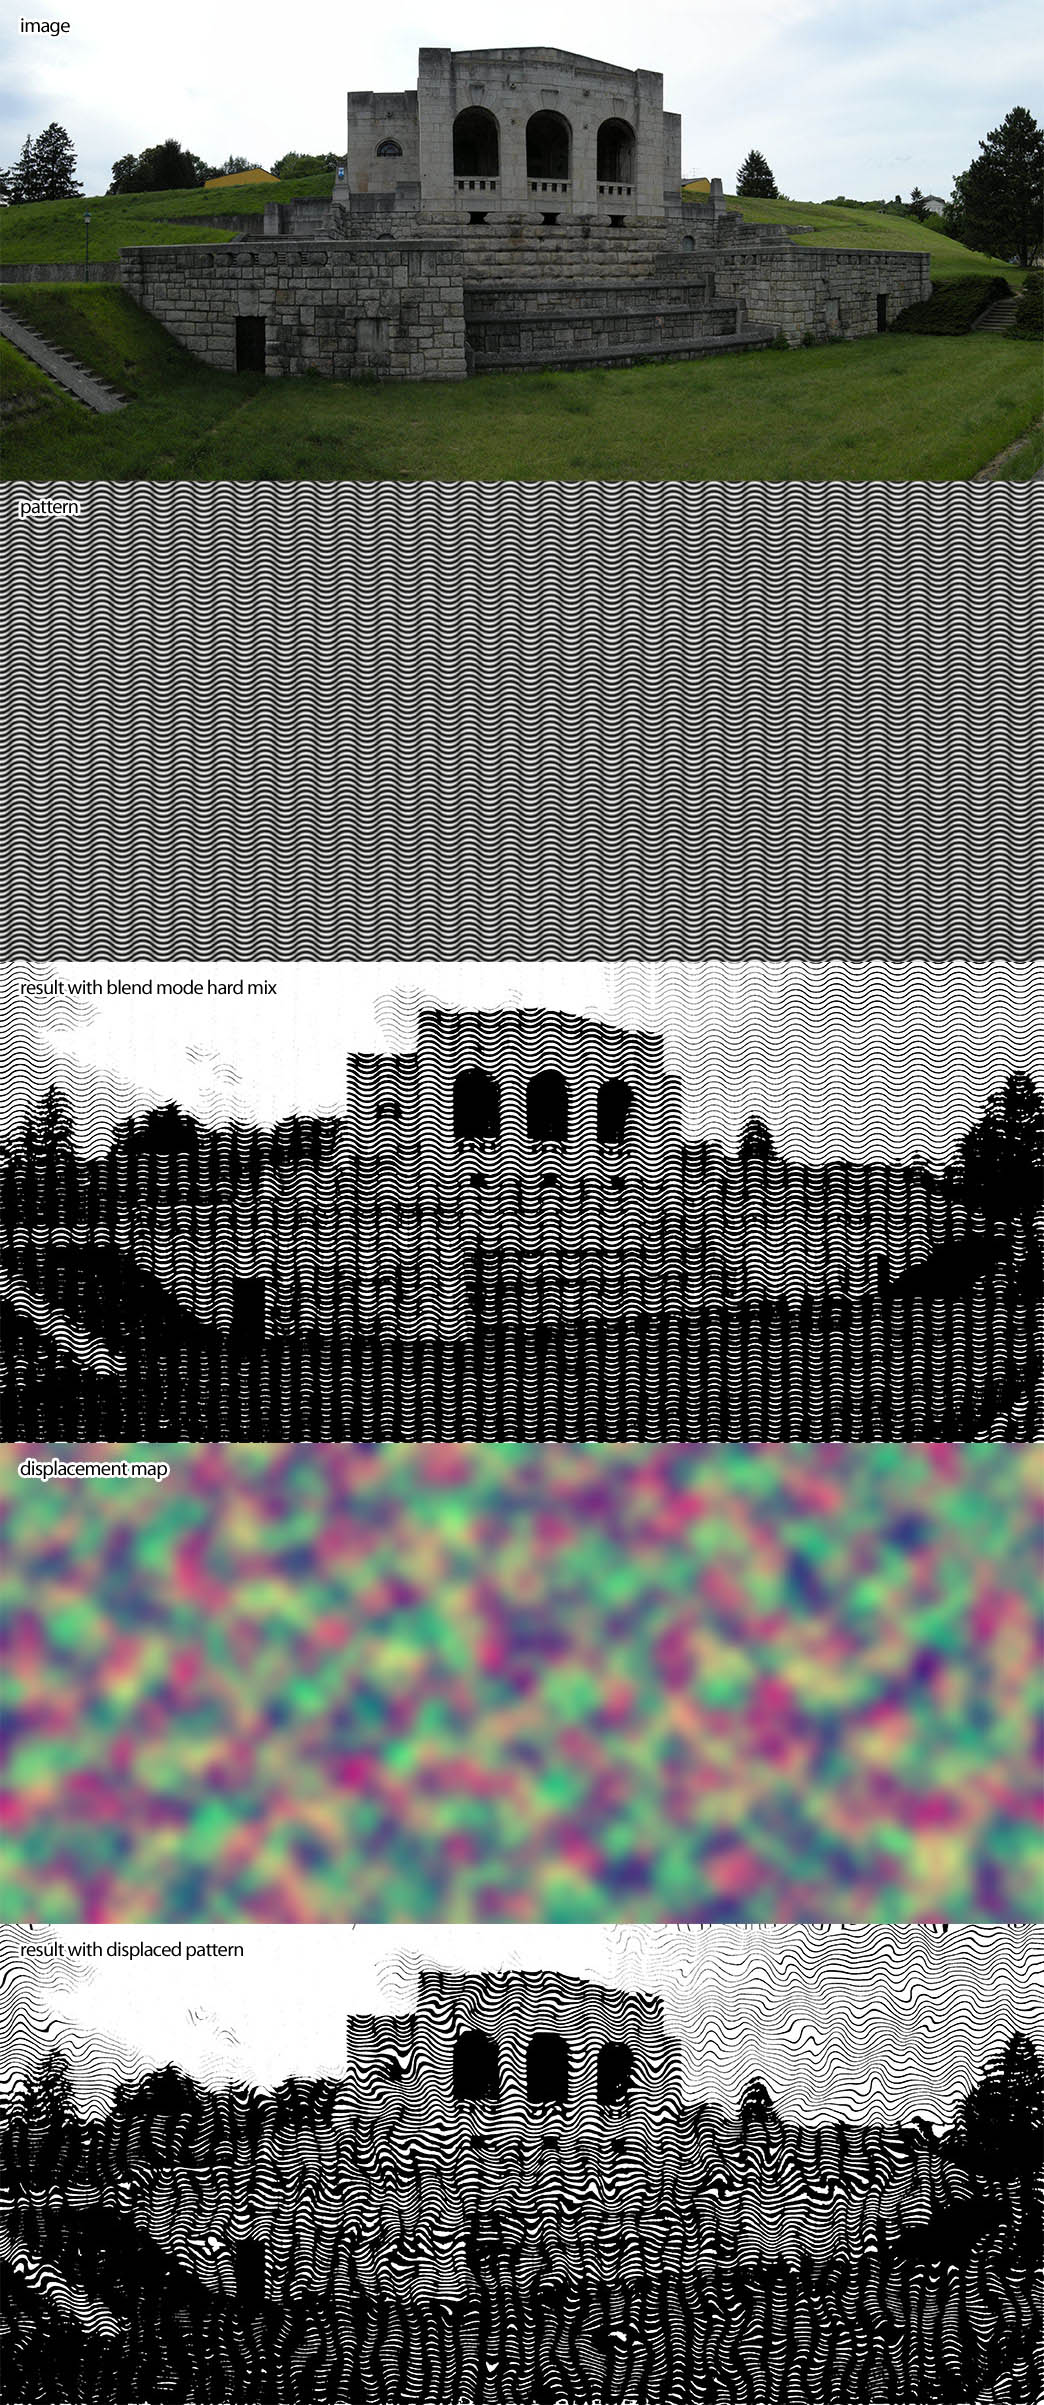
Make a neutral burred line pattern and set it to Blend Mode Hard Mix atop a b/w image.
Edit: 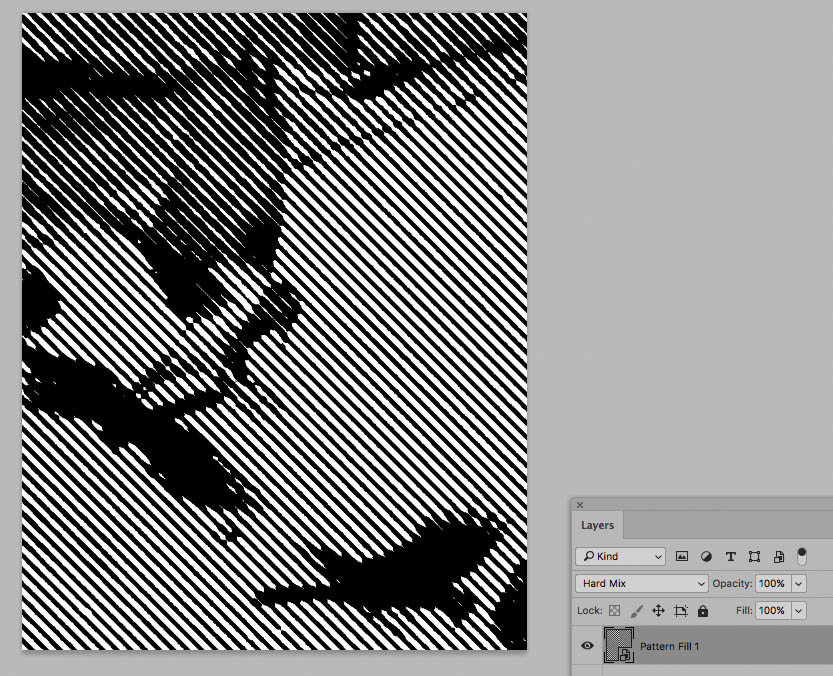
By blurring the image one can influence the detail that is being maintained.
Copy link to clipboard
Copied
There is no one way do something like that
With Photoshop you use layers to make a composite image.
For something like you showed do something like this
Start by making a new document with a black background you add noise to
Place in an image as a smart object layer size and position it over the background layer
Add a temp Black layer on top
Paint with a white use a spatter brush paint diagonal sloppy lines
Select that layer's white area.
Delete the temp layer or turn off its visibility.
Add the selection to the placed image layer as a layer mask
Add a BW adjustment layer on top
Work on the layer mask to help with the composition
Copy link to clipboard
Copied
Hi
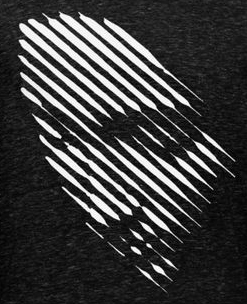
I had a close look at that image and it looks like the white lines are wider where the image is whiter. So:
Take an image (I used my avatar) - darken the surround add a black and white layer a heavy curves adjustment to increase contrast and a layer with plain black and white stripes
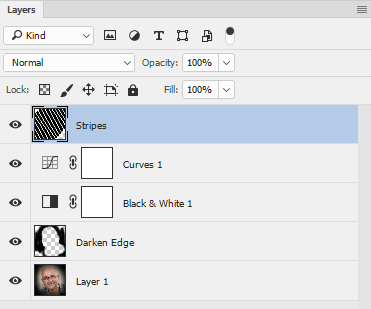
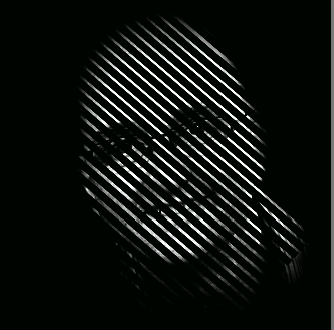
Put all that in a smart object and apply a gaussian blur filter (this is what will widen the brighter lines) then add a threshold layer on top

Result :

I hop that helps you
Dave
Copy link to clipboard
Copied
1. Open 72 ppi file

2. Image > Mode > Grayscale

3. Image > Adjustments > Curves. Increase Contrast

4. Image > Mode> Bitmap 1000 ppi Halftone Screen
5. In drop-down screen menu that follows: Frequency 53, Angle 45 degrees, Shape: line, OK

6. Image > Mode > Grayscale Size ratio: 1
7. Cmd + to enlarge the view several times to 200%
8. Filter > Blur > Gaussian Blur 2.8 pixels

9. Filter > Sharpen > Unsharp Mask. Amount 167, Radius 131.6, Threshold 0

10. Cmd - to reduce view and screen grab


I believe if you Google Diagonal Line Halftone you may find a a plugin that will do the job more efficiently, as well.
Copy link to clipboard
Copied
I still think the Hard Mix-approach has advantages with more immediate editability.
It does result in hard-edged imagery, but to force anti-aliasing one can work at double-resolution (in a Smart Object preferably) and downsample.
And to soften the results one can Blur the image itself.
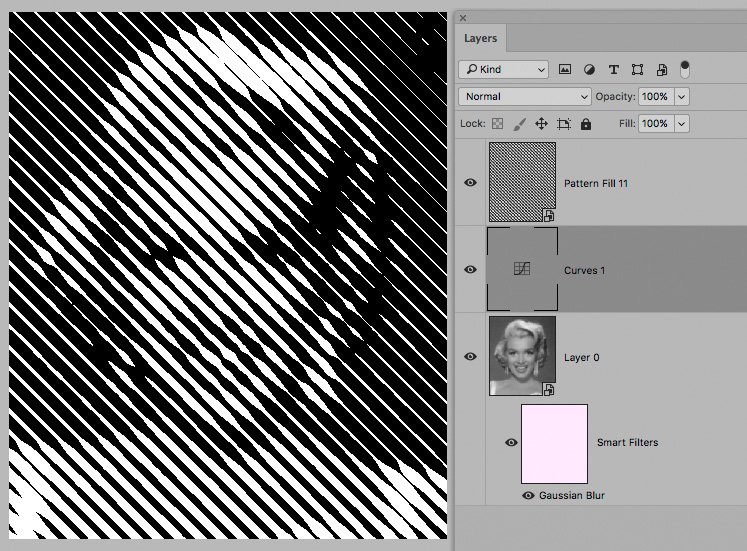
Edit: And one can go »wild« with the Patterns …
