Copy link to clipboard
Copied
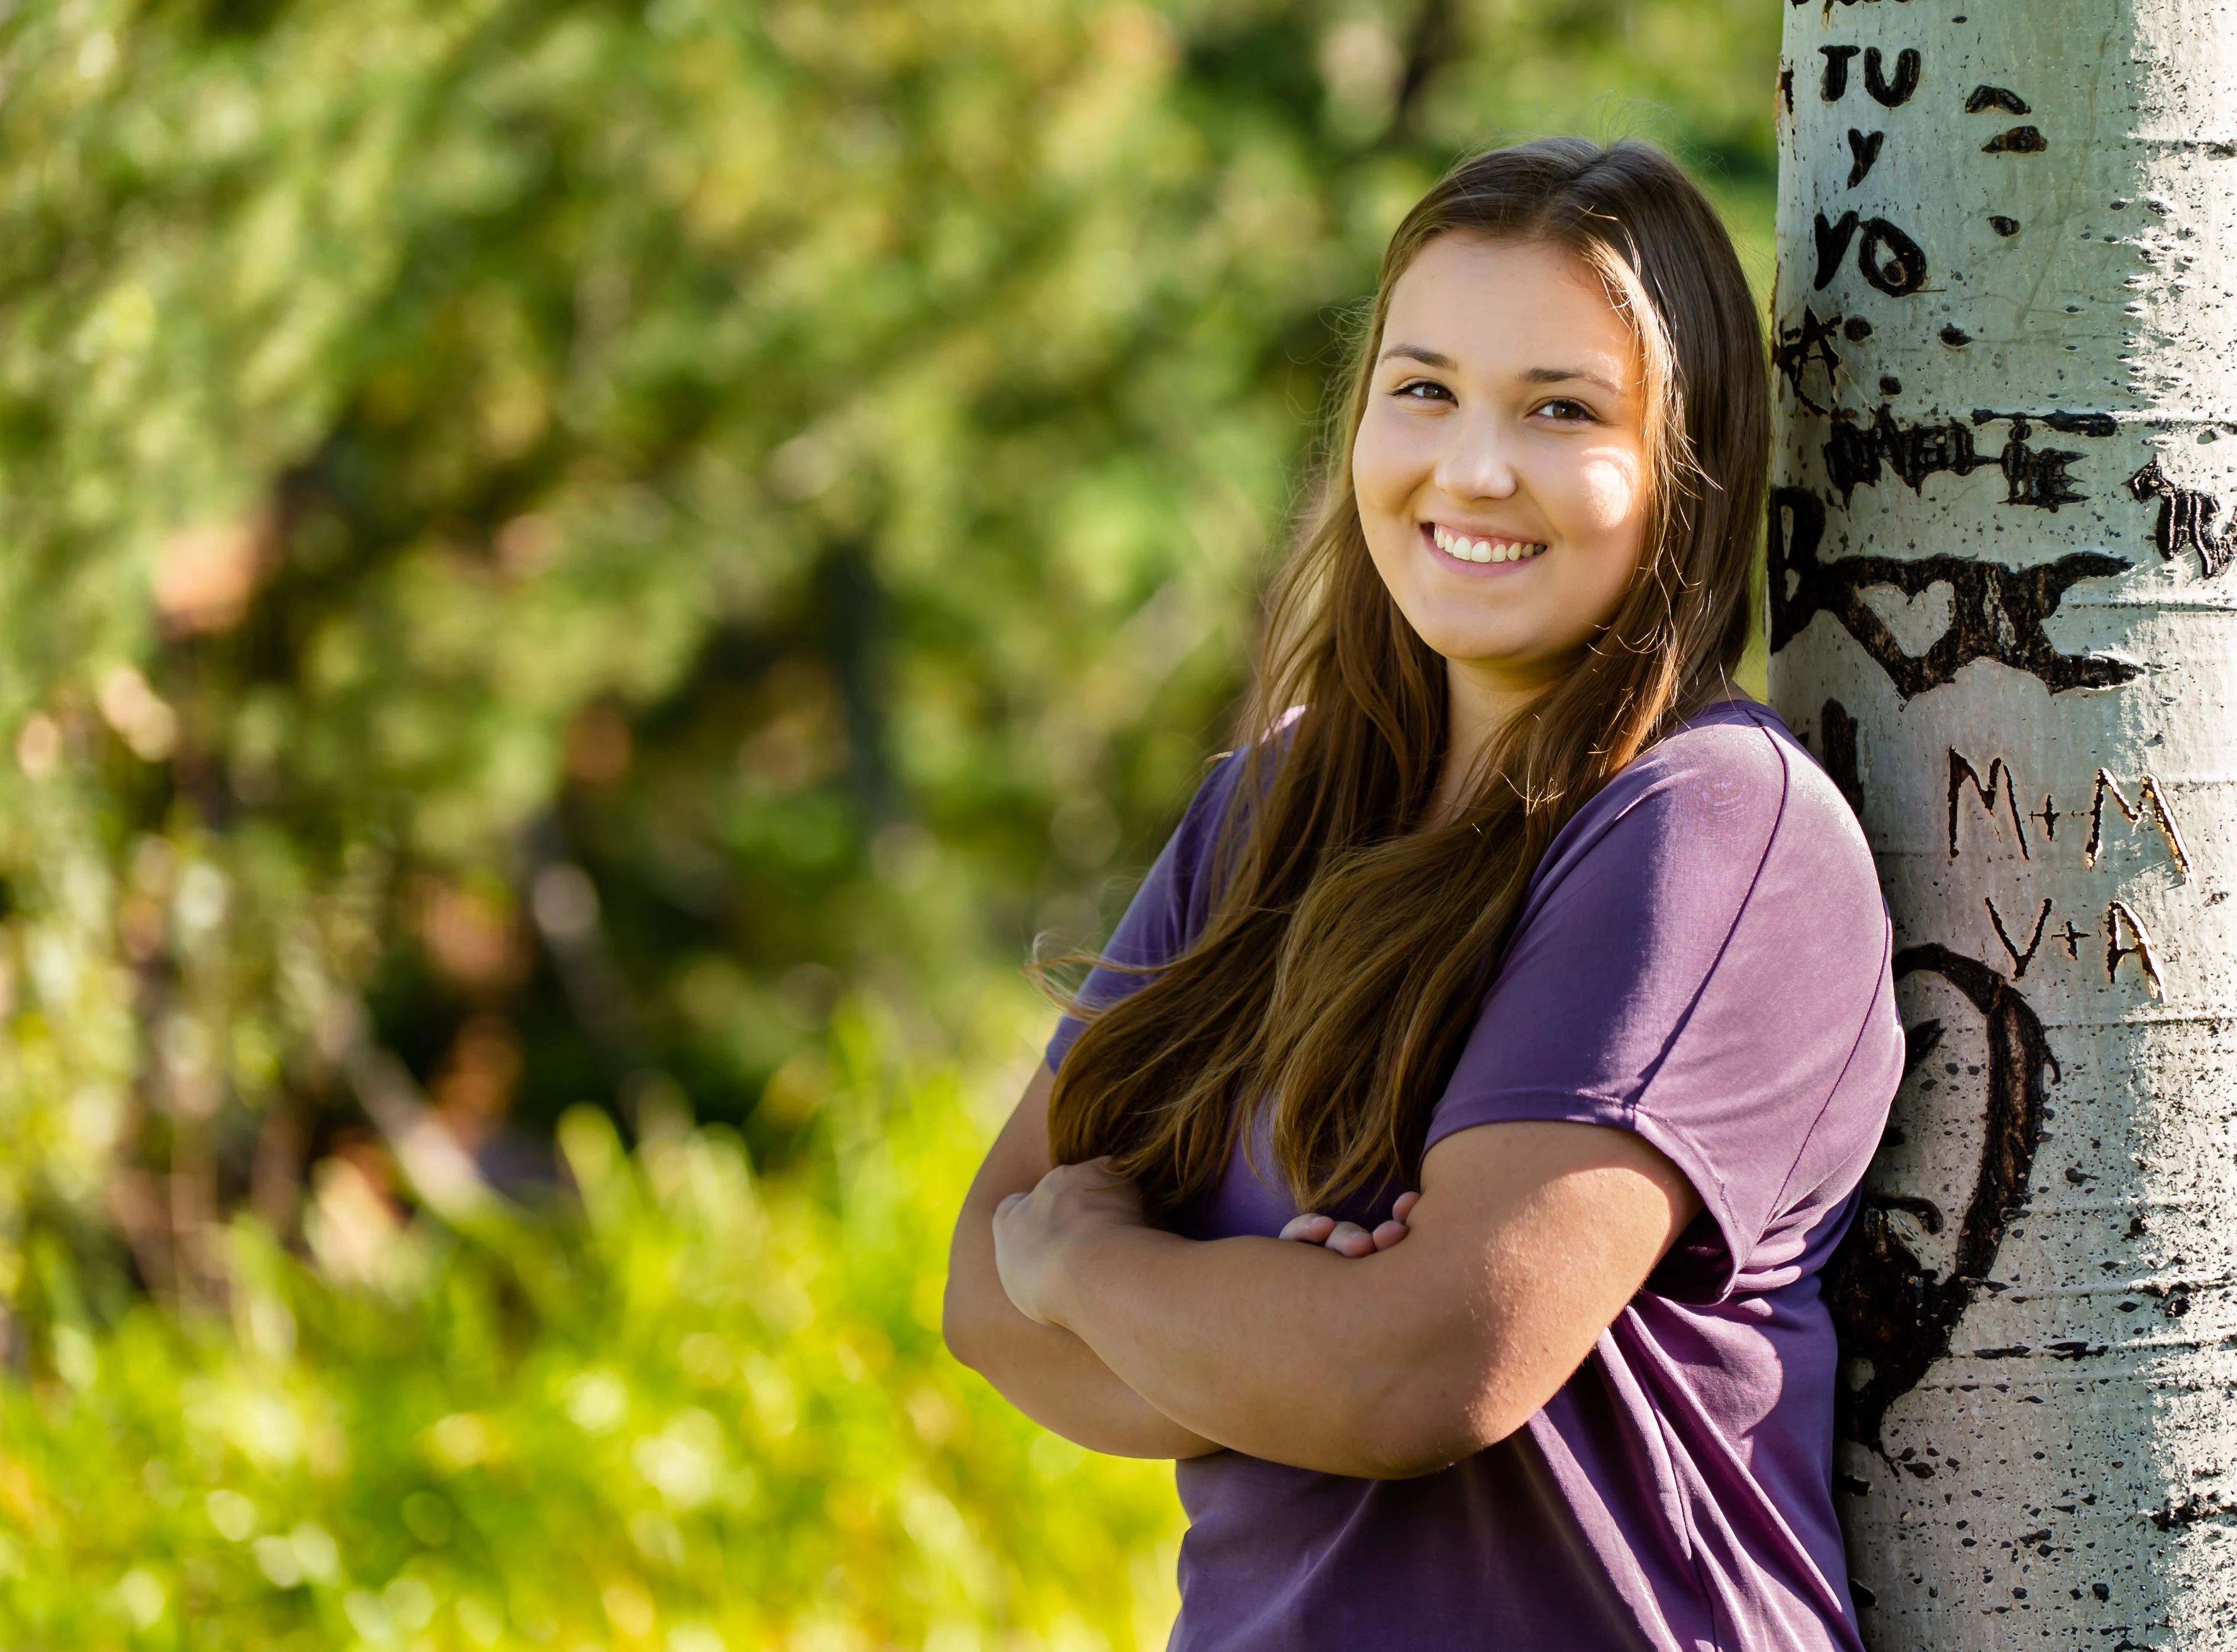
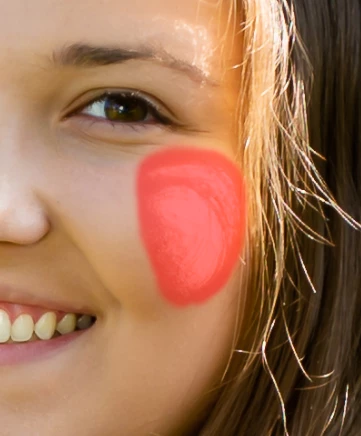
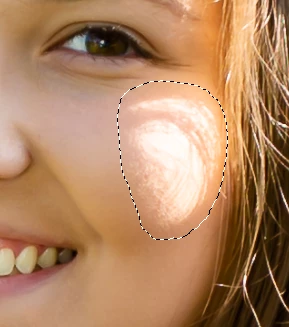
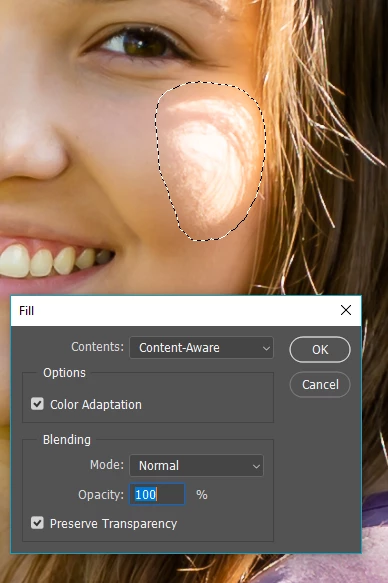
I am looking for some assistance and recommendation to fix the highlights on the check/forehead and elbow area with this image. I have done the normal raw editing and was able to improve some. I also used the brush in LR and it worked OK but not overall satisfaction. I have researched and tried a few different scenarios from youtube and kelby training without much success. I am looking for some recommendations on how to enhance these areas that should have been shot correctly. Any ideas tips or tricks is greatly appreciated.
I like Norma's approach, but here's another.
Hit the 'Q' key to enter Quickmask, and paint over the problem area with black (it will show as red) [See note below]
Overlap the area a wee bit. Something like this

Hit the Q key again to come out of quick mask

And use Edit > Fill > Content Aware Fill

That has left me a problem area at the bottom of the fix

Which I fixed with the Healing Brush, and some hand painted tone with a low opacity brush

Note: The default for Quick Mask is Color Indicate
...Copy link to clipboard
Copied
Hi Vis,
As you're looking to remove highlights from face, please have a look at this video and let us know if you find it helpful: 3 Ways to Remove Hot Spots, Highlights, or Shine from Portraits in Photoshop - YouTube
Regards,
Sahil
Copy link to clipboard
Copied
Thank you for the URL. I have tried a few of these techniques and I was able to get acceptable results. I appreciate it.
Copy link to clipboard
Copied

Choose the Patch tool and set its Options Bar to Normal, Source
Use it to encircle the burned out area and drag up to the forehead
Copy link to clipboard
Copied
This was one of the approaches I used and then removed the forehead lines and made it look real. Thanks for the post!
Copy link to clipboard
Copied
I like Norma's approach, but here's another.
Hit the 'Q' key to enter Quickmask, and paint over the problem area with black (it will show as red) [See note below]
Overlap the area a wee bit. Something like this

Hit the Q key again to come out of quick mask

And use Edit > Fill > Content Aware Fill

That has left me a problem area at the bottom of the fix

Which I fixed with the Healing Brush, and some hand painted tone with a low opacity brush

Note: The default for Quick Mask is Color Indicates Masked Areas.
I prefer to use Selected Areas

Copy link to clipboard
Copied
Hi, Check this video. It will help you how to do.
Thanks.
Find more inspiration, events, and resources on the new Adobe Community
Explore Now