Participant
January 3, 2019
Answered

How to stretch pixels across a page

  • January 3, 2019
  • 4 replies
  • 1090 views

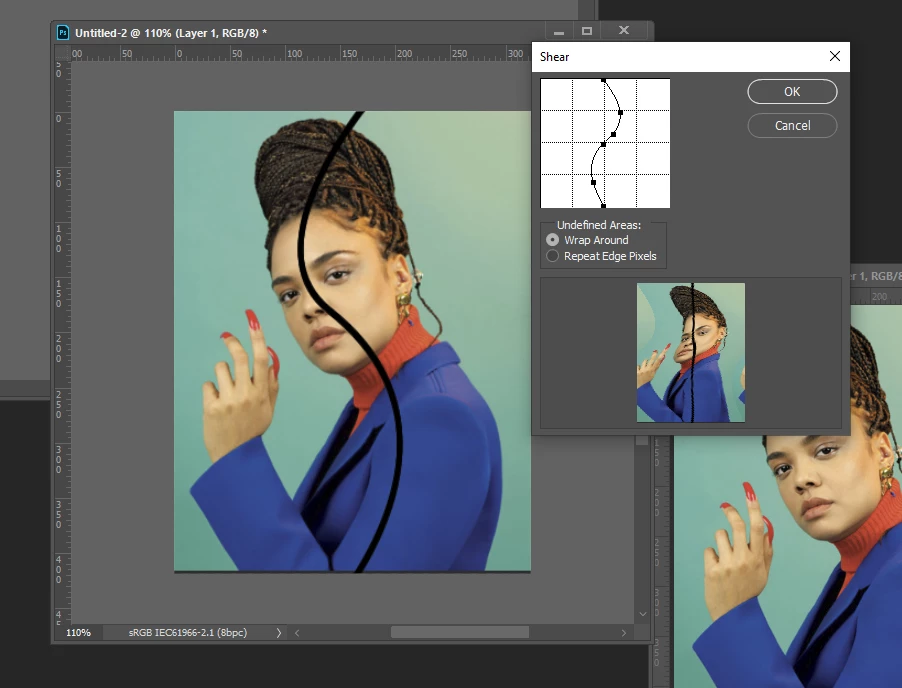
I would like to know how to stretch a hairline sample of pixels across a page.

I hope this screengrab illustrates what I am trying to achieve.

So eventually I would end up with a streak of color traveling horizontally across the page. There would be no resemblance of the original image only a block of streaked colors remain. I know it can be easily done with a "straight" 1 pixel crop then stretch that selection, but I would like to do it with a curved selection.

I hope someone can help me with this.

Thanks in advance..

This topic has been closed for replies.
Correct answer Semaphoric

> t's not that easy to do with a curved selection

Well, then, Curve the image! Make a duplicate layer, and stroke where you want the selection to be. Use Distort > Shear to make the stroke look straight and vertical:


The UI for Shear is quite fiddley, and could really use an update, but it's pretty straightforward [hint: drag points off to the side to remove them].

Once you get it right (might take a couple of tries; it did for me), selct the original layer and Shear. The setting are sticky, so it will do it the same way.


Using the stroked layer as a guide, place a single-column marquee, and transform the original layer.

     .

4 replies

Participant
January 4, 2019

Thank you all for your response. Some of those solutions may just work.

In case you are interested what I am actually trying to achieve. I want to add roads lakes and buildings to satellite height maps. Because none of those "flat" features are seen in height maps. So my plan was to make a mask of those flat features and apply it to the heightmap. The tricky part is to keep these flat features following the contours of the land.

JohanElzenga
Community Expert
Community Expert
January 3, 2019

It's not that easy to do with a curved selection, because distorting that would distort the curve itself rather than smearing out the pixels. However, I don't think the result would be much different from a straight one pixel vertical selection, providing that you place that selection carefully, just right of her eye.

-- Johan W. Elzenga
Semaphoric
Community Expert
SemaphoricCommunity ExpertCorrect answer
Community Expert
January 3, 2019

> t's not that easy to do with a curved selection

Well, then, Curve the image! Make a duplicate layer, and stroke where you want the selection to be. Use Distort > Shear to make the stroke look straight and vertical:


The UI for Shear is quite fiddley, and could really use an update, but it's pretty straightforward [hint: drag points off to the side to remove them].

Once you get it right (might take a couple of tries; it did for me), selct the original layer and Shear. The setting are sticky, so it will do it the same way.


Using the stroked layer as a guide, place a single-column marquee, and transform the original layer.

     .

Trevor.Dennis
Community Expert
Community Expert
January 3, 2019

This turns out to be not that straight forward, and my first two attempts failed completely.  So what I had to do is create a line through the most interesting colours using Quick Mask

Turn off Quick Mask and copy the selection to a new layer

Make a bunch of copies, and distribute using the align tools

Merge those layers.

Repeat and copy again

Continue the process until you fill the page

Then decide what you want to do.

Motion Blur will iron out the lumps and bumps

Polar Coordinates — it does not fill the layer so you need to copy and rotate

Glowing Edges (wot larks we is hav'n)

Star Filter Pro 4

What time is it?  I think we have time for a few more ;-)

Some texture

Oil Paint  — there's a law against leaving it out.

A nice button.  You could eat this

We call this effect Ged

January 3, 2019

I'm just

Bojan Živković11378569
Community Expert
Community Expert
January 3, 2019

If I can understand correctly what you really want then do the following:

  • Use Pen Tool with Path drawing mode to create curved line and along the way outline left or right side of the image. One side should be curved line and other three sides should be straight lines.
  • Create selection from path then use selection to create layer mask. If you want you can expand or contract selection along the way.
  • Duplicate layer and invert layer mask as needed. Apply layer mask to cut (crop) the image with curved line then do whatever you want to do.

Hopefully this will help you or at least give you idea how to.