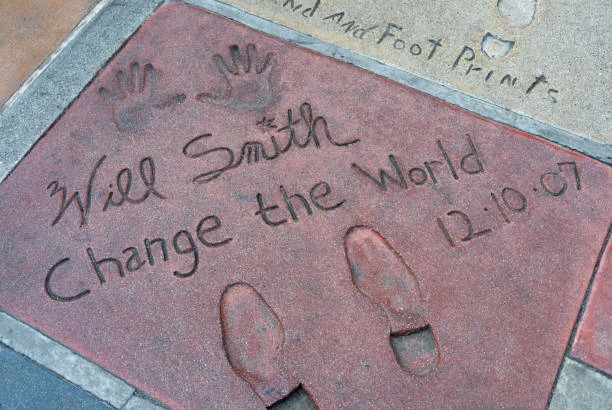
You could try it with Generative Fill. The generated letters I got matched the appearance but was often missing or changing letters with Firefly Image Model 3. Firefly Image Model 1 didn't generate any letters.
Instead, I'd recommend making the background area match, adding your own text, and applying a combination of layer styles. Here's what that can look like:
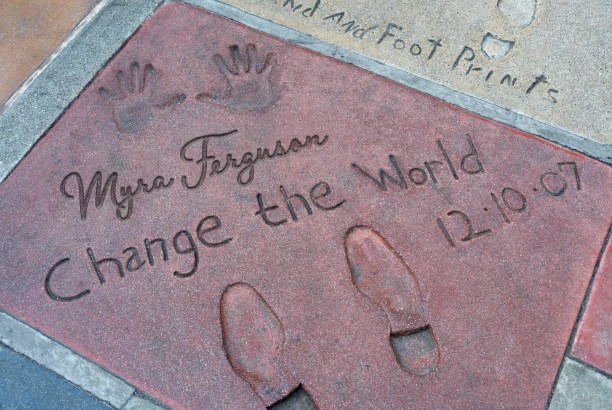
Here's how
- Select the area of the current text that you want to replace
- Go to Edit > Content Aware Fill...
- Deselect areas that influence the fill if you get more than just the pinkish background and click OK when it's filled
- Sample the color in the other text areas to use for the text
- Add the text you want and set it to a similar handwritten or script font (I used Braisetto Bold)
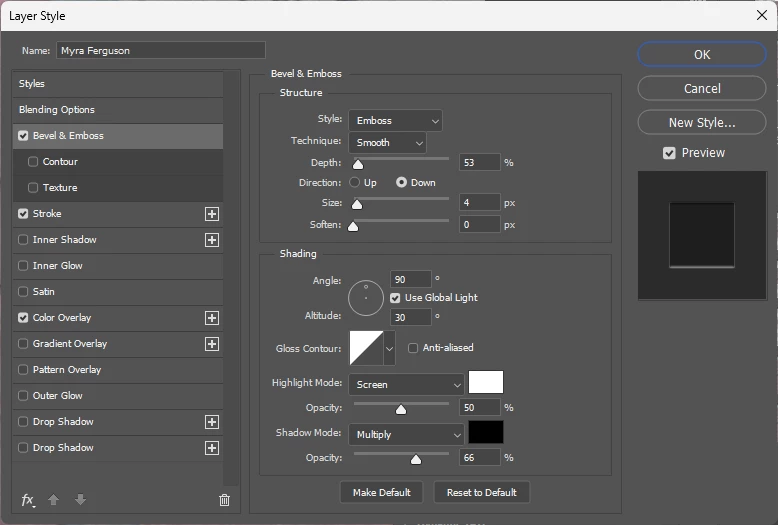
- Double-click on the text in the Layers panel (other than on the eyeball, the thumbnail, or the name) or go to Layer > Layer Style > Bevel & Emboss (or any of the other layer style options) to open Layer Styles (going to the menu will take you to the options for that particular layer style)
- Add the following Layer Styles:
- Bevel & Emboss - click on it to open the Bevel & Emboss options to make adjustments as needed
- Add a stoke of the same color as the text if you need to make the text wider
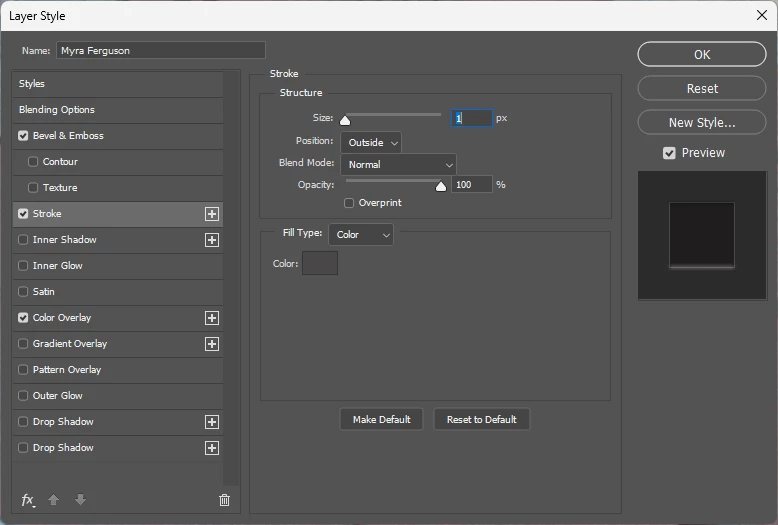
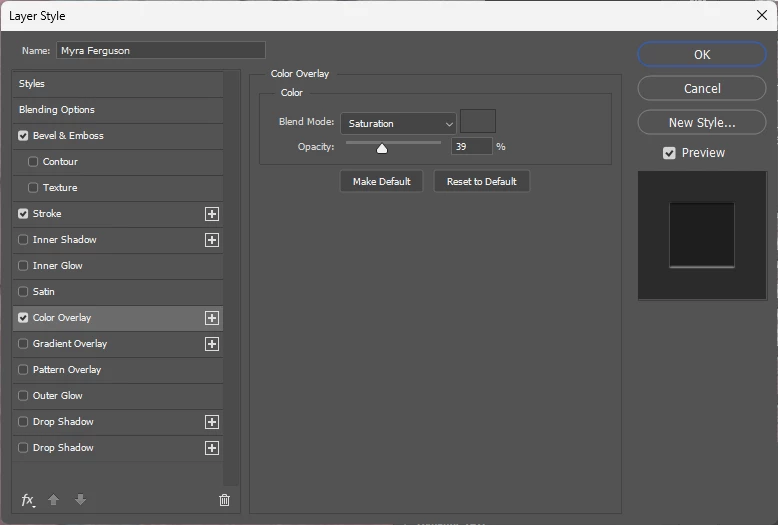
- Add a color overlay with a Saturation blend mode to affect the appearance of the text, if needed