Known Participant
August 28, 2018
Answered

Invert Selection. How to do it ?

  • August 28, 2018
  • 3 replies
  • 67689 views

OK so I have the following image I select all and the flower is selected however I want to drop the selected

flower onto a new white canvas layer as the background layer is ever so slightly off white. When I paste

to the new layer I see only the white outline not the flower. I recall having to invert the selection somehow to

achieve this. I know this is very basic but would be grateful for a few simple steps to set me straight.

Many thanks

Rob

    This topic has been closed for replies.
    Correct answer Norman Sanders

    Hi Normam, I am trying to persevere with your suggestion. When I executed (Cmd+Opt+Shft+E) (it looks like Photoshop called it Stamp visible - is this the same thing ? ) its created to a layman like me, a consolidated image right at the top of the pile.  Can you talk me through the next step please "At that point Blend If will deal with two layers -- the image layer, and the. one that will eventually be white" ...     thank you  

    Rob


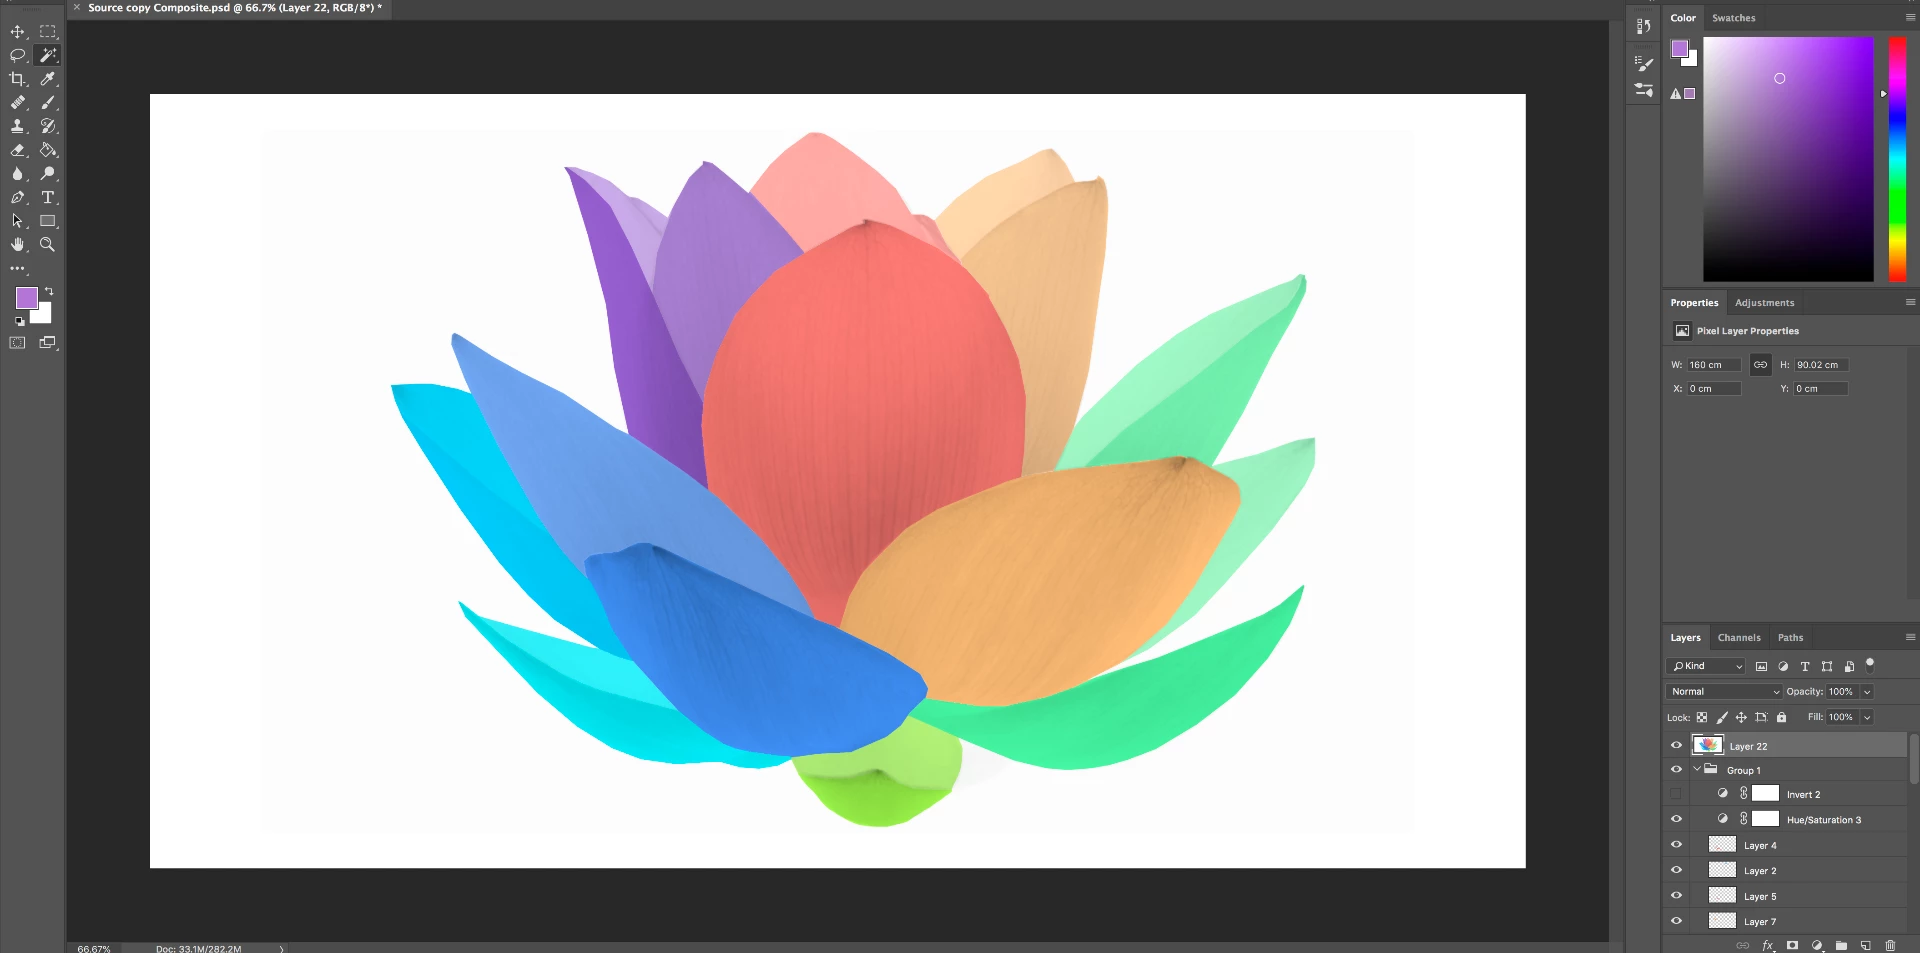
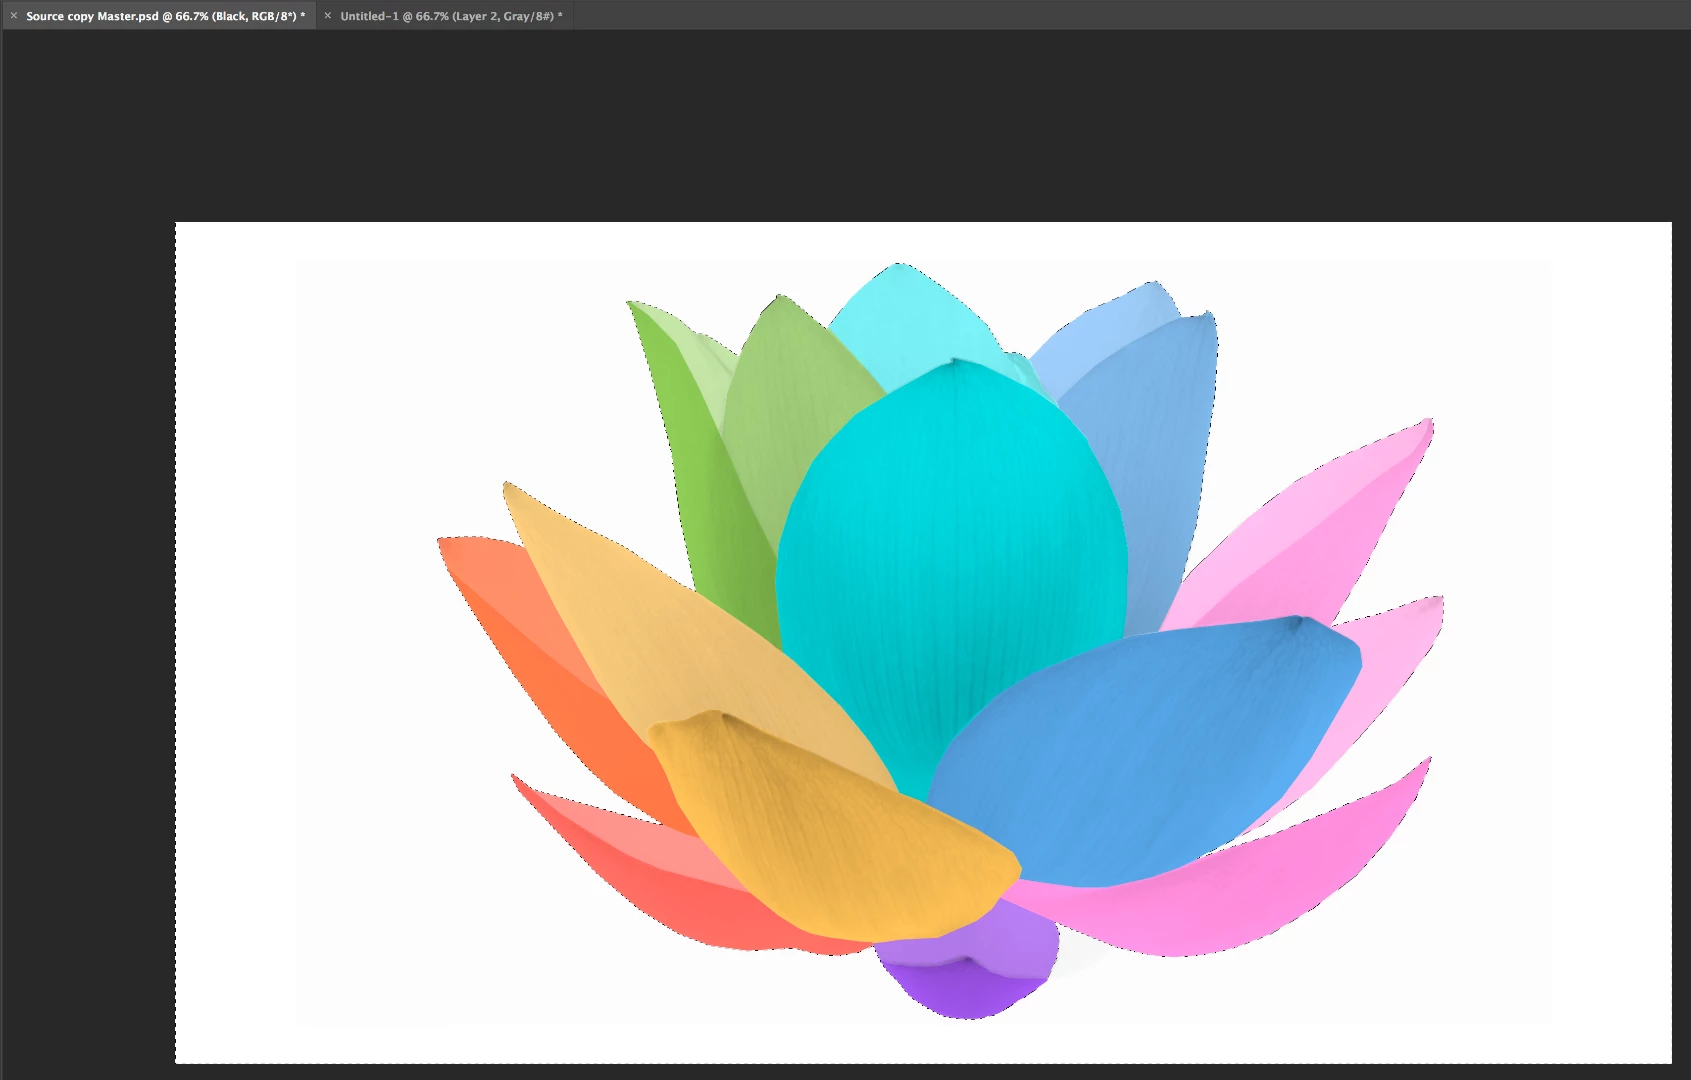
    Ah, you now have a composite of all the image layers combined into one layer holding the complete image on a whiteish background. For the sake of clarity, let's call it the Comp Layer. (It is Layer 22) The next step, without making a Selection, is to replace the whitish background in the Comp Layer with a pure white one.

    Here we go:

    A. Add a blank layer below the Comp Layer. (To avoid confusion, turn off the eye adjacent to all the layers below this new blank layer.)

    B. Edit > Fill the blank layer with 50% gray. (The reason for this is mentioned in Post #3 above)

    C. Choose the Comp Layer and double-click in its clear area. It will bring up the Layer Style panel.

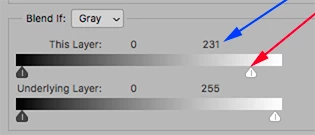
    D, In the Blend If section at the bottom of the Layer Style panel, slide the top right marker slowly to the left.

    E.  Slide it until all the white is replaced with the gray of the layer below. You will find that you will accomplish this at about  231

    F. Choose the layer below the Comp Layer. It is 50% gray.

    G. Edit > Fill with white, At this point the only layers that are visible (have the Eye showing) are the Comp Layer and the White layer that is directly below it.

    H. Choose Layer > Merge Visible

    Done.

    3 replies

    Norman Sanders
    Legend
    August 28, 2018

    There is an alternate approach that does not involve making a Selection and which provides a crisp result.

    (I am not a fan of the Tragic Wand.)

    No need to make a Selection.

    1. Add a blank layer below the image layer.

    2. Since white and near-white are so close in value, Edit > Fill the new layer with 50% grey

    3. Double-click on the image layer to bring up Layer Style.

    4. In the Blend if section. slide the top right marker to the left until all the white is replaced with they gray of the layer below.

    5. Choose the bottom layer and Edit > Fill with white.

    6. Choose Layer > Merge Visible

    Known Participant
    August 28, 2018

    OK I got to section 4. And where I slide the top marker to the left the layer doest change colour.  There is a gray border now.

    This is because I had to increase the canvass size to 16:9. The white bottoms layer was pure white and the original flower background

    wasn't. So I wanted to whiten the entire back ground so the background white from the flower matched the base white layer.  Will this still

    work Norman ?

    Norman Sanders
    Legend
    August 28, 2018

    The Flower image is made up of 21 separate layers one for each petal colour. Where would the Layer style sit then below the 21st petal layer ?


    Something does not add up. Your Layers panel shows each flower petal is on a transparent background. That would suggest that a white layer placed below them would give you the result you want.

    In any event, faced with multiple layers, the usual procedure when working with Blend If, is to make a composite layer (Cmd+Opt+Shft+E) of all the petal layers, then place the additional layer I previously described directly below it. Then apply Blend If to the composite layer.

    August 28, 2018

    Hi

    You can get it from the Select menu, you'll find the shortcut there as well

    Sahil.Chawla
    Community Manager
    Community Manager
    August 28, 2018

    Hi Rob,

    As you're looking to inverse the selection, you can go to Select then choose > Inverse

    Shortcuts are Ctrl + Shift + I (Windows)
    Cmd + Shift + I (MacOS)

    Regards,
    Sahil