Copy link to clipboard
Copied
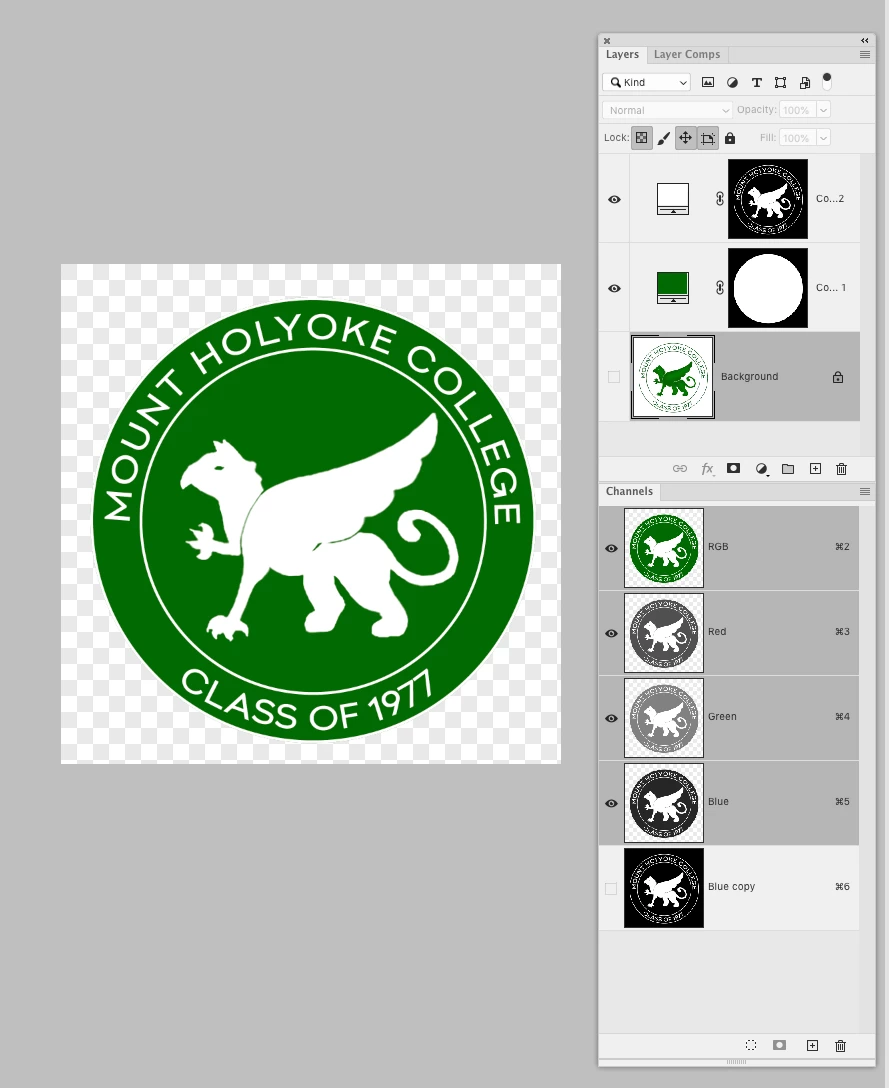
Do you mean like this?
The Blue channel is almost a mask, so I duplicated and inverted it, then forced it to black and white with Levels—the duplicate channel can now be loaded as a mask:
Copy link to clipboard
Copied
First, Click the layers panel the four lines in the upper right corner and duplicate the layer. Turn off the eye on the bottom layer. That is just in case you make a mistake you still have a original file. Then double click on the layer that is still active in the layer panel, and name it.
After that go to magic wand and click the white anywhere on the logo and go select> similar it should select all the white. Then hit delete.
Now to change the green to white, double click in the layers panel in between the picture and the name of your photo and the layer panel should open. Select color overlay and choose white.
You should not save as a jpeg or tiff, it will put the white background in again. I recommend as .psd, and also a png or pdf will work.
Copy link to clipboard
Copied
thank you. Getting the transparent background worked but switching the colors did not. It just made the whole logo white.
Copy link to clipboard
Copied
Did you select >similar on the white before deleting? It should have selected the white inside the logo too. Then should have worked.
Copy link to clipboard
Copied
This could work with only one gradient map that could soften transitions without selecting anything. just a mask to cut the circle
Copy link to clipboard
Copied
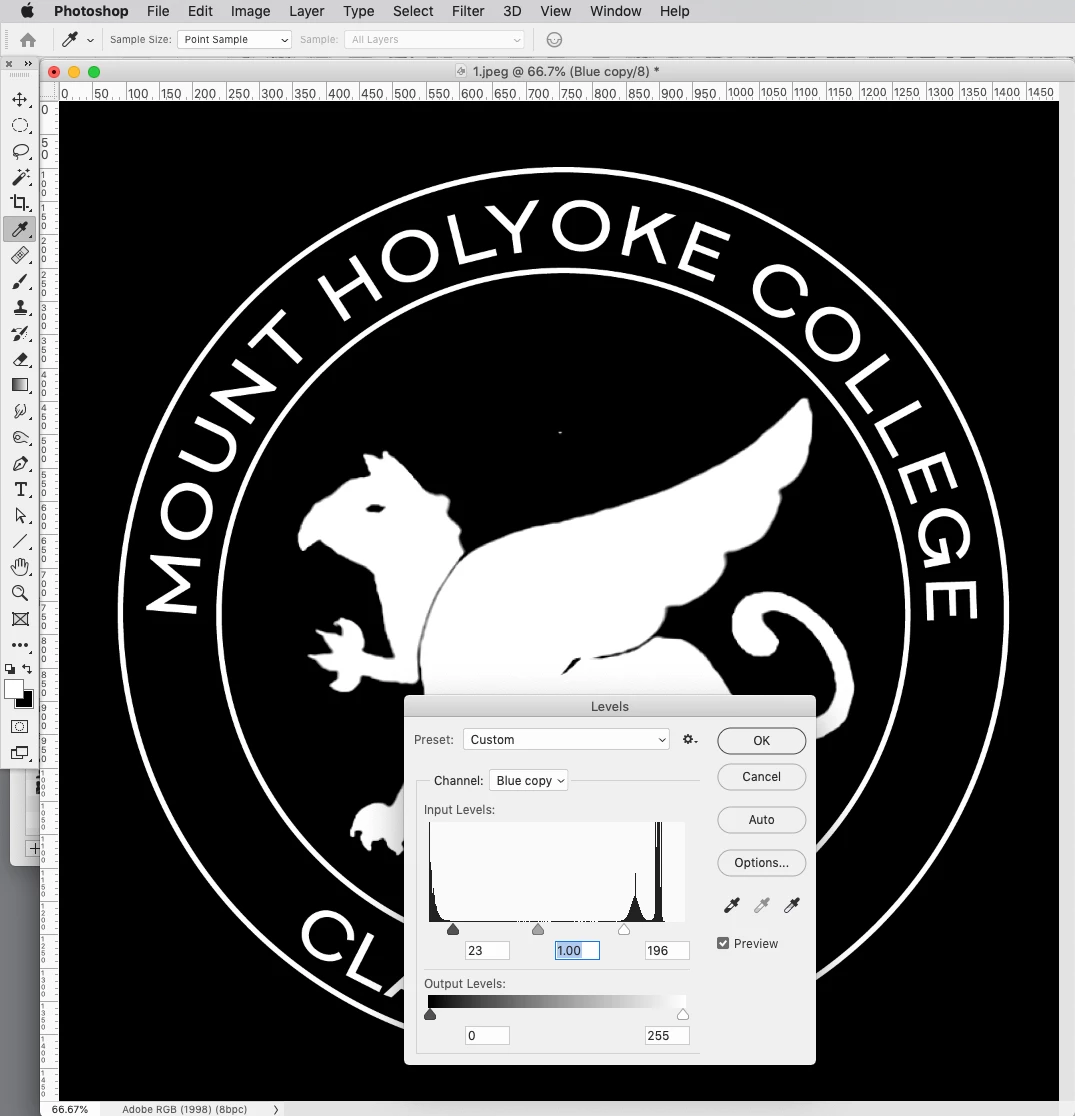
Do you mean like this?
The Blue channel is almost a mask, so I duplicated and inverted it, then forced it to black and white with Levels—the duplicate channel can now be loaded as a mask:
Copy link to clipboard
Copied
Yes but when I get it to the black and white how do i get it back to the green and white.
Copy link to clipboard
Copied
Use it as a mask on a green color layer. Done 🙂